
Windsock
A windsock is the rare paper craft that keeps doing something after you finish it. Hang one up and it fills with air, spins a little and tells you which way the wind is going - which is why airports and boatyards use them, and why a paper version makes such a good project for a breezy afternoon.
This one is folded from a single square, but be warned: unlike most origami here, it is not a pure-folding model. You will need scissors for the fringe along the bottom edge and a glue stick to close the seam. Nine steps, easy difficulty. Keep the fringe strips roughly the same width, give the glued overlap a moment to set, then hang it from a thread and watch it go.
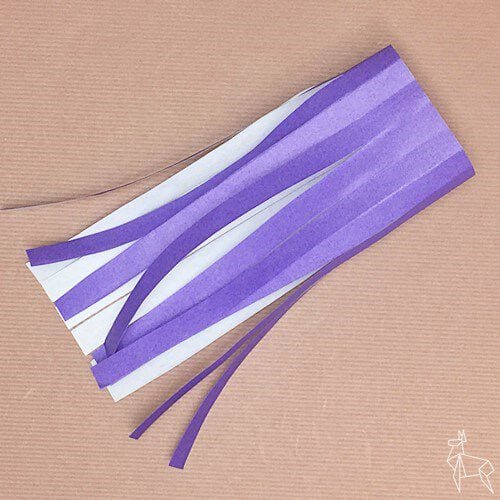
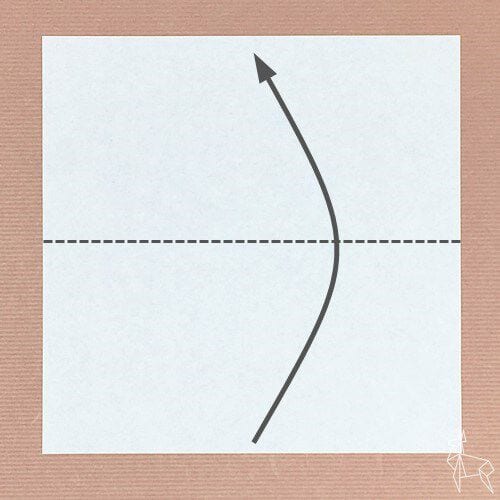
STEP 1
Fold the paper in half along the dotted line.
STEP 2
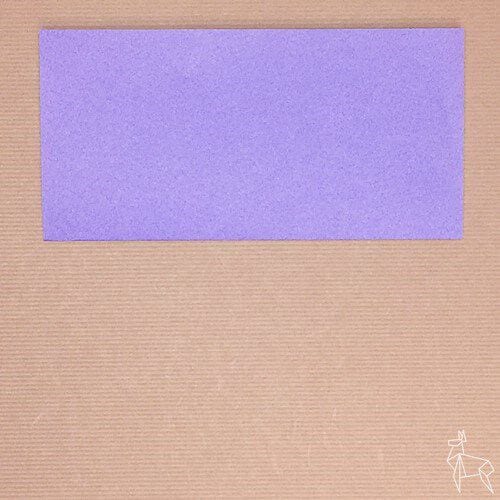
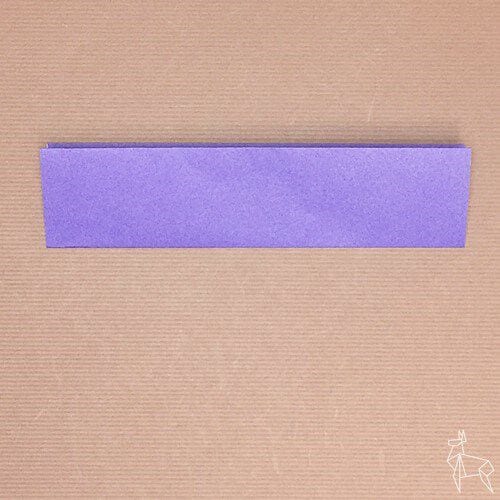
Fold it in half again.
STEP 3
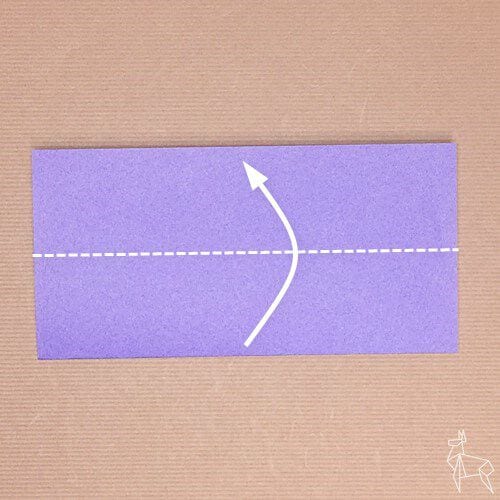
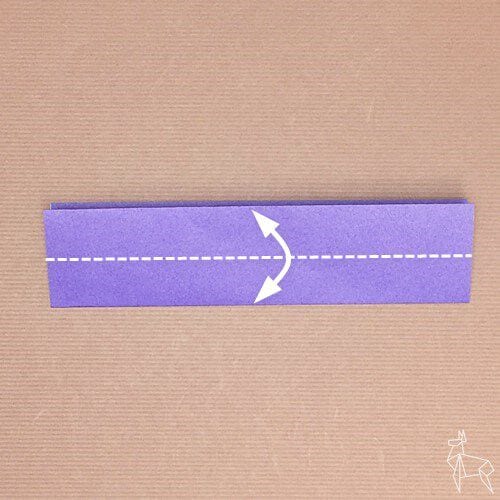
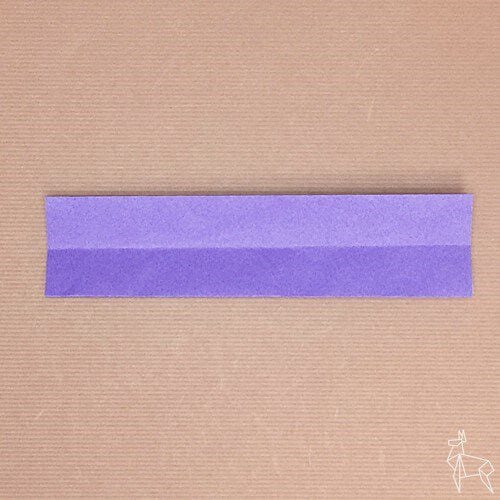
Fold it in half along the dotted line and make a crease.
STEP 4
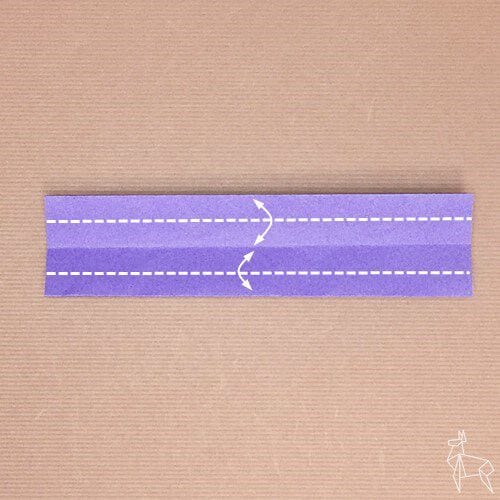
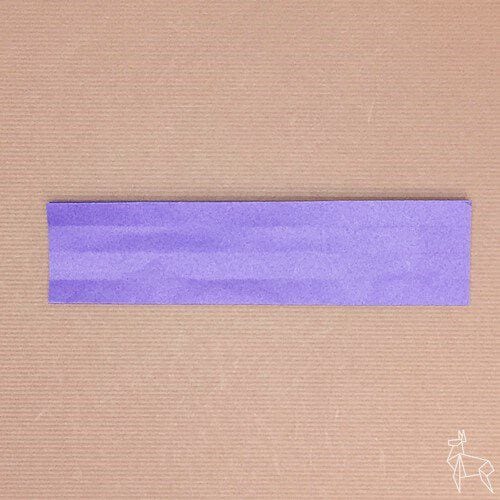
Make creases along the dotted lines so that the top and bottom edges line up with the crease.
STEP 5
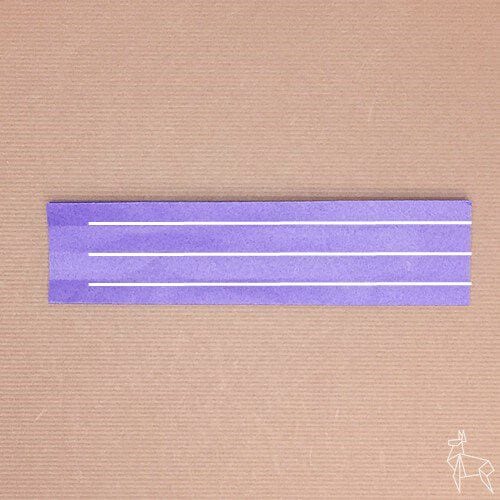
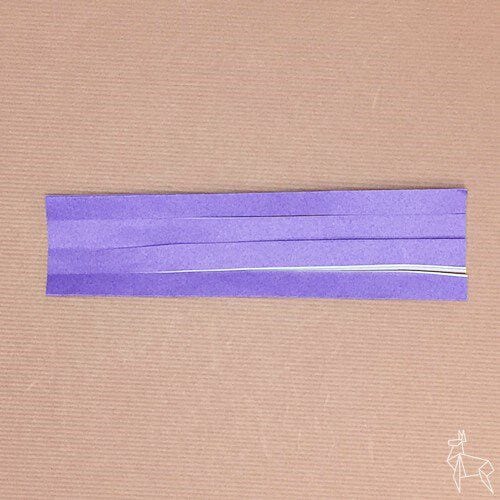
Cut along the white lines with scissors.
STEP 6
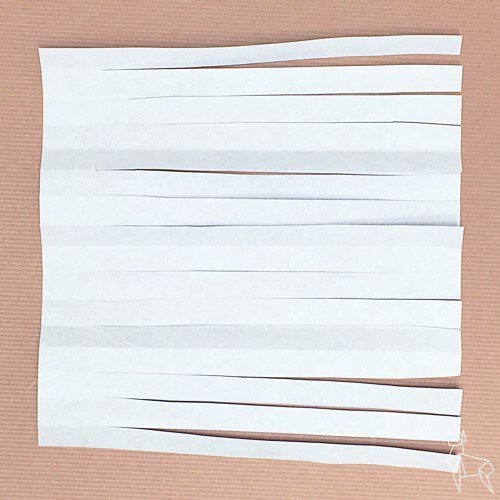
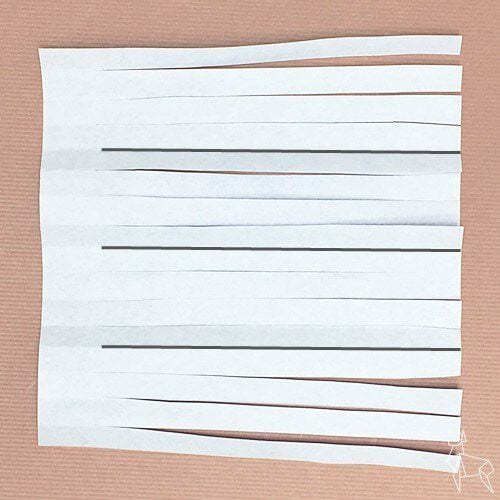
Unfold the paper.
STEP 7
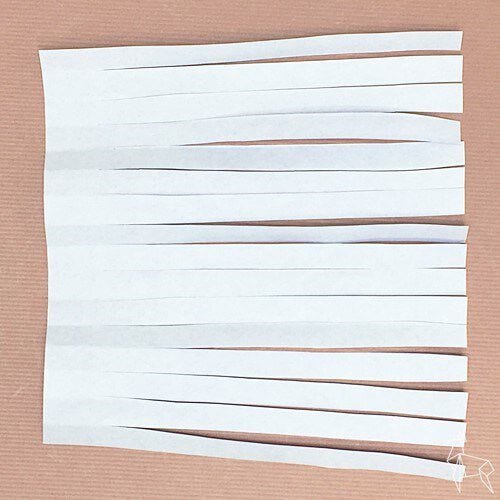
Make cuts in the fold lines that do not have cuts yet.
STEP 8
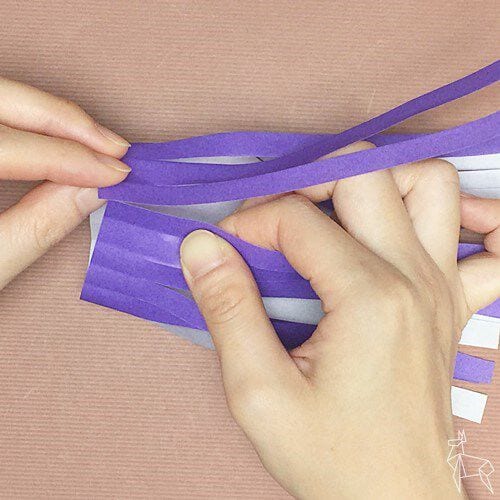
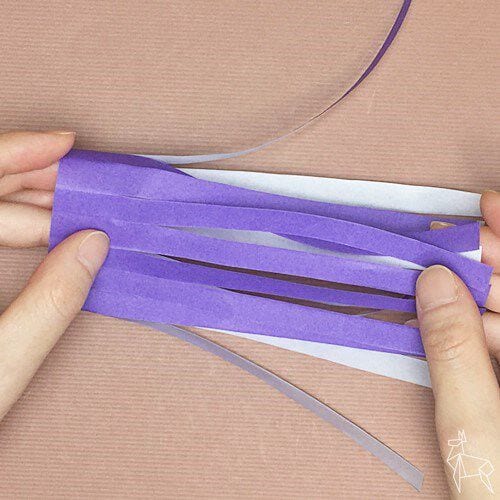
Apply glue to one end, roll the paper into a cylinder and attach it to the other end.
STEP 9
The windsock is complete.




