
Pearl oysters
Shells are a good subject for paper, because the thing that makes a shell look like a shell - two halves meeting along a hinge, with a smoother surface inside - is exactly what a folded sheet gives you for free. This pearl oyster is the short version of that idea: nine folds, no glue, no cuts, and a finished model you can open and close between your fingers.
Use paper with a different colour on each side if you have it. The folding sequence brings the reverse side up as the inner layer of the shell, and that flash of contrast is what sells the effect. Everything here is easy; the only trick is creasing firmly, because the two halves need to match each other.
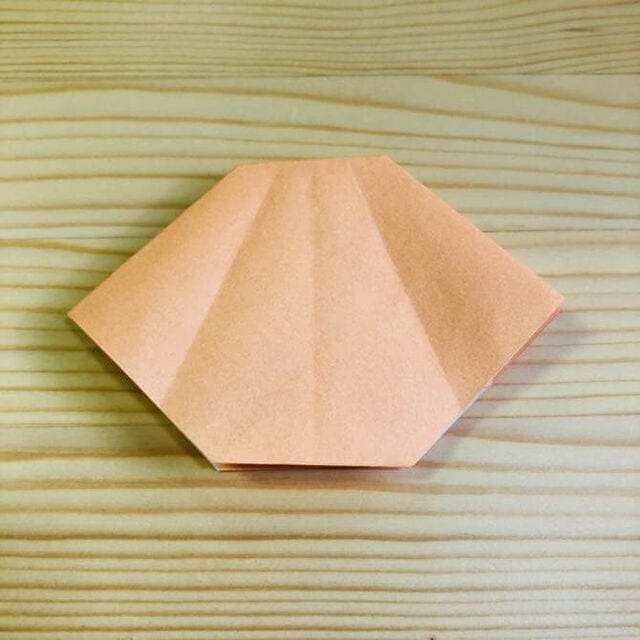
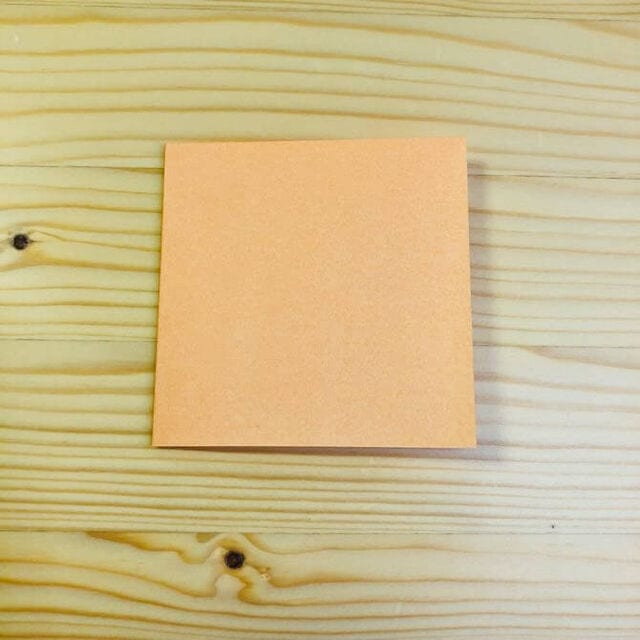
STEP 1
Fold the paper in half.
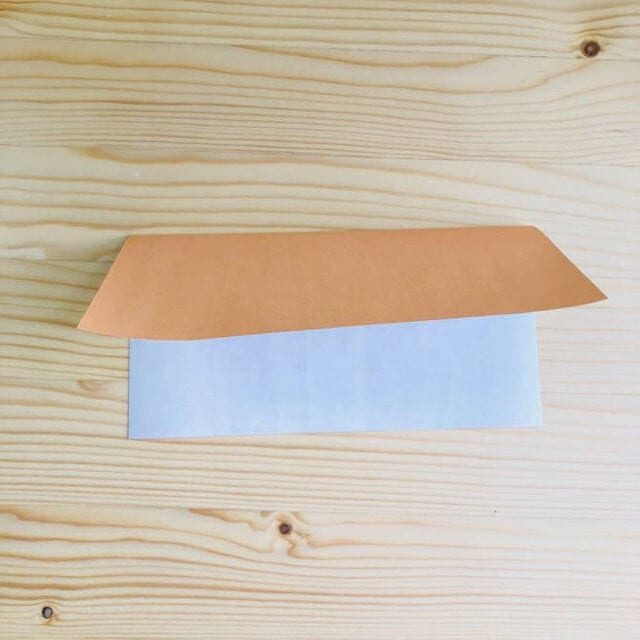
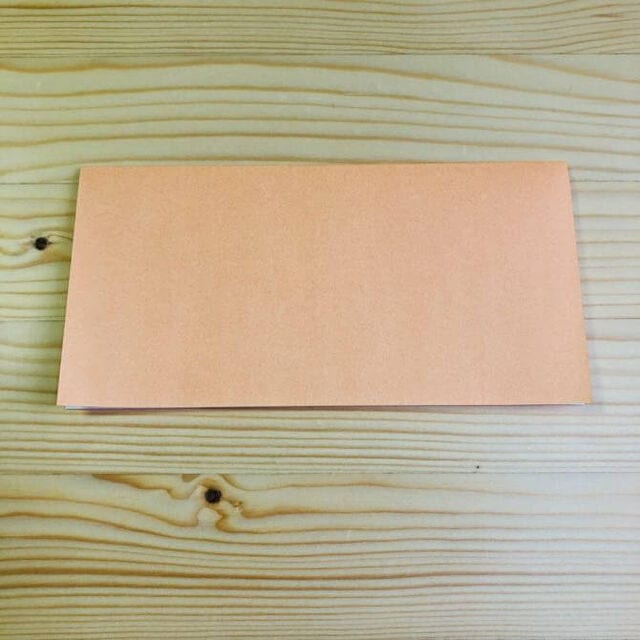
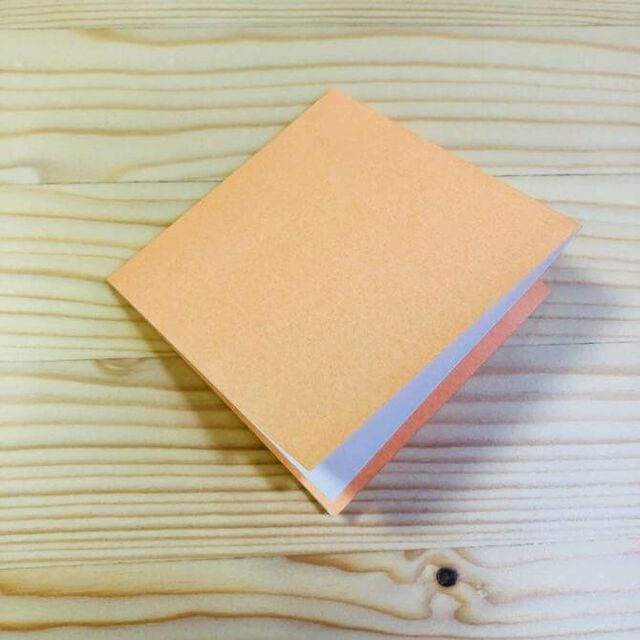
STEP 2
Fold it in half.
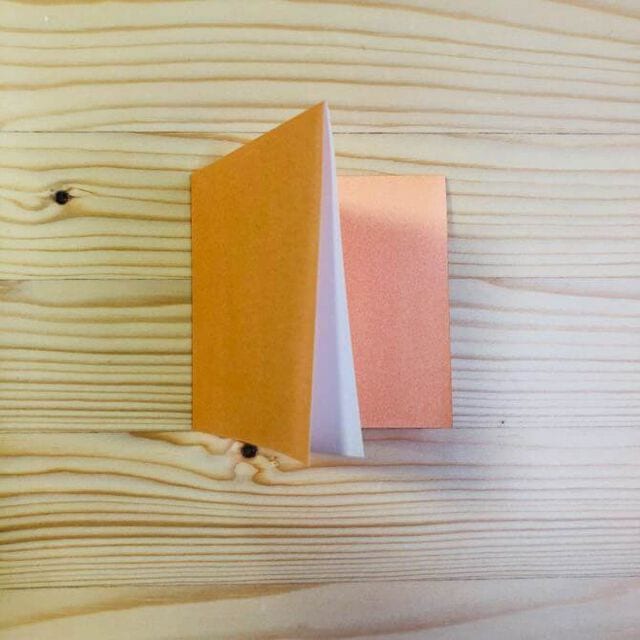
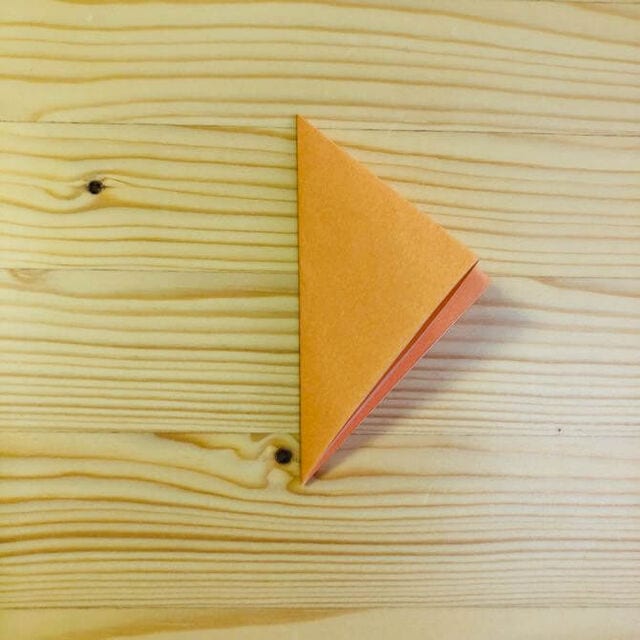
STEP 3
Rotate the paper.
STEP 4
Fold it in half and make a crease.
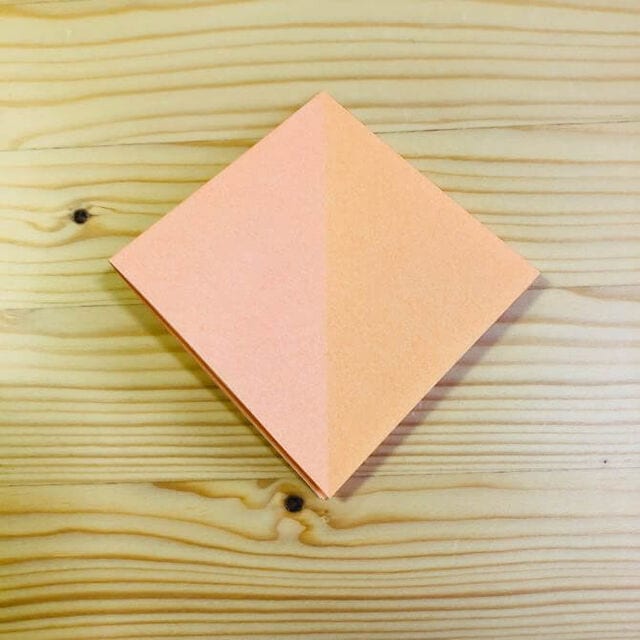
STEP 5
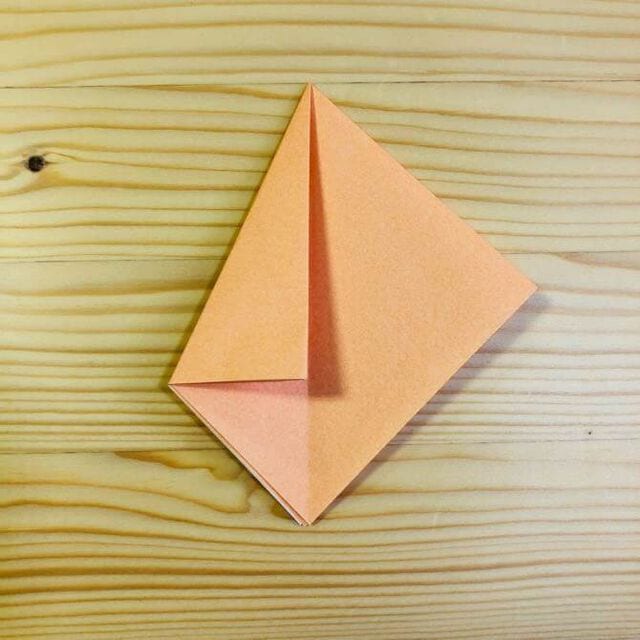
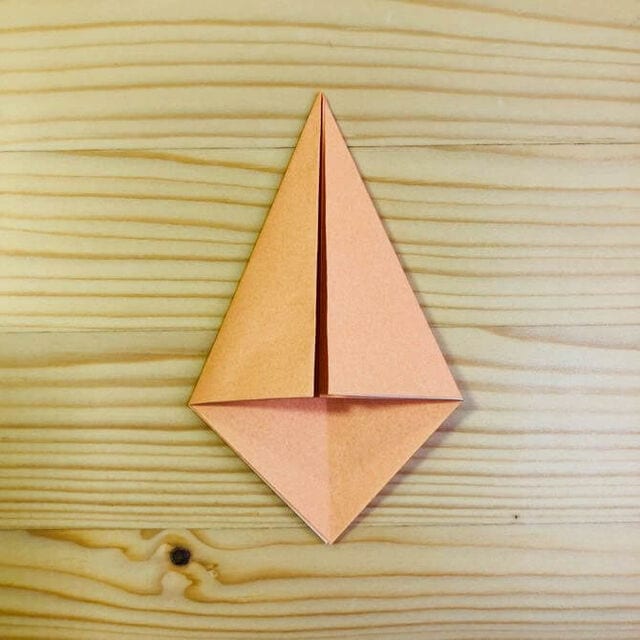
Fold both sides in and crease.
STEP 6
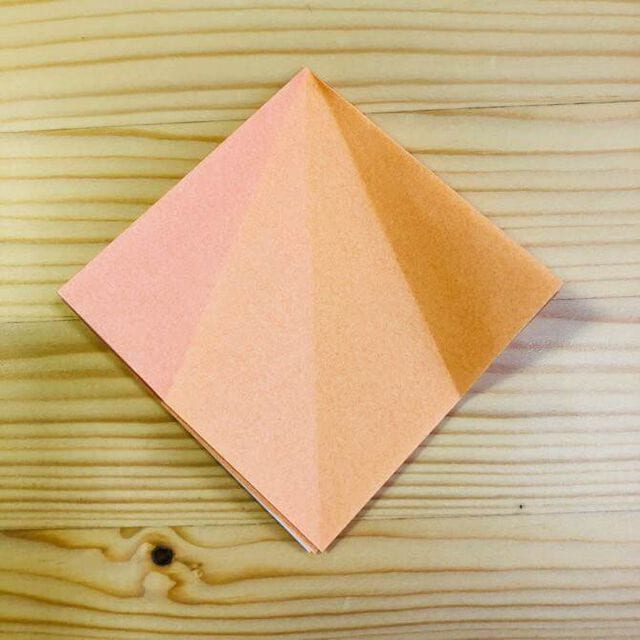
Open it out and fold up the top two layers.
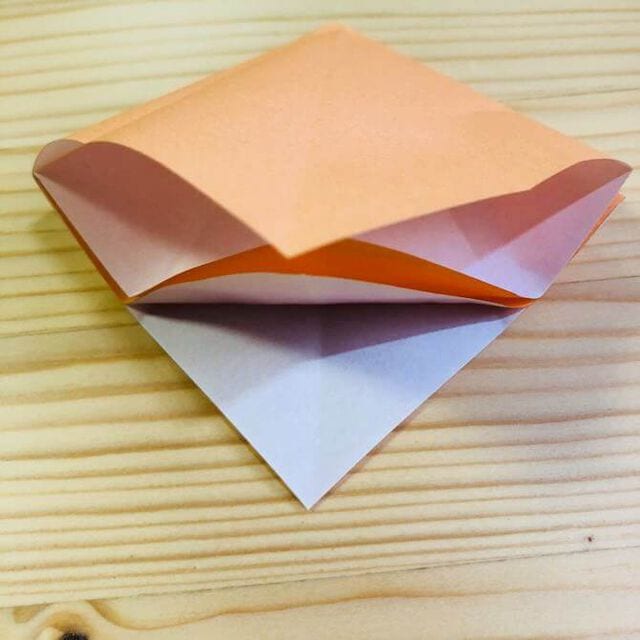
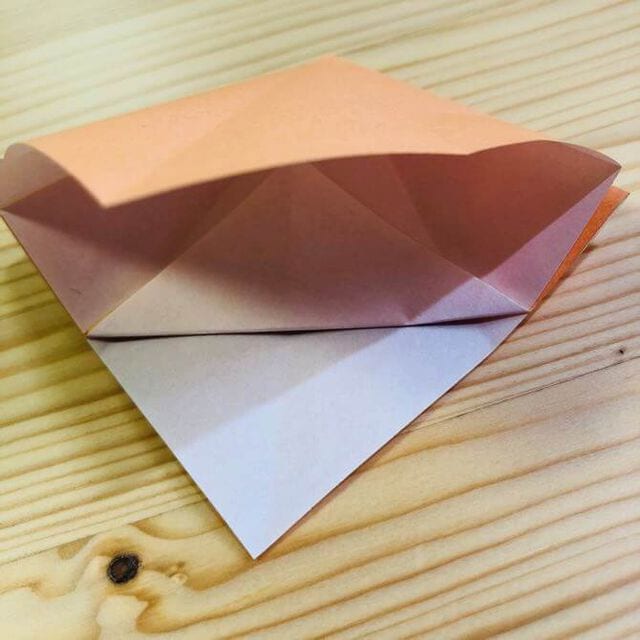
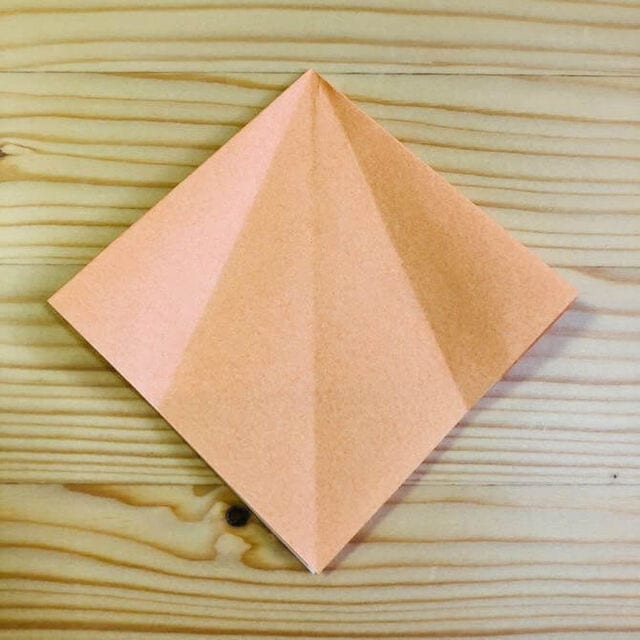
STEP 7
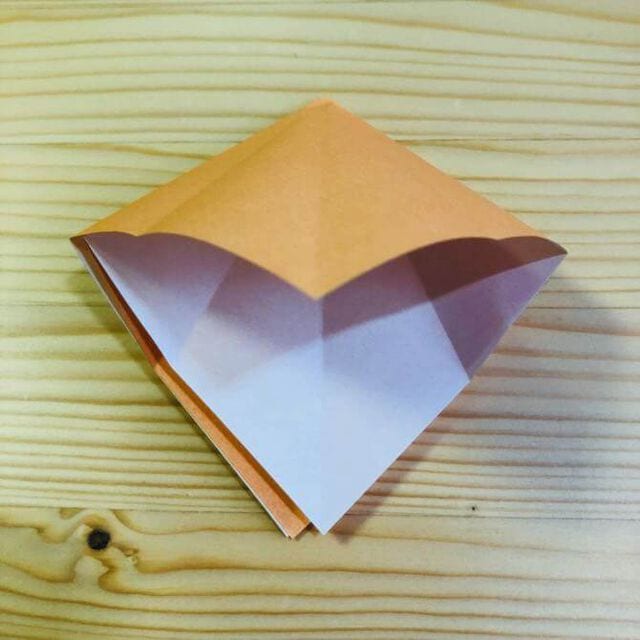
Fold the top corner back.
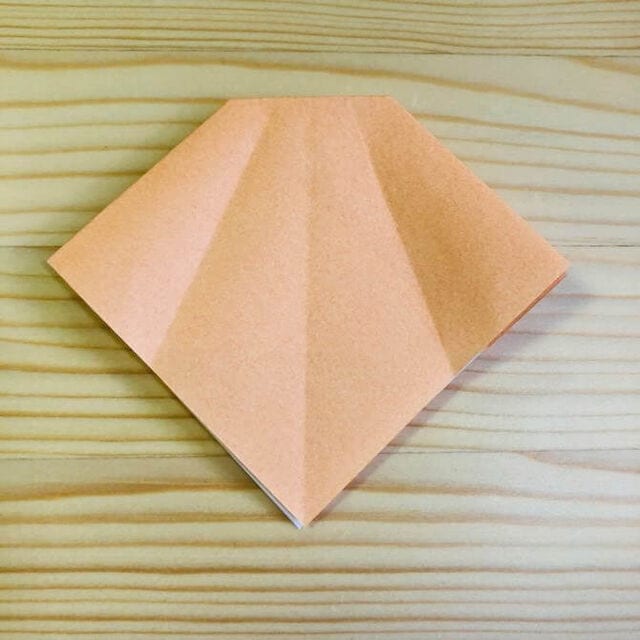
STEP 8
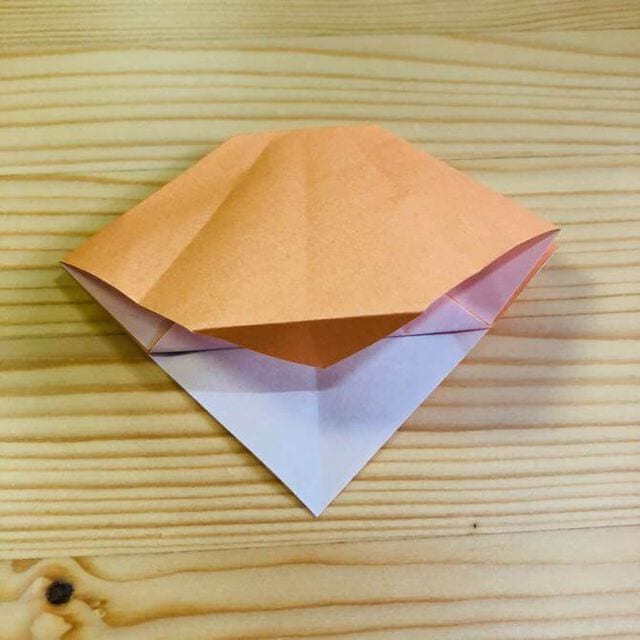
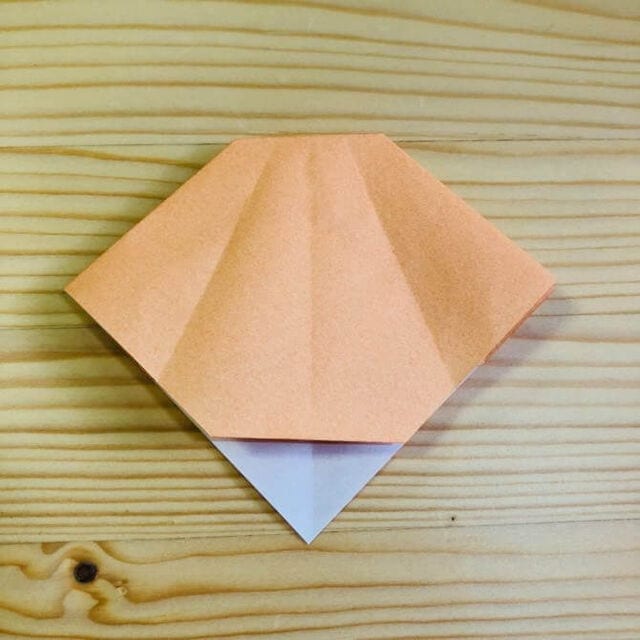
Tuck the bottom corner of the top layer inside.
STEP 9
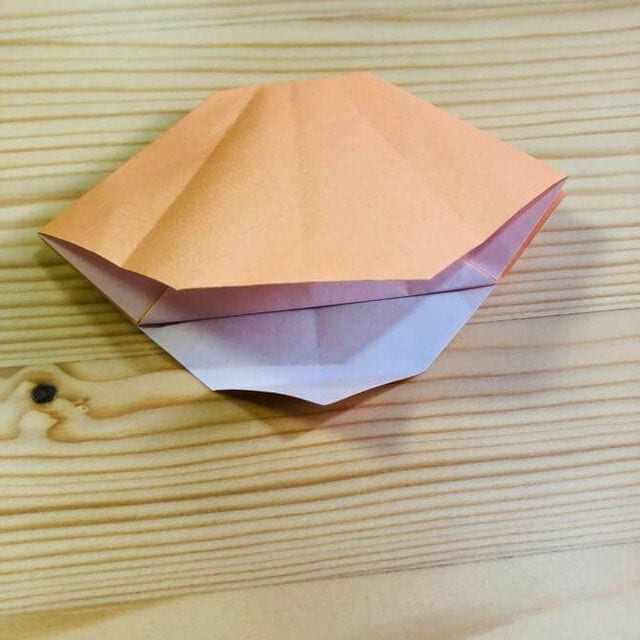
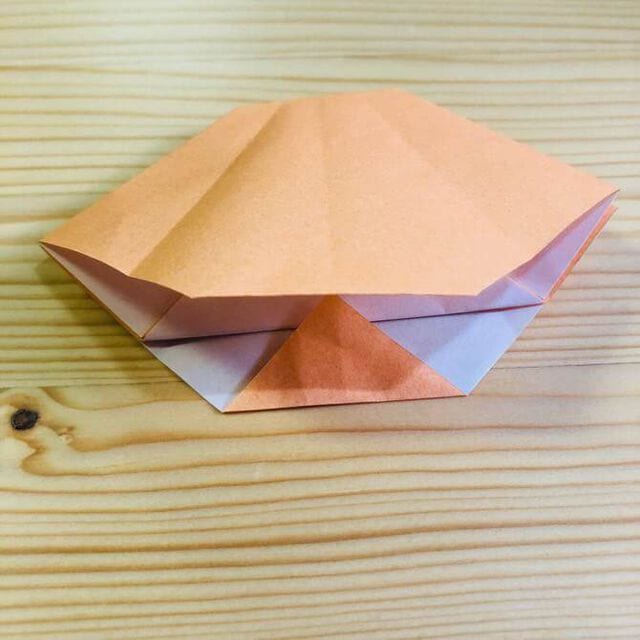
Tuck the bottom corner of the bottom layer the same way.
Finished!
The pearl oyster is complete.




