
2D Four-pointed Origami Star
Most origami stars are little puffy cushions - the lucky-star kind you fold by the hundred and tip out of a jar. This one is the opposite: flat, sharp and geometric, a four-pointed star that lies flush against whatever you stick it to, which is exactly what you want for a card or the top of a gift box.
It is also a nice lesson in how much you can get out of a plain grid of creases. The first eight steps do nothing but fold halves and quarters in both directions; the magic happens when you use that grid to collapse the sheet into a star. Two things to watch: press every crease firmly, because a sloppy grid will not collapse cleanly, and use paper whose two sides differ slightly in colour or texture - the tutorial leans on that difference to show which way each layer goes.

This page is for those who want instructions for folding a 2D four-pointed origami paper star. This origami star is the flat, two-dimensional version. If you are a novice, this model might be difficult to try. If it is, tackle an easier one first and come back to it once you have more experience.
If you are an experienced folder, then let's get started.
You may use any kind of paper to fold the origami star (*it is easier if the front and the back side of the paper are slightly different, whether in texture or in color).
Make sure the paper you use is a square (all sides are equal and all the angles equal 90 degrees). The paper I am using here is a 10 cm x 10 cm square.
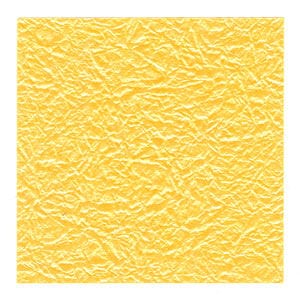
This is the front side of the paper I am using for this instruction.
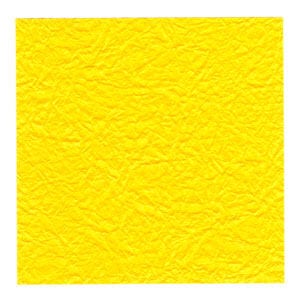
This is the back side of the paper. As you can see, the back side is not shiny compared to the front side.
STEP 1.
Set the paper with the front side facing up. Prepare to valley-fold in half.
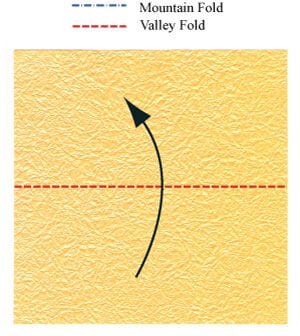
STEP 2.
Valley-fold in half. Prepare for a valley-fold on the 1/4 line from the bottom.
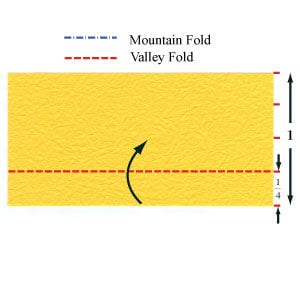
STEP 3.
Valley-fold according to step #2. Prepare to unfold the previous two folds.
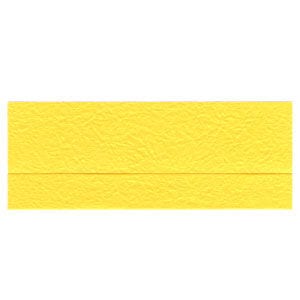
STEP 4.
Open the paper. You should be able to find three horizontal crease lines. Prepare to rotate the paper by 90 degrees.
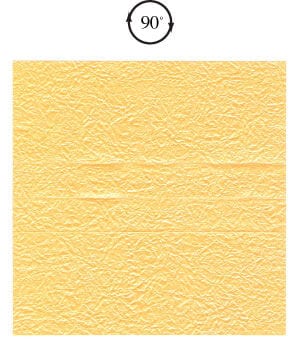
STEP 5.
Rotate the paper by 90 degrees. Prepare for a valley-fold in half.
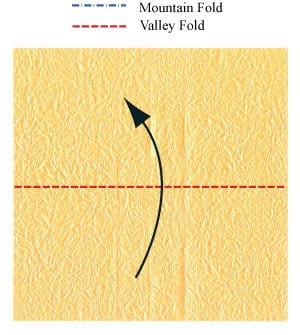
STEP 6.
Valley-fold in half. Prepare to valley-fold along the 1/4 line from the bottom.
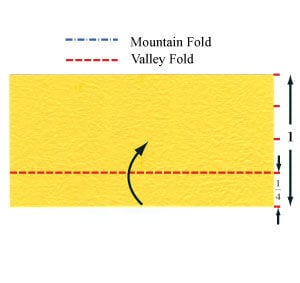
STEP 7.
Valley-fold according to step #6. Unfold the previous two folds.
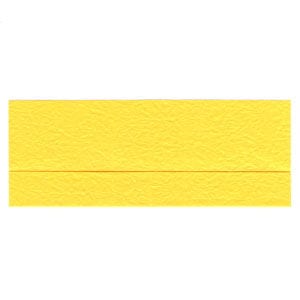
STEP 8.
Open the paper. Make sure the front side is facing up. You should now find three horizontal crease lines as well as three vertical ones. Prepare to turn the paper over.
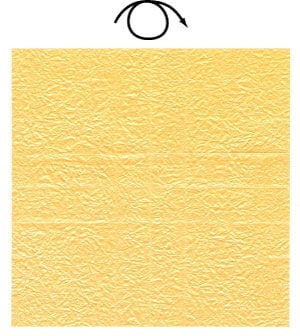
STEP 9.
Turn the paper over. Using the six crease lines, make sure the existing lines follow the folding map shown on the left. You need to convert valley-folded (mountain-folded) lines into mountain-folded (valley-folded) lines, and add two diagonal valley folds.
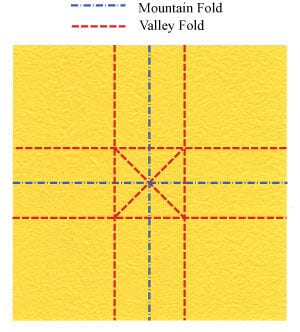
STEP 10.
Press the paper down while rotating the center by 90 degrees counter-clockwise. Make sure the center pops out.
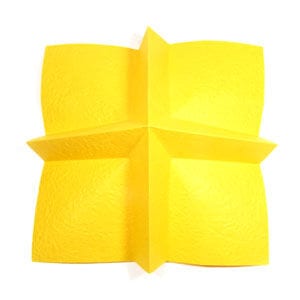
STEP 11.
Apply the two valley folds of step #10. Prepare to turn the model over.

STEP 12.
(a) Carefully and slightly pull two opposite sides in opposite directions. (b) Rotate the paper by 90 degrees counter-clockwise.
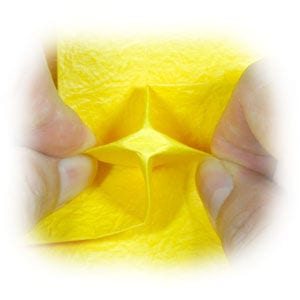
STEP 13.
Repeat (a) and (b) of step #12 as many times as needed, so that the flattening is symmetrical in both the horizontal and vertical directions.
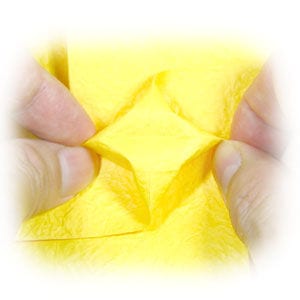
STEP 14.
Gently press the center so that it is completely flat.
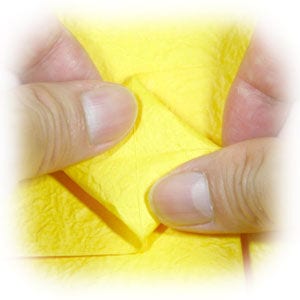
STEP 15.
Prepare to apply two valley folds. Make sure the star point sits on the center vertical line.
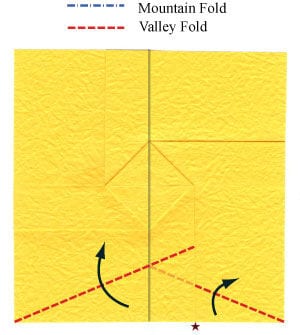
STEP 16.
Apply the two valley folds of step #15. The star point sits on the center vertical line. Prepare to rotate the model by 90 degrees.
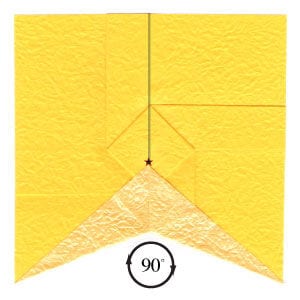
STEP 17.
Rotate the model by 90 degrees. Prepare to apply two valley folds. Make sure the star point sits on the center vertical line.
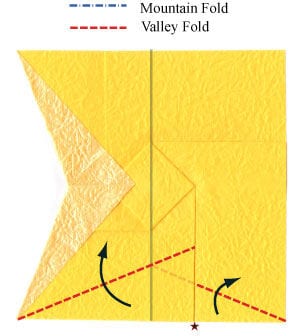
STEP 18.
Apply the two valley folds of step #17. The star point sits on the center vertical line. Prepare to rotate the model by 90 degrees.
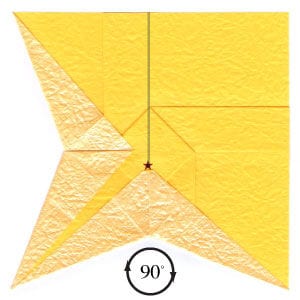
STEP 19.
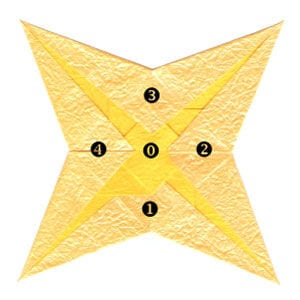
Repeat steps #17-18 twice more. Prepare to put layer 1 under layer 0.
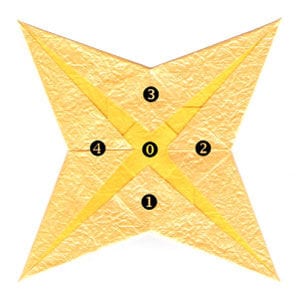
STEP 20.
Put layer 1 under layer 0. Prepare to repeat this for layers 2, 3 and 4.
STEP 21.
Repeat step #20 for the other three layers.

STEP 22.
Turn the model over. The 2D four-pointed origami star is now complete, but you can also make a few changes to it.

STEP 23.
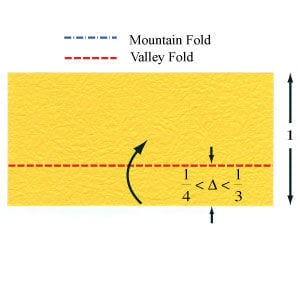
Now go back to step #2. Instead of using the 1/4 line from the bottom, try experimenting with a delta somewhere between 1/4 and 1/3.
STEP 24.
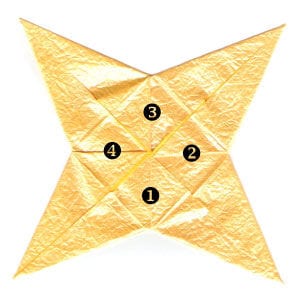
After using a delta between 1/4 and 1/3, work through to step #19. If you find a value where the layer covers layer 0 completely, you will get the picture shown on the left.
STEP 25.
Put all four layers under layer 0.

STEP 26.
Turn the model over.

STEP 27.
Congratulations! You have just completed making a 2D four-pointed origami star.





