
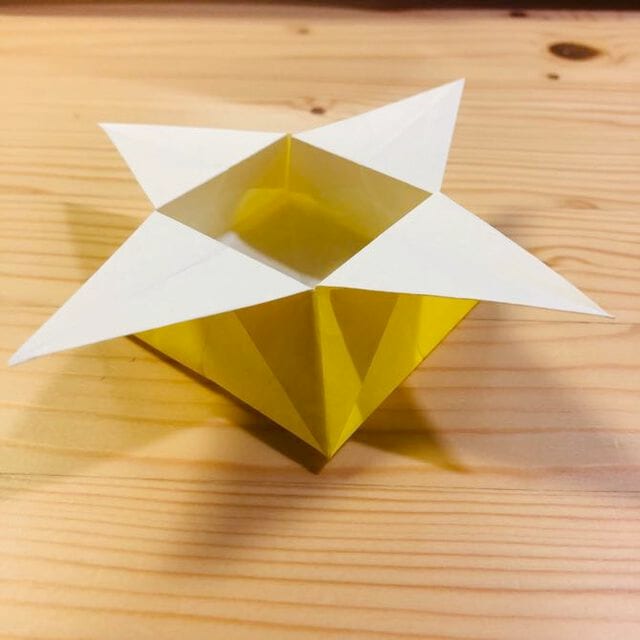
Tsukou Box
If you have ever needed a small tray for paper clips, coins or a handful of sweets, this is the model to learn. The Tsukou box is one of those quietly clever traditional designs: a single square of paper, nothing cut, nothing glued, and yet it ends up with real walls and a base that actually carries weight.
What I like about it is the rhythm. Almost every step has an echo: you fold one side, then you fold the same thing on the back. That repetition makes the tutorial easy to follow even though it runs to twenty steps, and it is also the reason the finished box feels so solid. The final move, where the flat folded shape opens out into a box, is the moment worth waiting for. Use a crisp sheet of paper if you can, because soft creases will show up in the walls.
STEP 1
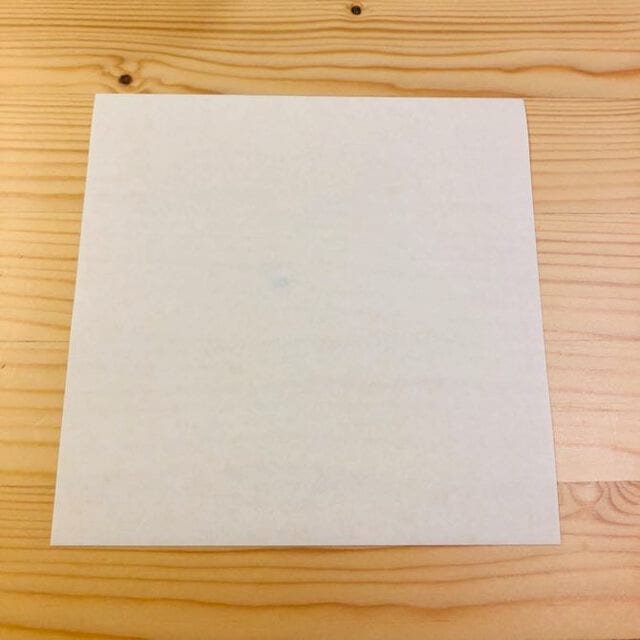
Fold it in half and make a crease.
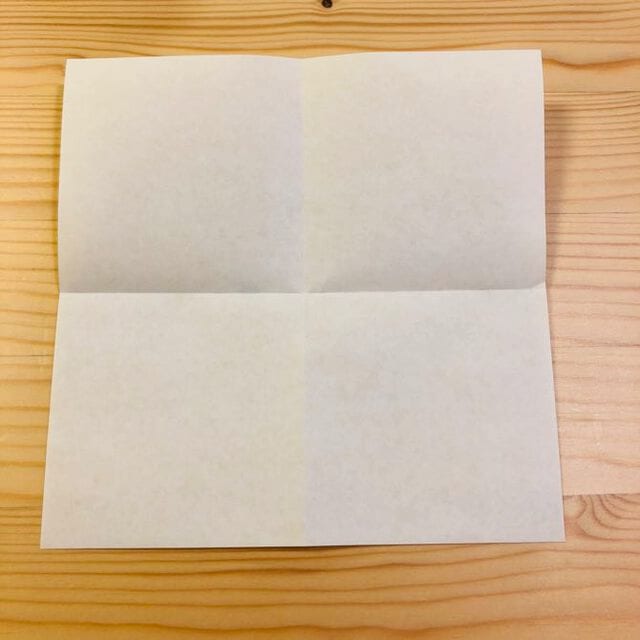
STEP 2
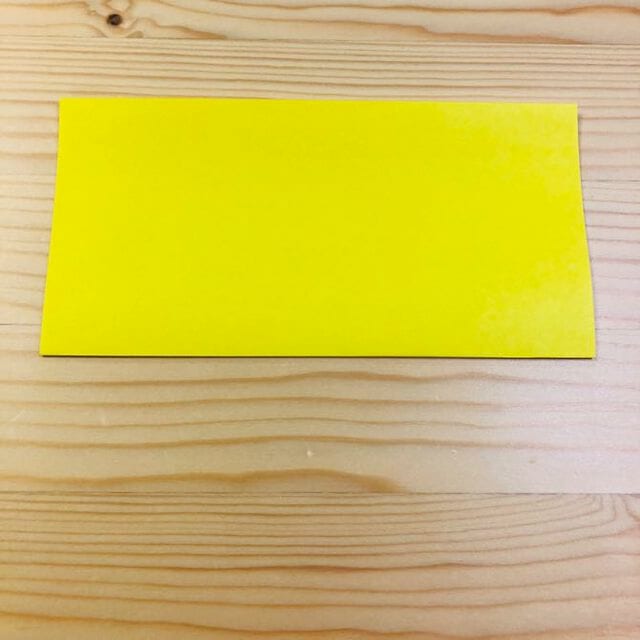
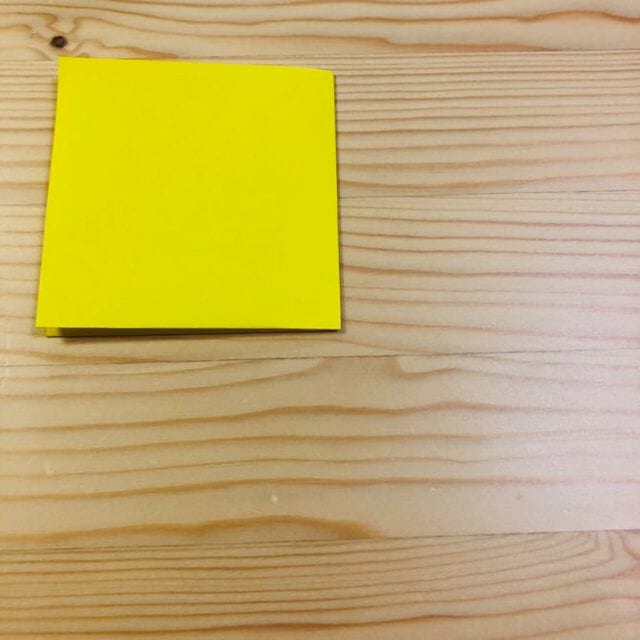
Fold it in half and make a crease.
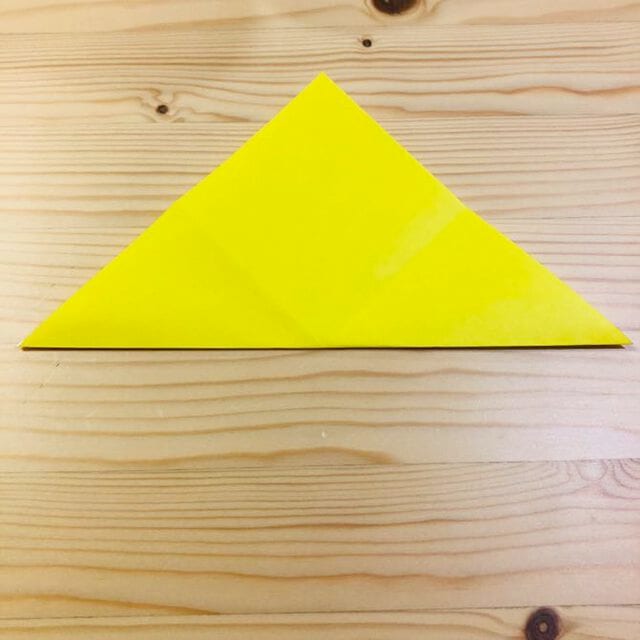
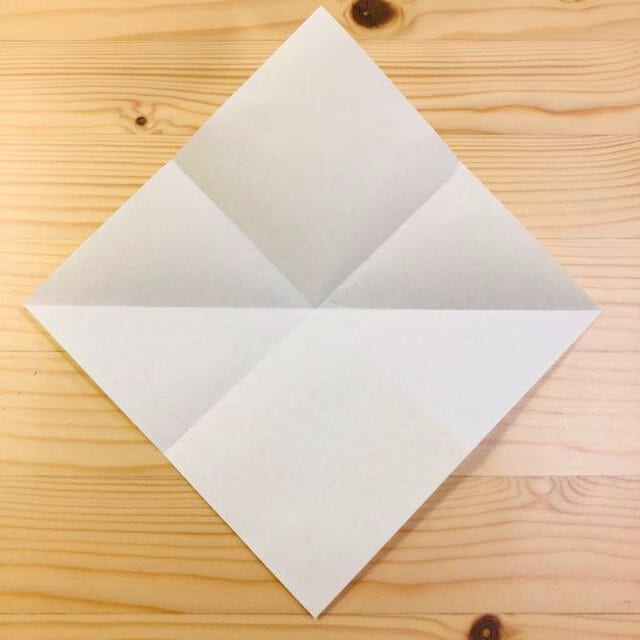
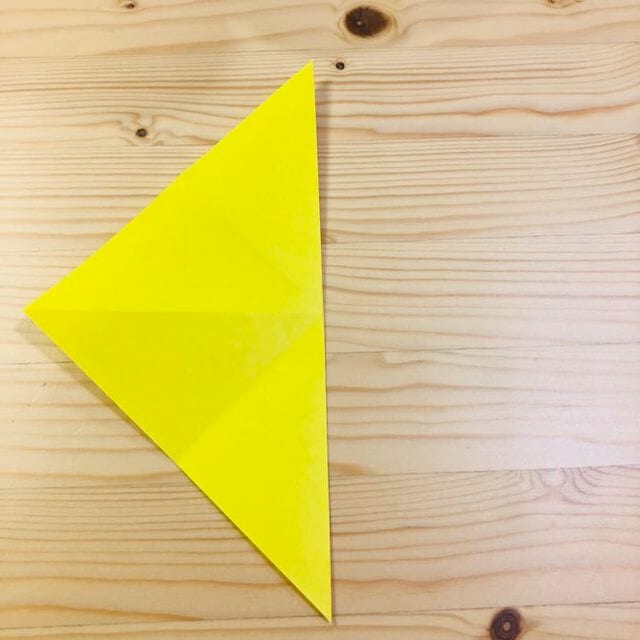
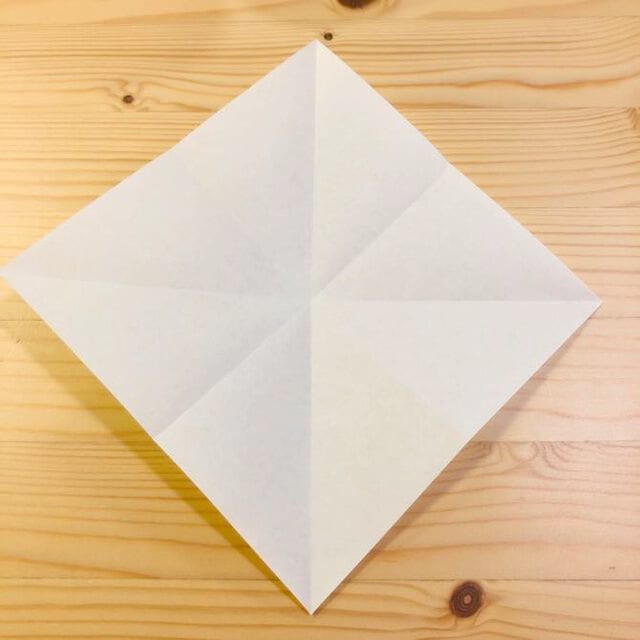
STEP 3
Fold it inward at the position shown in the photo.
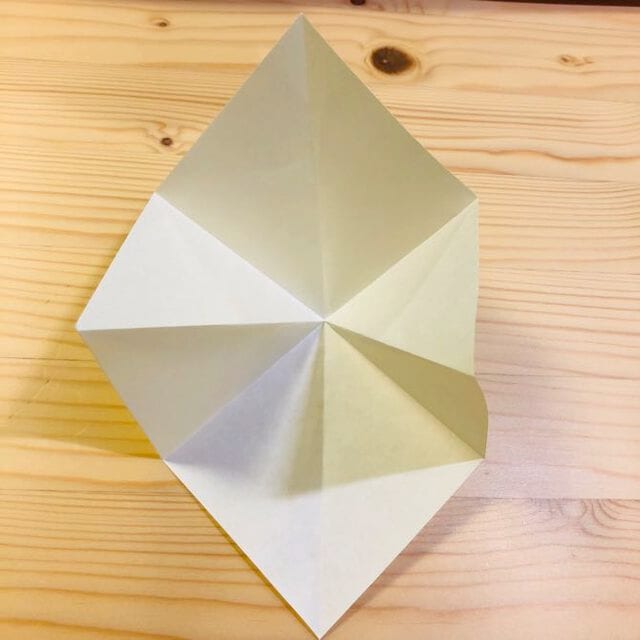
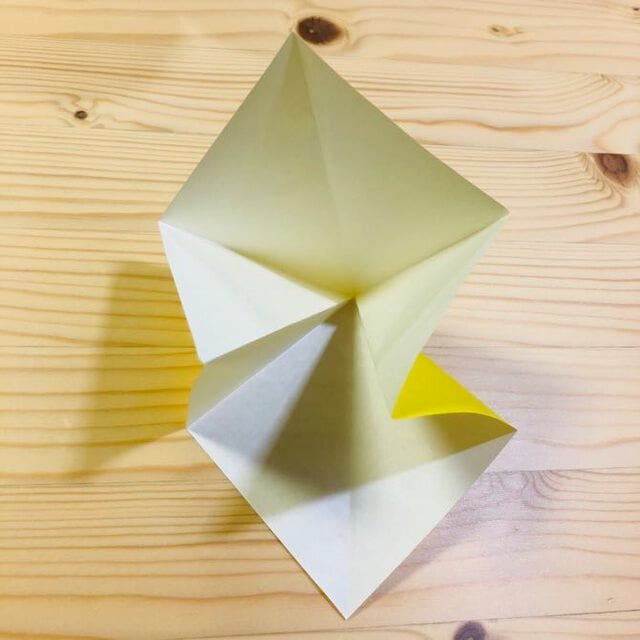
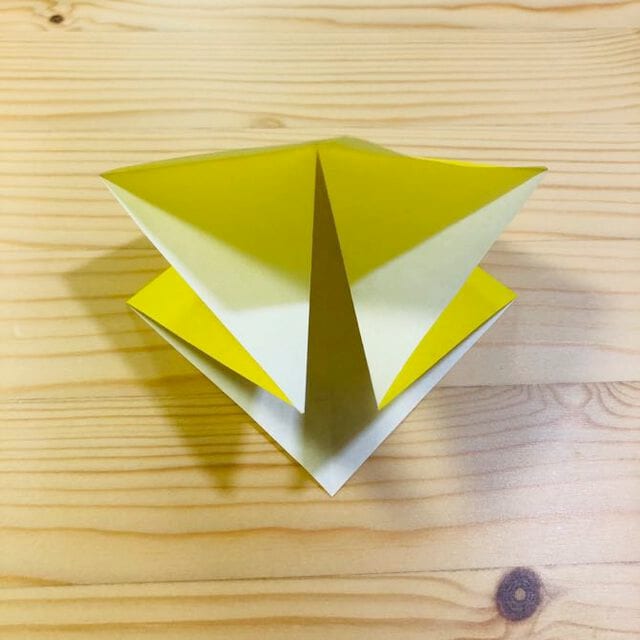
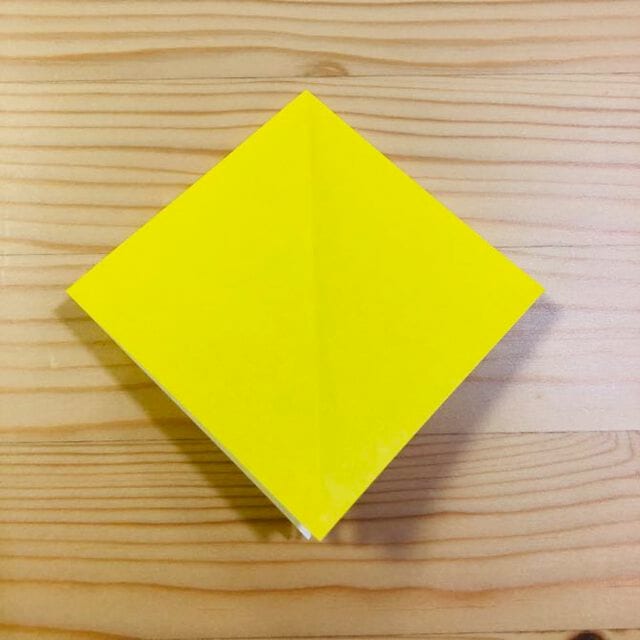
STEP 4
Fold it at the position shown in the photo.
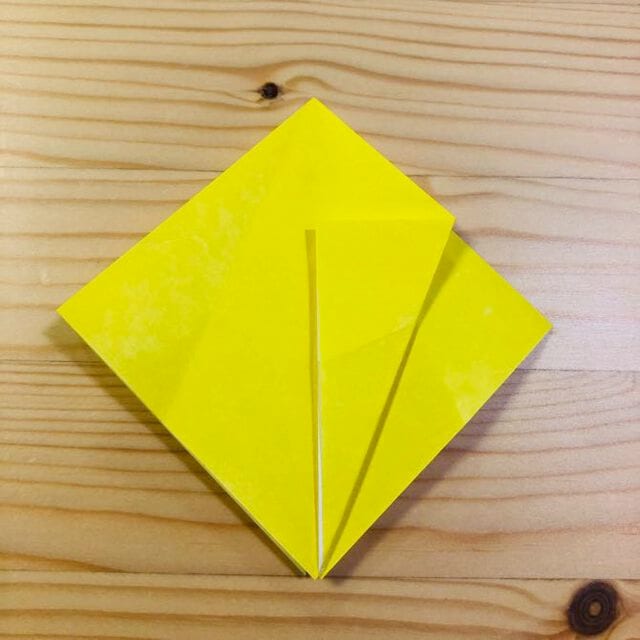
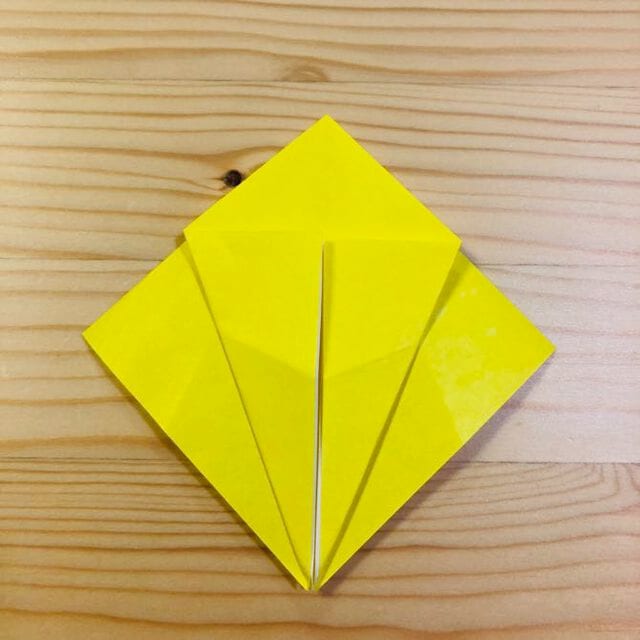
STEP 5
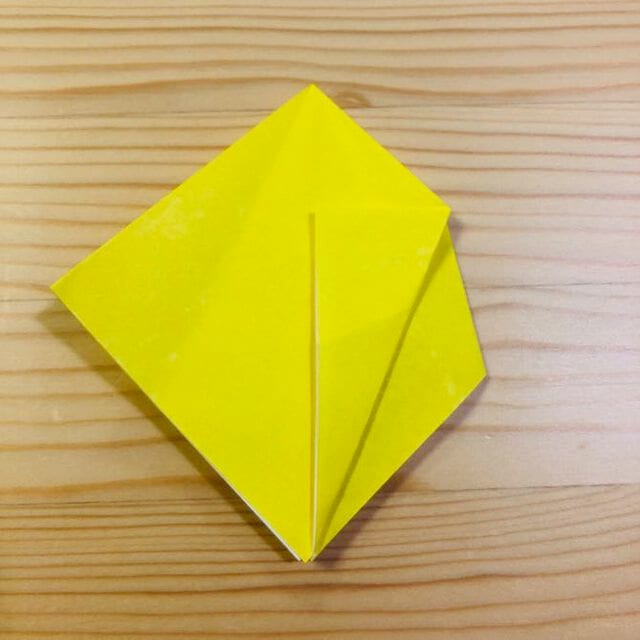
Open and fold as shown in the picture.
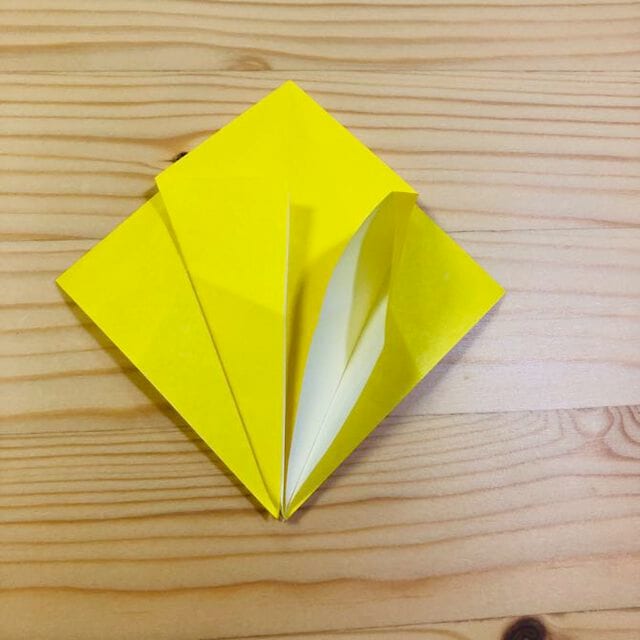
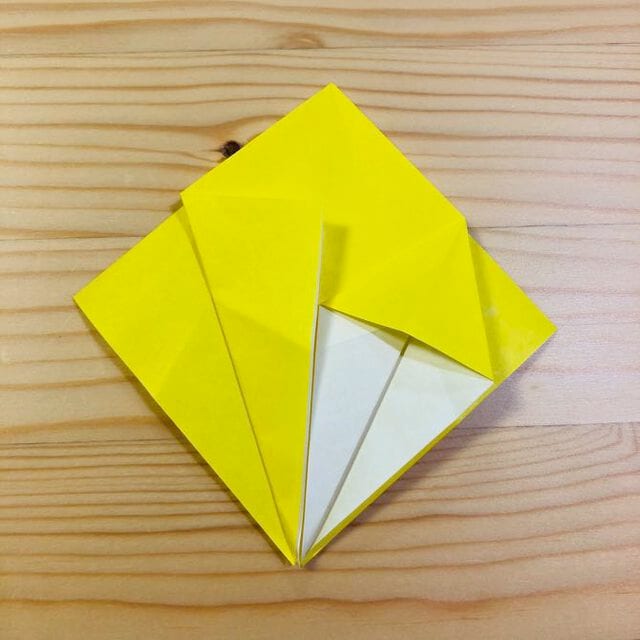
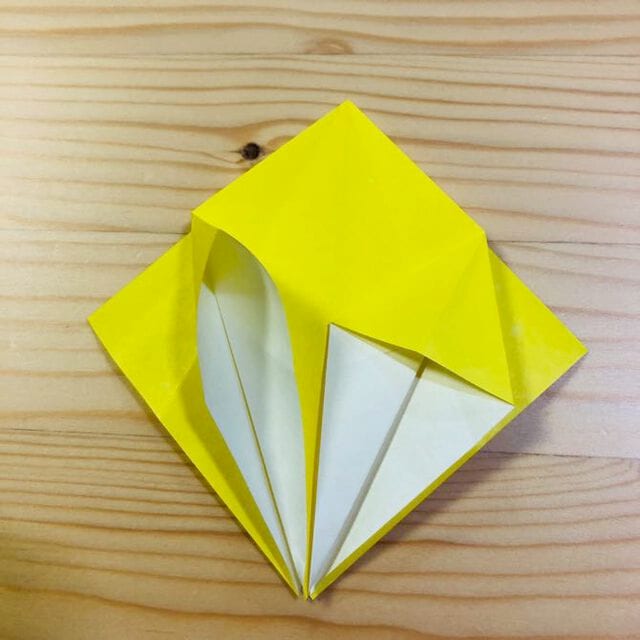
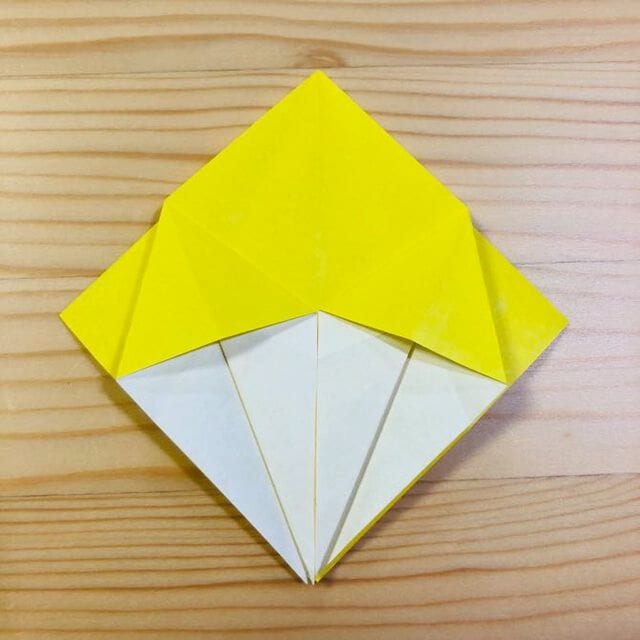
STEP 6
Turn it over.
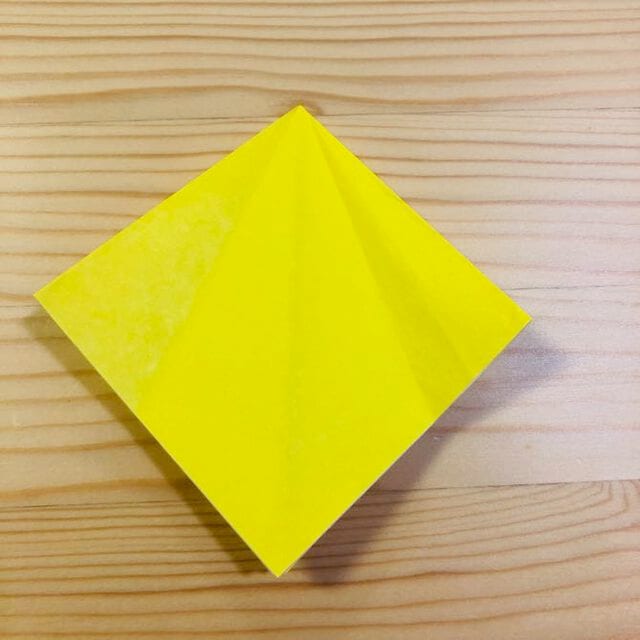
STEP 7
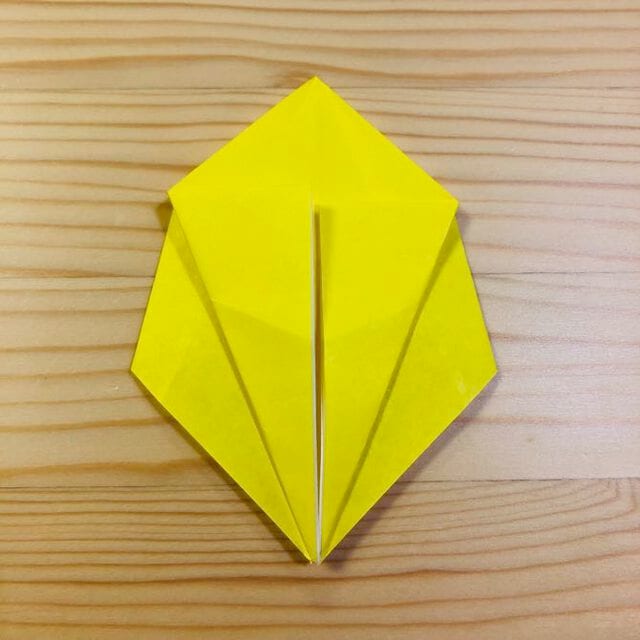
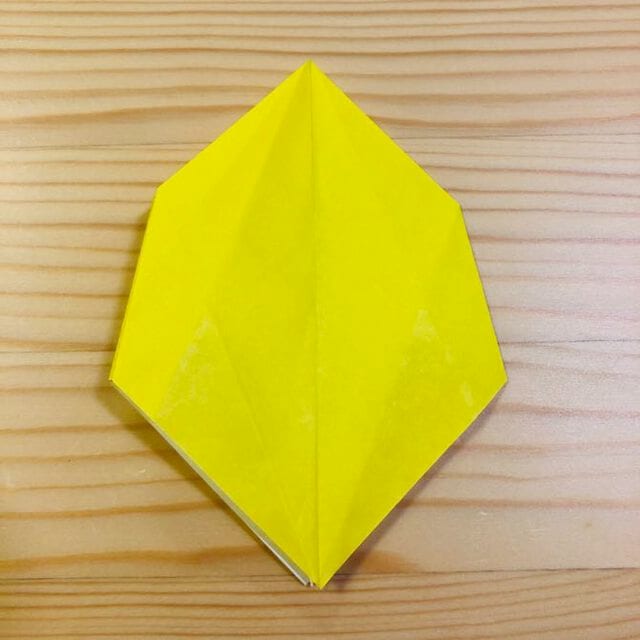
Fold the back side in the same way.
STEP 8
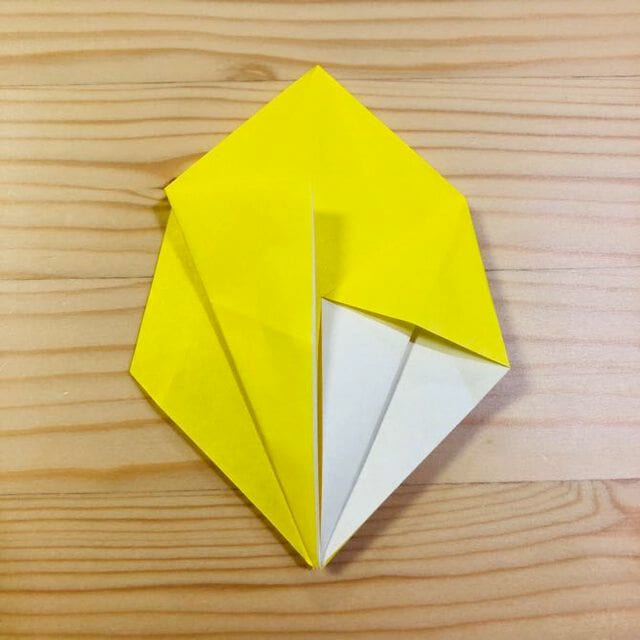
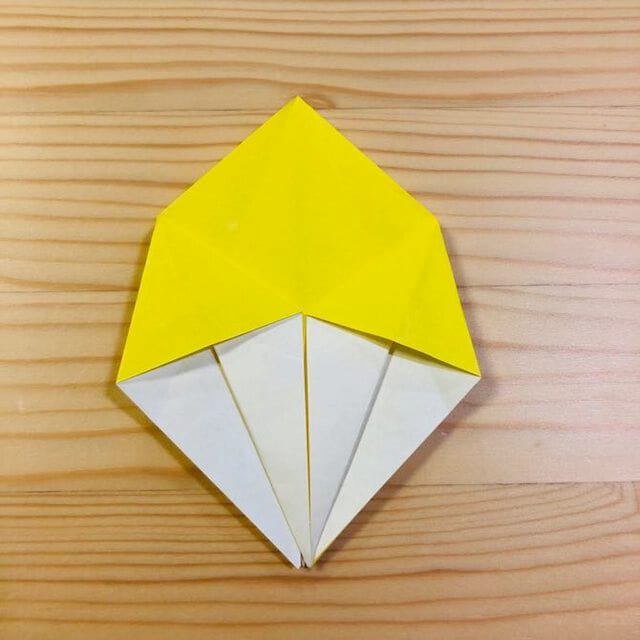
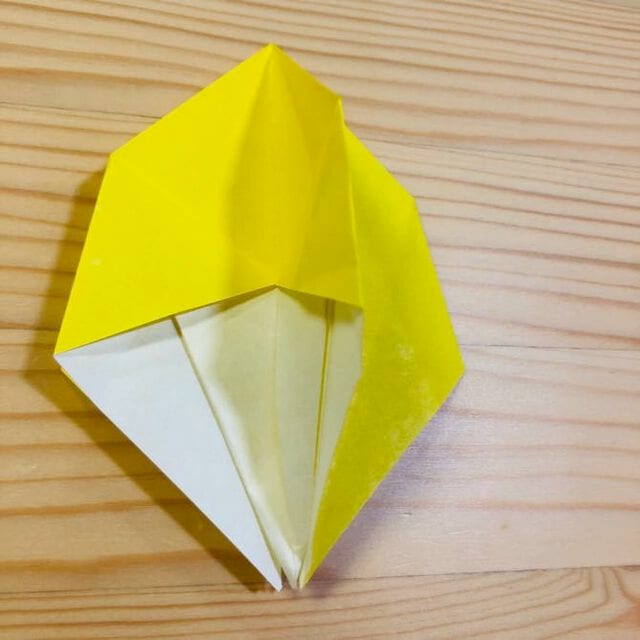
Fold one layer over to the side.
STEP 9
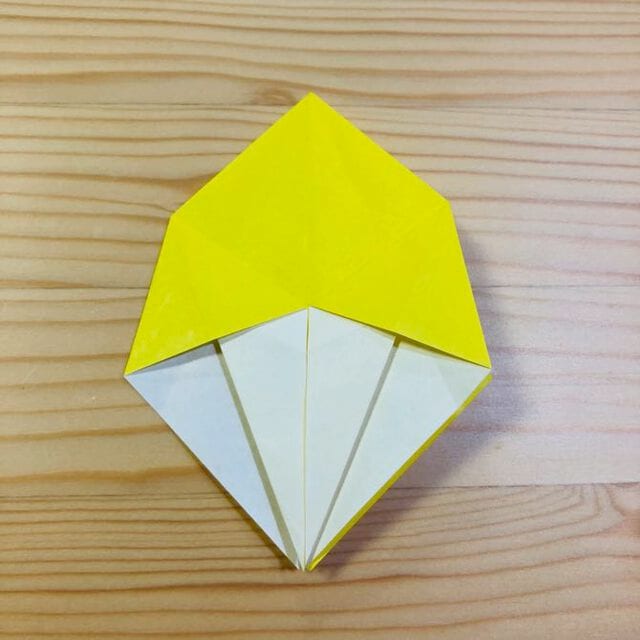
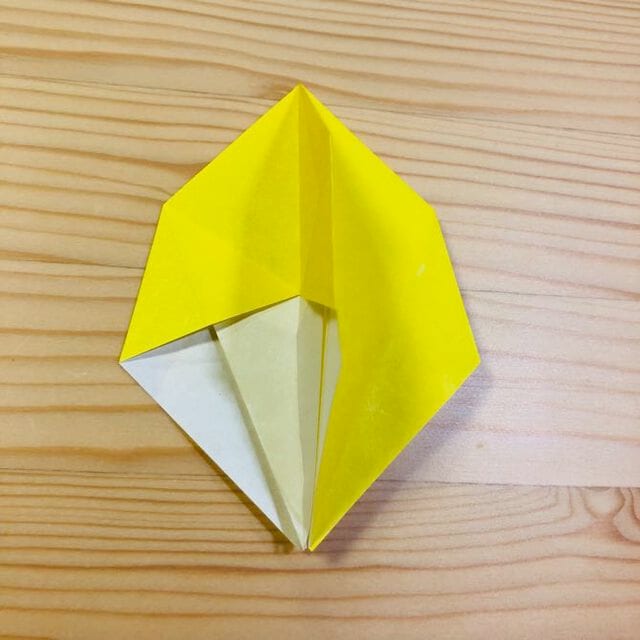
Do the same on the back side.
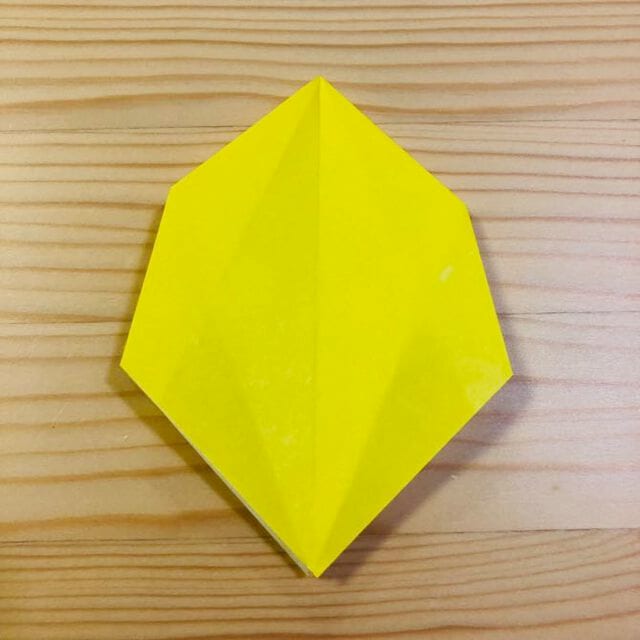
STEP 10
Turn the model upside down.
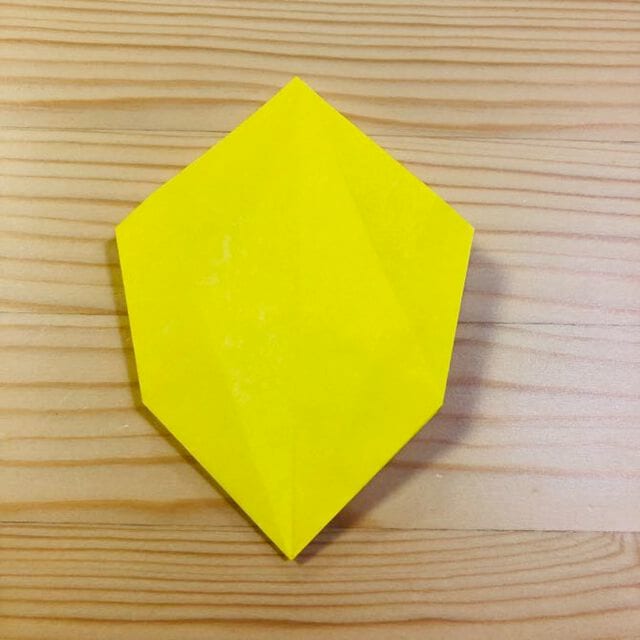
STEP 11
Fold it at the position shown in the photo.
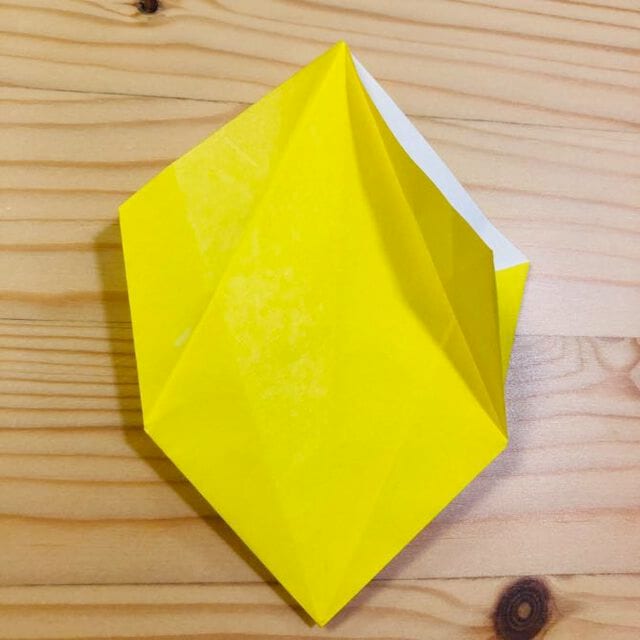
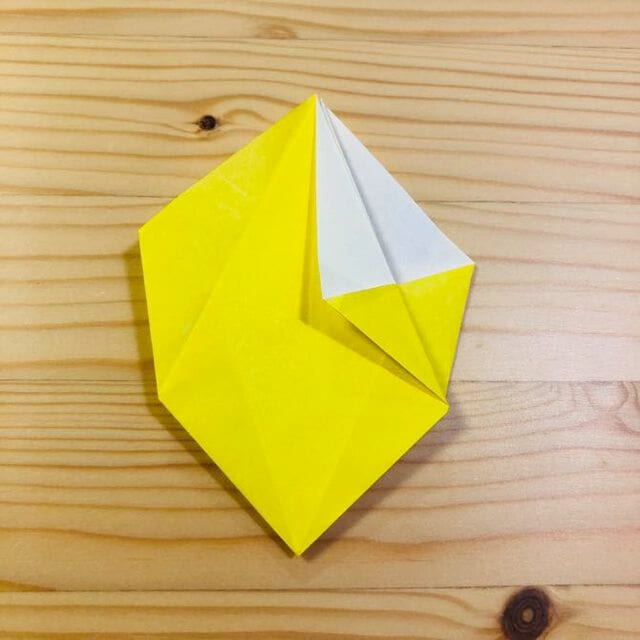
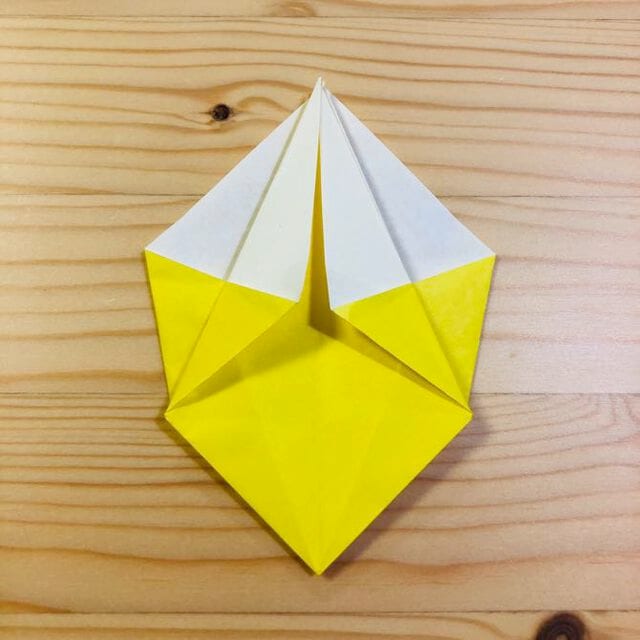
STEP 12
Fold the back side in the same way.
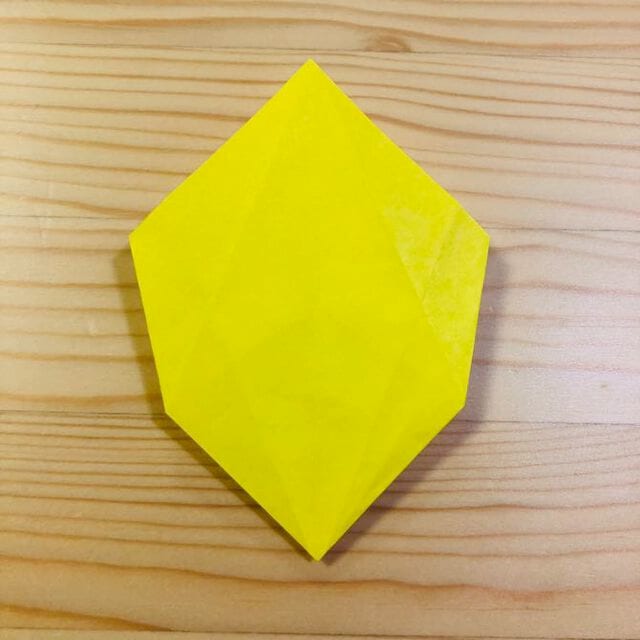
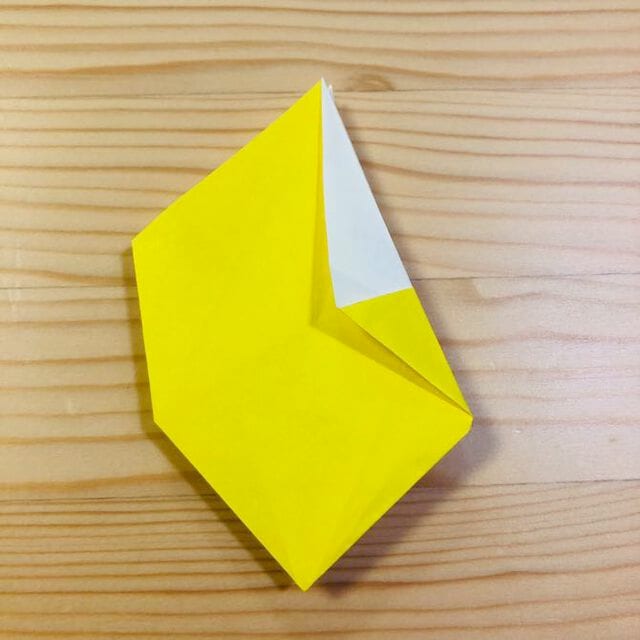
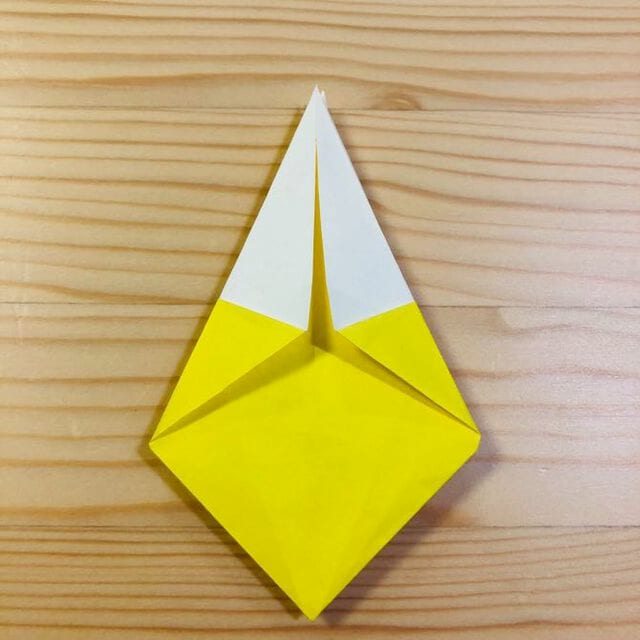
STEP 13
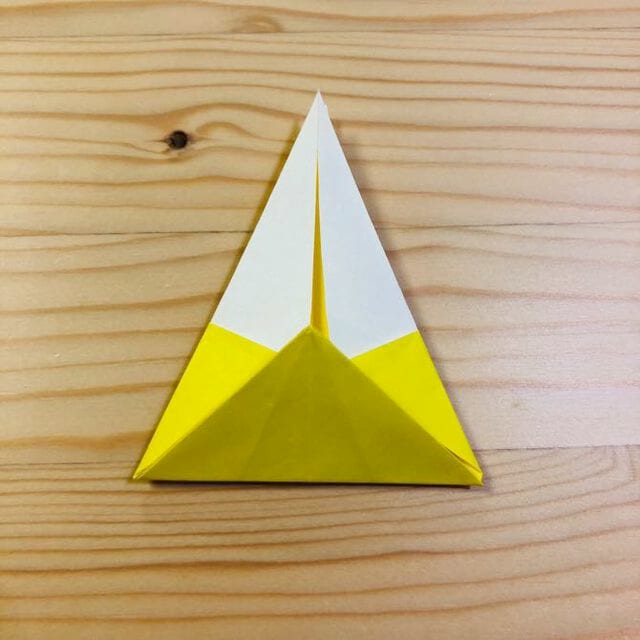
Make a crease at the position shown in the photo.
STEP 14
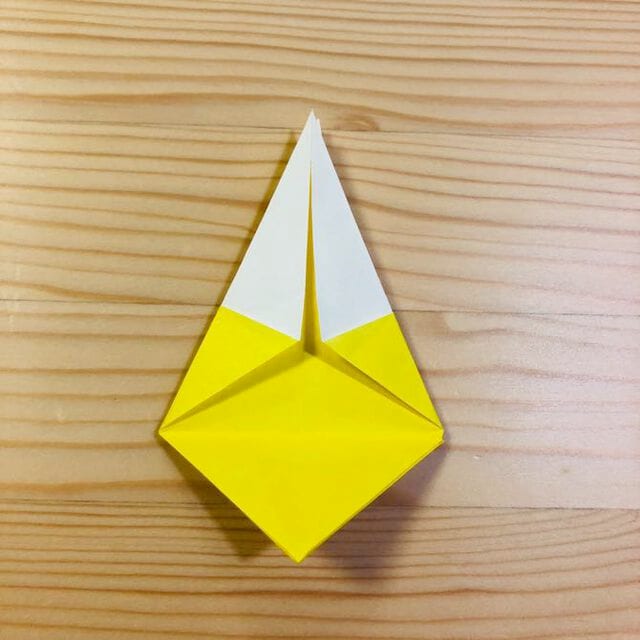
Fold it down at the position shown in the photo.
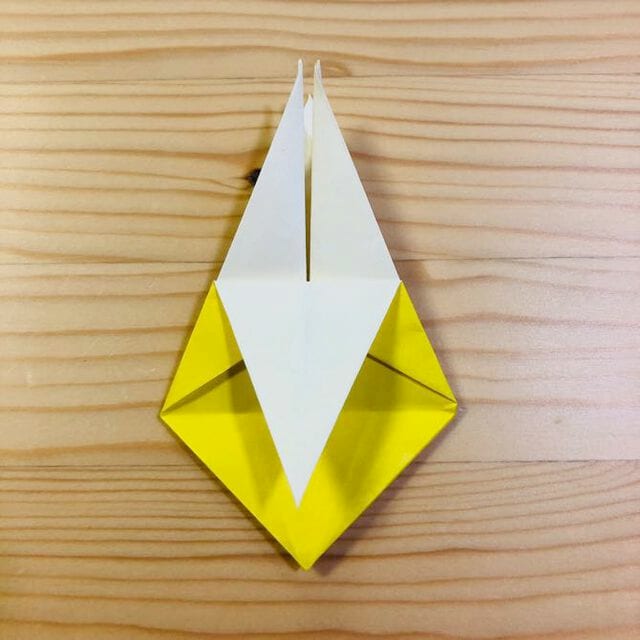
STEP 15
Fold the back side in the same way.
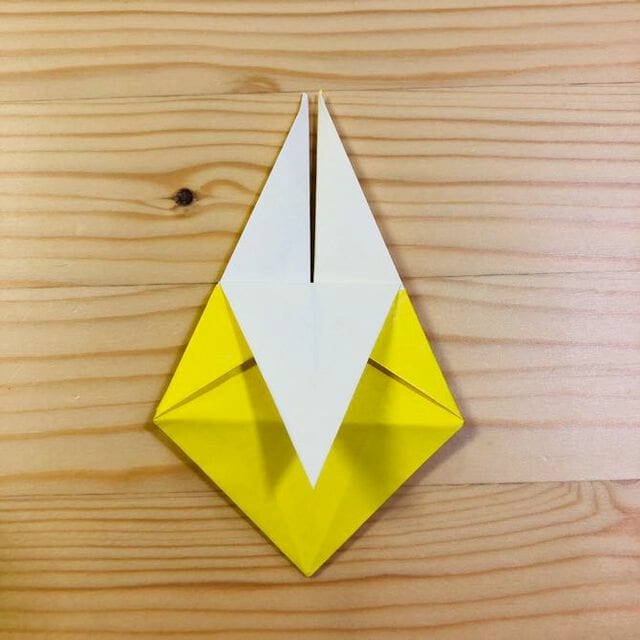
STEP 16
Fold one layer over to the side.
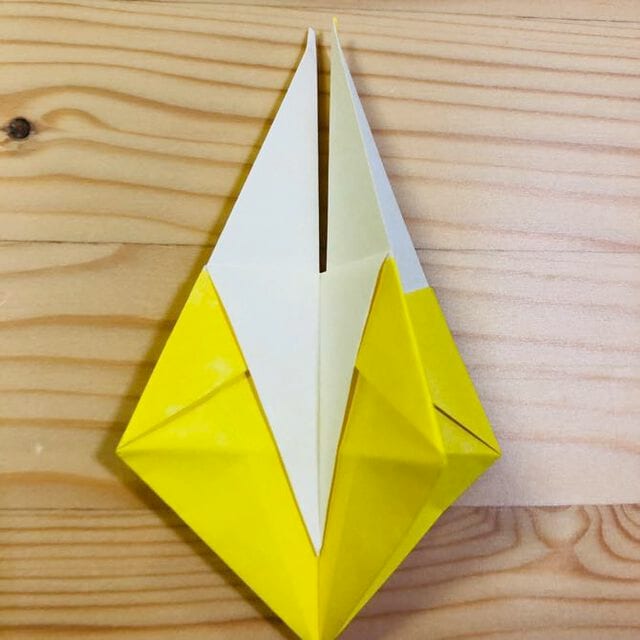
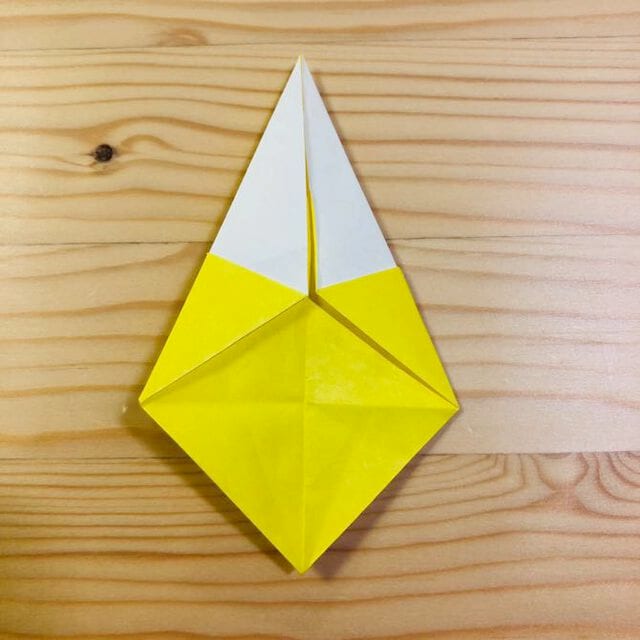
STEP 17
Do the same on the back side.
STEP 18
Fold it down at the position shown in the photo.
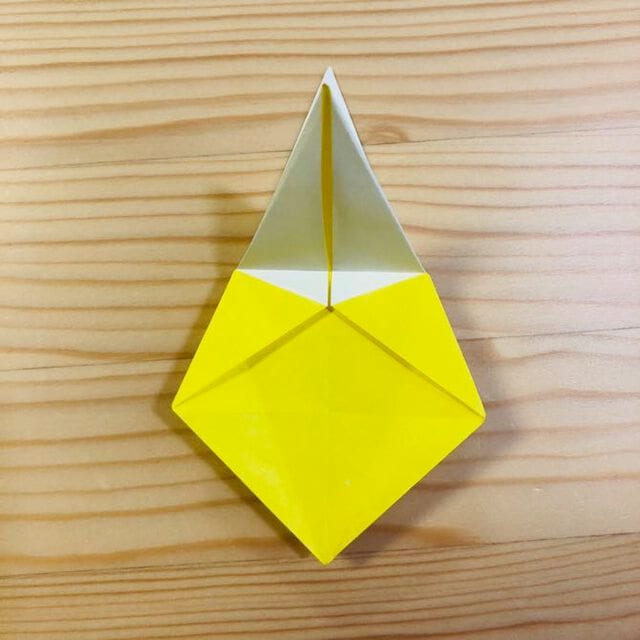
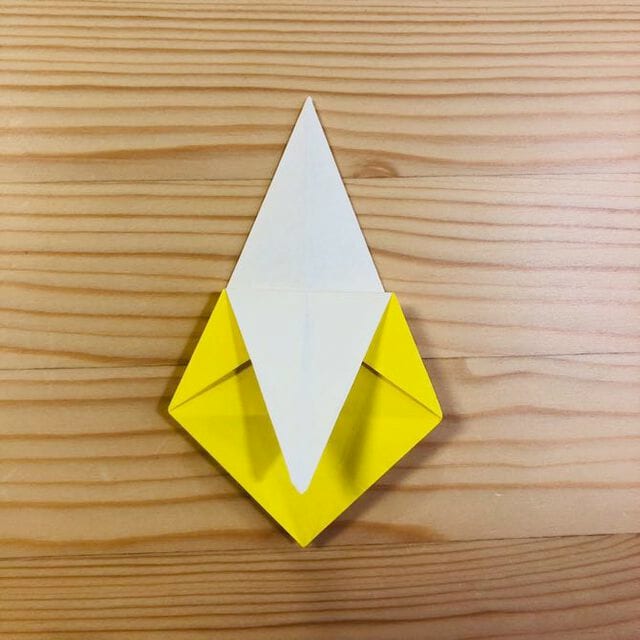
STEP 19
Fold the back side in the same way.
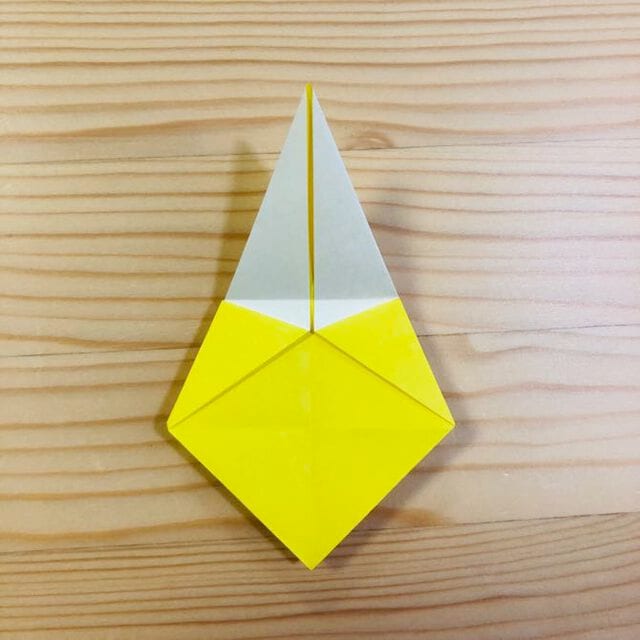
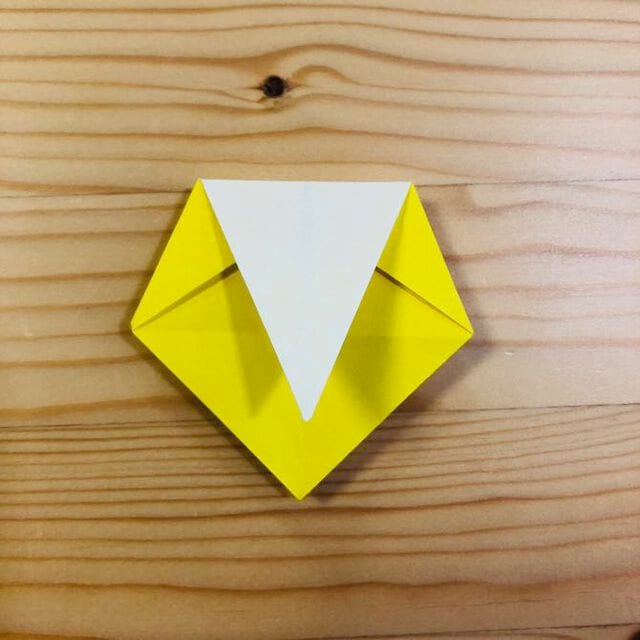
STEP 20
Open the box out as shown in the picture.
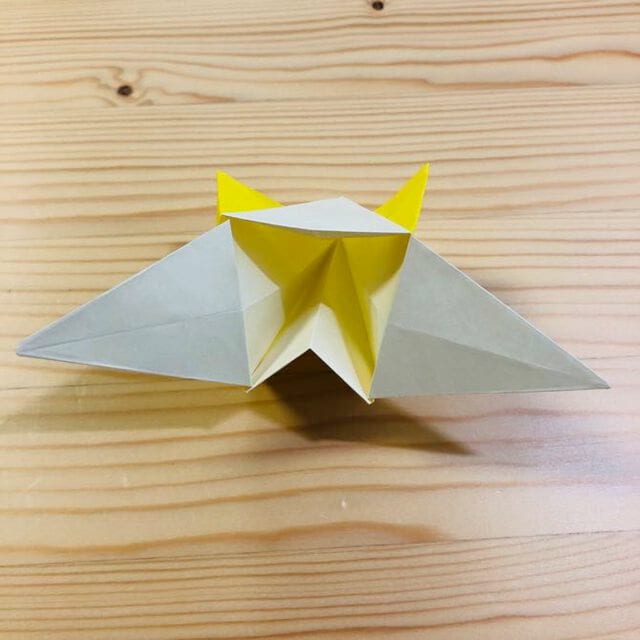
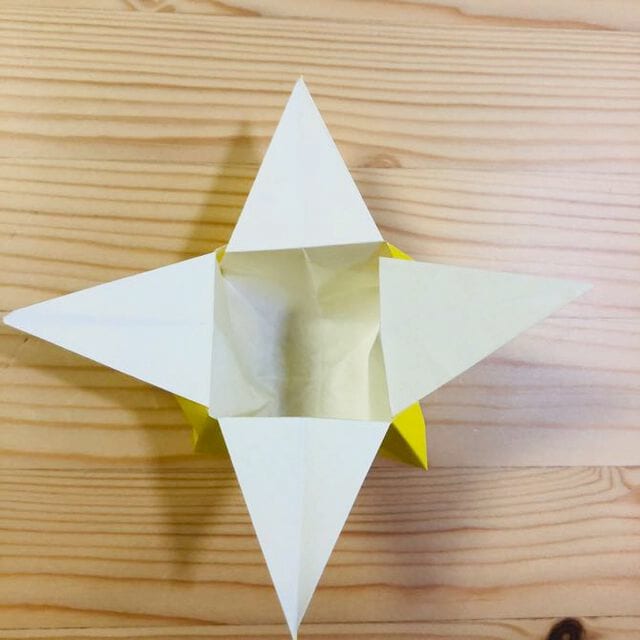
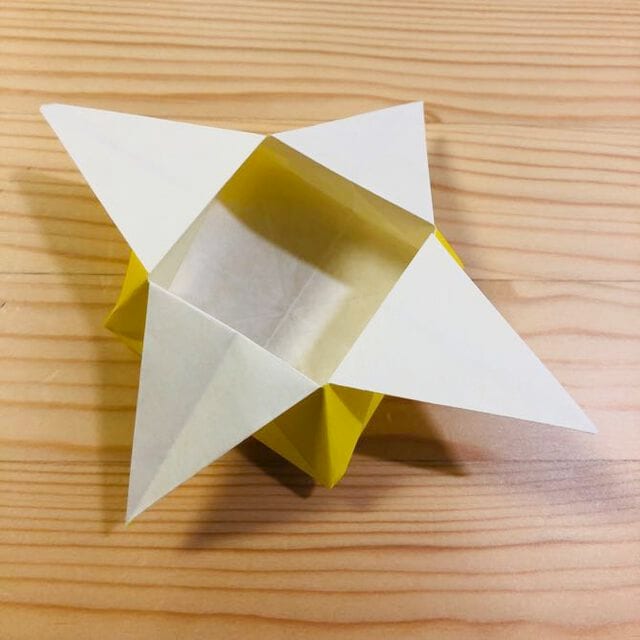
FINISHED!
Adjust the shape and the Tsukou box is complete.




