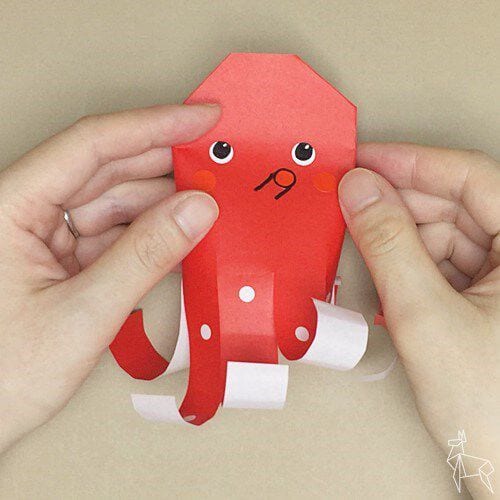
Origami Octopus
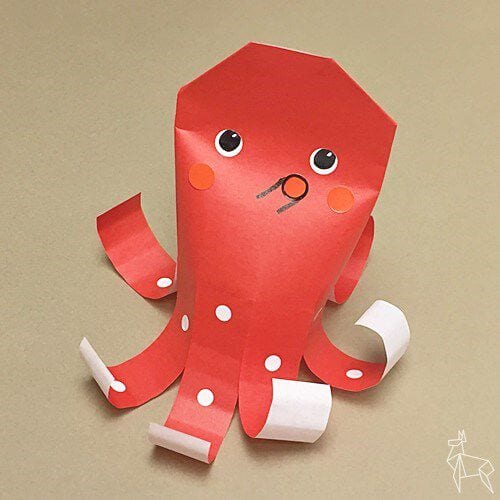
There is something irresistible about an octopus made of paper. Maybe it is the way the legs curl, or maybe it is that a flat square suddenly looks like it is swimming. This one is a lovely project to do with children, because most of the work is simple folding and the fun parts come at the end: drawing a face and rolling the tentacles into springs.
Note that this model is not pure origami in the strict sense. You will need scissors for one step and a dab of glue to close the body, and that is exactly what makes the shape possible. Half a sheet of standard origami paper is enough, so it is also a good way to use up offcuts. Take your time with the first creases, since those lines decide how even the legs will look.
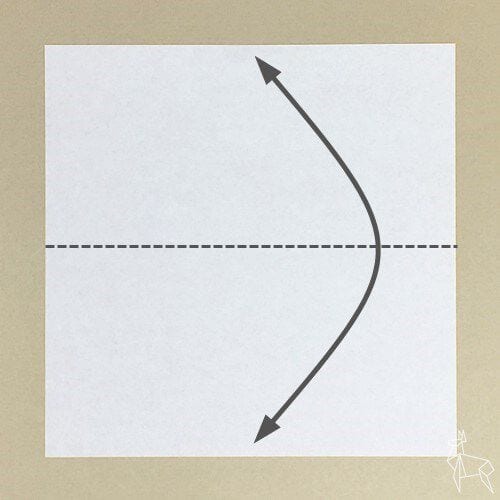
STEP.1
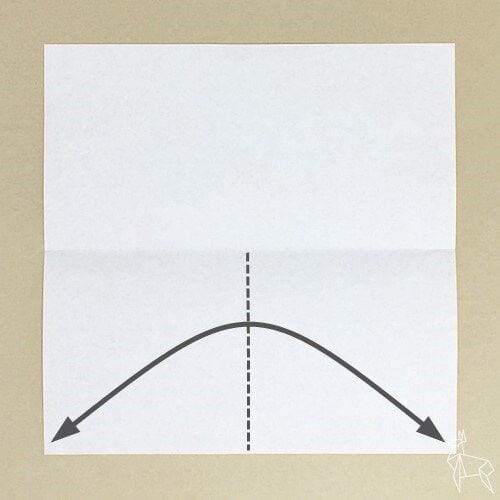
Fold the origami paper in half along the dotted line and make a crease.
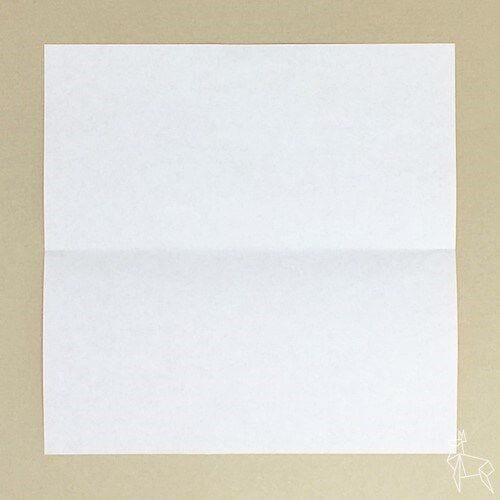
STEP.2
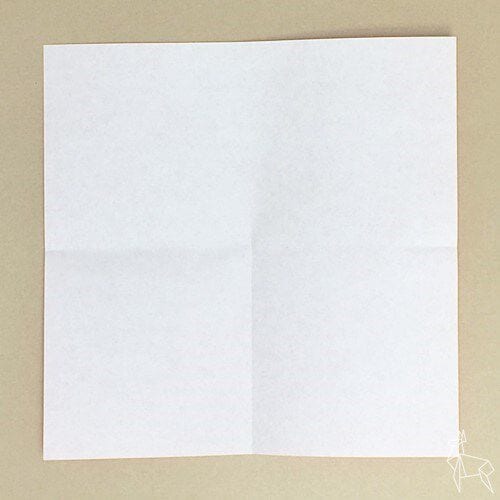
Fold only the lower half, aligning the left and right edges, and make a crease.
STEP.3
Make a crease along the dotted line so that the left and right edges match the crease.
STEP.4
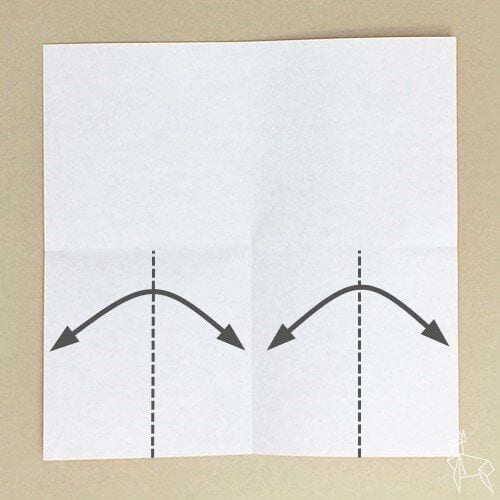
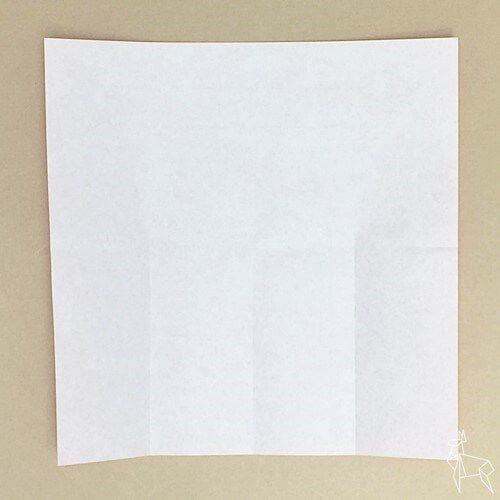
Make a crease along the dotted line so that the left and right edges match the crease you just made.
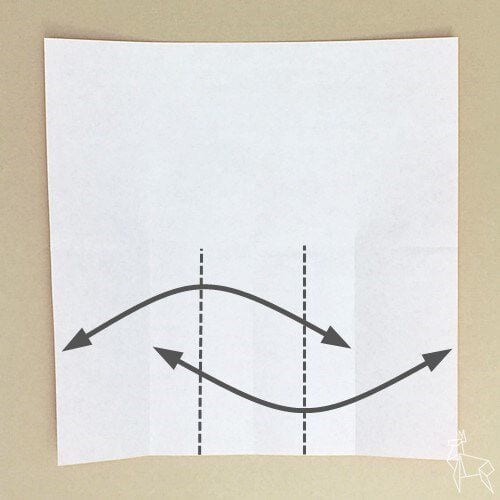
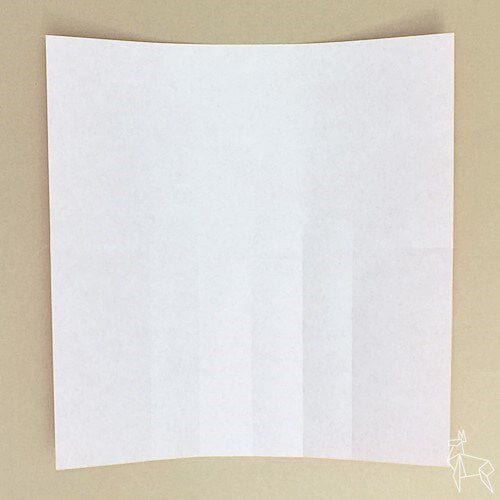
STEP.5
Make a crease along the dotted line so that the left and right edges match the crease.
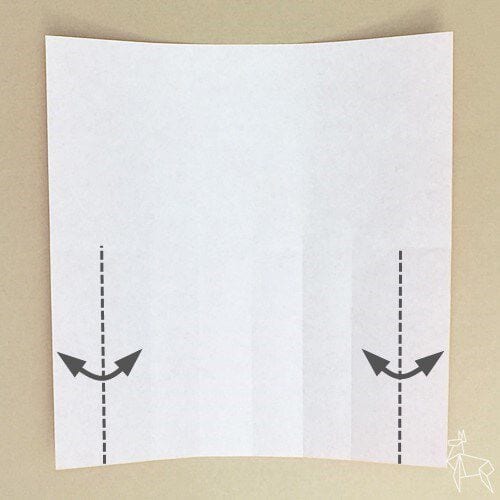
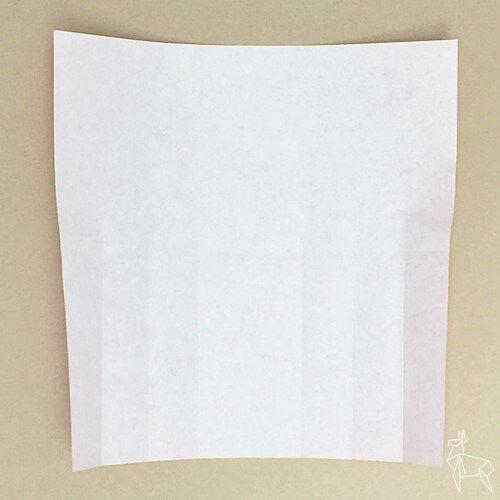
STEP.6
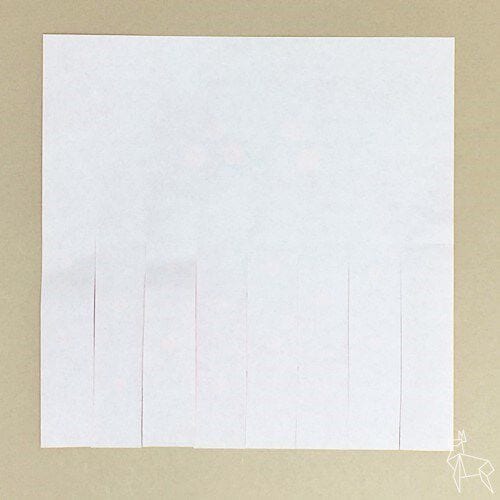
Cut inwards along the crease with a pair of scissors.
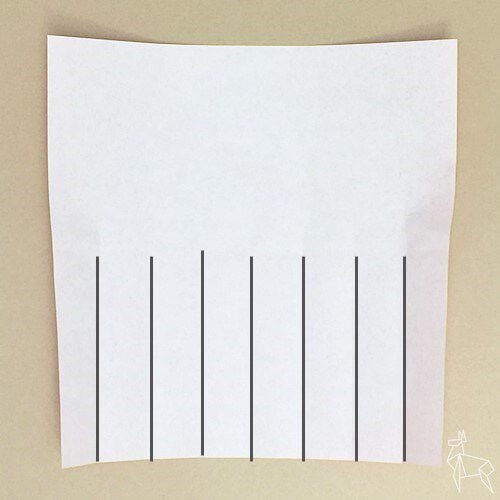
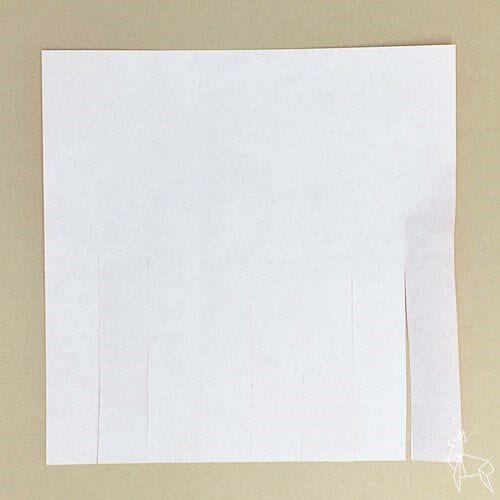
STEP.7
Turn it over.
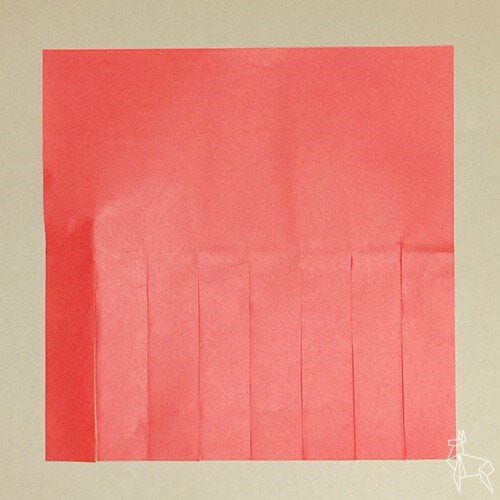
STEP.8
Draw a face freely on the upper half. You can draw a suction cup pattern if you like.
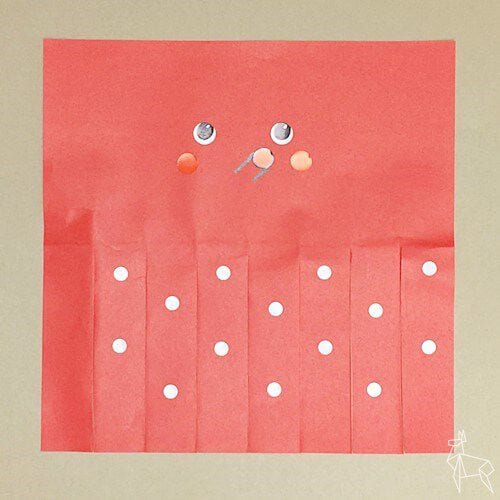
STEP.9
Turn it over again.
STEP.10
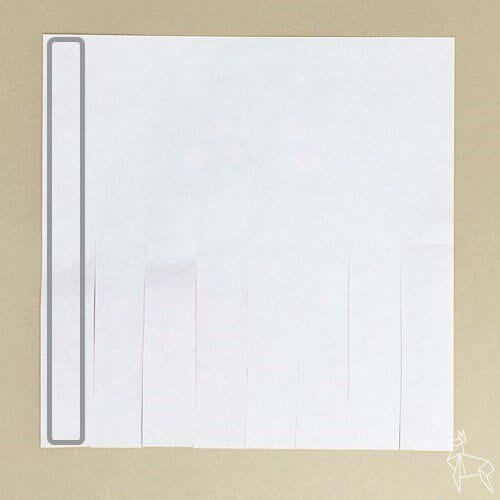
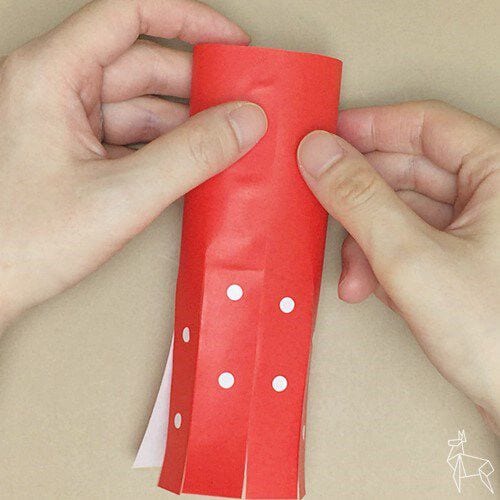
Apply glue to the area enclosed by the line, roll the paper into a ring, and stick the left and right edges together.
STEP.11
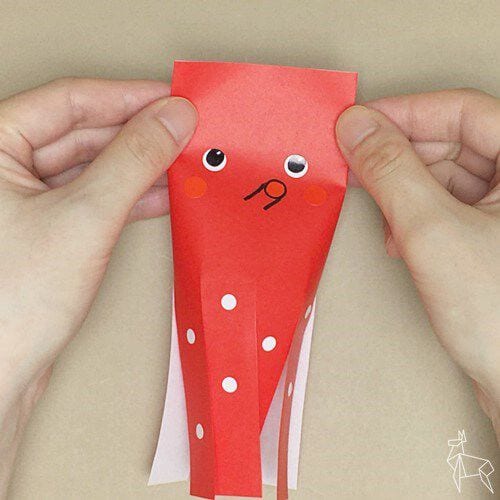
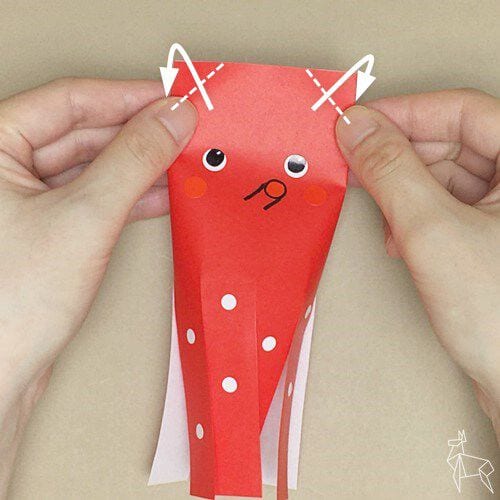
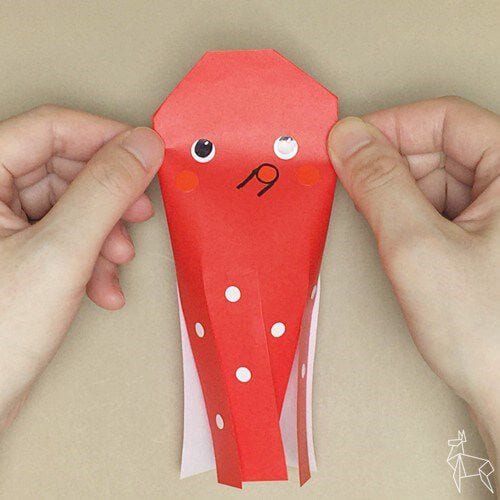
Fold lightly along the left and right sides of the drawn face, then fold the paper back along the dotted line.
STEP.12
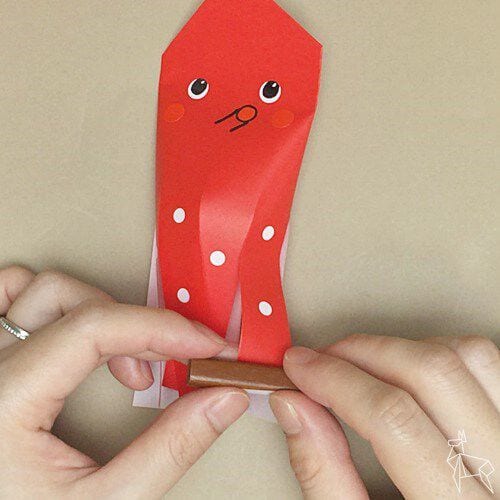
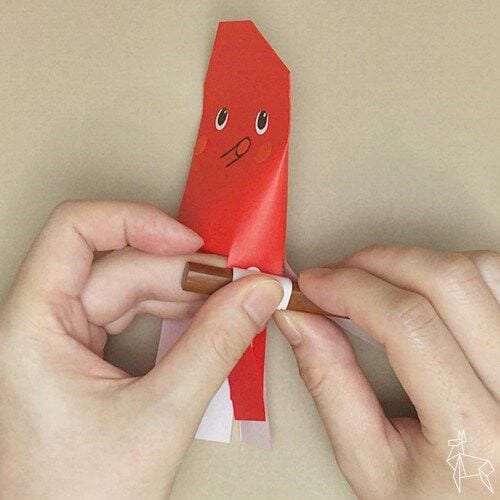
Wrap each leg around a thin object, such as a chopstick or a pencil, to curl it.
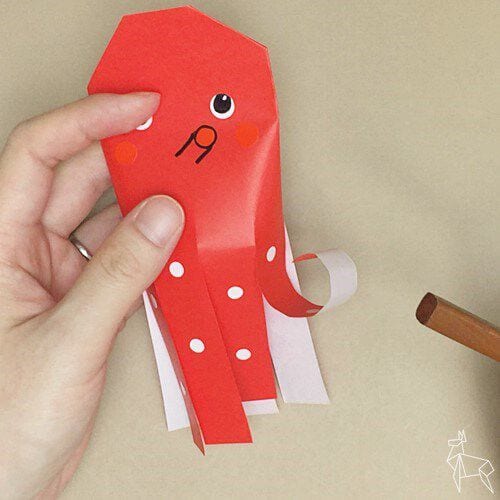
STEP.13
Once all the legs are curled, the octopus is finished.