
How to Fold an Easy Origami Horse Face
Some origami models need twenty steps and a diagram sheet before they start looking like anything. This is not one of them. The horse face is a ten-step model that goes from flat square to recognisable animal before you have properly settled into folding — and the last step is the best bit, because it is the one where you get to draw the eyes on and decide what sort of personality your horse has.
It is also a model that forgives you. Every fold here is a simple valley fold along a dotted line, so if a crease lands slightly off, the head still reads as a horse — just a slightly more characterful one. That makes it a lovely first project for kids, and a reliable five-minute win for anyone who wants something to show for a coffee break. Keep a few sheets of brown, white and spotted paper handy; folding a whole stable takes about as long as making one, and it is much more fun.
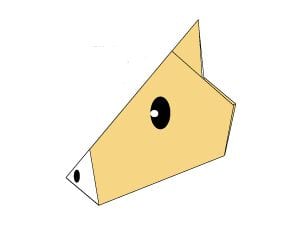
Learn how to make an easy origami horse face. You will need a square piece of paper — colored paper works best. Follow the tutorial step by step; it is simple to do and very suitable for beginners and kids. Let us get started.
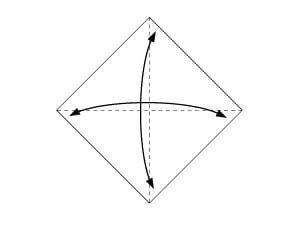
Step 1: Fold the paper in half twice to make creases, then unfold.
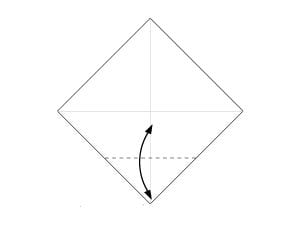
Step 2: Make a crease by folding the bottom corner up to the center point, then unfold.
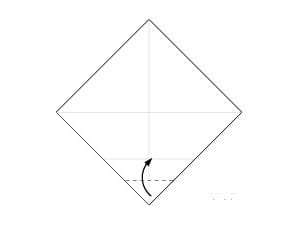
Step 3: Fold the bottom corner behind, up to the center point of the crease made in step 2.
Step 4: Fold both edges in to the center along the dotted lines, as shown below.
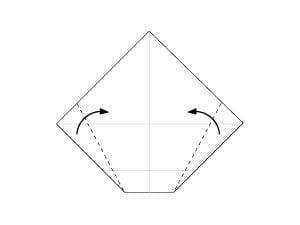
Step 5: Fold the top corner down along the dotted line that runs through the two corners, as you can see in the photo.
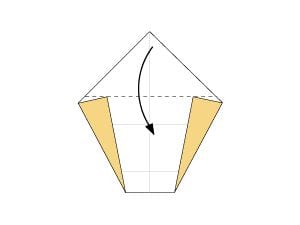
Step 6: Fold the bottom corner of the upper layer up along the dotted line.
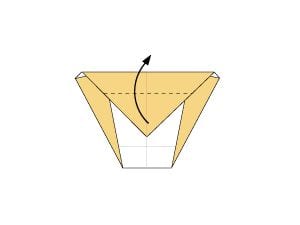
Step 7: Fold the left and right corners inward along the dotted lines.
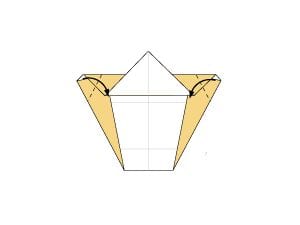
Step 8: Fold the model in half.
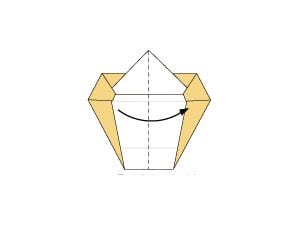
Step 9: Turn it around.
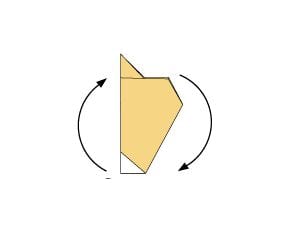
Step 10: Draw on a face and your origami horse is finished.




