
How to Fold an Origami Mushroom
There is something deeply satisfying about folding a mushroom. Maybe it is the shape — that plump little cap sitting on a stubby stem is about as friendly as geometry gets. Maybe it is the speed: twelve folds, five minutes, and suddenly you are holding something that looks like it wandered out of a storybook.
Whatever the reason, this model has become a bit of a gateway drug in our house. It uses nothing but valley folds and one genuinely clever tuck at step 10, so it is friendly enough for a first-timer, but the result is cute enough that you immediately want to make six more. Fold them in different sizes, dot a few white spots on a red cap with a pen, and you have a whole patch of toadstools for a fairy garden, a gift tag, or the edge of a bookshelf.
Step 1: Fold the paper in half and crease.
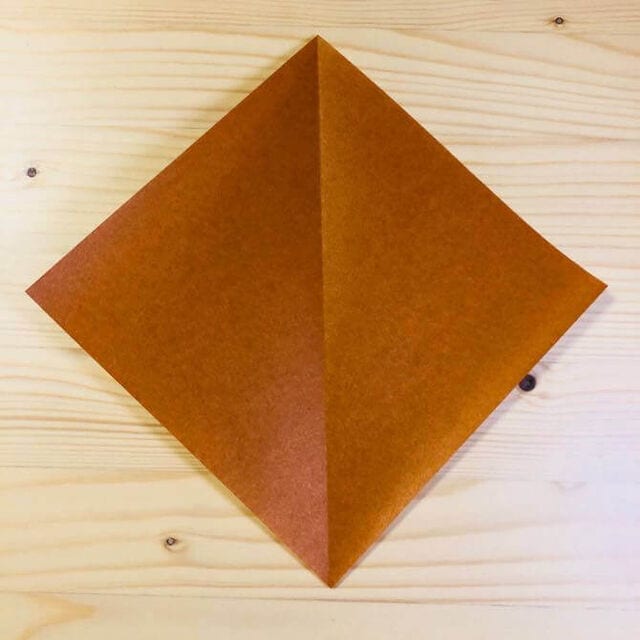
Step 2: Fold the left and right sides inward.
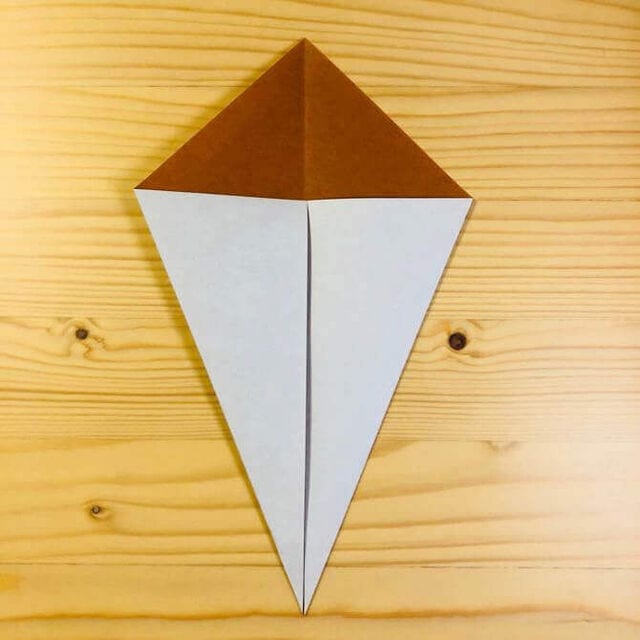
Step 3: Turn the paper over.
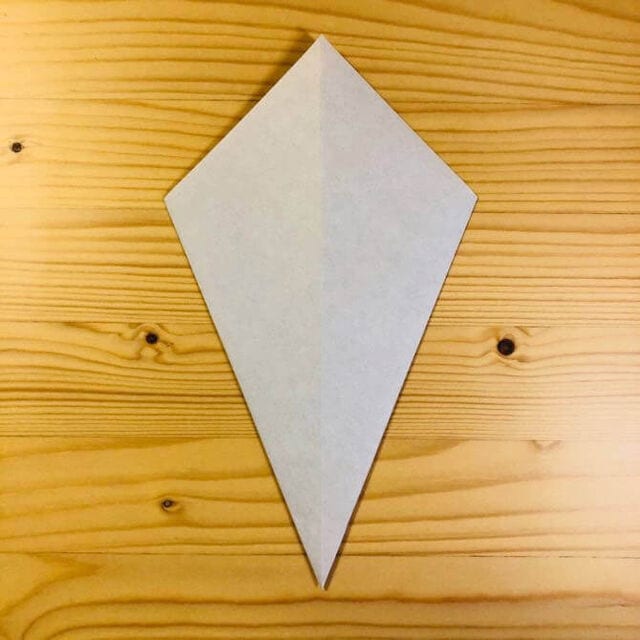
Step 4: Fold the upper triangle down.
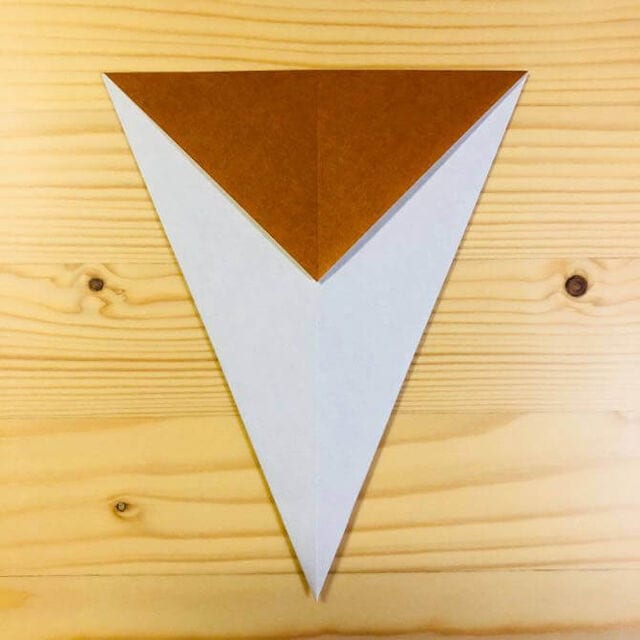
Step 5: Turn it over.
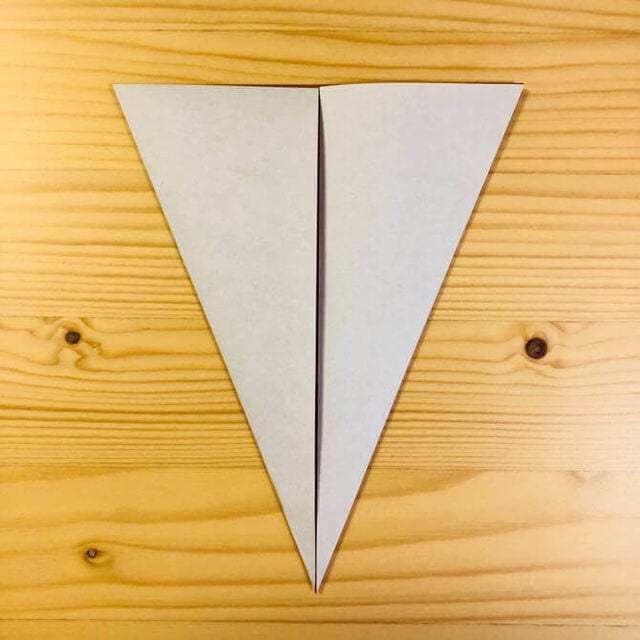
Step 6: Fold it down at the position shown in the photo.
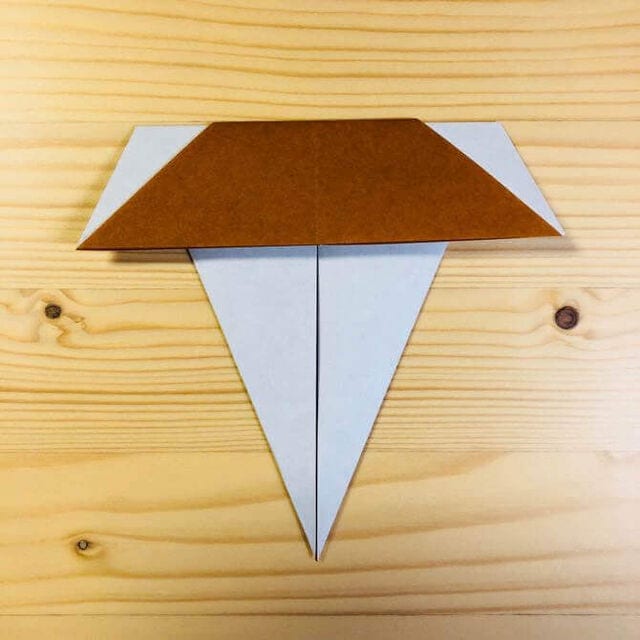
Step 7: Turn it over.
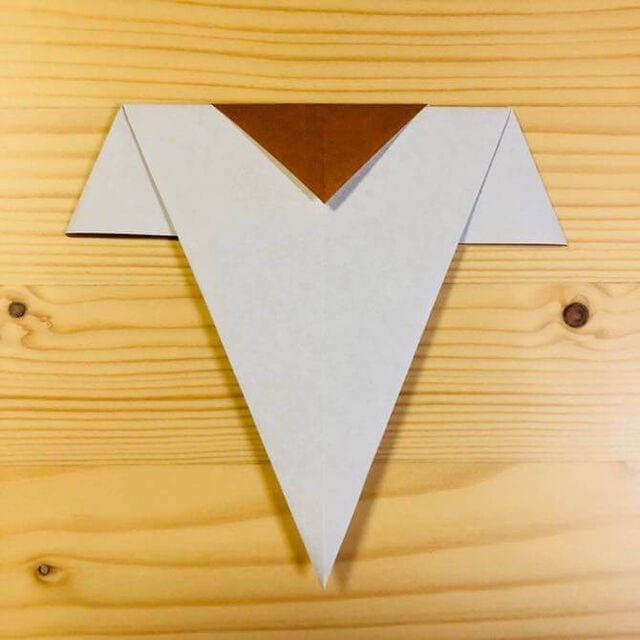
Step 8: Fold down the top left and right corners.
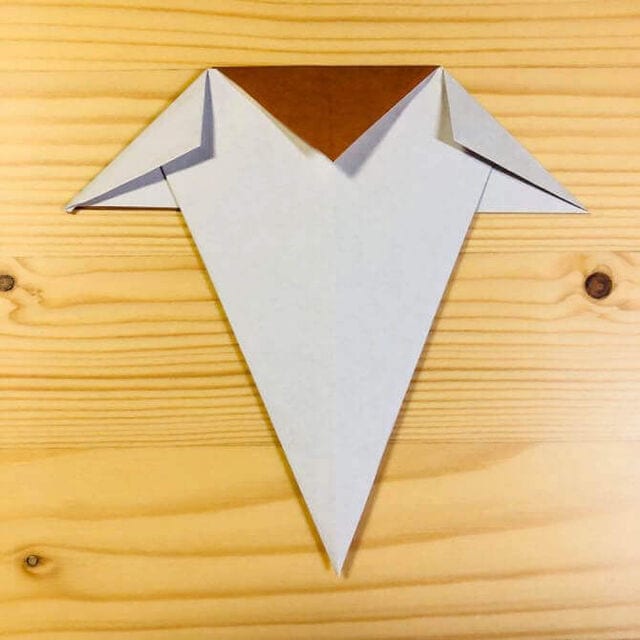
Step 9: Unfold the corner you have just folded, then fold it back in again.
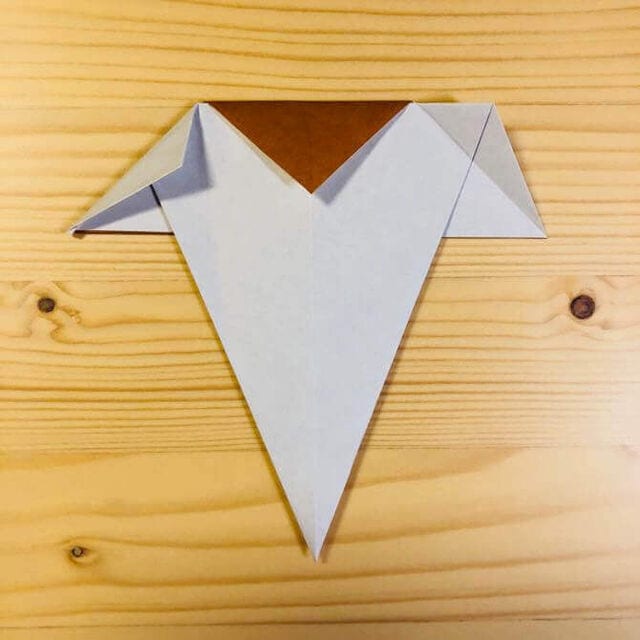
Step 10: Open the part you folded back out and tuck it inward.
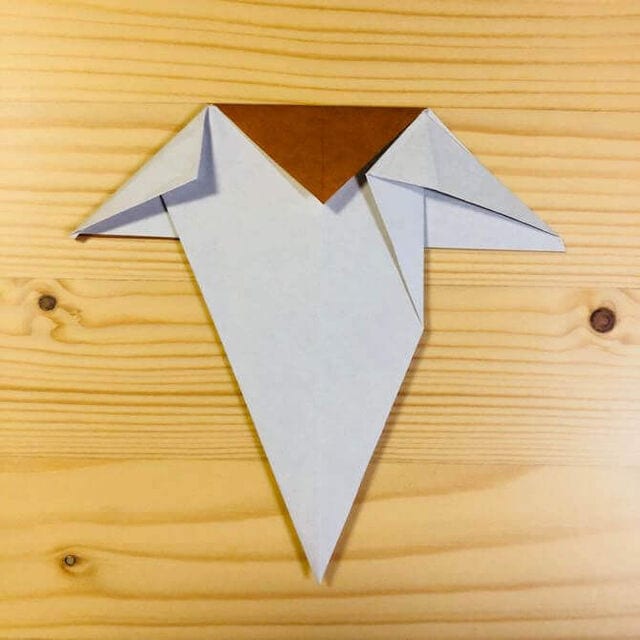
Step 11: Do the same on the other side.
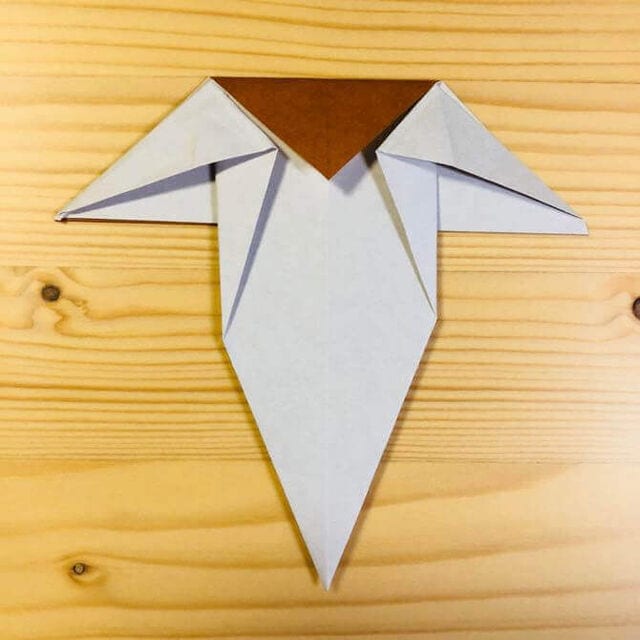
Step 12: Fold the bottom corner up.
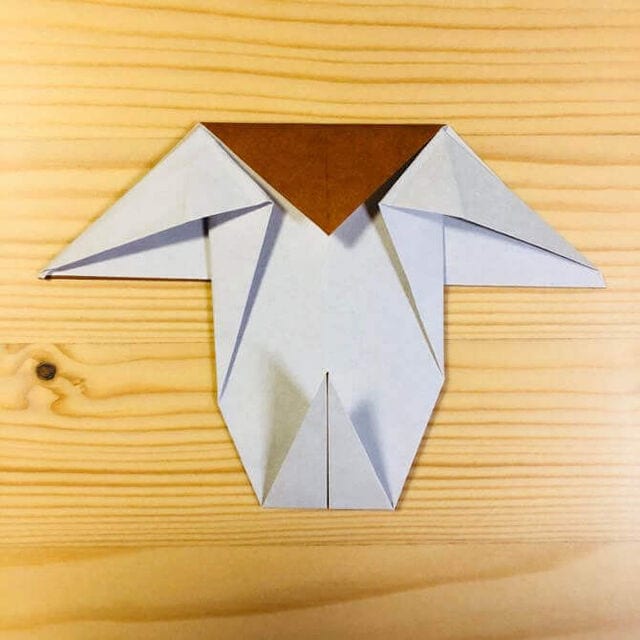
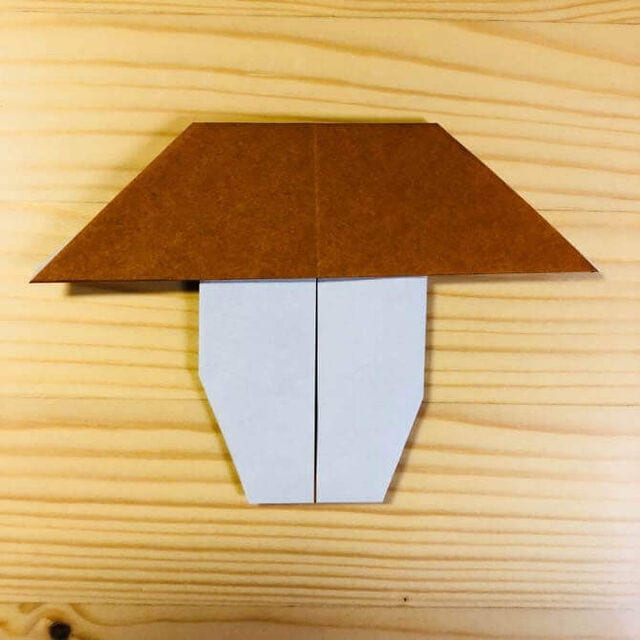
Done! Turn it over and your origami mushroom is ready.




