
Mountain and Valley Folds
Every origami model you have ever seen - from a simple paper crane to a detailed dragon - is built from just two folds. The mountain fold and the valley fold are the alphabet of origami: learn them and every diagram you pick up will suddenly start to make sense.
In this tutorial I will show you both folds step by step with clear photos. The mountain fold bends the paper down so the crease rises like a peak, while the valley fold bends it up so the crease dips like a valley. They are mirror images of each other - flip the paper over and one becomes the other. It sounds simple, but getting comfortable with these two creases is the single most important step in origami.
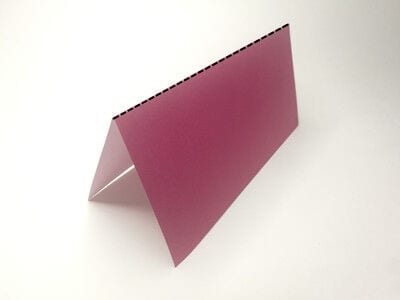
Mountain folds and valley folds are the two basic folds of origami. All other folds are variations of these two. The definition of mountain and valley folds depends on which side of the paper is facing you, because if you flip the paper over, a mountain fold becomes a valley fold and vice versa.
With a mountain fold, the crease bends the paper down and the crease resembles a mountain. In origami instructions, arrows are usually used to indicate the direction of folding, and dashed lines indicate where the crease should be. When a piece of paper has a mountain fold, the dashed line used to indicate the crease sits on top of the mountain.
Step 1
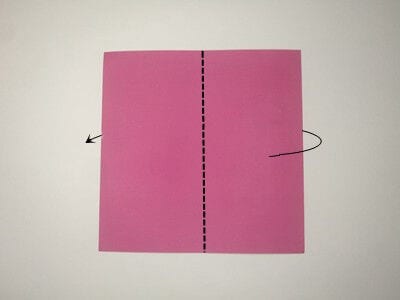
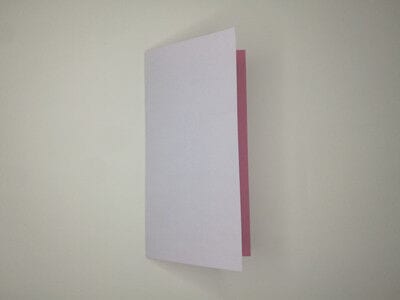
Prepare a sheet of paper. Fold the right half of the paper behind itself along the dotted line.
Step 2
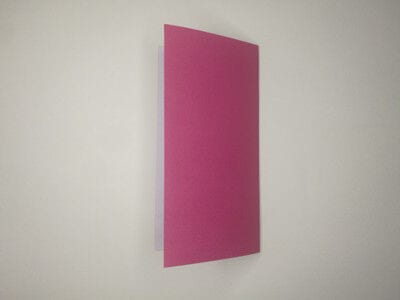
Use its two edges as fulcrums to make it stand up. Now the paper looks like a mountain, and the dashed line indicating the crease sits on top of the mountain.
With a valley fold, the crease bends the paper up and the crease resembles a valley. The paper should form a “V”. In origami instructions, arrows are usually used to indicate the direction of folding, and dashed lines indicate where the crease should be. When a piece of paper has a valley fold, the dashed line used to indicate the crease is at the bottom of the valley.
Step 1
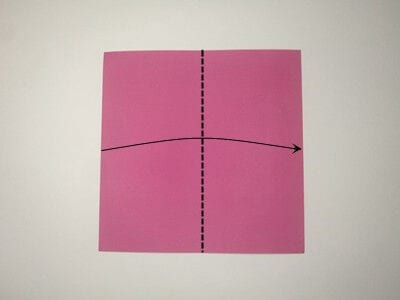
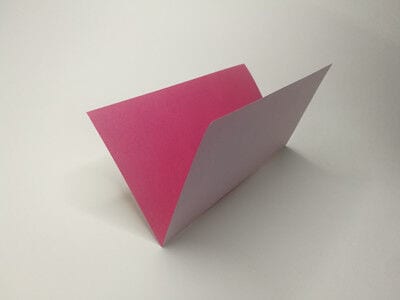
Prepare a sheet of paper. Fold the left edge of the paper to the right edge along the dotted line.
Step 2
Use its center line as a fulcrum to make it stand up. Now the paper should form a “V”, and the dashed line indicating the crease is at the bottom of the valley.
Once you understand mountain folds and valley folds, you can try folding the origami fan. It is simple enough and made entirely of mountain and valley folds, so it is a great way to deepen your understanding of both.




