
Outside Reverse Fold (Easy Tutorial)
Most origami animals get their character from just a handful of moves, and the outside reverse fold is one of the most useful. It is the trick behind a bird's head turning to the side, a dog's ear lifting, or a tail flipping up - and once you see how easy it is, you will use it everywhere.
In this tutorial I will walk you through the fold in eight straightforward steps. We start from a flat sheet, make a few guide creases, and finish with a neat outside reverse fold. There is a photo for every step, so you can check your work as you go.
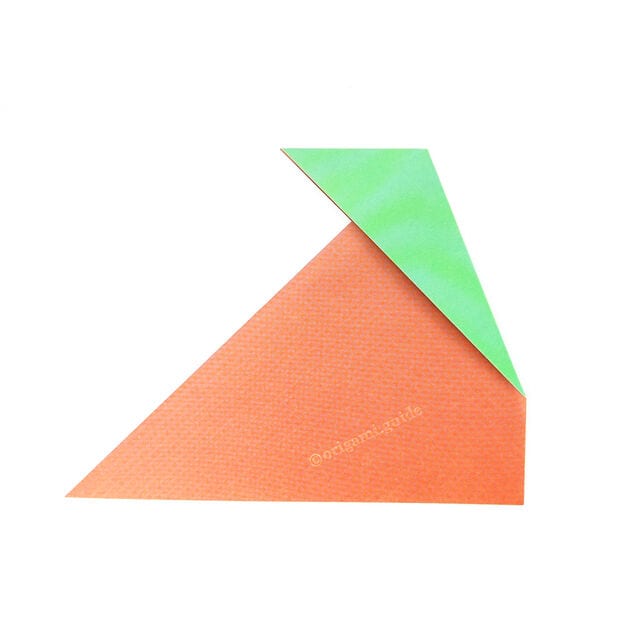
The outside reverse fold is one of the most common techniques in origami, used especially when shaping the head or tail of origami animals. Similar to the inside reverse fold, it is very easy to do, and understanding this basic folding technique will help you a lot when you are starting out with origami.
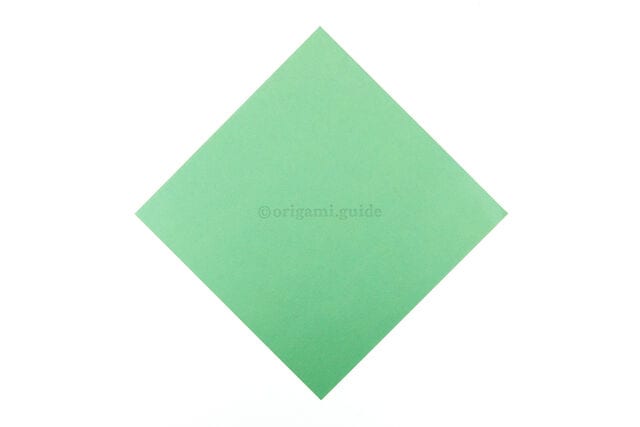
Step 1
Start with your paper like this.
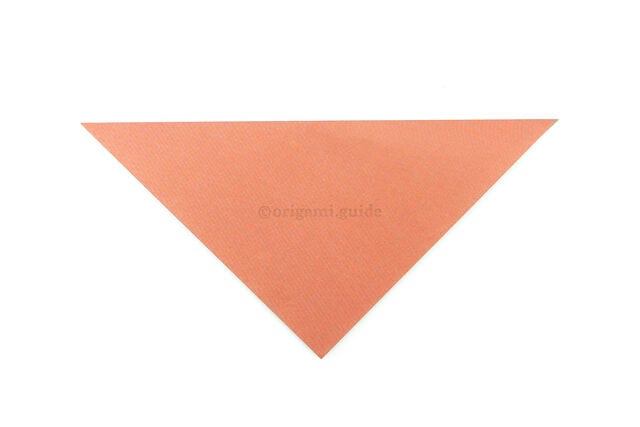
Step 2
Fold the top point down to the bottom point.
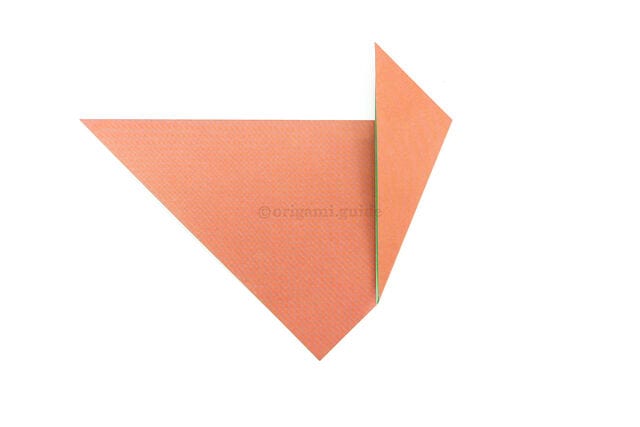
Step 3
Fold the right corner to the left.
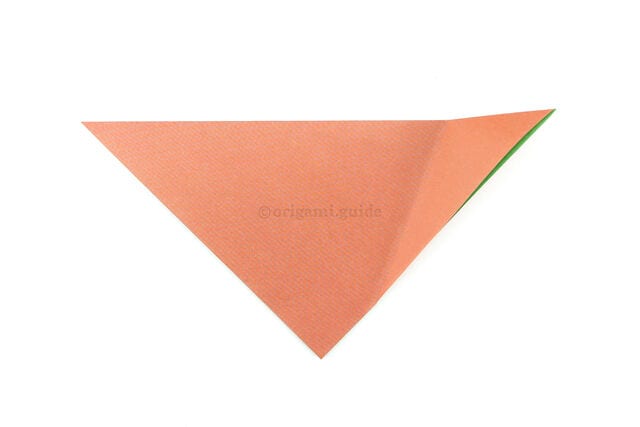
Step 4
Unfold the previous step.
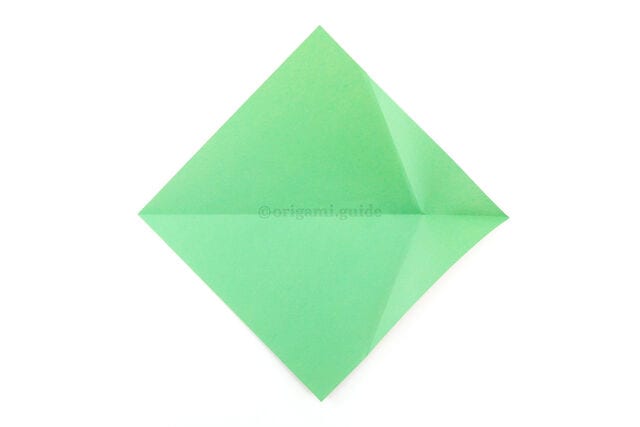
Step 5
Unfold the bottom point back up.
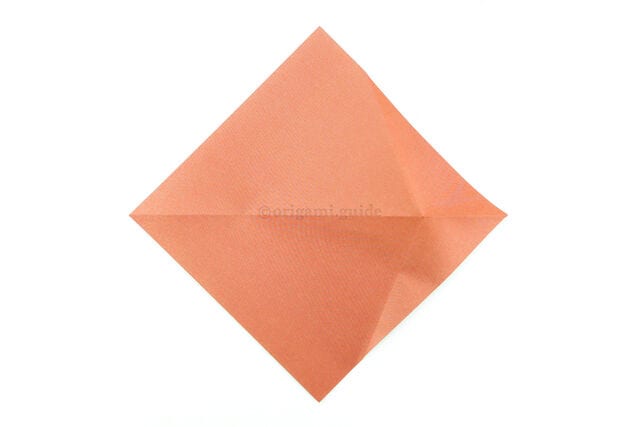
Step 6
Flip the paper over to the other side, from top to bottom.
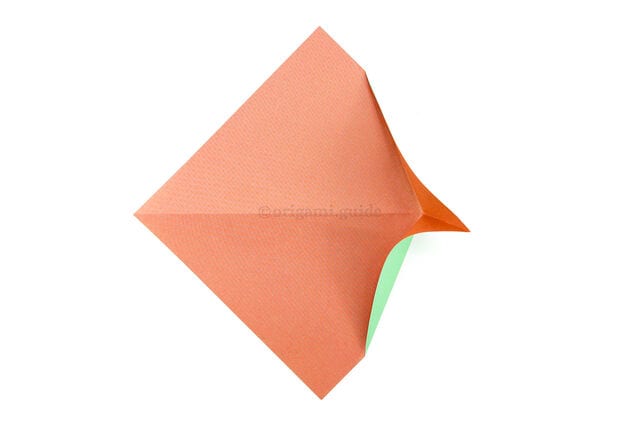
Step 7
Pinch the top and bottom right sections together.
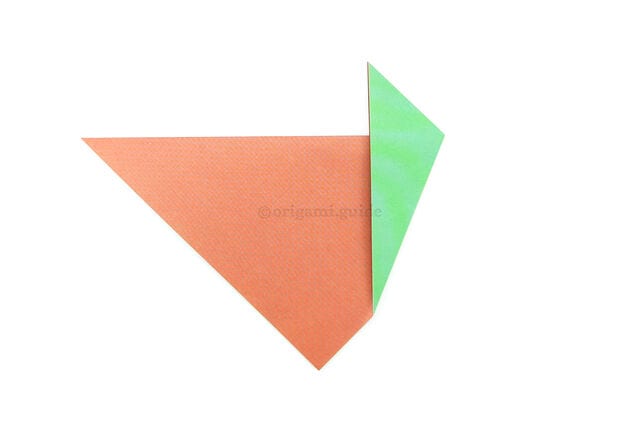
Step 8
Fold the top section back down behind the model.




