
3D Origami Lamp
A paper lamp you can actually light up — that's the appeal of this 3D origami shade. From one square sheet it collapses into a tidy 8x8 grid of creases, rolls up into a cylinder, and flares open into a little lantern that stands on its own. Pop a small battery LED inside and it throws a warm, patterned glow across the room.
The fold is more geometric than fiddly: once the matrix base is in place, it's a sequence of valley- and mountain-folds, a roll, and a few dabs of glue at marked spots to lock the seams. If you've done structured models before, you'll move through the 23 steps comfortably; if not, the grid creases are a satisfying thing to learn. Use a 15 cm square to follow along, keep your creases sharp, and by the end you'll have a decoration that looks far more involved than it was to make.
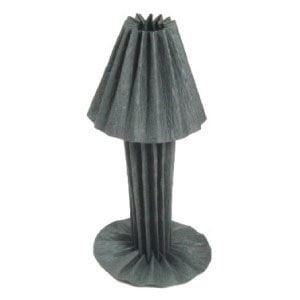
This page is for anyone who wants instructions for folding a 3D origami lamp.
This 3D origami lamp starts with an 8x8 matrix base. One distinctive feature of this model is that you will need to apply glue to it.
If you are ready, then let’s get started.
You may use any kind of paper to fold this origami lamp. Make sure the paper you use is a square (all sides are equal and all the angles equal 90 degrees). The paper I am using here is a 15 cm x 15 cm square.
This is the front side of the paper.
This is the back side of the paper.
STEP 1.
Let’s start with the “8x8 matrix base”. Click the link above to learn how to make an 8x8 matrix base.
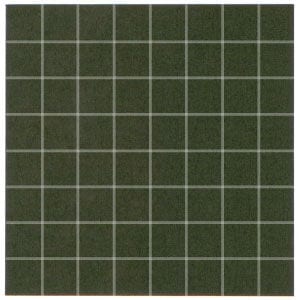
STEP 2.
Prepare to apply eight vertical valley-folds and then unfold.
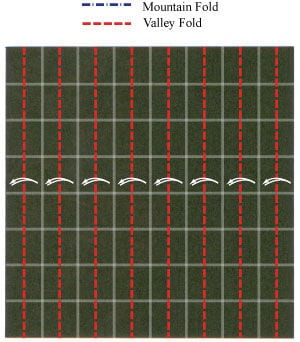
STEP 3.
Apply the eight vertical valley-folds from step 2 and then unfold. Prepare to apply two horizontal valley-folds and one mountain-fold.
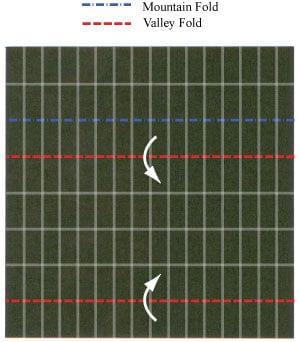
STEP 4.
Apply the two horizontal valley-folds and one mountain-fold from step 3. Prepare to apply sixteen mountain-folds while converting the existing crease lines into valley folds.
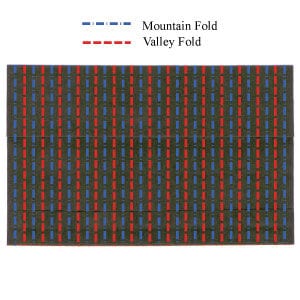
STEP 5.
Apply the sixteen mountain-folds while converting the existing crease lines into valley folds, following step 4. Prepare to rotate the origami lamp model 90 degrees counterclockwise.
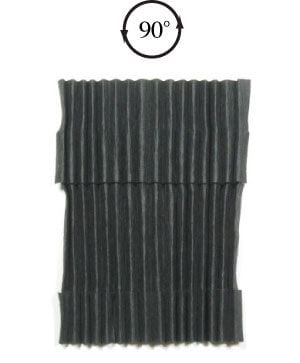
STEP 6.
Rotate the origami lamp model 90 degrees counterclockwise. Prepare to rotate the origami lamp model another 90 degrees.
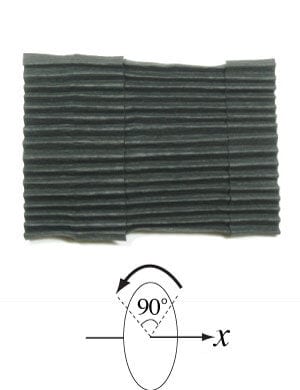
STEP 7.
Rotate the origami lamp model 90 degrees. Prepare to pull the bottom-most layer down following the arrow.
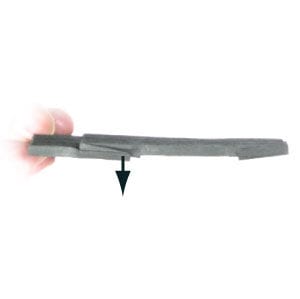
STEP 8.
Pull the bottom-most layer down following the arrow from step 7. Prepare to pull another bottom-most layer down following the arrow.
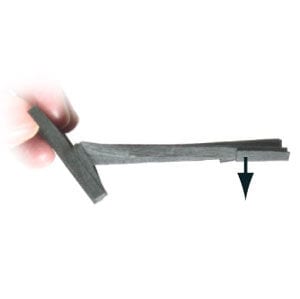
STEP 9.
Pull the bottom-most layer down following the arrow from step 8. Prepare to rotate the origami lamp model 90 degrees.
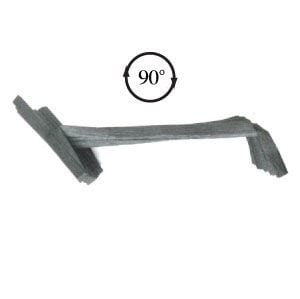
STEP 10.
Rotate the origami lamp model 90 degrees.
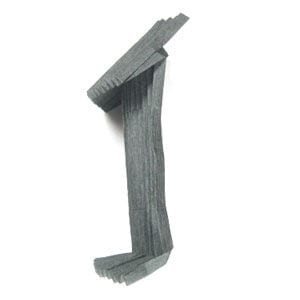
STEP 11.
Prepare to roll the origami lamp model into a cylinder following the arrow direction.
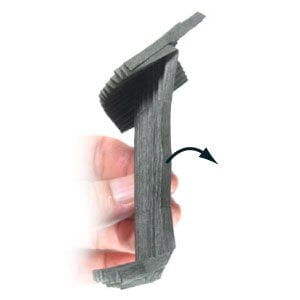
STEP 12.
Roll the origami lamp model into a cylinder following the arrow direction from step 11. Prepare to turn the origami lamp model over.
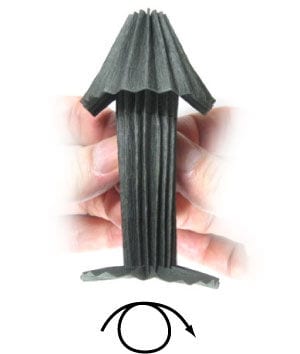
STEP 13.
Turn the origami lamp model over. Prepare to apply glue to the region encircled with a dotted ellipse.
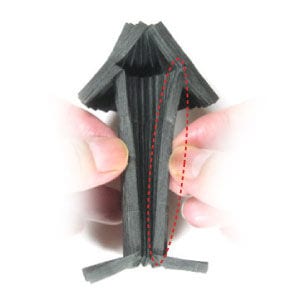
STEP 14.
Apply glue to the region encircled with a dotted ellipse, following step 13. Prepare to join the two regions together.
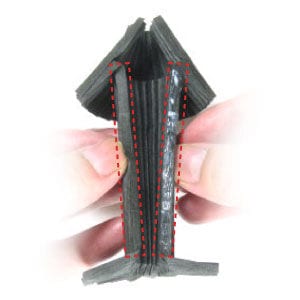
STEP 15.
Join the two regions together, following step 14.
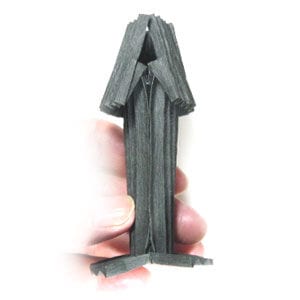
STEP 16.
Apply glue to the bottom right. Prepare to join the bottom right to the bottom left.
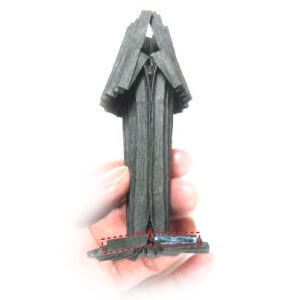
STEP 17.
Join the bottom right to the bottom left, following step 16. Prepare to apply glue to the top right.
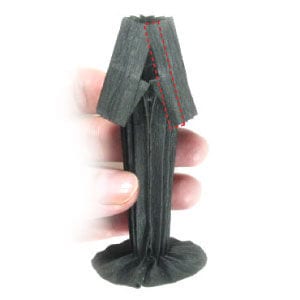
STEP 18.
Apply glue to the top right. Prepare to join the top right to the top left.
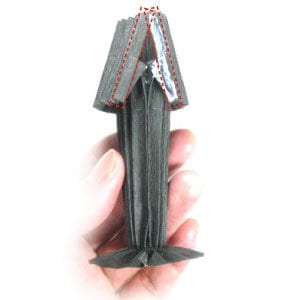
STEP 19.
Join the top right to the top left, following step 18. Prepare to pull the outer rim outward following the arrow directions.
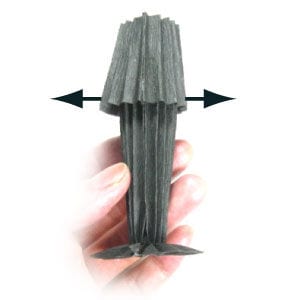
STEP 20.
Start pulling the outer rim outward following the arrow directions from step 19.
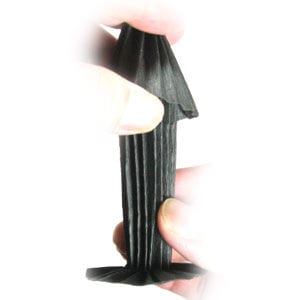
STEP 21.
Finish pulling the outer rim outward following the arrow directions from step 19.
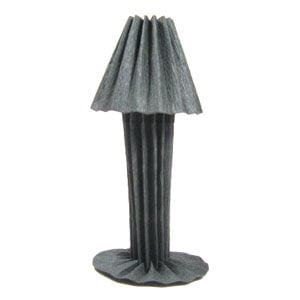
STEP 22.
This is the top view of the origami lamp model.
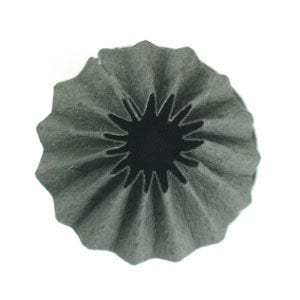
STEP 23.
Congratulations! You have completed making a 3D origami lamp.




