
Chopstick Bag (Complete Tutorial)
There's something quietly satisfying about folding a tiny paper sleeve that keeps your chopsticks from rattling around in a lunch box. The chopstick bag is one of those origami classics that shows up everywhere in everyday Japanese life — simple, useful, and just charming enough to make a plain bento feel a little special. If you've ever wanted to try origami but didn't know where to start, this is the perfect first fold.
With nothing more than a single square of paper and a handful of basic valley folds, you'll have a finished bag in just a few minutes. No special tools, no tricky techniques — just clean creases and a shape that's genuinely handy to keep around.
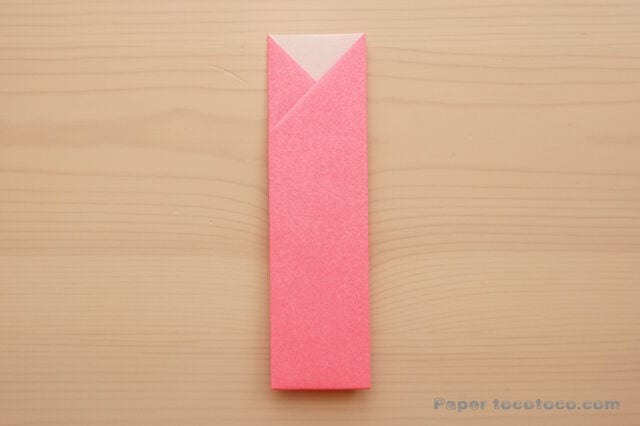
Super Easy! How to Fold a Simple Chopstick Bag
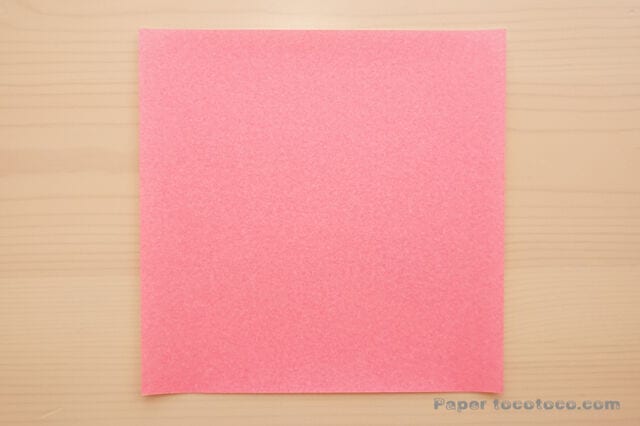
Start with a single sheet of 15 × 15 cm origami paper.
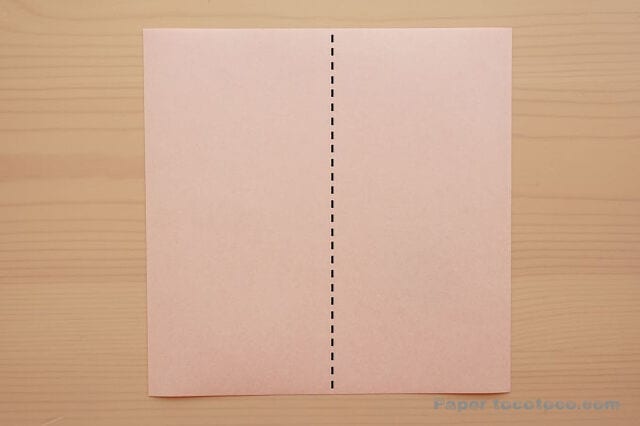
Step 1. Fold the paper in half vertically down the middle and crease it well.
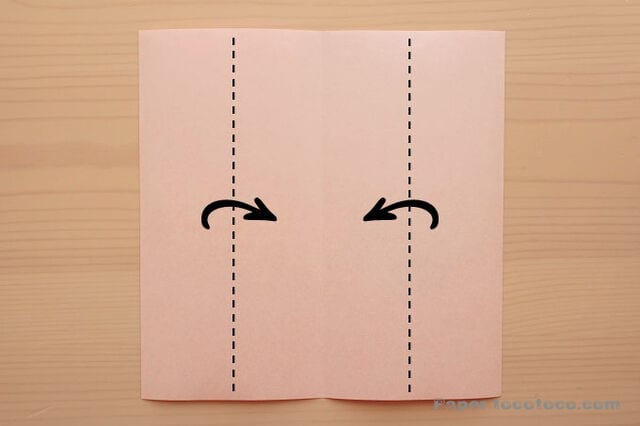
Step 2. Fold both ends toward the center line and crease.
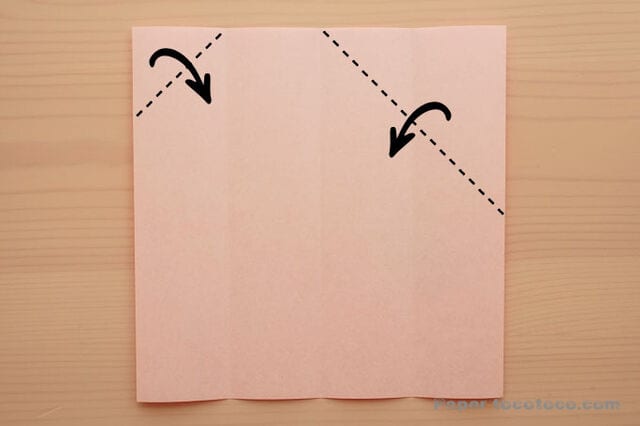
Step 3. Valley-fold along the dotted line.
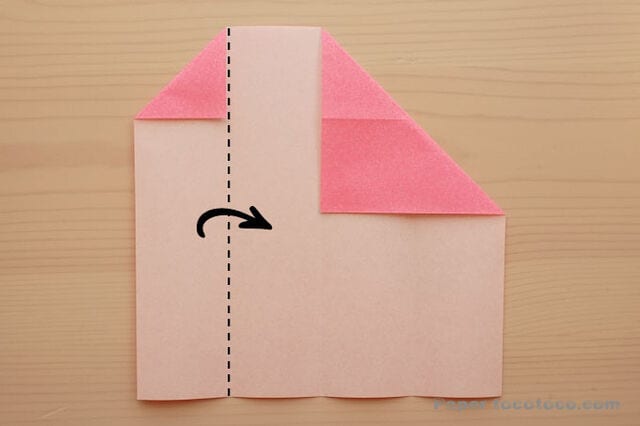
Step 4. Valley-fold along the dotted line.
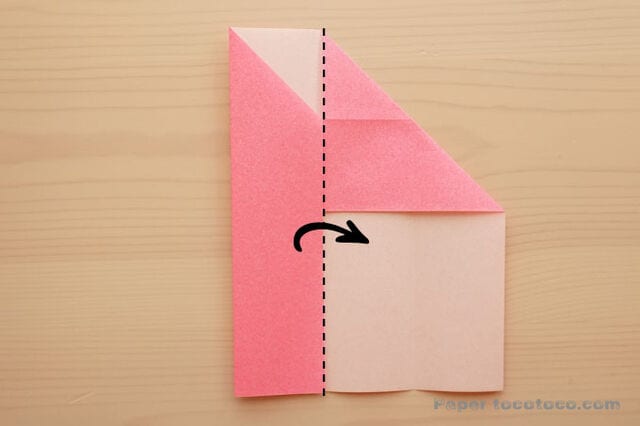
Step 5. Valley-fold along the dotted line.
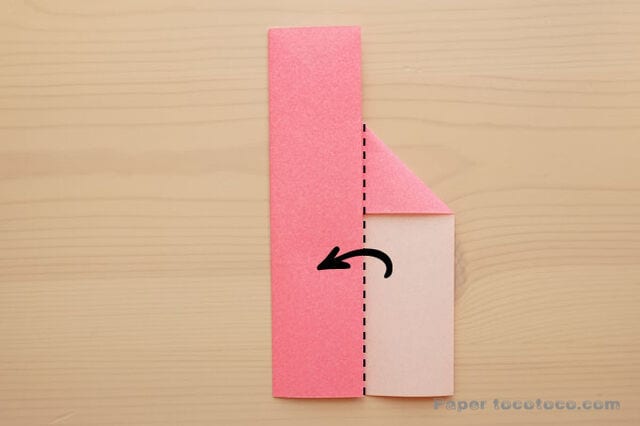
Step 6. Valley-fold along the dotted line.
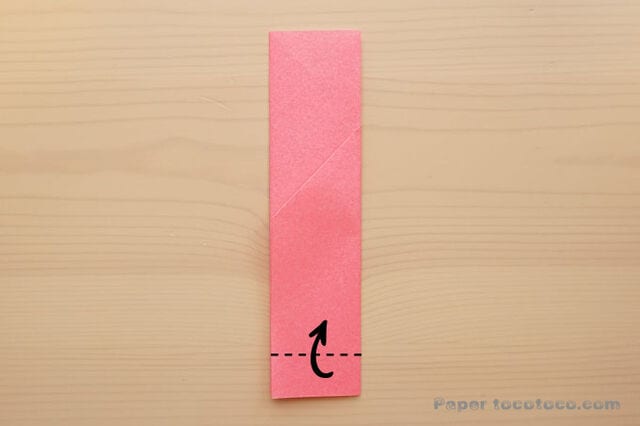
Step 7. Valley-fold along the dotted line.
Fold it at any position you like so the bag ends up at your preferred length.
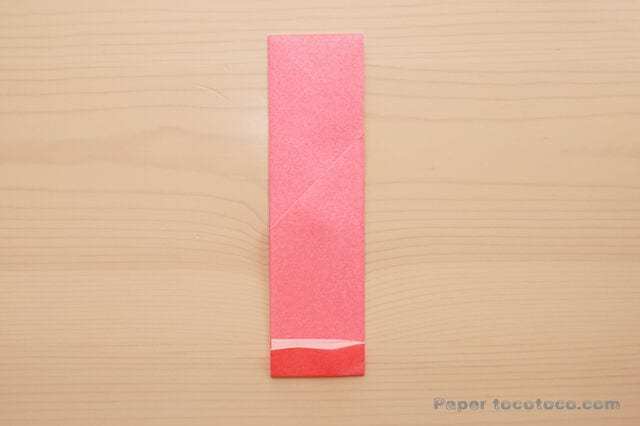
Turn it over to reveal the finished front.
All done — your chopstick bag is complete!
You’ll have it finished in no time.




