
Origami Frog / Lily Base
The frog base has a secret identity. Some folders call it the lily base, and both names make sense: turn it one way and it becomes a flower, turn it another and it grows legs. What no one argues about is how satisfying it is to fold — a sequence of squash folds that march around four sides, followed by one elegant pull that turns the whole top into a single point.
If you have already folded a square base (the preliminary base), you are exactly halfway prepared. Everything after that is rhythm: fold a diagonal edge, open a flap, squash it flat, repeat on the next side. Then, once the foundation is set, a few gentle creases and one careful pull create the pointed shape that gives the frog its face and the lily its bloom. Give it one careful read-through, and you will be surprised how quickly all four sides fall into place.
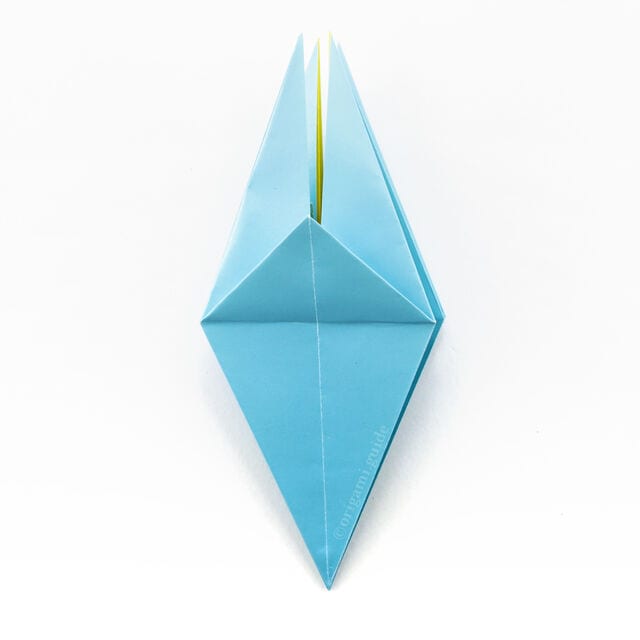
Learn how to fold an origami frog base, sometimes called a lily base. This origami base fold is the start of many flower models as well as the traditional frog.
You will need to start off by folding an origami square base, sometimes called a preliminary base. Click here to learn how to make the square base.
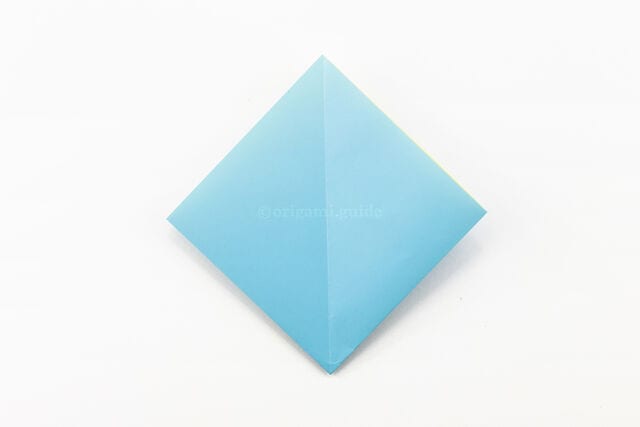
STEP 1. Start with an origami square base. The open end of the square should be at the top.
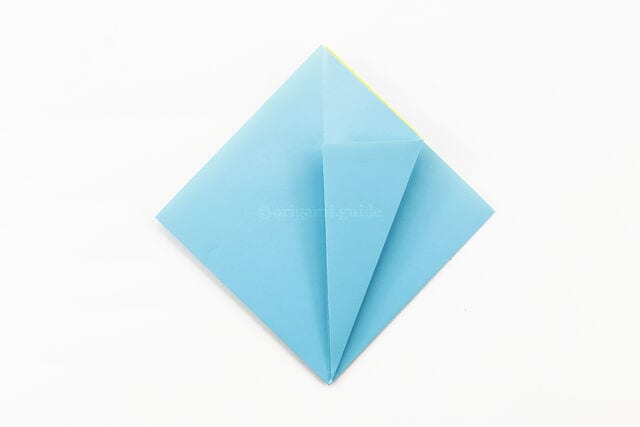
STEP 2. Fold the lower right diagonal edge inwards to align with the vertical crease.
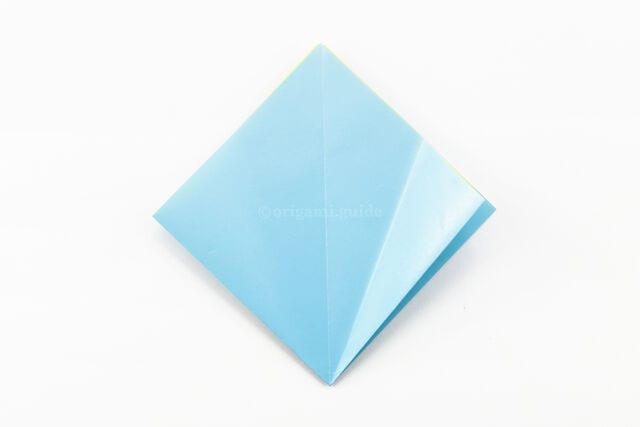
STEP 3. Unfold the previous step.
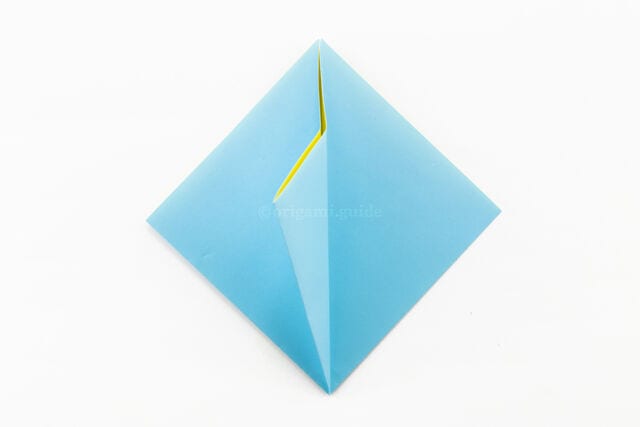
STEP 4. Fold the right section over to the left, so that you will be able to open it out.
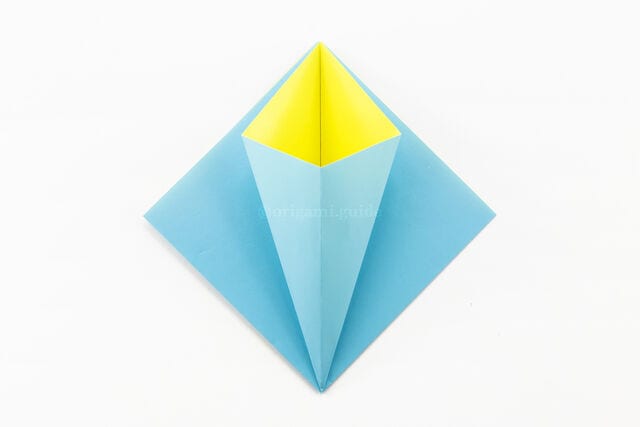
STEP 5. Open out the flap.
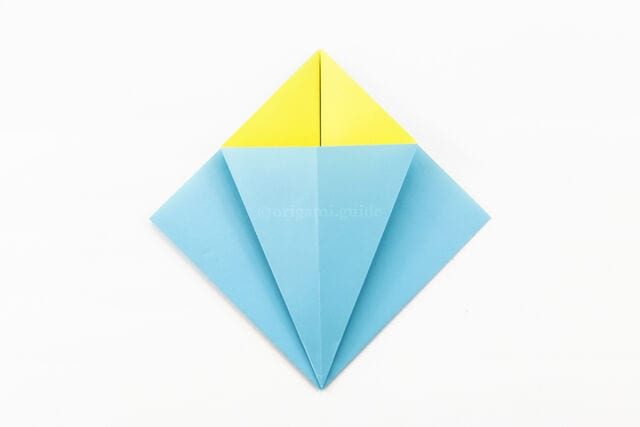
STEP 6. Push the middle of the flap so that it becomes flat.
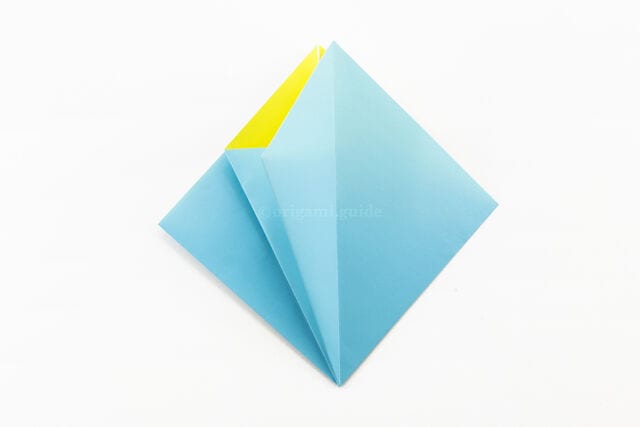
STEP 7. Fold the right section of the new flap you just created over to the left.
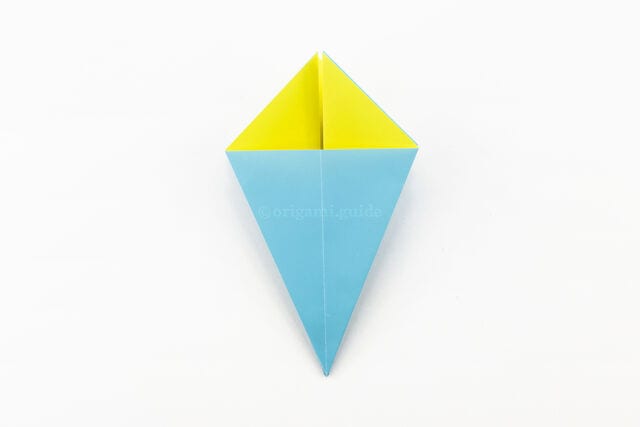
STEP 8. Continue to repeat the same process on all remaining flaps.
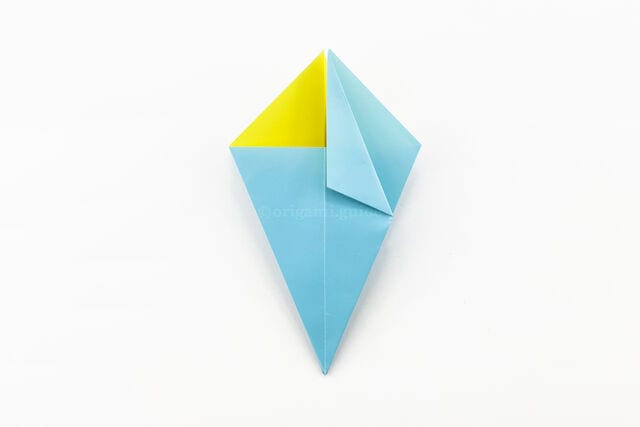
STEP 9. Next, fold the top right diagonal edge to align with the central crease.

STEP 10. Fold the top left diagonal edge to align with the central crease.
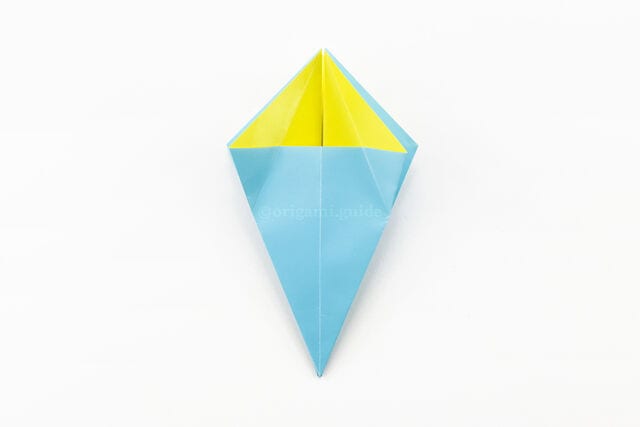
STEP 11. Unfold the previous steps.
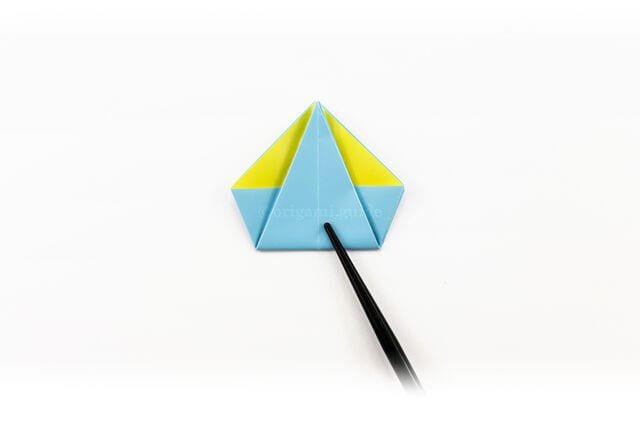
STEP 12. To make it easier, bring the bottom point up to the top point and crease.
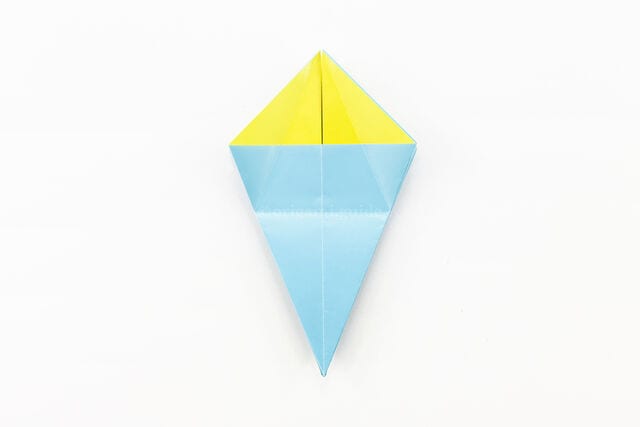
STEP 13. Unfold the previous crease.
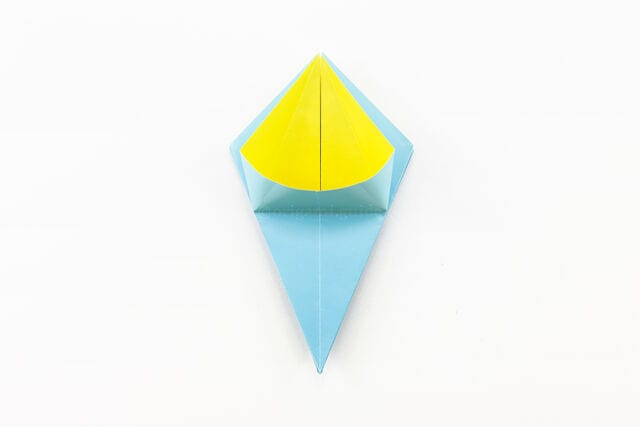
STEP 14. Using the creases you just made, open out the top section, pulling it down.
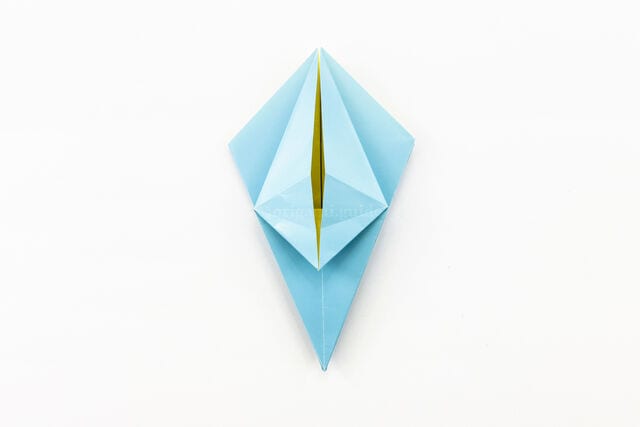
STEP 15. Carefully pull it down to become a point.
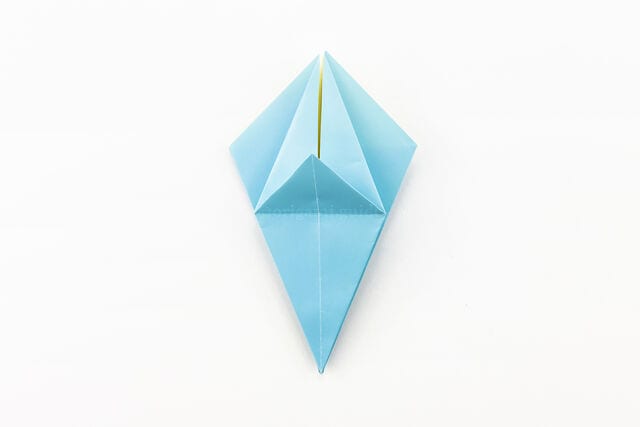
STEP 16. Fold the new flap upwards.
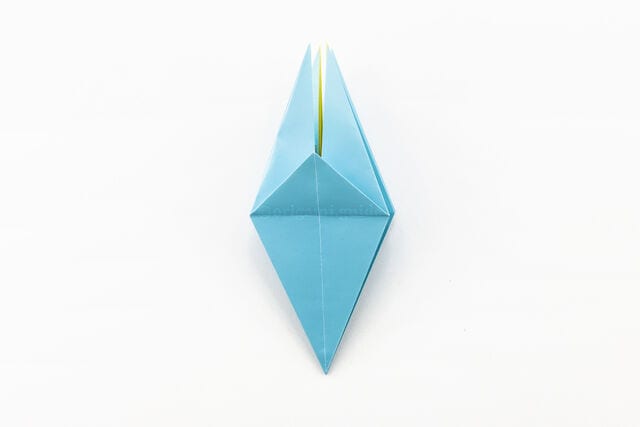
STEP 17. Repeat the same process for the other 3 sides. Now it is a completed origami frog base.




