
Origami Table Base
A square of paper, a few cupboard folds, and a 4 x 4 grid later, you are already halfway to a little paper table. That is the charm of the origami table base: it starts with simple, satisfying pre-creases, and then suddenly the flat sheet begins to stand up. Once the four corners are collapsed and the top sections are coaxed upward into neat points, the whole model turns into a sturdy little structure that really does look like the top of a table. The base is a delight on its own, and it is the starting point for an origami table and for several stars, so it is one of those skills that quietly unlocks a handful of other projects. If you have folded the origami pattern base before, much of the beginning will feel like old friends; if not, the steps are gentle enough to pick up on the go.
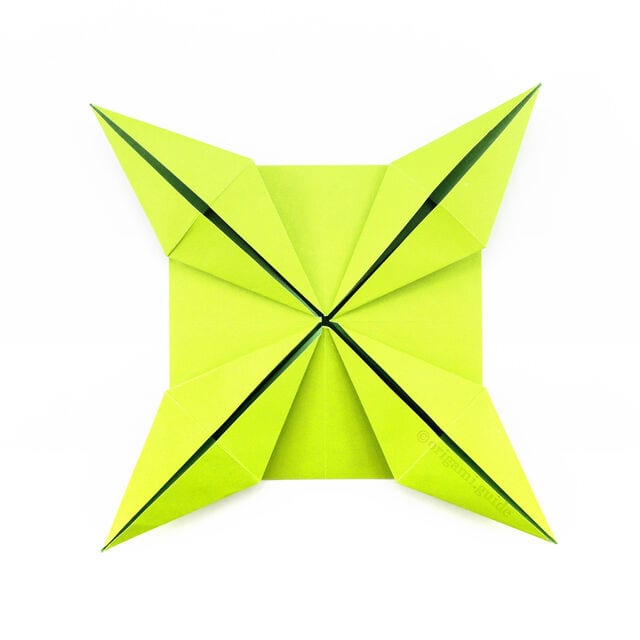
Learn how to make an origami table base. The table base is pretty as it is; it’s also the base for the origami table and other origami models including various stars.
This origami base is a continuation of the origami pattern base.
Step 1. This is the back of the paper (usually white). We will start off by making an origami cupboard fold.
Step 2. Fold the paper in half, from right to left.
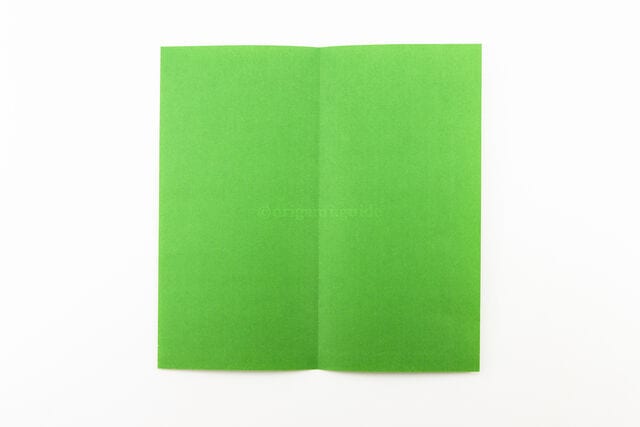
Step 3. Unfold the previous step.
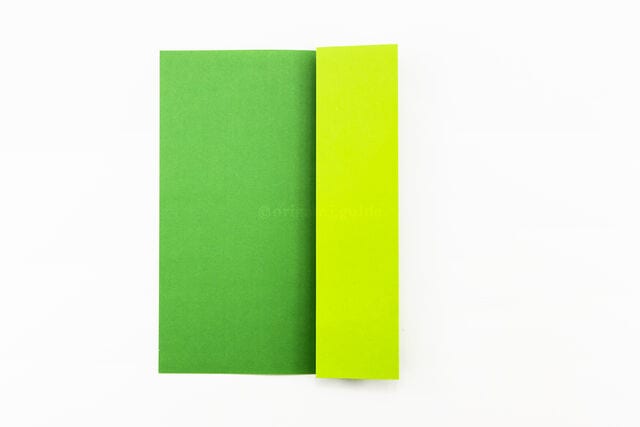
Step 4. Fold the right edge to the central vertical crease.
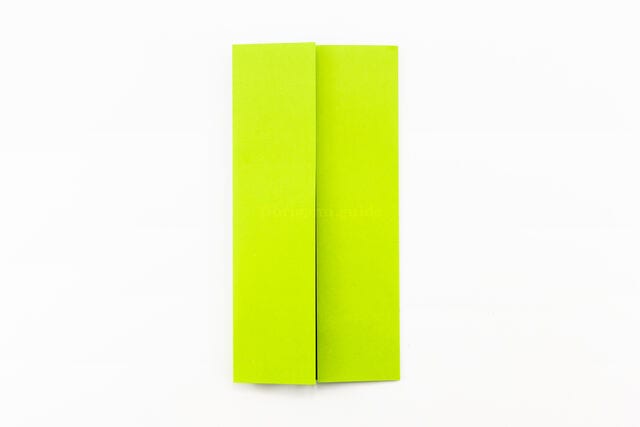
Step 5. Fold the left edge to the central vertical crease. This is the origami cupboard fold.
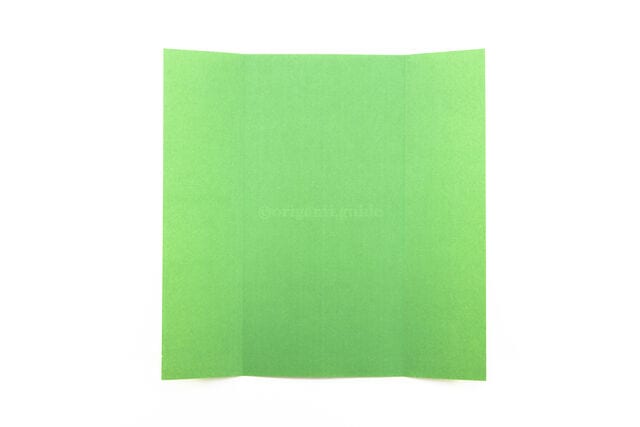
Step 6. Unfold the paper completely.

Step 7. Repeat the cupboard fold in the other direction. Fold the bottom edge up to the top edge.
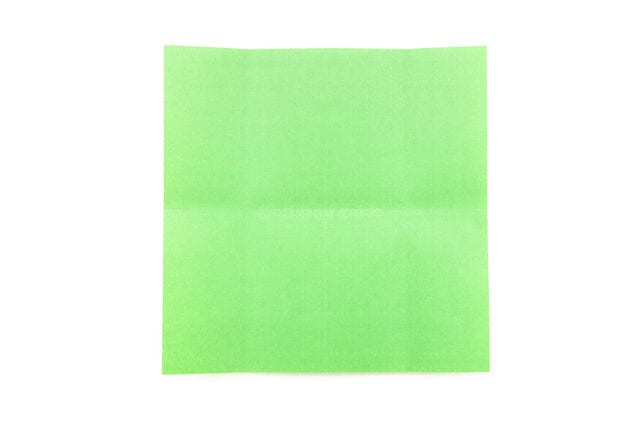
Step 8. Unfold the previous step.
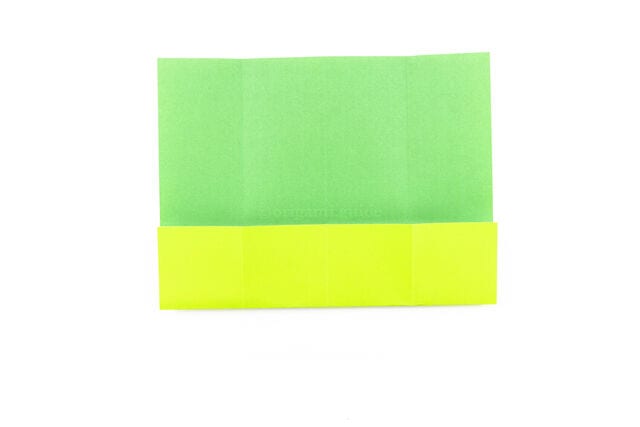
Step 9. Fold the bottom edge up to the central horizontal crease.
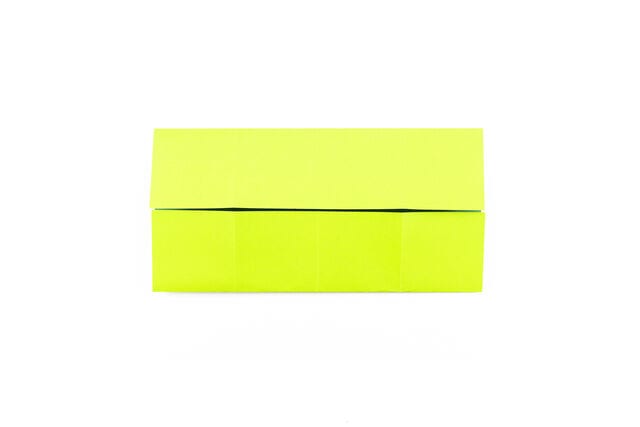
Step 10. Fold the top edge down to the central crease.
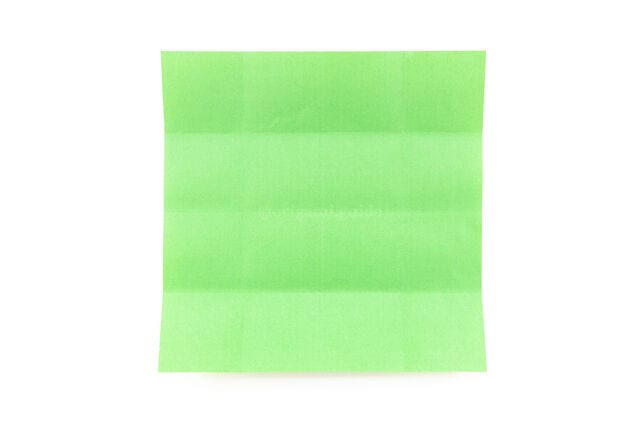
Step 11. Unfold the paper. We now have a 4 x 4 grid.
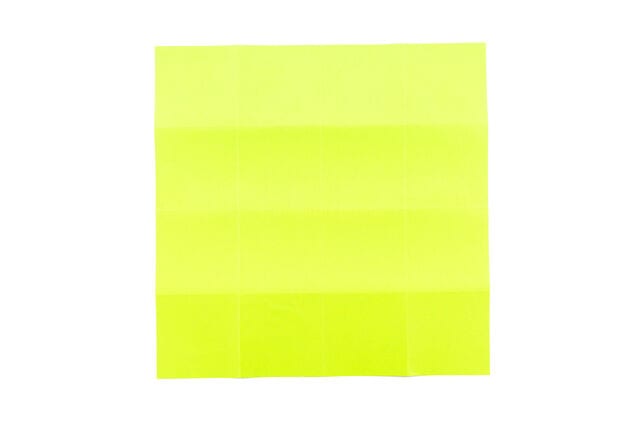
Step 12. Flip the paper over to the other side.
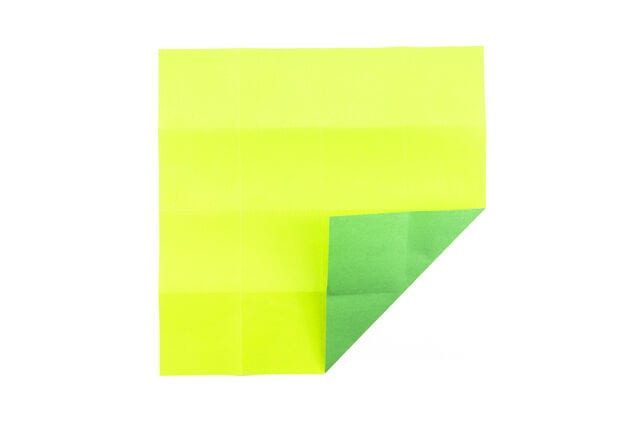
Step 13. Fold the bottom right corner diagonally into the center of the paper.
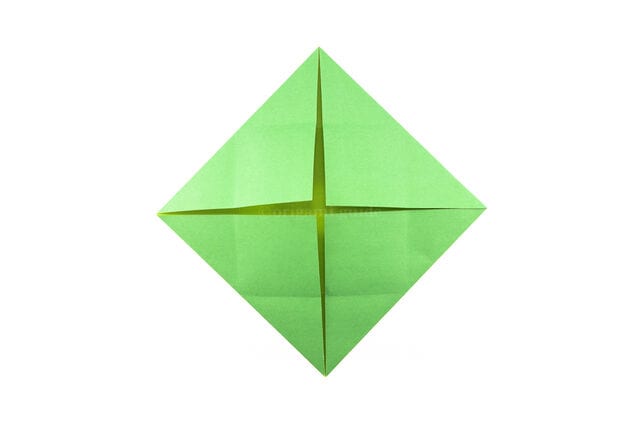
Step 14. Fold the other three corners into the center.
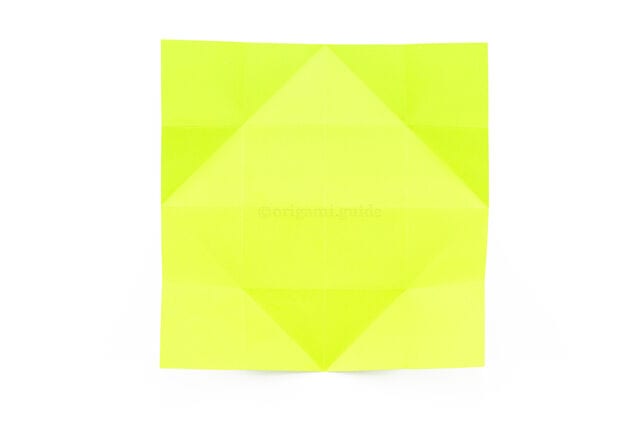
Step 15. Unfold the paper.
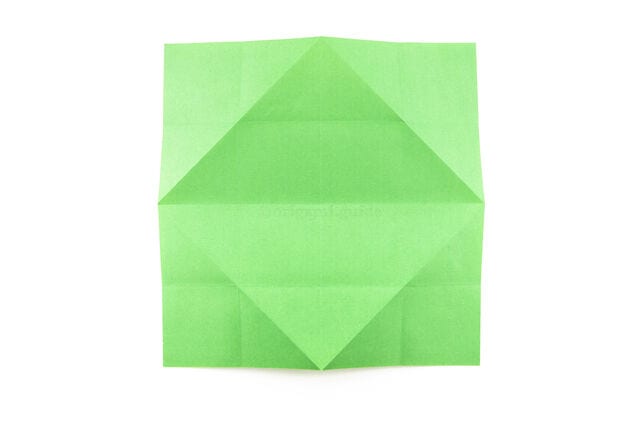
Step 16. Flip the paper back over to the other side.
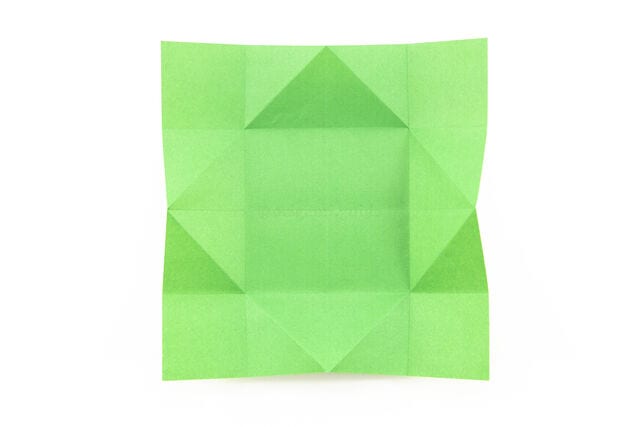
Step 17. Lift up the edges on the top, right, bottom and left.
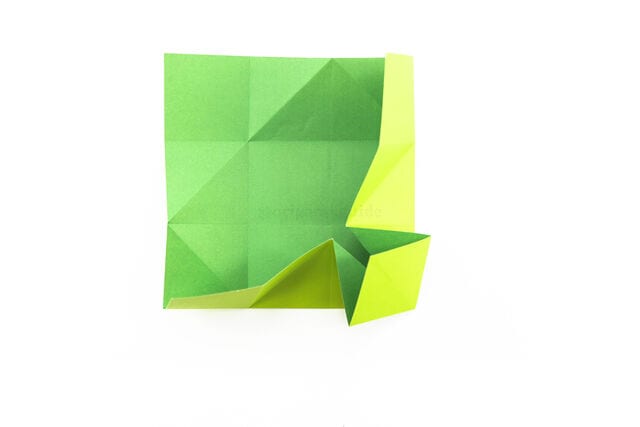
Step 18. Fold the bottom and right sections inwards together, collapsing the bottom right corner forward.
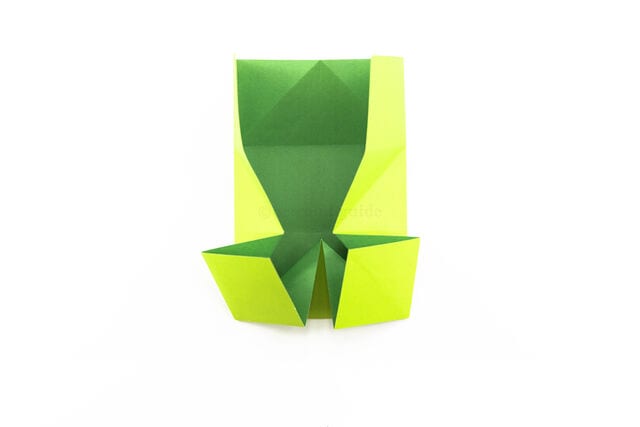
Step 19. Bring in the left edge, collapsing the bottom left corner in toward the center.
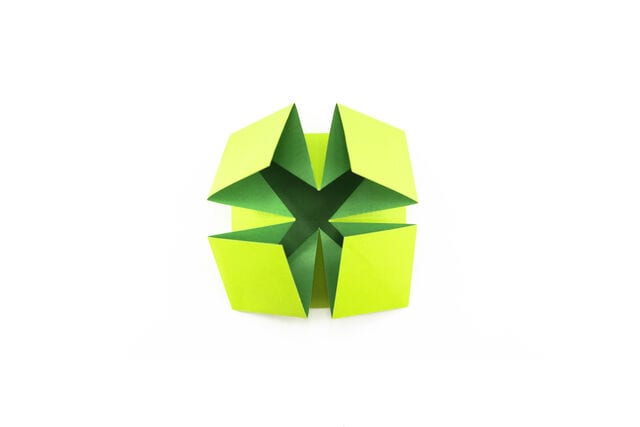
Step 20. Fold the top edge down, collapsing the top left and right corners.

Step 21. Rotate the model so that it’s in a diamond position.
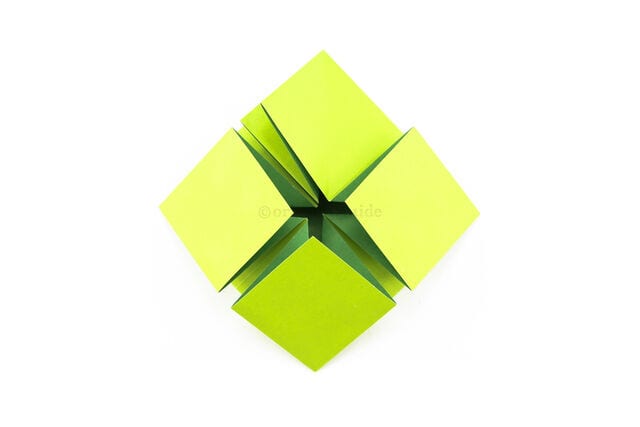
Step 22. On the top section, fold the right side of the flap over to the left.
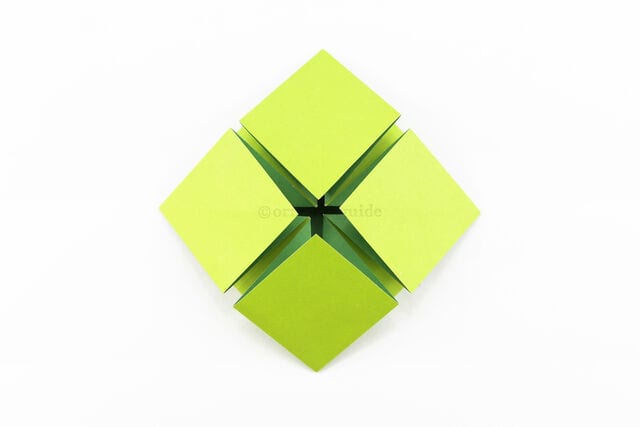
Step 23. Unfold the previous step.
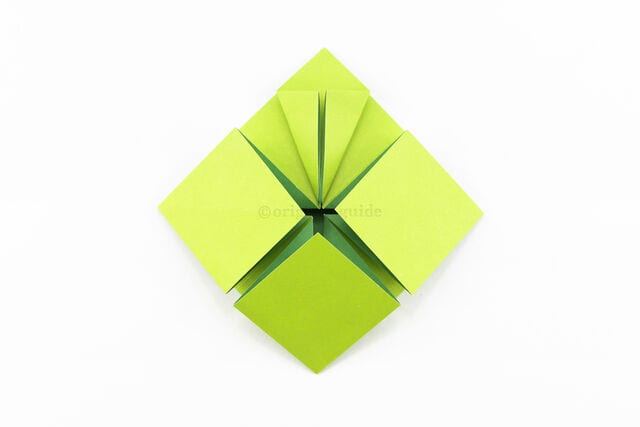
Step 24. Fold the lower left and right diagonal edges of the top section inwards to align with the central vertical crease.
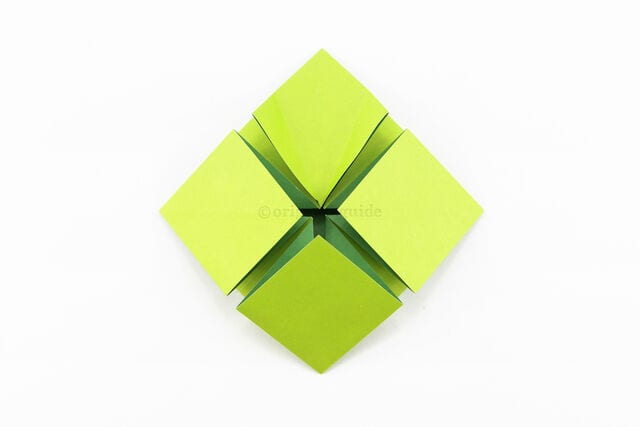
Step 25. Unfold the previous step.
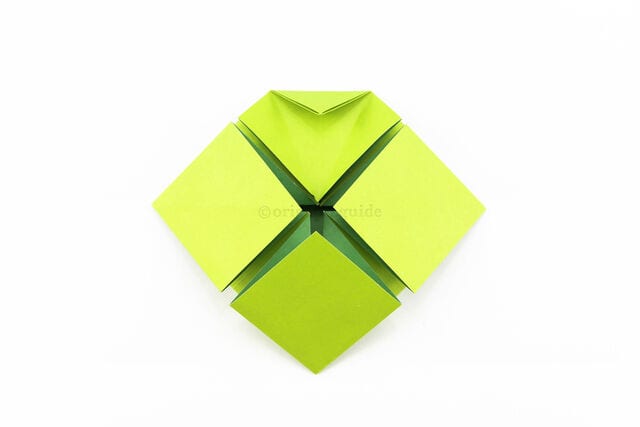
Step 26. Optionally, to make it easier, fold the top point down from where the previous creases end.
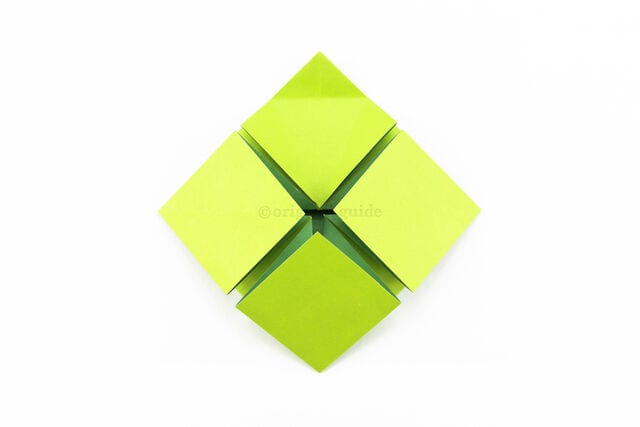
Step 27. Unfold the top point.
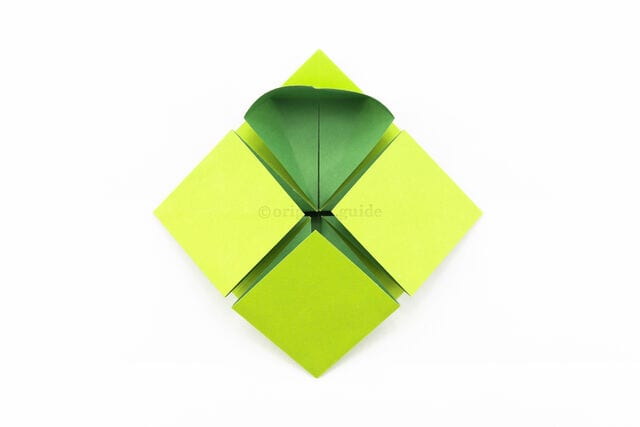
Step 28. Take the top section from the center and open it out and upwards, using the creases you made in the previous steps.
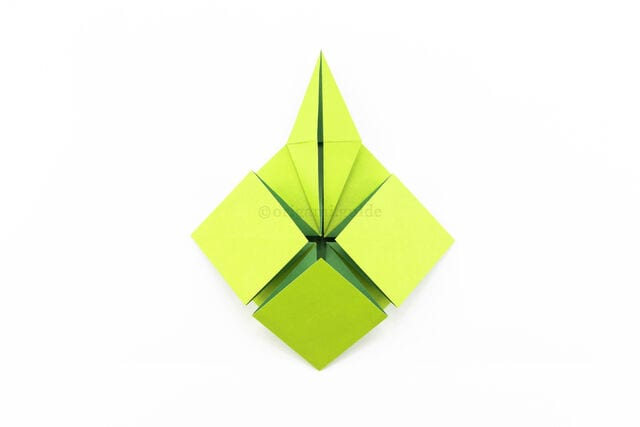
Step 29. Continue pushing the new flap upwards until it becomes a point and crease well.
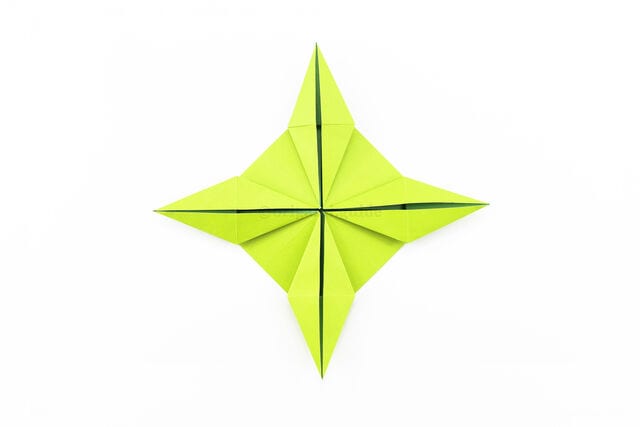
Step 30. Repeat steps 24-29 on the remaining three corner sections.
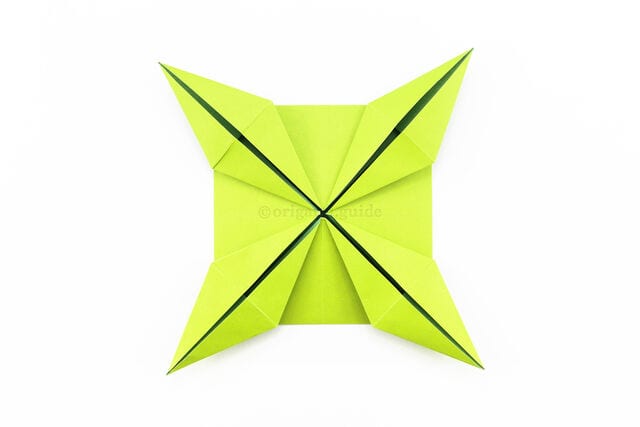
Step 31. This is now a completed origami table base.




