
Folding Paper into Fourths (4 x 4 Grid)
The 4 x 4 grid is one of those quiet, unglamorous skills that turns up again and again once you start folding. You meet it inside all kinds of projects — a neat little box, a photo frame, the base of a modular star, or the crease plan for a tessellation — usually without thinking twice about how it got there. Learning to lay down all sixteen squares cleanly by hand means you never have to guess or measure again: the creases themselves do the work for you.
The fold itself is almost anticlimactic in its simplicity. It is the same cupboard fold you use for miniature drawers and book spines, repeated once vertically and once horizontally, then undone to leave a crisp map of sixteen equal squares. Eleven steps, one square of paper, and a few minutes — let's fold our way to a perfectly divided sheet.
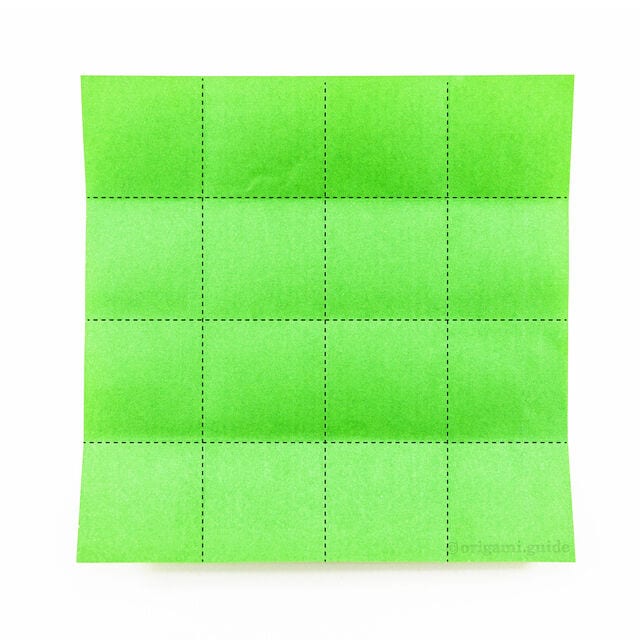
Learn how to create a 4 by 4 grid of creases on a square sheet of paper. This simple folding technique is very useful for numerous origami models.
STEP 1. This is the back of the paper (usually white). We will start by making an origami cupboard fold.
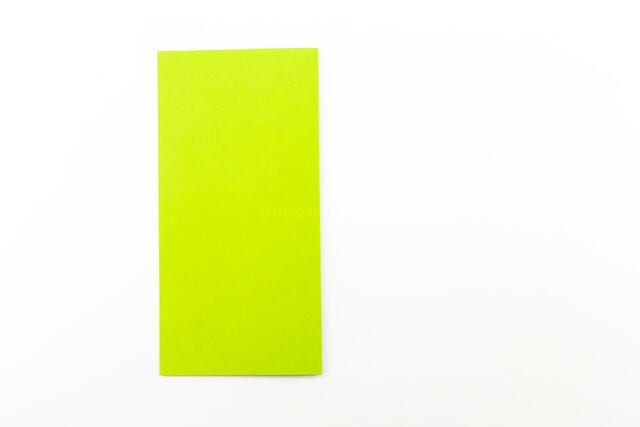
STEP 2. Fold the paper in half, from right to left.
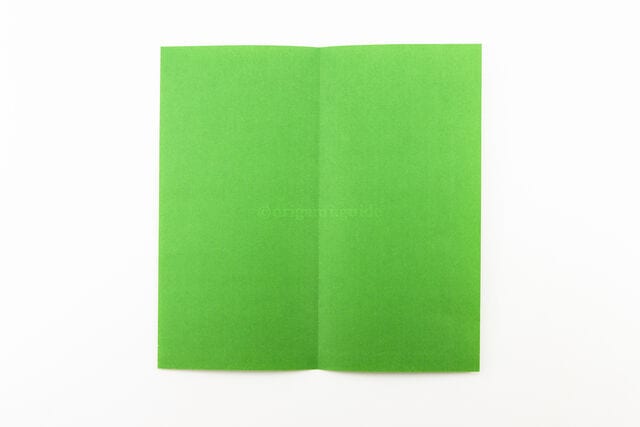
STEP 3. Unfold the previous step.
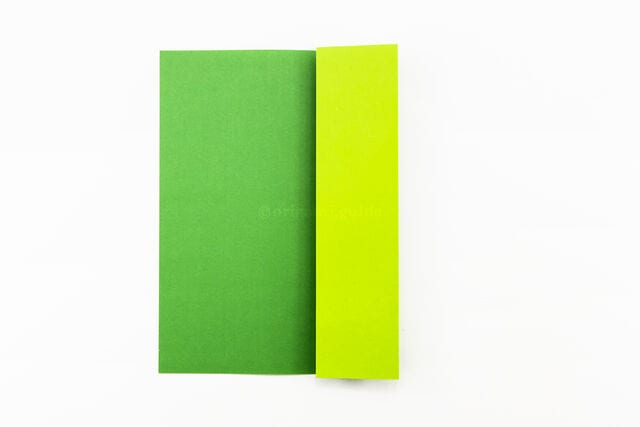
STEP 4. Fold the right edge to the central vertical crease.
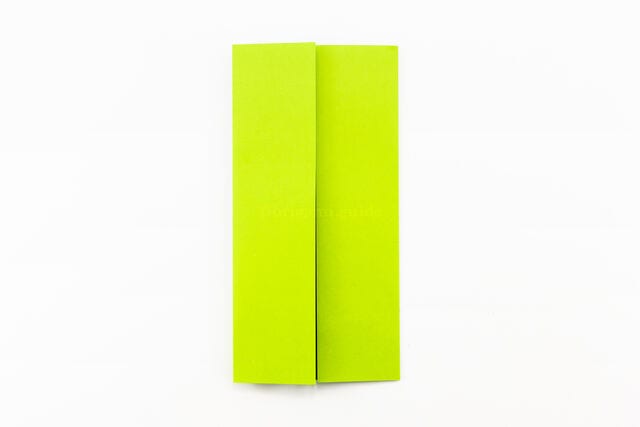
STEP 5. Fold the left edge to the central vertical crease. This is the origami cupboard fold.
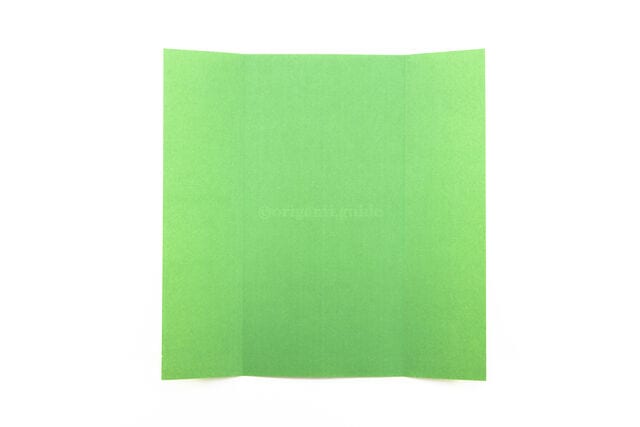
STEP 6. Unfold the paper completely.

STEP 7. Repeat the cupboard fold in the other direction. Fold the bottom edge up to the top edge.
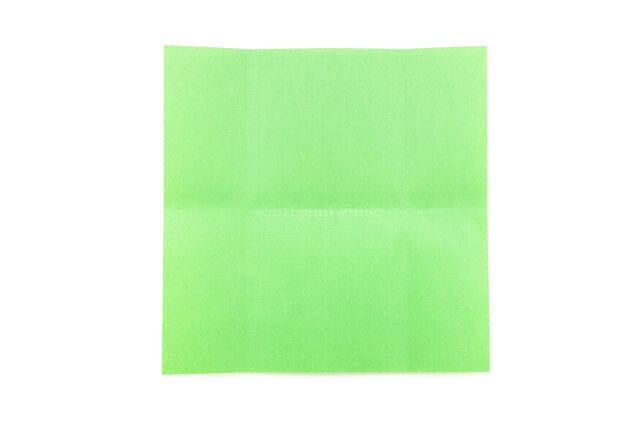
STEP 8. Unfold the previous step.
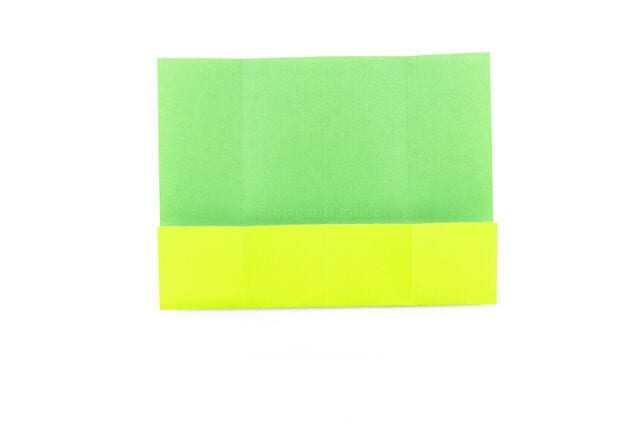
STEP 9. Fold the bottom edge up to the central horizontal crease.
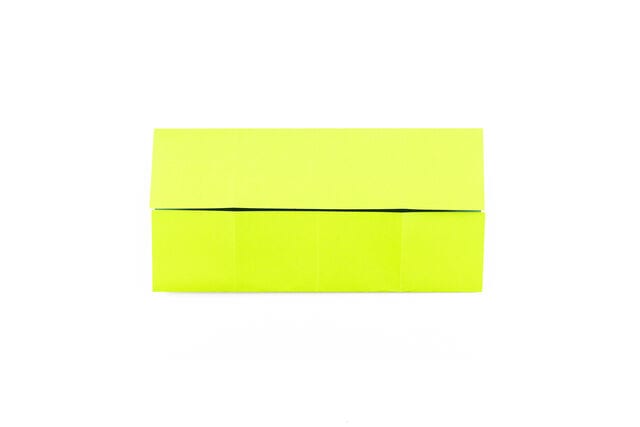
STEP 10. Fold the top edge down to the central crease.
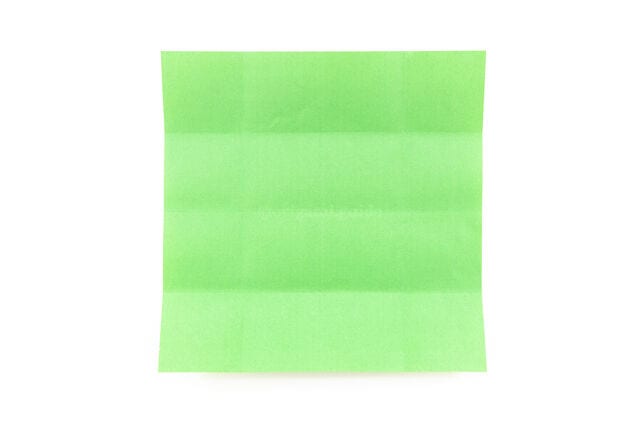
STEP 11. Unfold the previous step. You now have your paper folded into a 4 x 4 grid of creases.




