
Dress
There's something irresistibly charming about a tiny paper dress — it looks like it belongs in a dollhouse or on the front of a handmade greeting card. This little project starts from a plain square sheet and, with a handful of simple folds, blooms into a flared-skirt "princess dress" that's cute enough to pin up on the wall.
Pick your favorite paper and let your imagination run: soft pastels for a fairy-tale feel, bold navy for something more grown-up, or a playful polka-dot print just for fun. However you fold it, you'll end up with a sweet little dress you'll be proud to show off.
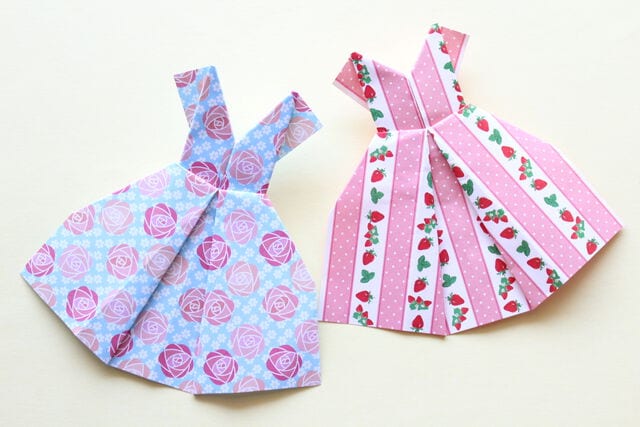
I’ll show you how to fold a paper dress with origami. The steps are explained with clear photos, so feel free to follow along at your own pace.
How to Fold a Paper Dress
Hi everyone, and thank you for visiting our blog!
Today we’re folding a cute little dress from a single sheet of origami paper.
The skirt flares out softly like a real dress, which makes it look sweet and adorable.
It looks lovely folded from cheerful pinks and yellows, or from more grown-up shades like soft blue and navy.
It’s also fun to make with patterned paper — florals and polka dots work beautifully!
What color will you choose? Try a few different sheets and see which you like best.
However you fold it, I hope you enjoy making your own little paper dress.
What the Finished Dress Looks Like
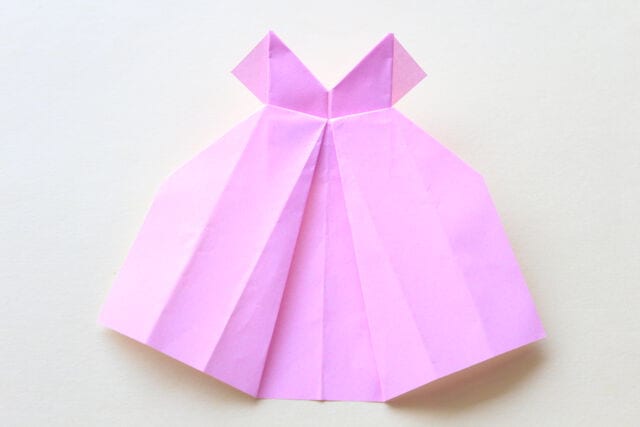
When you’re done, you’ll have a dress just like the one shown above.
The skirt puffs out like a princess gown, and it’s really cute.
It makes a charming wall decoration, too!
The folding itself is simple.
One last thing: you’ll need scissors for the final step, so have a pair ready.
You’re going to end up with a really pretty little dress.
How to Fold the Dress
STEP 1. Fold the square sheet of origami paper in half.
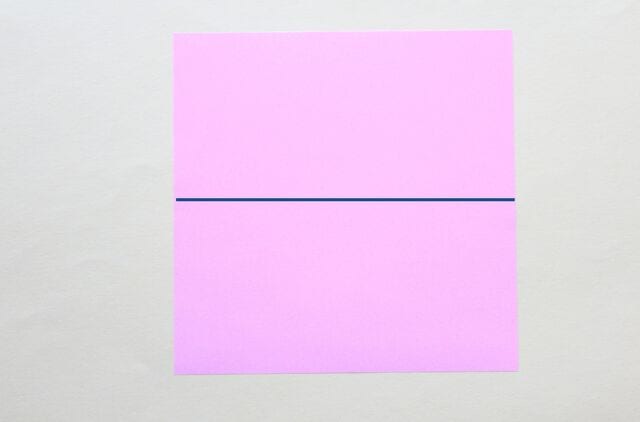
STEP 2. Fold the top and bottom edges toward the center.
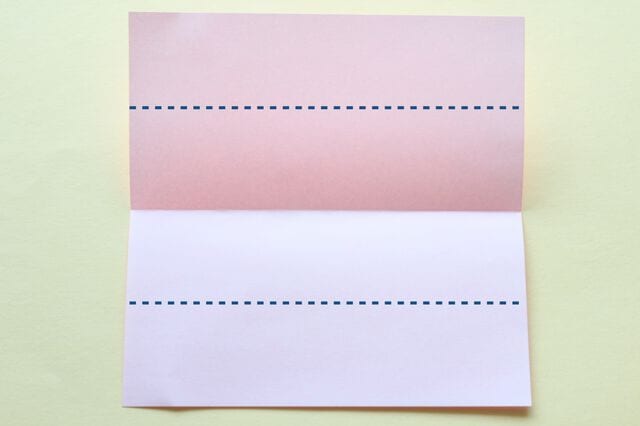
STEP 3. Turn the paper over and fold along the dotted line.
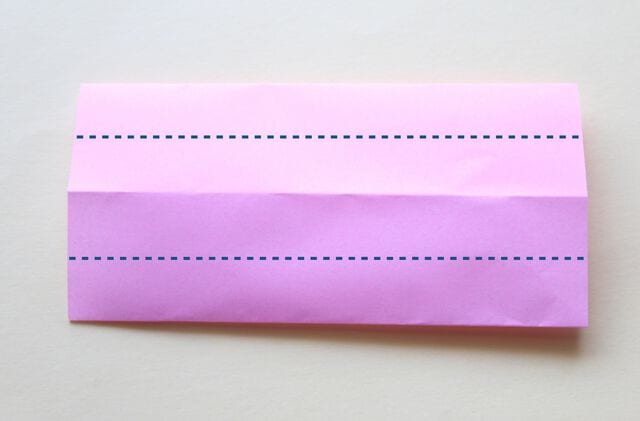
STEP 4. Turn the paper over.
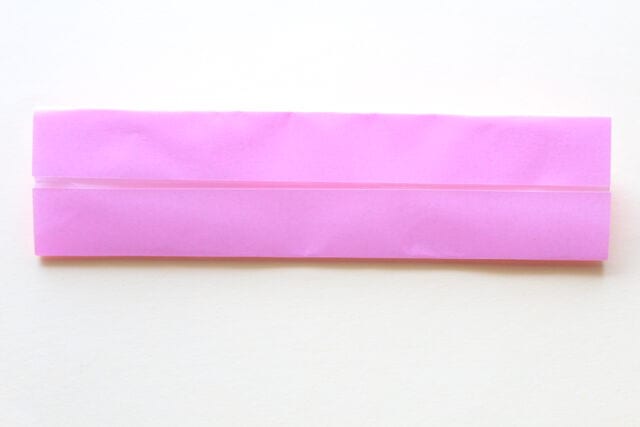
STEP 5. Lift and open the top layer.
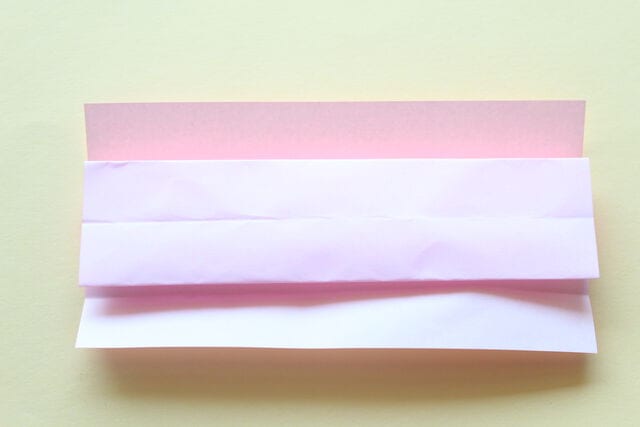
STEP 6. Fold along the dotted line.
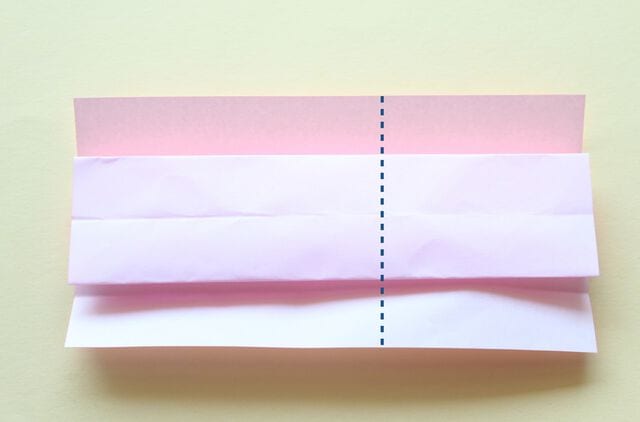
STEP 7. Fold along the dotted line.
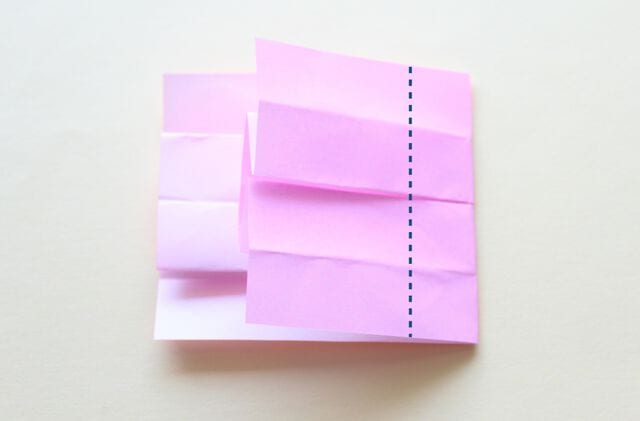
STEP 8. Turn the paper over and rotate it.
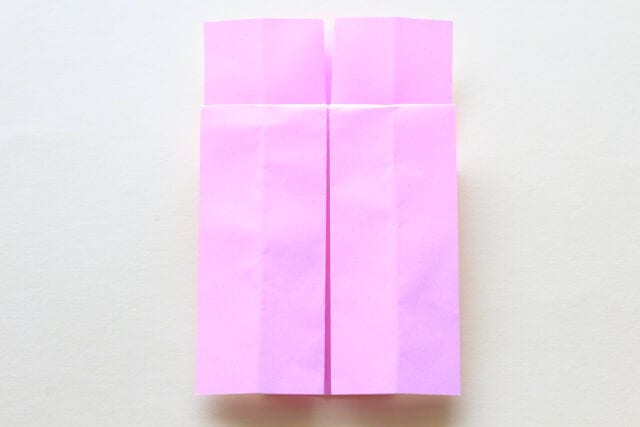
STEP 9. Pull it to the right and fold along the dotted line.
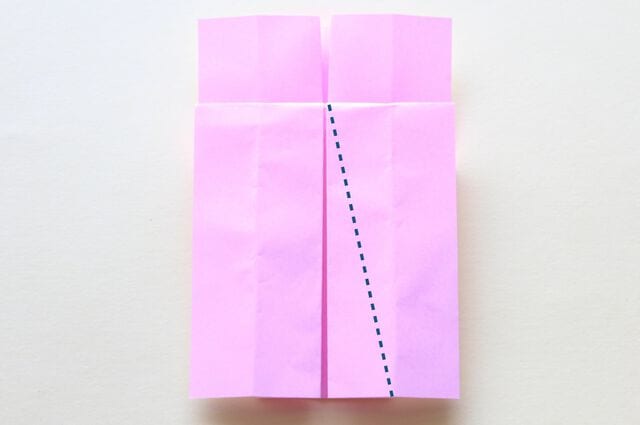
STEP 10. Fold it diagonally while shifting it in the direction of the arrow.
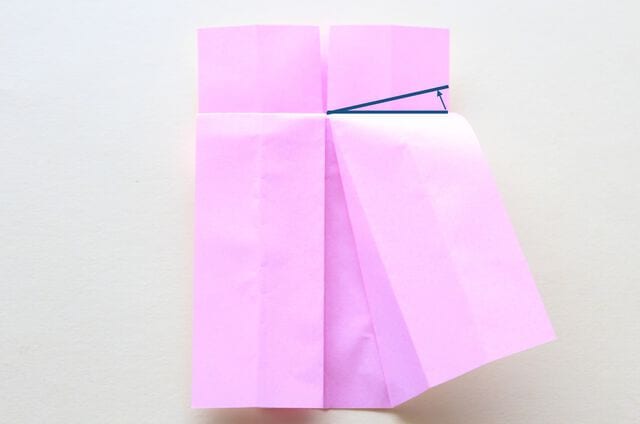
STEP 11. Fold the other side in the same way.
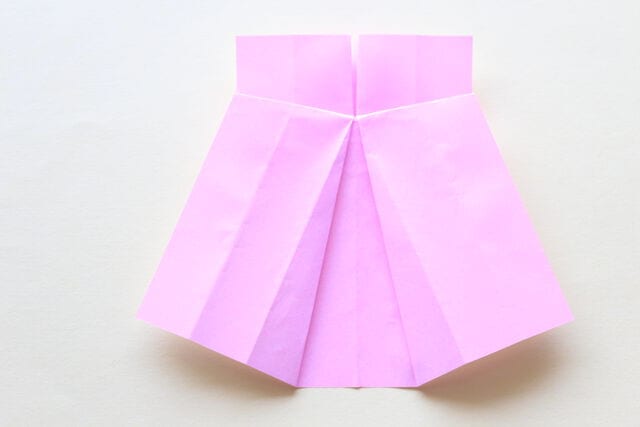
STEP 12. Turn the paper over and fold along the dotted line.
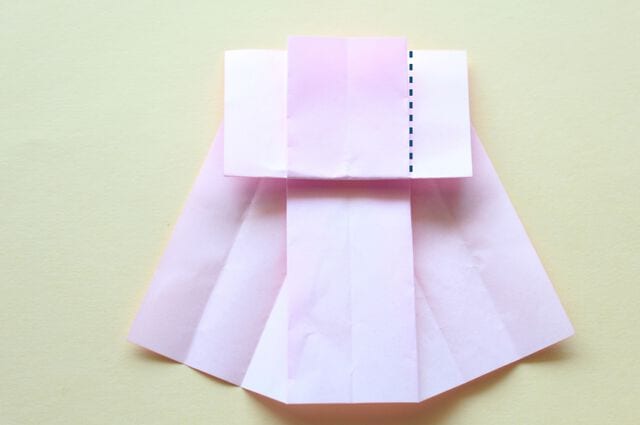
STEP 13. Open it into a triangle and squash it flat.
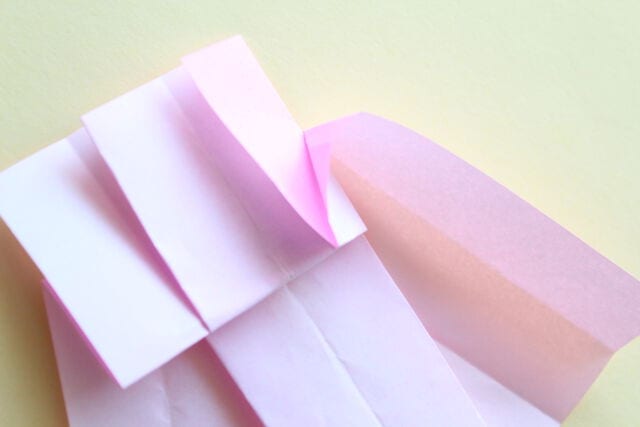
STEP 14. You should now have a shape like this.
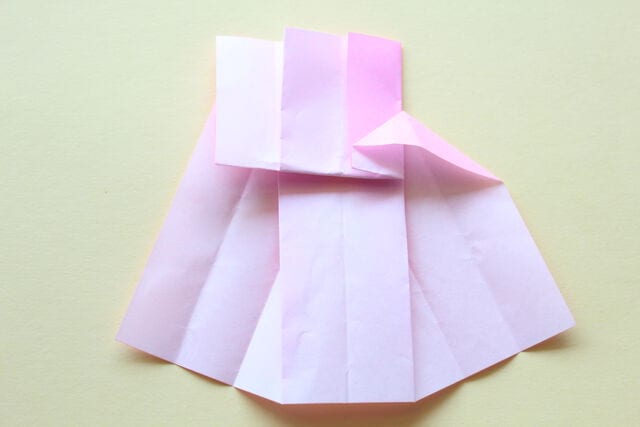
STEP 15. Fold the other side in the same way.
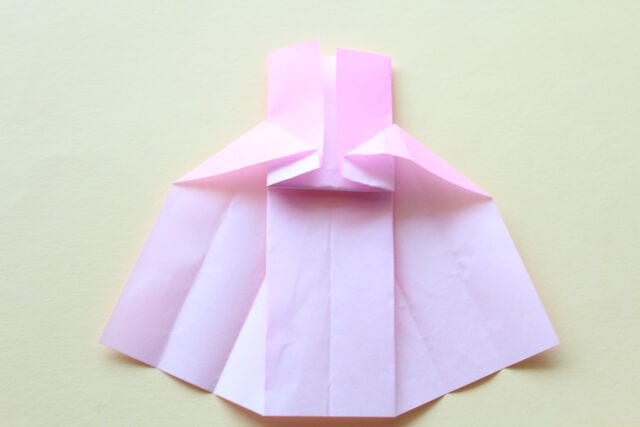
STEP 16. Fold along the dotted line.
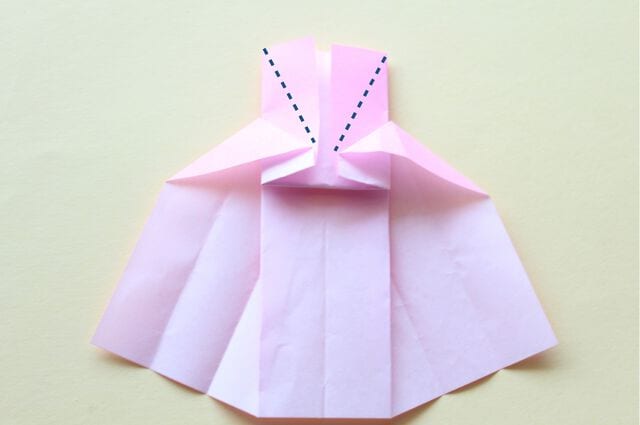
STEP 17. Turn the paper over.
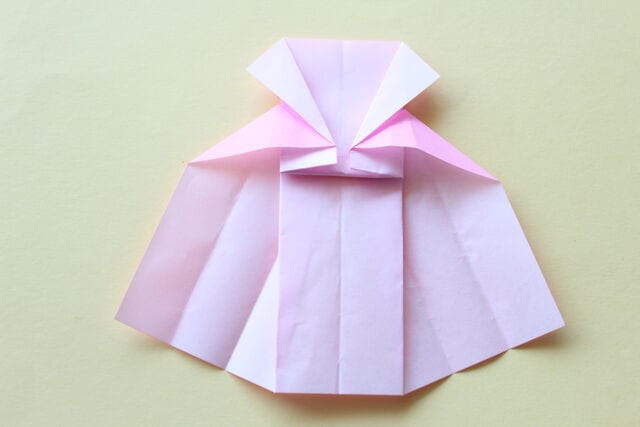
STEP 18. Cut a notch along the red line with scissors, then fold the flap over to the other side along the blue line.
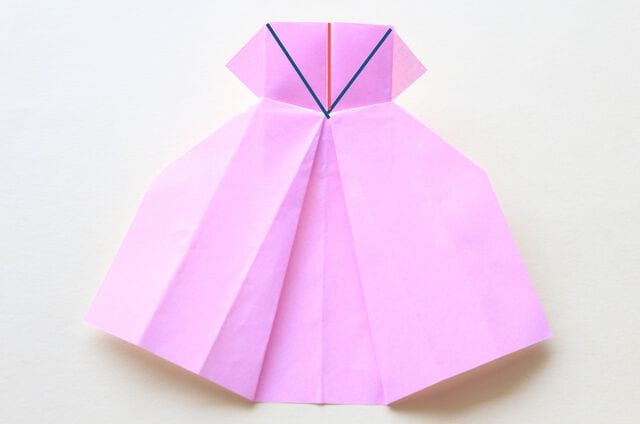
Complete!




