
Origami Diamond Base
The diamond base is one of those quiet little folds that shows up everywhere once you start looking. It's the closest thing origami has to a ready-made kite: four neat triangular flaps tucking in toward the middle, all held together by a single diagonal crease. You've probably seen it hiding inside boats, hats, boxes and even some animal models — and most people don't even know it has a name.
Despite how professional it looks when finished, it only takes five creases and about a minute to make. The whole fold is basically a kite fold repeated four times, so once it clicks you'll start recognizing it in models you already know. Grab a square of paper — color side down if it's double-sided — and let's fold one together.
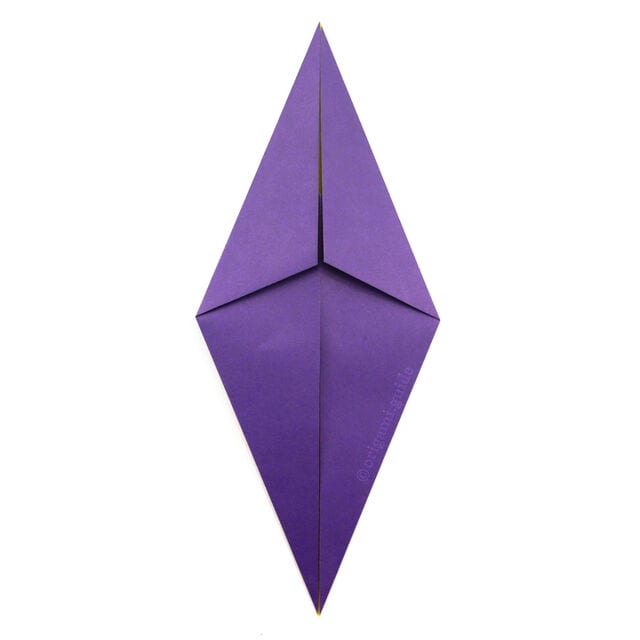
Learn how to make an origami diamond base. This easy origami base fold is used to make many different origami models.
The origami diamond base starts off with the origami kite fold technique. It’s very easy to make and has just five creases!

STEP 1. This is the back of the paper (usually white).
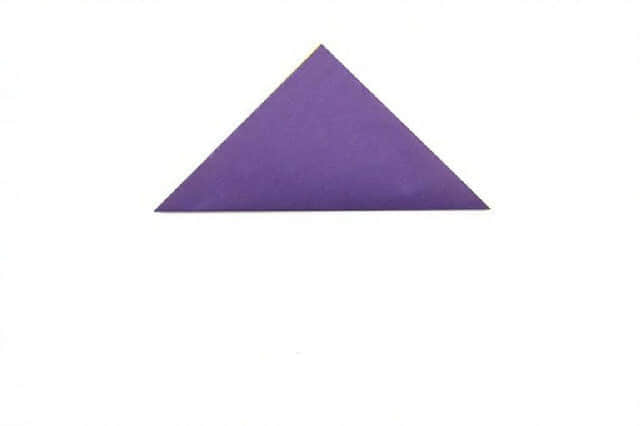
STEP 2. Take the bottom corner and fold it up to the top corner to create a central crease.
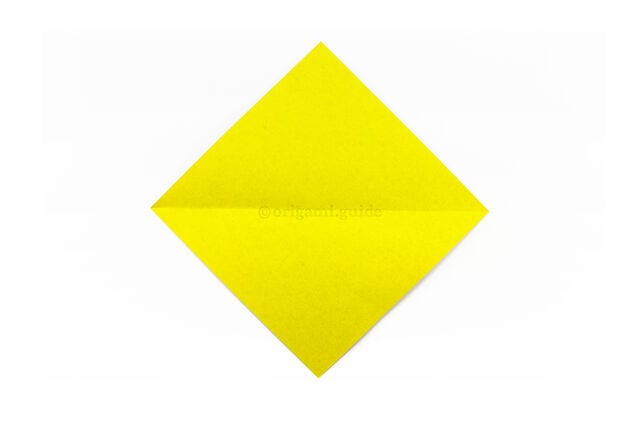
STEP 3. Unfold the previous step.
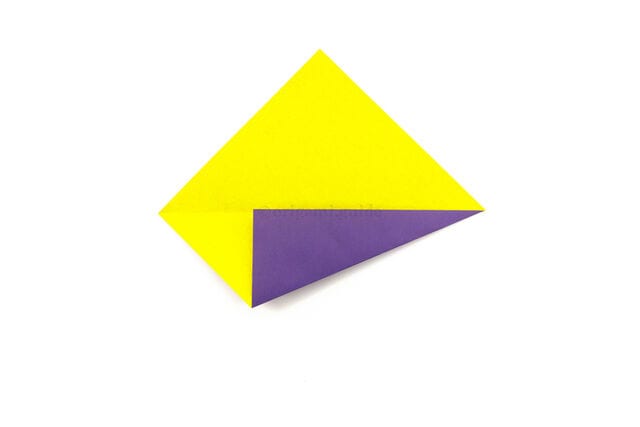
STEP 4. Take the bottom right diagonal edge and fold it up to align with the central crease.
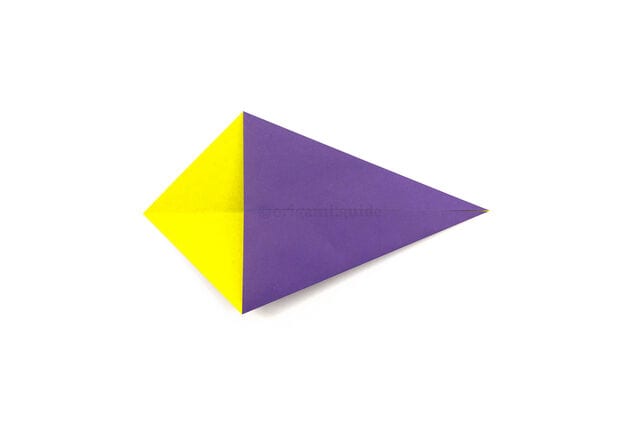
STEP 5. Fold the top right diagonal edge in to align it with the central crease.
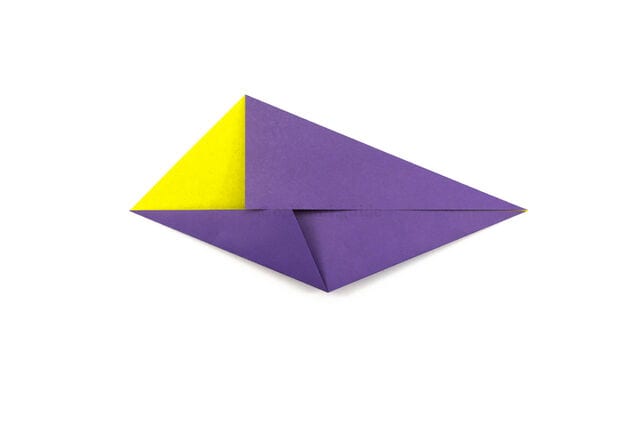
STEP 6. Next, take the bottom left diagonal edge and fold it in to align with the central crease.
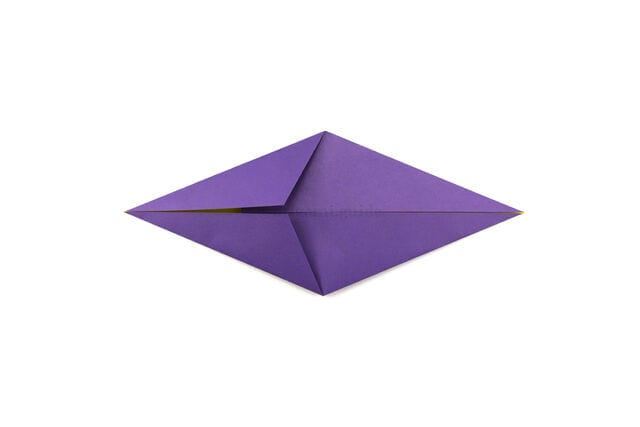
STEP 7. Finally, take the top left diagonal edge and fold it in to align with the central crease.
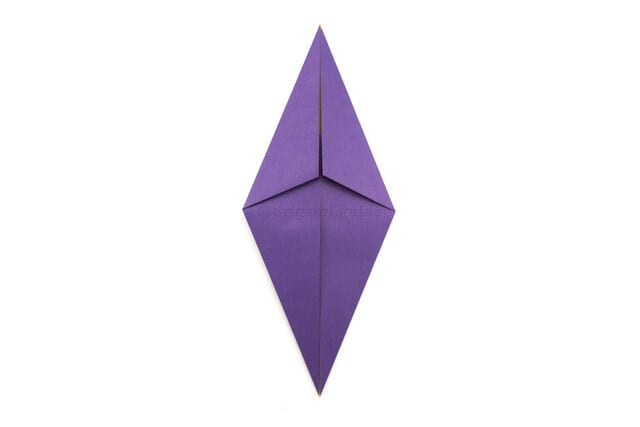
STEP 8. Rotate the paper — your completed origami diamond base is ready.




