
Origami Chair: Simple 7-Step Version
Some origami models are impressive because they are complicated; this chair is impressive because it is not. It is one of the friendliest furniture folds there is, and almost all of it comes down to the same move repeated: corners to the center, three times over, with a flip of the paper in between. Then a single squash fold in each corner does the clever part, and the flat square turns into a little chair that actually stands. No cutting, no glue, no tricky collapse. If you have a square of paper and five spare minutes, you already have everything you need. Two contrasting colours look especially good here, since the inside of the paper shows through at the seat.
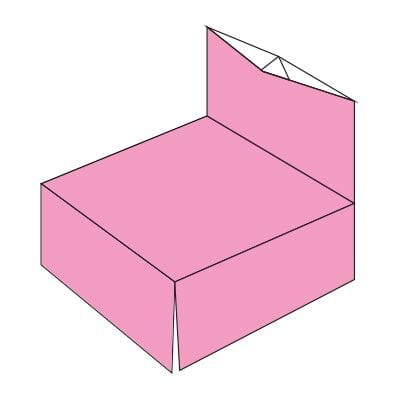
These instructions show you how to fold a simple traditional origami chair. It is a classic model, and a friendly one to start with: the whole chair is built from three rounds of corner-to-center folds and a single squash fold in each corner. If you are just beginning with paper folding, take a moment to practise the basic folds and bases first, then come back to this one.
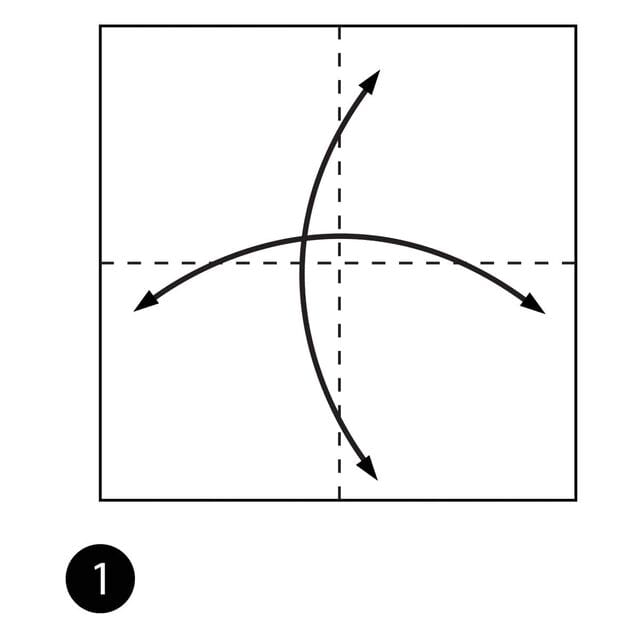
STEP 1. Fold the paper in half and unfold it, both ways.
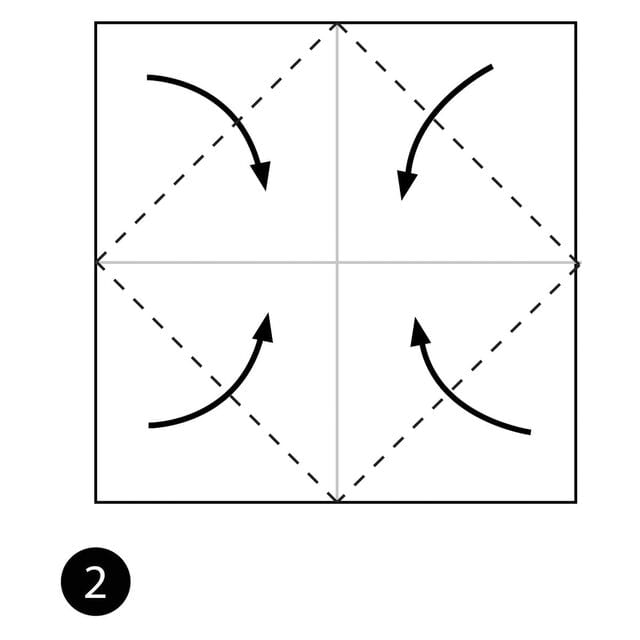
STEP 2. Fold the four corners to the center of the paper.
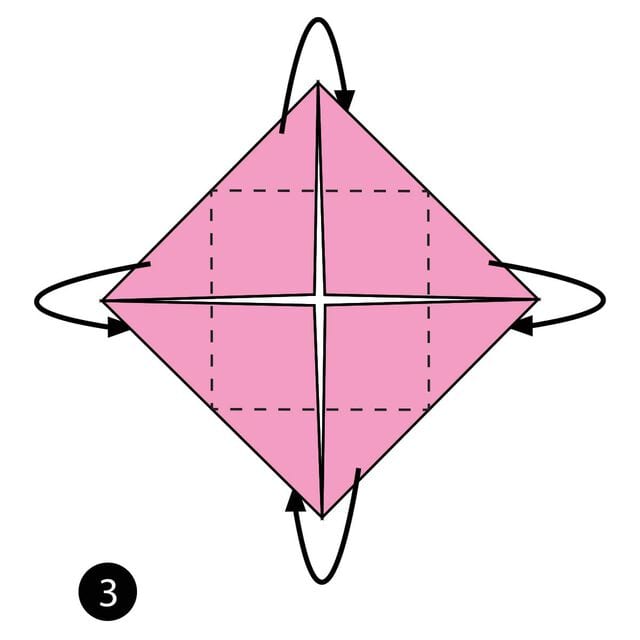
STEP 3. Fold the four corners to the center again, this time on the back of the model.
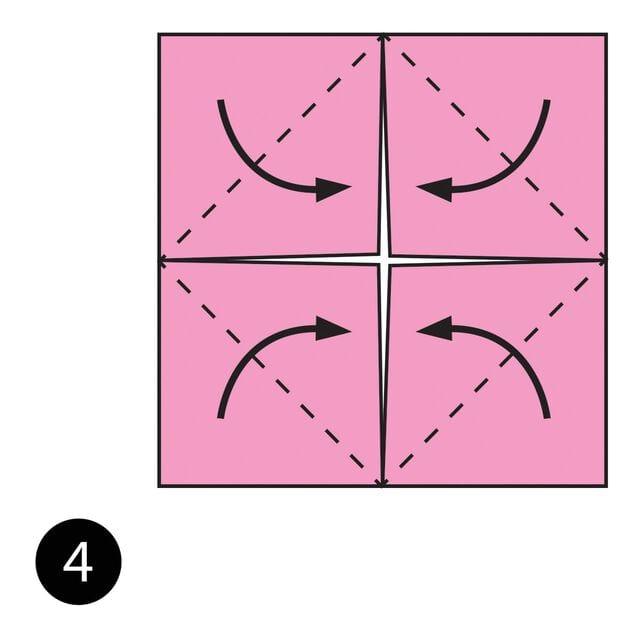
STEP 4. Fold all four corners to the center of the paper one more time.

STEP 5. Turn the paper over.
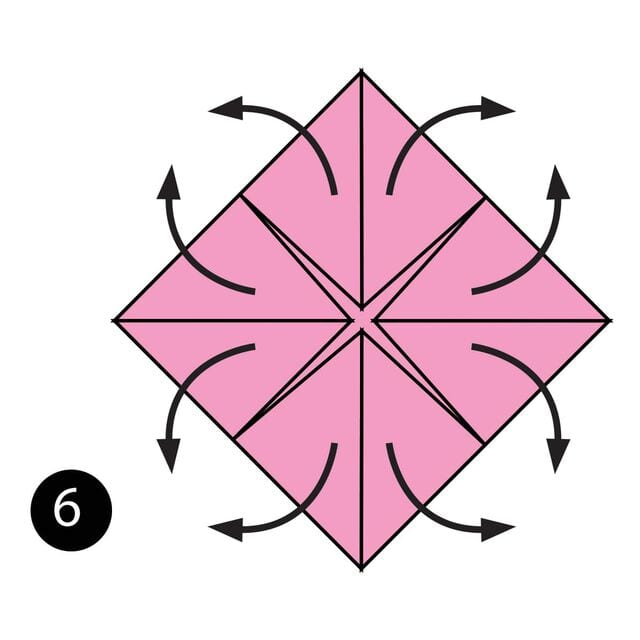
STEP 6. Open the four flaps and squash-fold them flat.
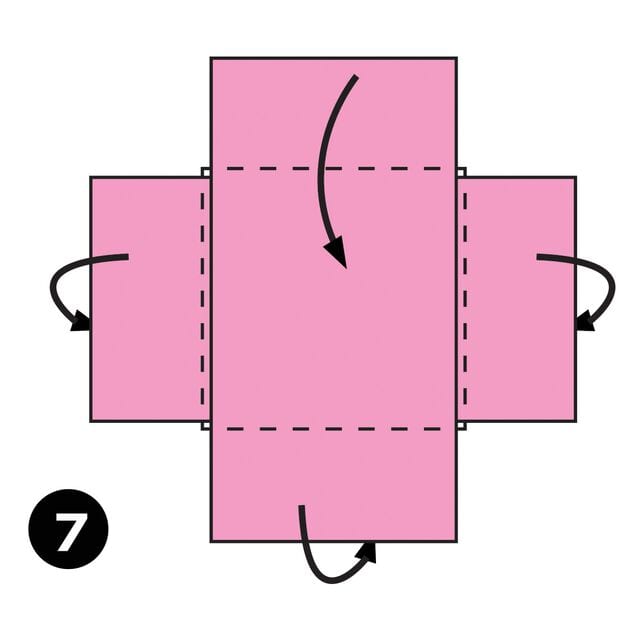
STEP 7. Fold the top flap down to make the back of the chair, and fold the side and bottom flaps down to form the base.
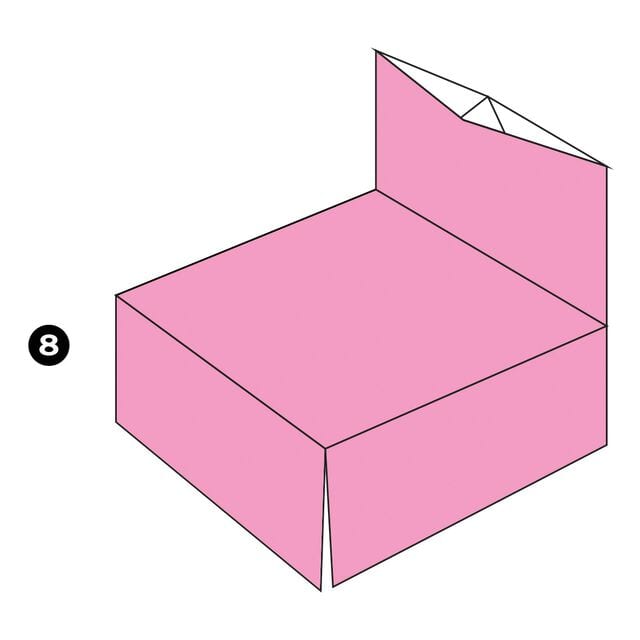
The finished origami chair.




