
Origami Medal: How to Fold a Paper Medal for Sports Day and Parties
There is something quietly satisfying about a medal made by hand. You get the same little rush of pride as a real one, except it is folded from a single square of paper and you can make one for every kid on the team. This model looks more complicated than it is: the first half is just creases and folds to the center line, and the second half is the same overlap-and-flatten move repeated in all four corners. By the end you have a round, layered badge that feels surprisingly solid in your hand. Then comes the fun part — a ribbon stapled to the back and a round sticker over the middle, and suddenly it is something you can actually wear. Fold one in your favorite color and see.
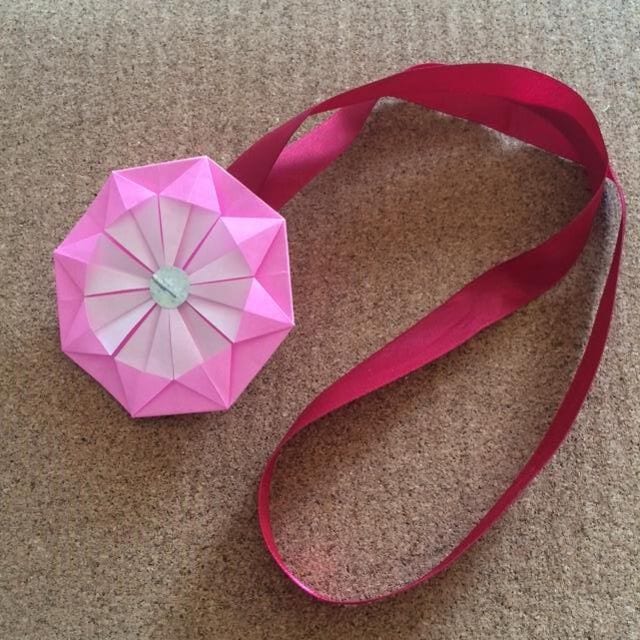
This is a paper medal you can fold for sports day, birthday parties and other celebrations.
I still remember breaking a bone as a child, and my son also learned to make this medal at nursery school. Even small children can fold it easily once you show them how, so try folding one together.
Now, let me show you how to fold an origami medal.
How to fold an origami medal
This time I will show you the folds with a video and photos of a finished model. You only need one sheet of origami paper, but a few other things are needed as well, so keep them handy in advance.
Let’s start folding. For this tutorial I used the video as a reference.
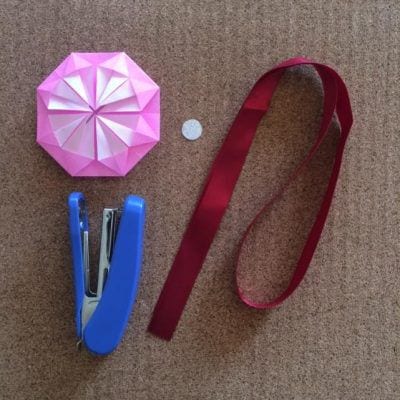
STEP 1. First, make the base of the medal.
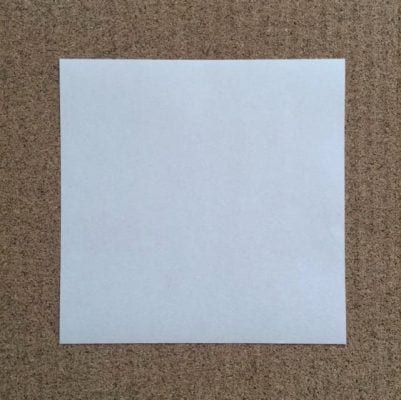
STEP 2. Fold it in half into a triangle, then unfold and leave the crease.
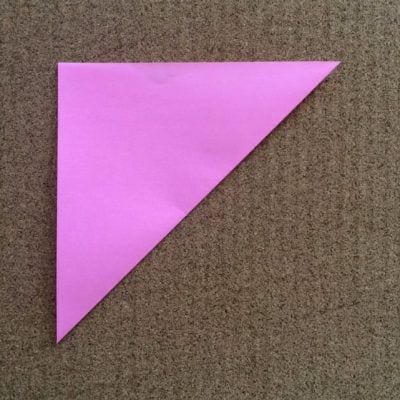
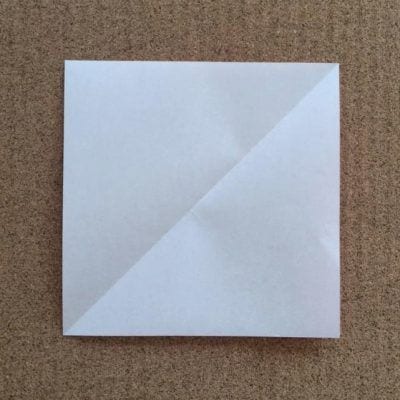
STEP 3. Fold it in half into a triangle on the other side, then unfold and leave the crease.
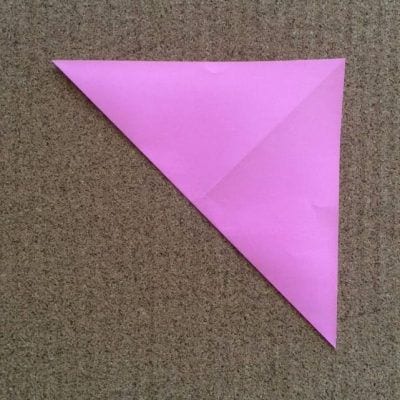
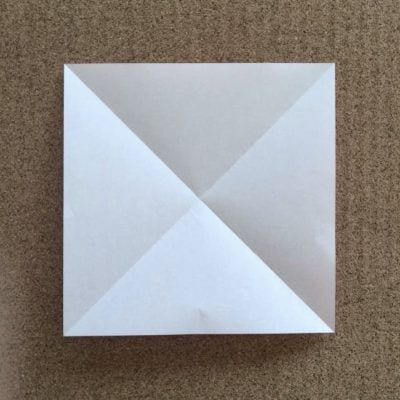
STEP 4. Fold it in half from right to left, make a crease and unfold.
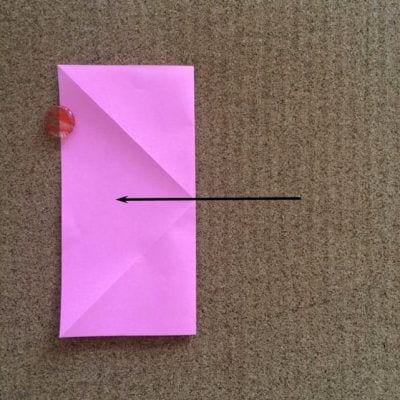
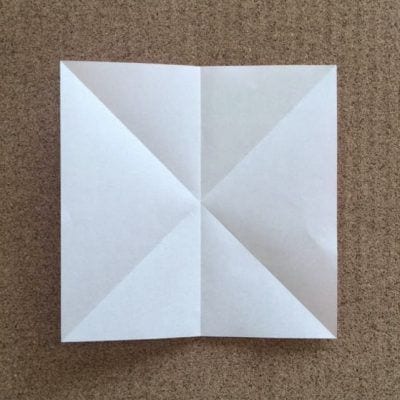
STEP 5. Fold it in half from bottom to top, make a crease and unfold.
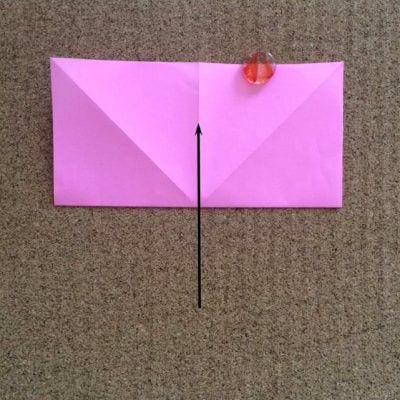
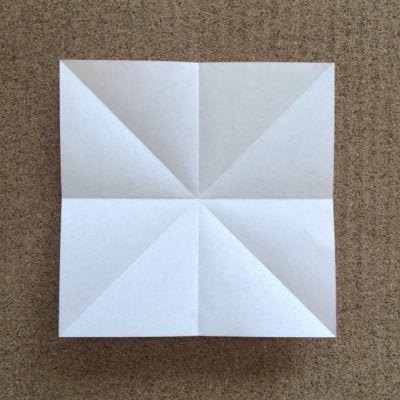
STEP 6. Fold the top and bottom edges to the horizontal center line.
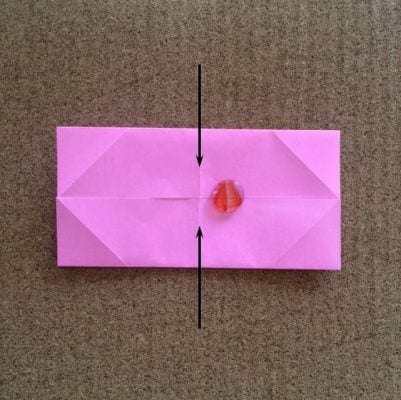
STEP 7. Fold the left and right edges to the vertical center line.
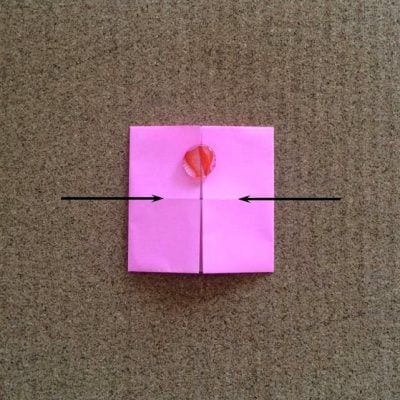
STEP 8. Open the right flap back out, lift the inside open and press the crease down firmly.
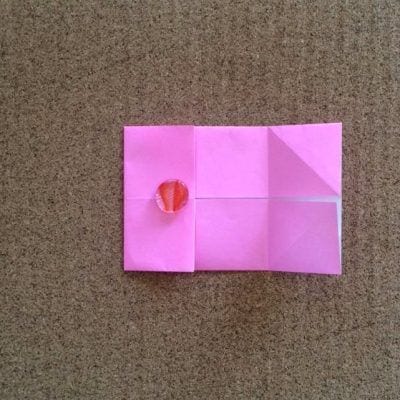
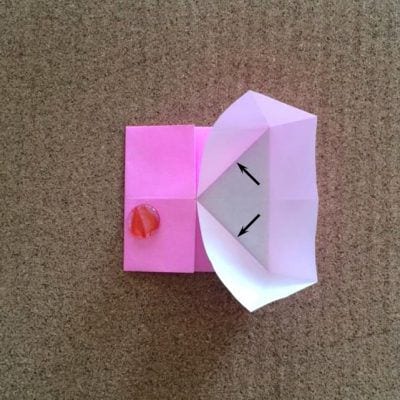
STEP 9. Following the creases, fold the top and bottom into triangles.
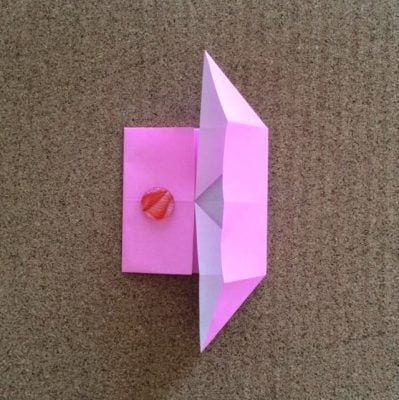
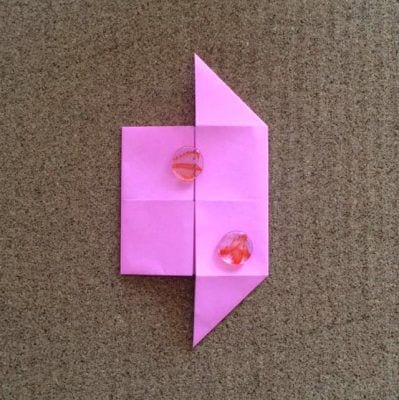
STEP 10. Do the same on the left: open the flap back out, lift the inside open and press the crease firmly.
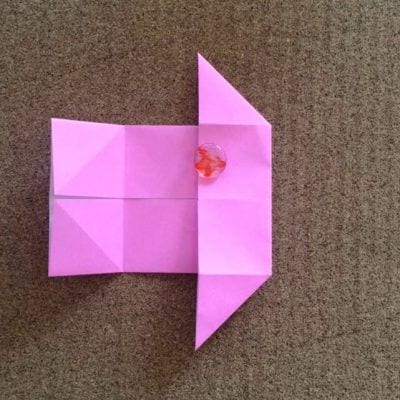
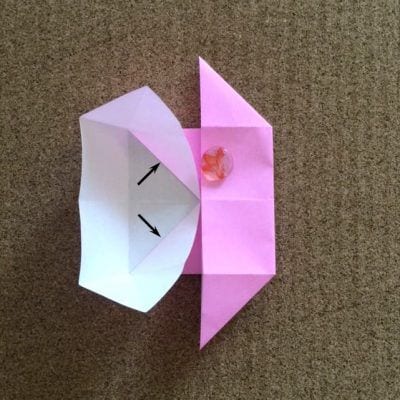
STEP 11. Following the creases, fold the top and bottom into triangles.
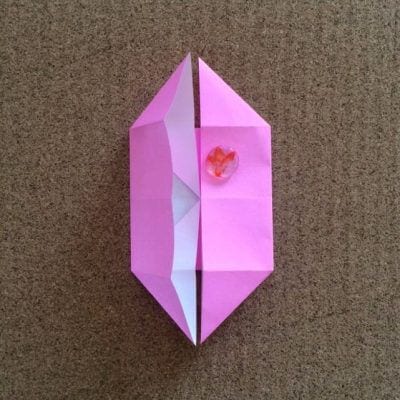
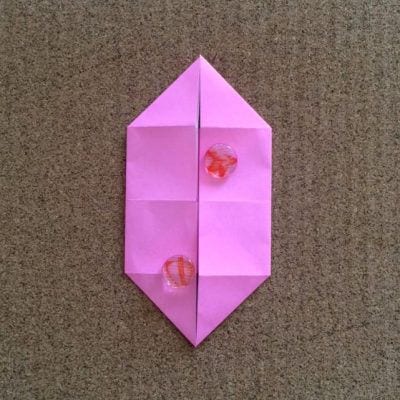
STEP 12. Push the lower part of the right side out to the right, starting from the base.
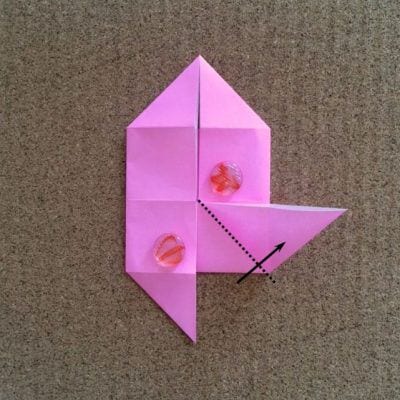
STEP 13. Open the inside and flatten it into a square.
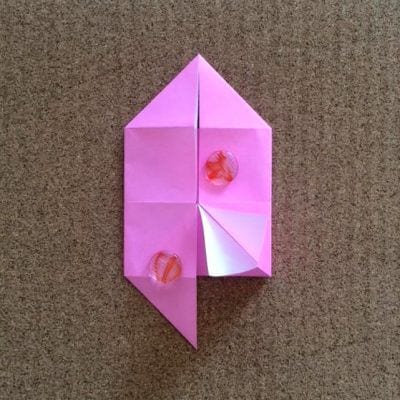
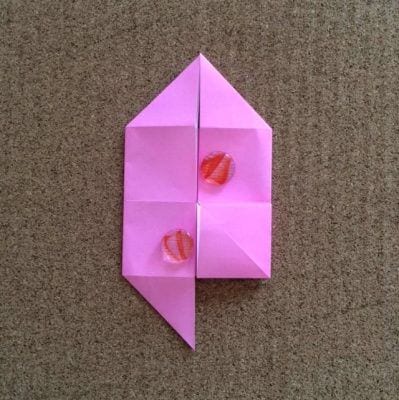
STEP 14. Push the upper part of the right side out to the right, starting from the base.
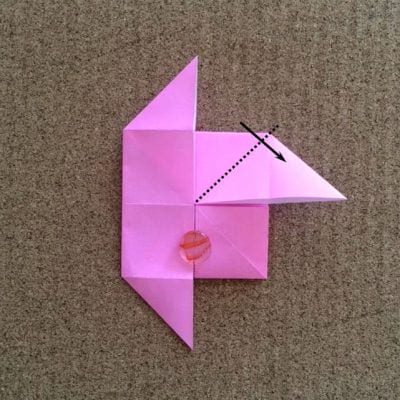
STEP 15. Open the inside and flatten it into a square.
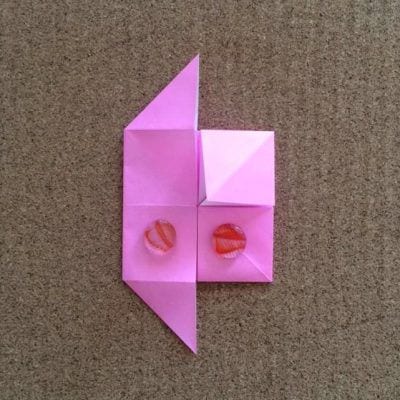
STEP 16. Do the same on the left, folding the top and bottom out into squares.
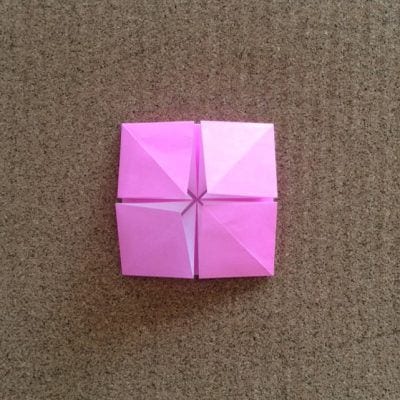
STEP 17. Fold the left and right sides of the square flaps to the center line.
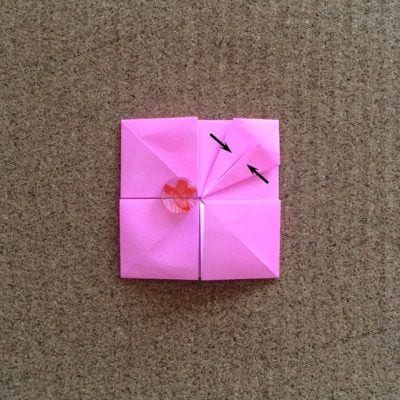
STEP 18. Repeat on the other three flaps.
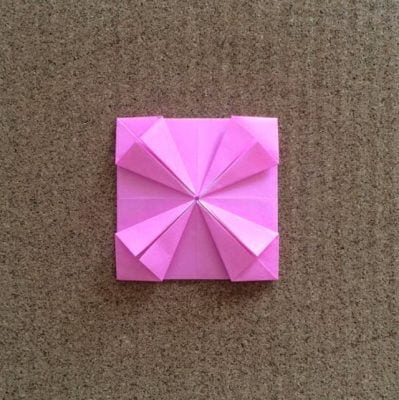
STEP 19. Open the part shown by the arrow and fold it into a triangle.
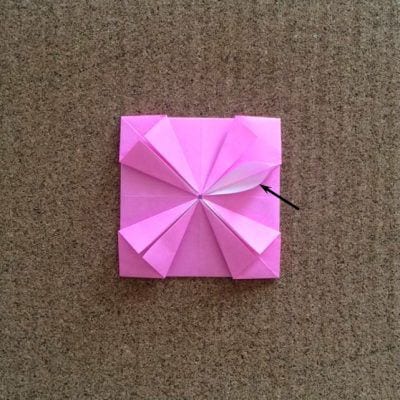
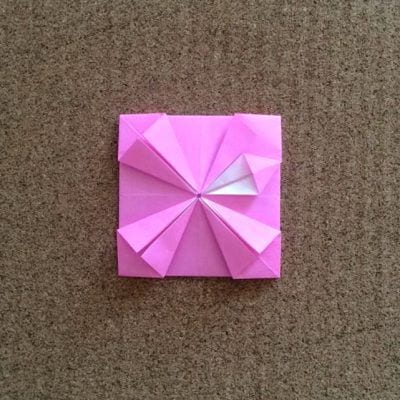
STEP 20. In the same way, open the next part and fold it into a triangle.
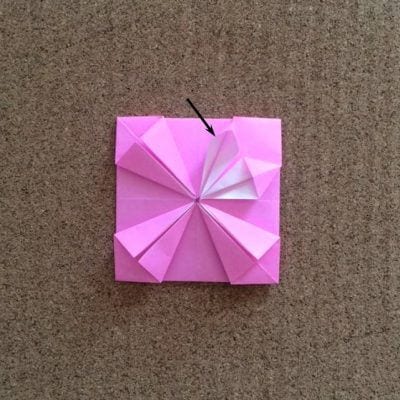
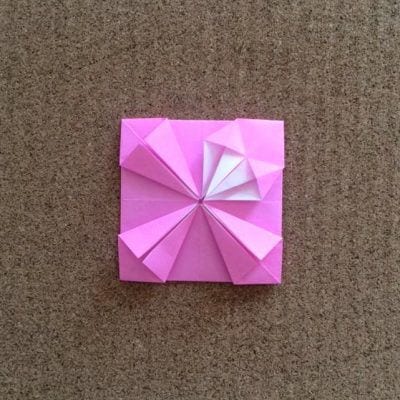
STEP 21. Repeat on the other three flaps.
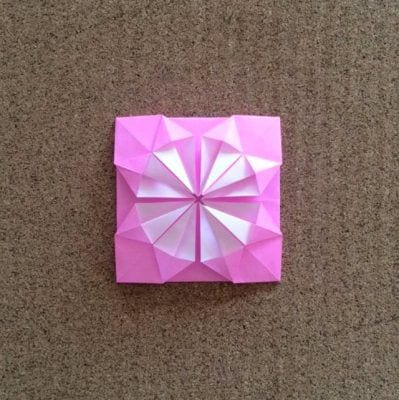
STEP 22. Fold all four corners to the back.
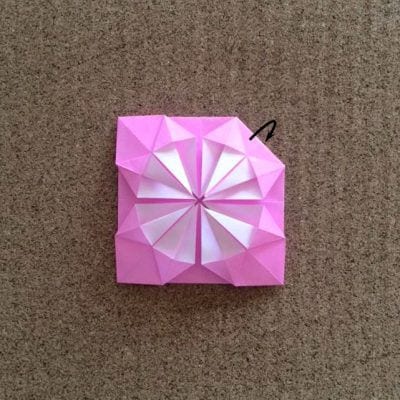
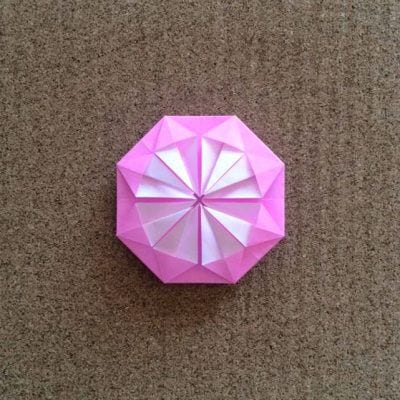
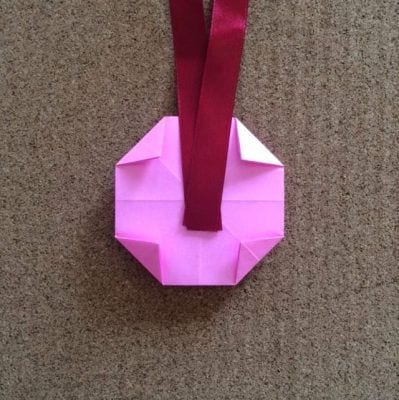
STEP 23. Bring both ends of the ribbon to the center of the back and staple them in place.
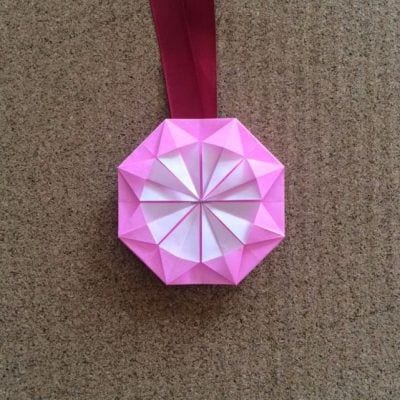
STEP 24. Stick a round sticker over the center to hide the staple.
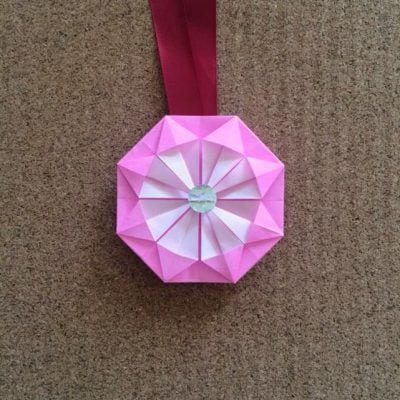
STEP 25. The medal is complete!
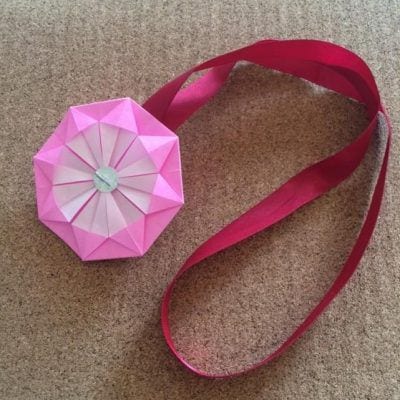
Nice work!
How did it turn out?
Fold as many as you like in your favorite colors.




