Turkey
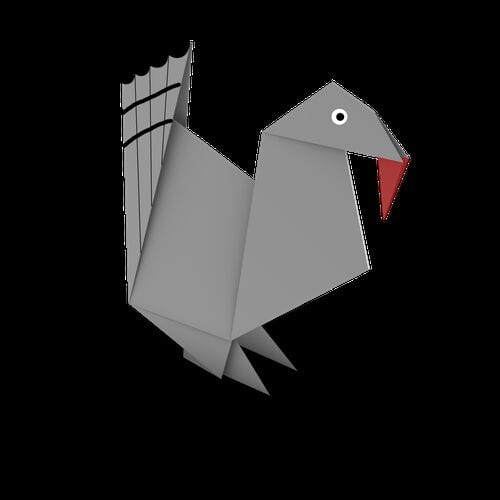
There is no paper craft that says Thanksgiving quite like a hand-folded turkey, and this one earns its place at the table with a proper fan of tail feathers and a little folded beak. Eighteen steps sounds like a lot, but each one is small, and the model builds up logically from a basic fold.
Set aside a square of paper you would not mind showing off — duo-colour stock looks especially good when the feathers flip open — and give yourself a relaxed half hour. By the end you will have a turkey worth photographing before it disappears into a wreath or a card.
Step 1.
Take a square sheet of paper, fold it in half sideways to make a crease and unfold.






Step 2.
Fold the bottom side edges to meet the center line and unfold.





Step 3.
Fold the top part downward and fold the side flaps to the center line again.





Step 4.
Fold the top corners backward to meet the center line and unfold.






Step 5.
Unfold the corners and make the two halves of the top edge meet the center line of the model.





Step 6.
Fold the bottom parts of the flaps upward.





Step 7.
Fold the tips downward.



Step 8.
Fold the model in half sideways.
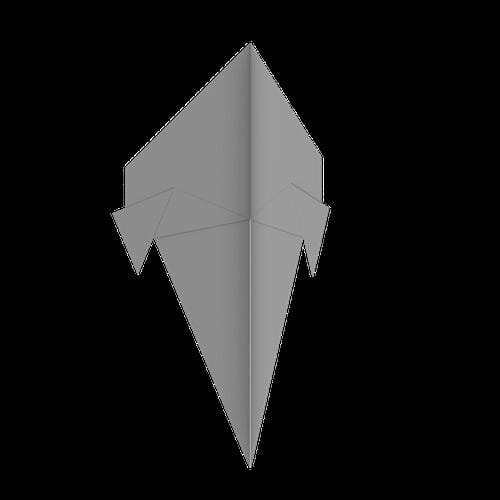


Step 9.
Fold the top part downward, creasing from the left corner to the right edge.



Step 10.
Fold the bottom part upward and unfold.
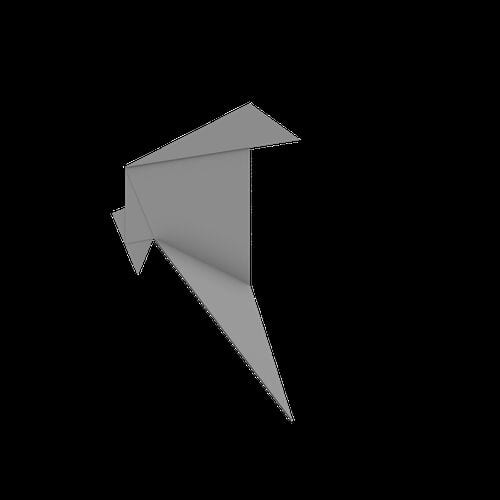
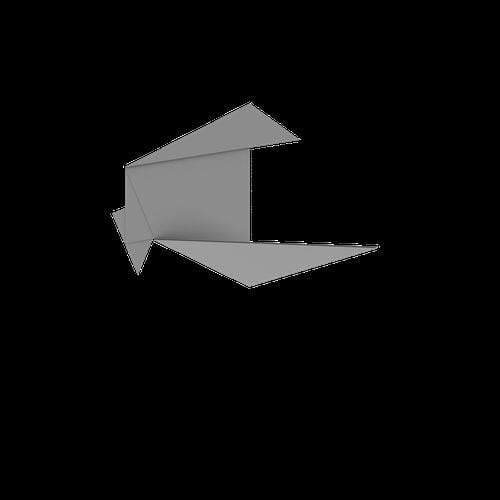

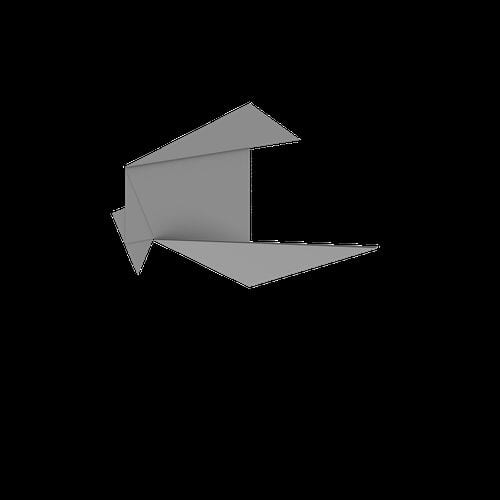
Step 11.
Unfold the top part.




Step 12.
Unfold the model.


Step 13.
Turn the top and the bottom parts inside out as hoods.



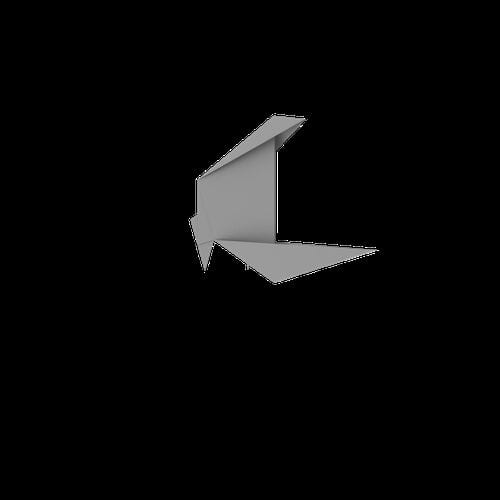

Step 14.
Fold the right part downward and unfold.


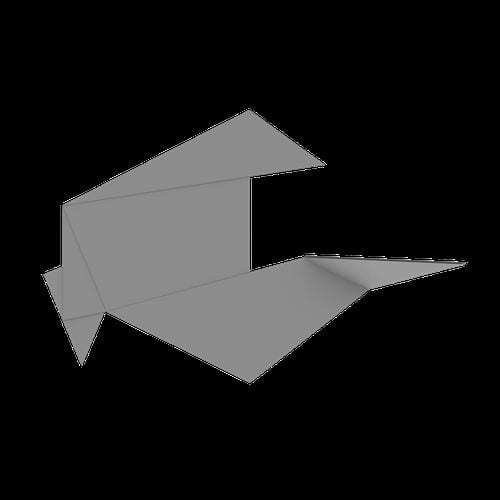
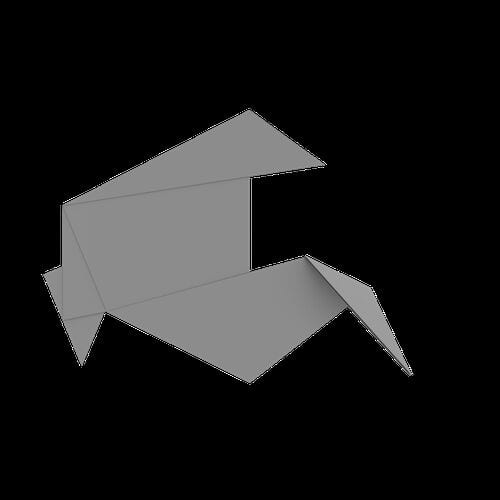
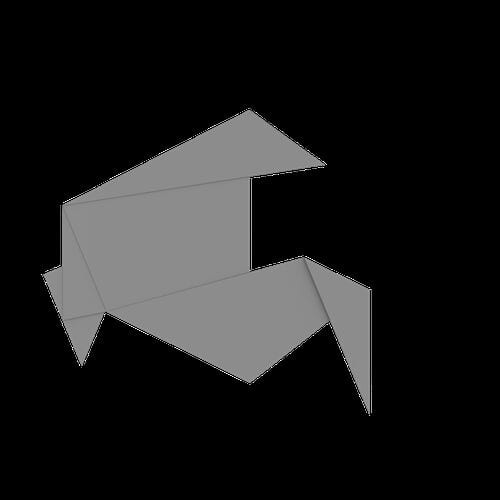
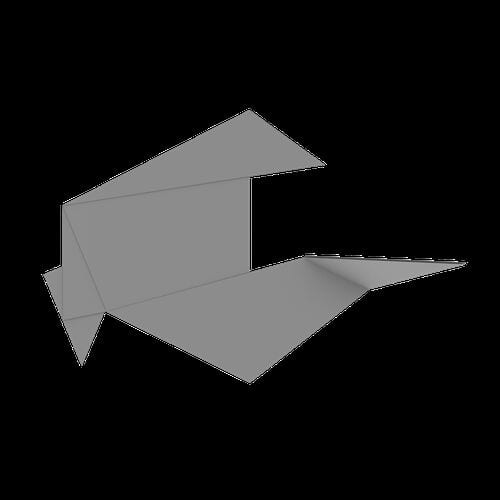
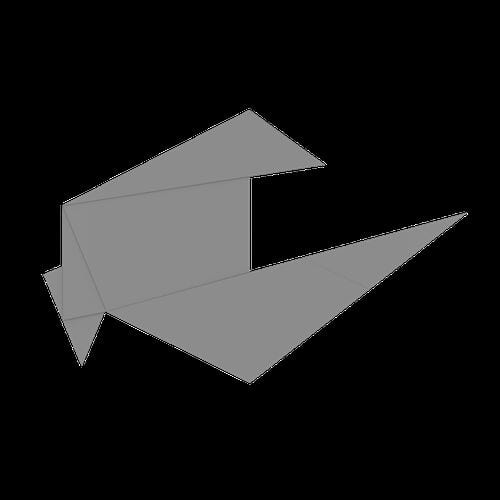
Step 15.
Turn the flap inside out.
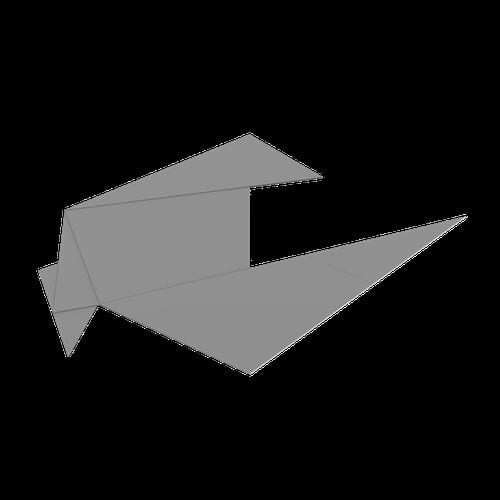
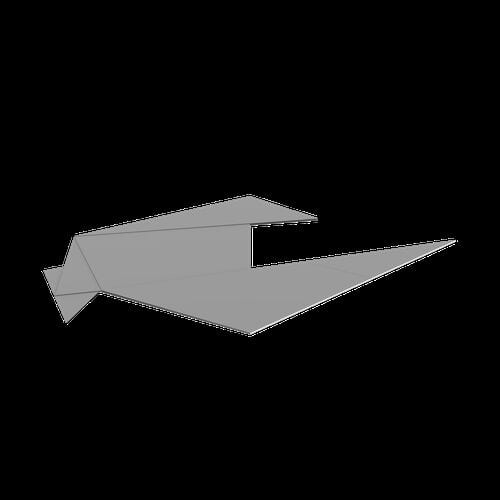
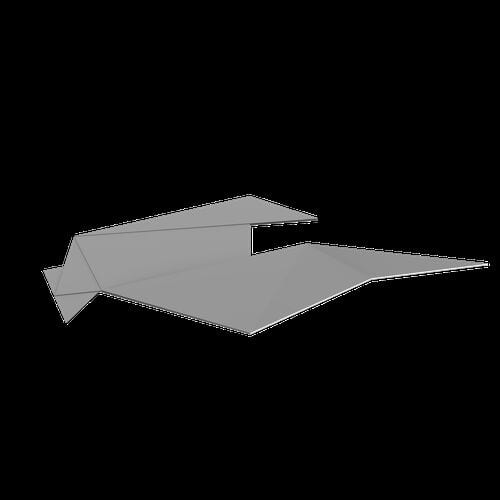
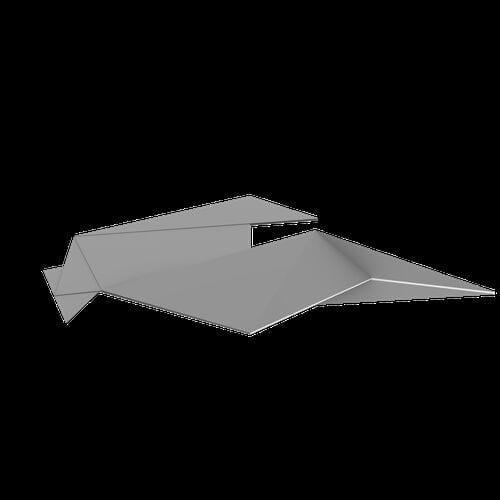
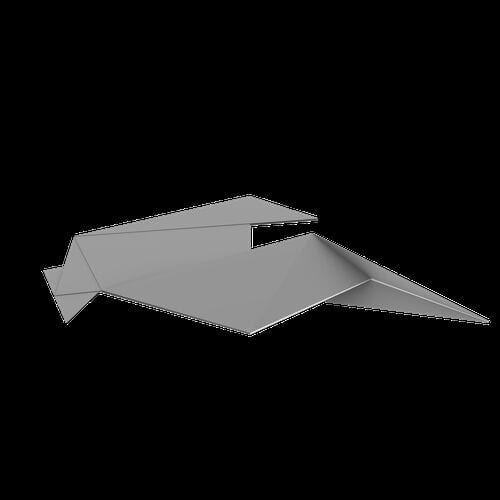
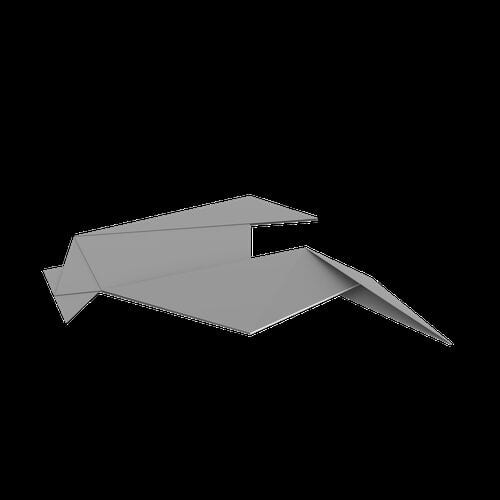
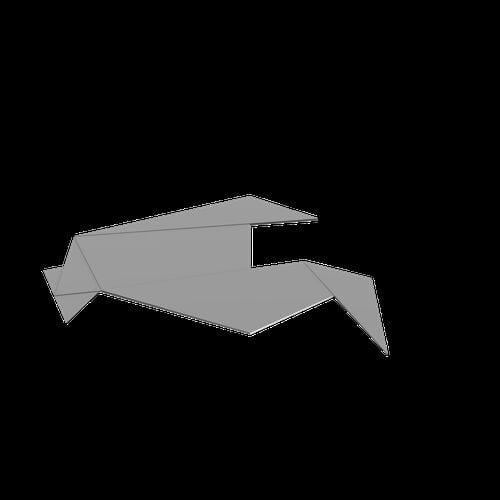
Step 16.
Fold the tip to the left and unfold.
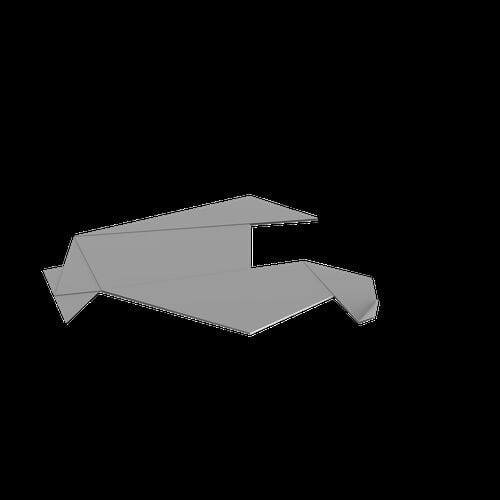
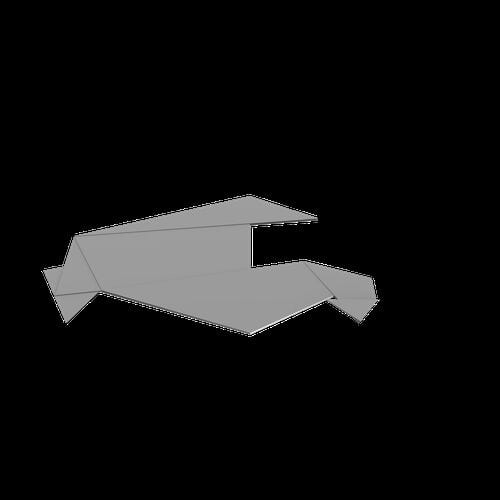
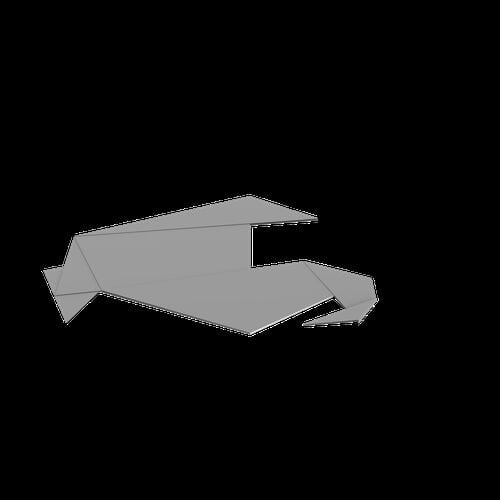
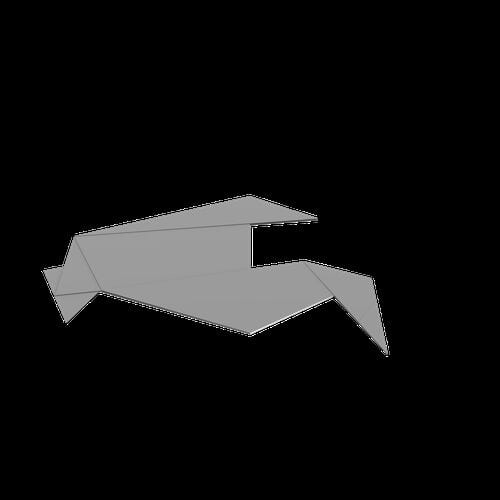
Step 17.
Fold the tip inward to make the beak.
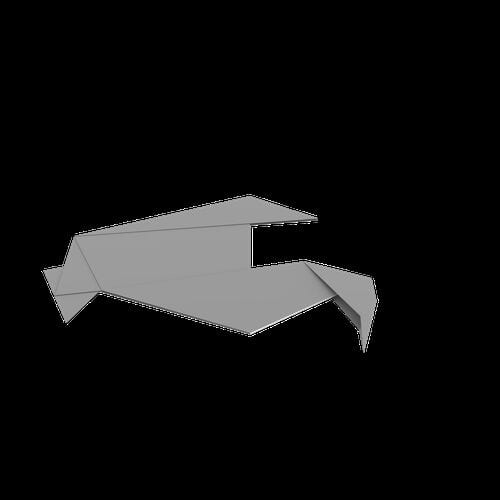
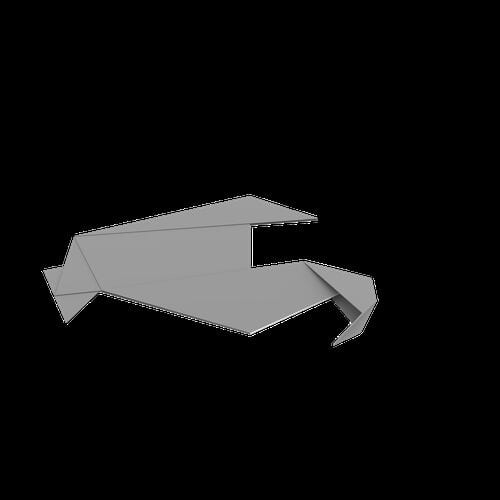
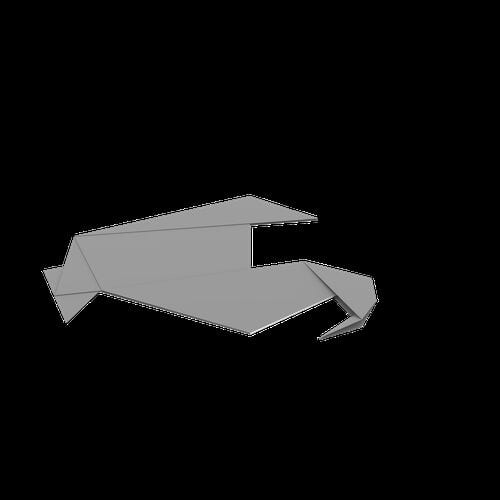
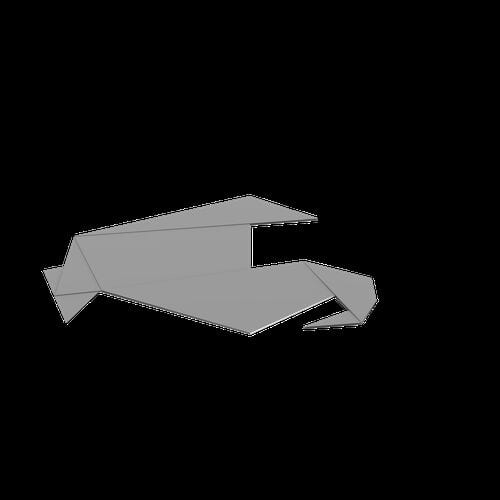
Step 18.
Color it in, and your turkey is complete!