
Reverse Swivel-fold In Origami
Once you have mastered the swivel-fold, its mirror image is an easy and satisfying next step. The reverse swivel-fold does exactly what its name promises - it folds the crease lines of a swivel-fold in reverse, swapping the valley and the mountain so the whole sequence runs back the other way. It is a clean, compact technique that appears again and again in more complex models.
This tutorial shows the whole process in six clear photo steps, starting from a simple fruit base. You will make a valley-fold, unfold it, and then re-fold the paper in a single reverse swivel-fold motion - one valley fold, one mountain fold, and one flat fold - finishing with a smooth, flat result you can carry straight into your next model.
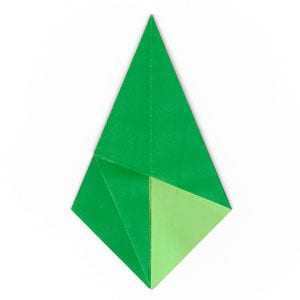
Reverse swivel-fold is a folding technique which reverses the crease lines made by the swivel-fold.
The “reverse swivel-fold” is the reverse folding of the swivel-fold.
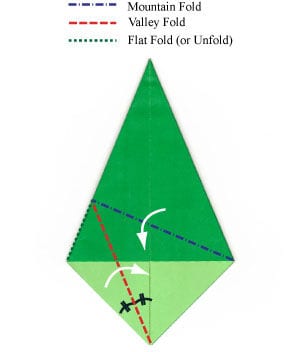
When we apply the “reverse swivel-fold”, we need to apply a “mountain-fold” followed by a “valley-fold”. In the next page, the instruction will show how to apply the reverse swivel-fold in detail.
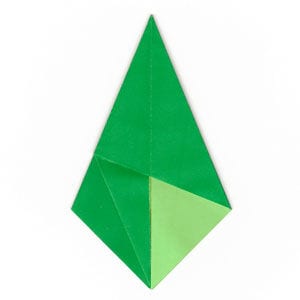
STEP 1.
Prepare to apply a valley-fold. Here we are starting with a “fruit base”, but the reverse swivel-fold can be applied to other models.
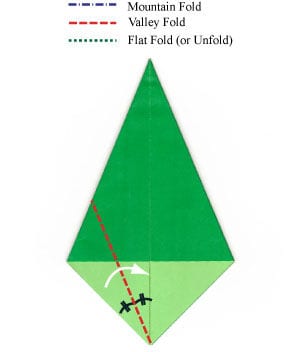
STEP 2.
Apply the valley-fold of the step #1. Prepare to unfold the valley-fold that you have just applied.
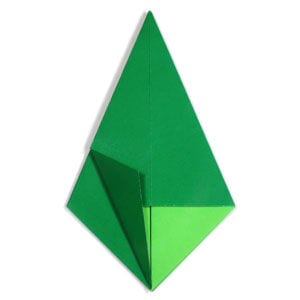
STEP 3.
Unfold the valley-fold of the step #2. Prepare to apply a reverse swivel-fold which consists of one valley fold, one mountain fold, and one flat fold.
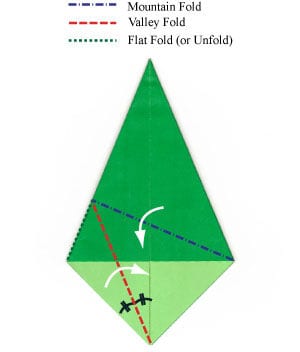
STEP 4.
Start applying the reverse swivel-fold of the step #3.
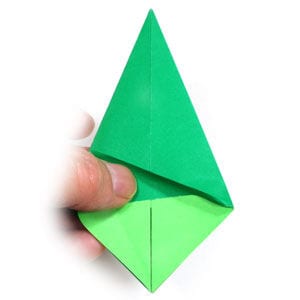
STEP 5.
Continue applying the reverse swivel-fold of the step #3.
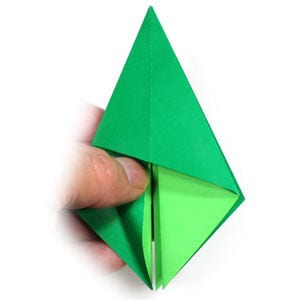
STEP 6.
Complete applying the reverse swivel-fold of the step #3. Now, you have completed applying a reverse swivel-fold.





