
Origami Mountain and Valley Folds
Before any model, before any base, there are the two folds everything is built from: the valley fold and the mountain fold. Together they describe every crease you will ever make - one points up like a peak, the other dips down like a valley - and once you can tell them apart at a glance, origami diagrams stop looking like secret code and start reading like plain instructions.
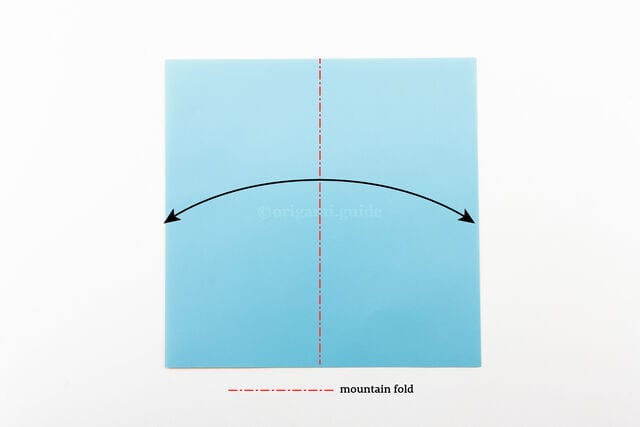
The symbols are simple: valley folds are plain black dashed lines, mountain folds are red lines with alternating dashes and dots. This tutorial walks you through each one with clear photos - what the symbol looks like, how to make the fold, and why diagrams lean on mountain lines to skip an extra step. It is a five-minute read that pays off in every diagram you follow afterwards.
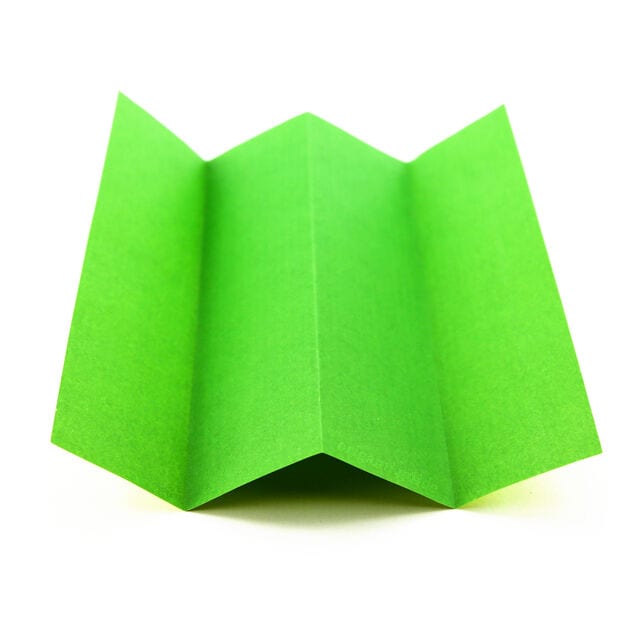
Understanding origami mountain and valley folds is very useful, whether you are following origami diagrams or photo tutorials. The terms mountain and valley are easy to remember because they describe the paper itself: the peaks that point up and the dips that fall away.
You will find valley fold and mountain fold lines on all origami diagrams and on some photo tutorials too. They are there to make the steps easier to read - most of the time, mountain fold lines remind you which creases need to be folded backwards, and sometimes they simply save the diagrammer from adding an extra “turn the paper over” step.
Think of a simple landscape with tall mountains, and it is easy to imagine the paper is that landscape: the tips of the paper are the mountain peaks, and the folds that dip down are the valleys.
Step 1
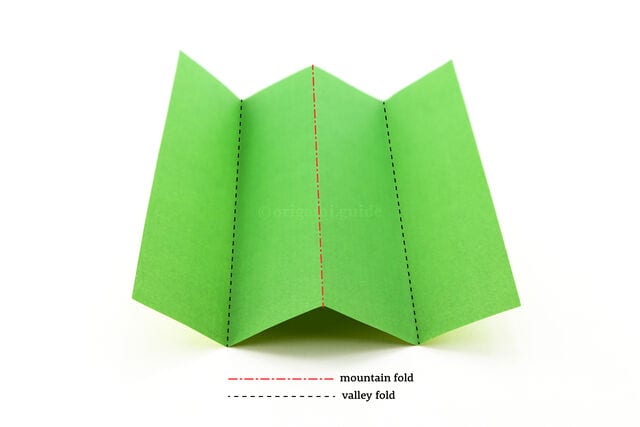
Here is a sheet of paper with a mountain fold in the middle, and valley folds on the left and right.
Step 2
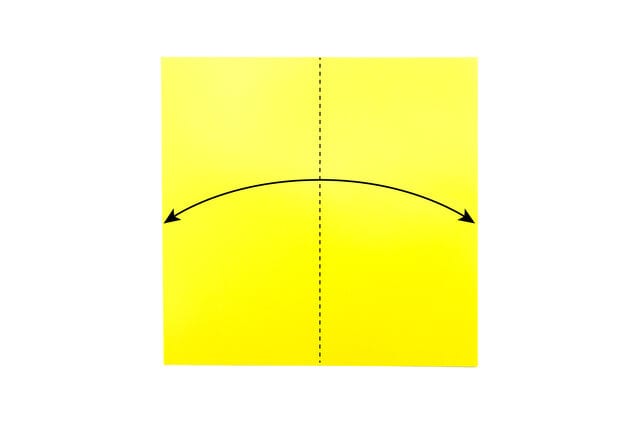
Valley fold. A valley fold is shown with a plain black dashed line. To make a valley fold, take one edge of the paper, fold it to the opposite edge, then unfold.
Step 3
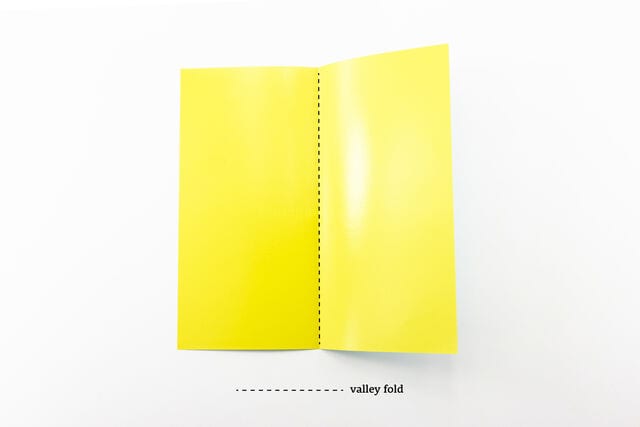
This is the completed valley fold.
Step 4
Mountain fold. A mountain fold is shown with a red line made of alternating dashes and dots. To make a mountain fold, turn the paper over and fold it in half.
Step 5
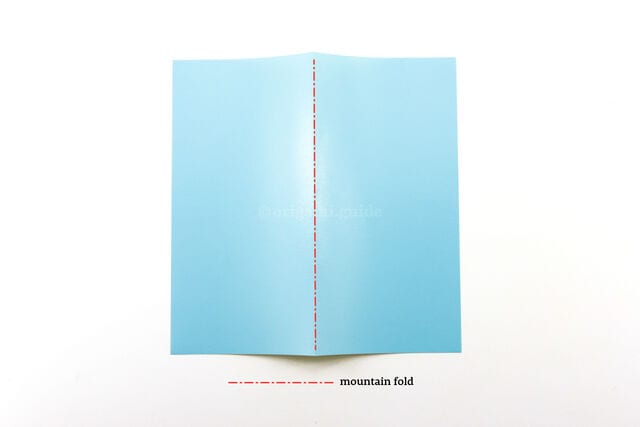
After turning the paper back over, this is the completed mountain fold.




