
Poinsettia
Nothing says "the holidays are coming" quite like a bright red poinsettia, and this origami version lets you keep that festive pop of color all year round. It's one of those models that looks far more complicated than it actually is: from a single square of paper you build a star-shaped bloom with layered petals, and the pattern repeats the same few moves on all four sides — so by the time you finish the first section, the rest feels almost automatic.
This version is a fresh take on a classic design, and it's ideal when you want a whole batch of flowers: once the crease lines are in, each blossom comes together in just a few minutes. Add a sticker in the middle for a fun center, hang a few from the tree, or pile them on a gift box. And if you've ever folded a square base before, you're already halfway there.
Last time we showed you how to fold an origami poinsettia — today we'll teach you a different way to make it. This version is not difficult at all, so anyone can follow along.
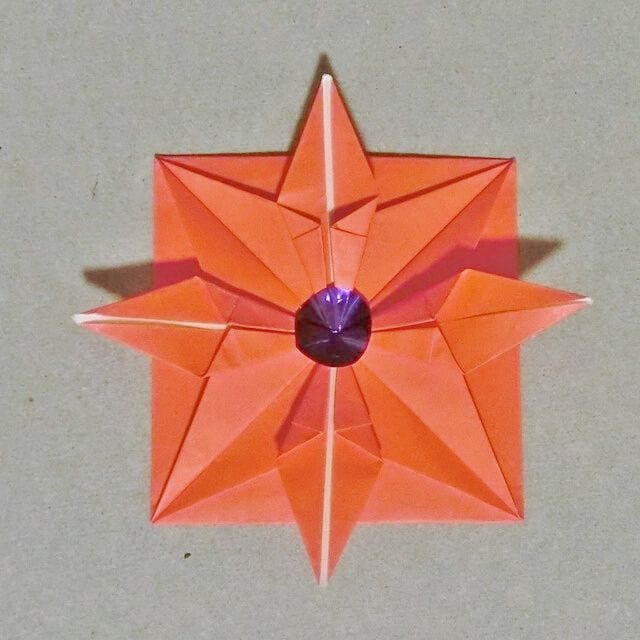
The fold is so simple that making a whole batch is no trouble at all.
If you're decorating for Christmas, this poinsettia makes a lovely addition to your paper-craft collection.
How to Fold a Poinsettia
This version uses a single square sheet of origami paper.
Let's get folding!
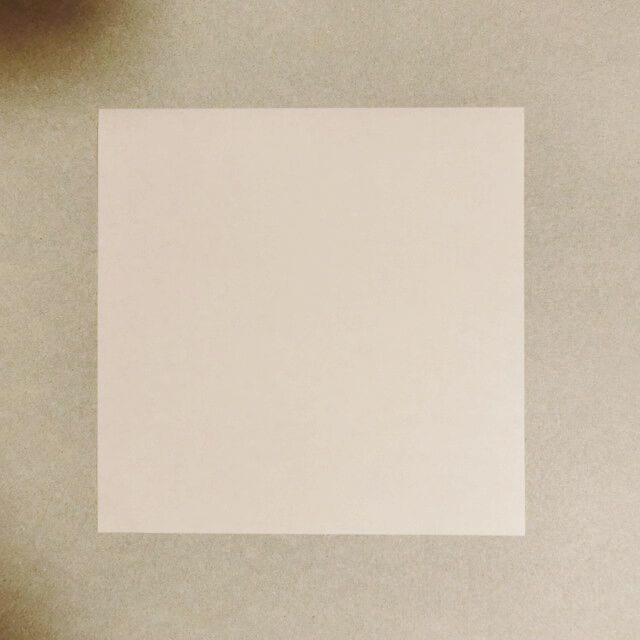
STEP 1. Prepare a piece of red origami paper.
STEP 2. Crease the paper in half vertically and horizontally.
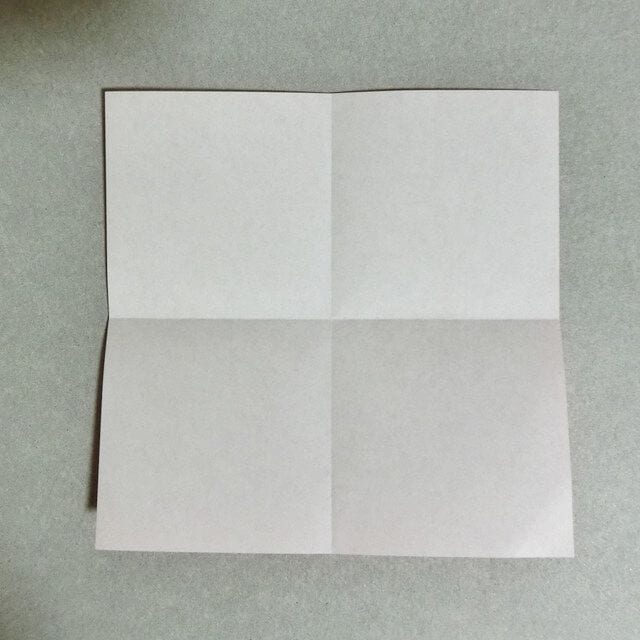
STEP 3. Turn it over and crease it along both diagonals.
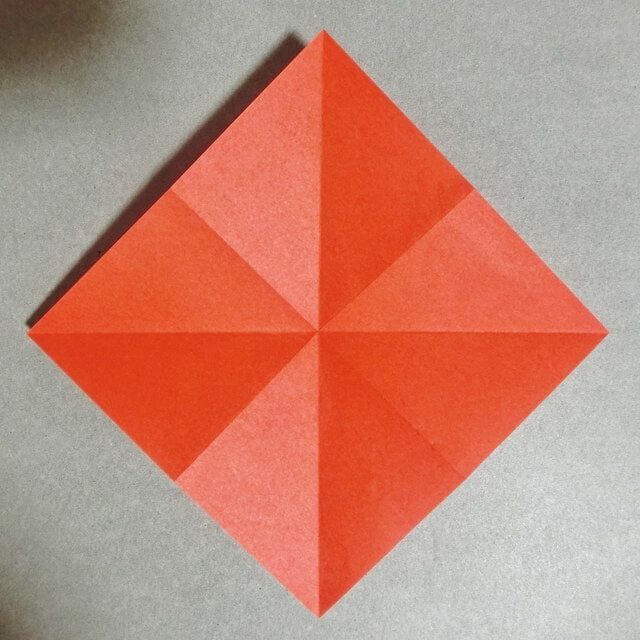
STEP 4. Collapse the paper along the crease lines to form a small square base.
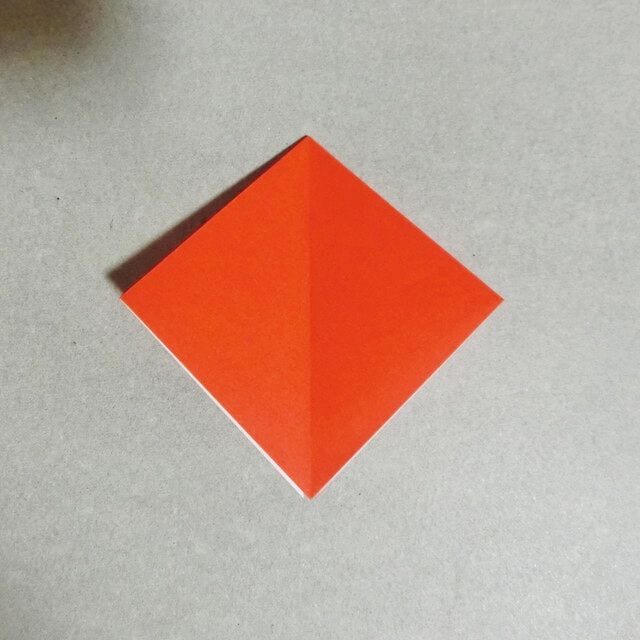
STEP 5. Fold the bottom-left and bottom-right corners of the triangle to the center, then fold the top corner down to make a crease.
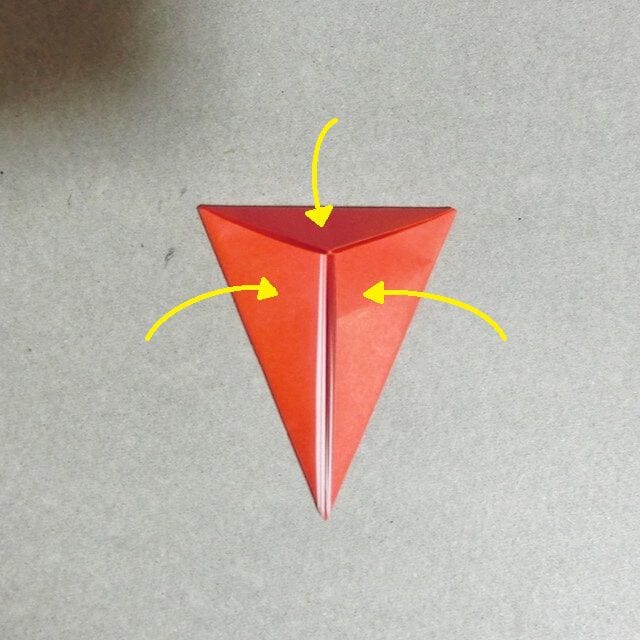
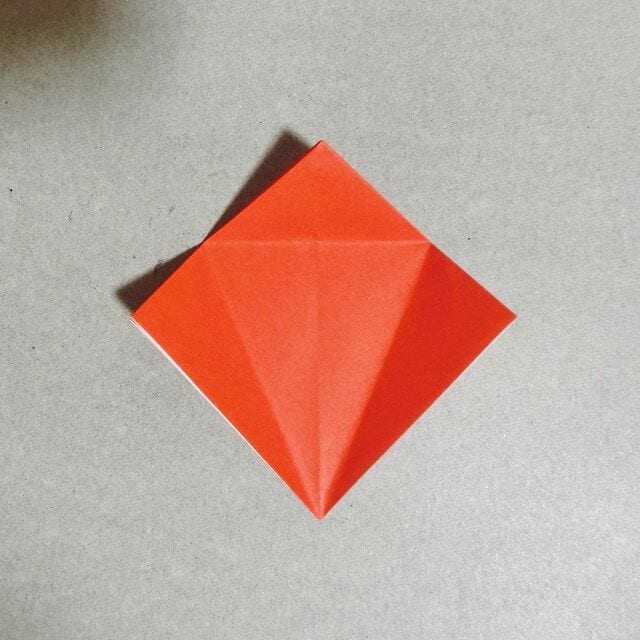
STEP 6. Use the crease lines to lift the bottom corner up, then fold the back square in the same way.
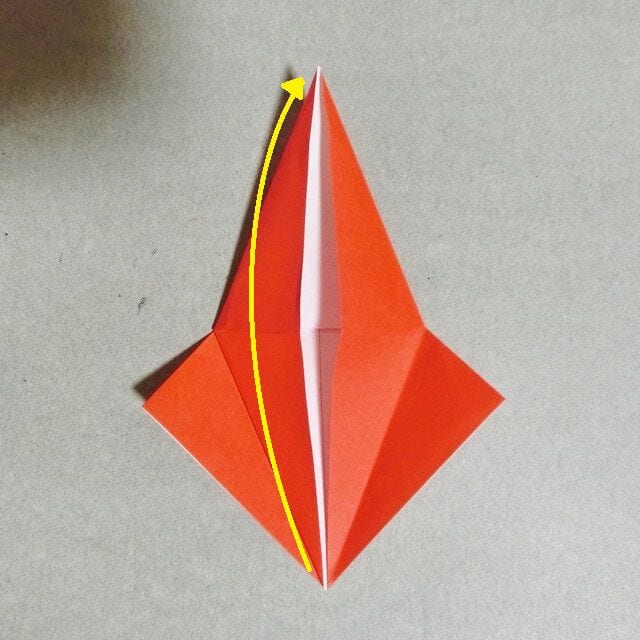
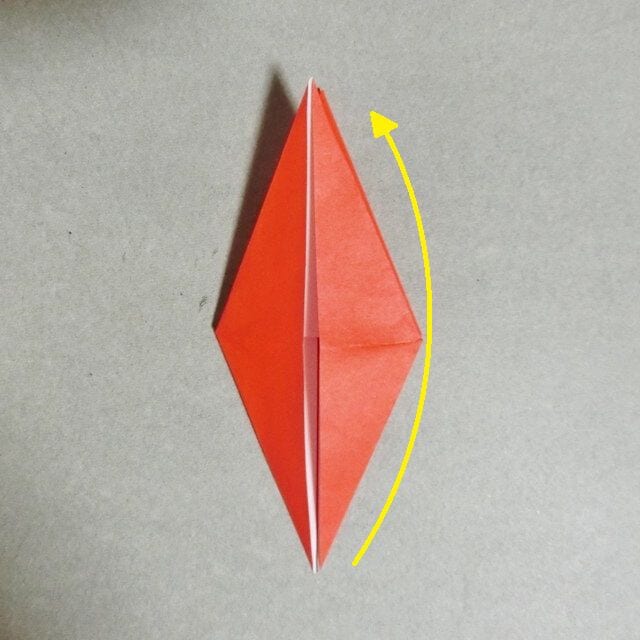
STEP 7. Pull the upper corners toward the front and back respectively, flattening the protruding layers inside.
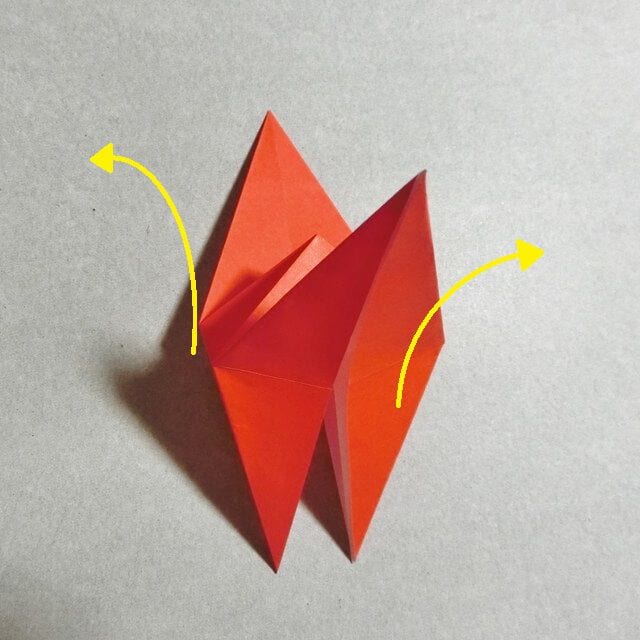
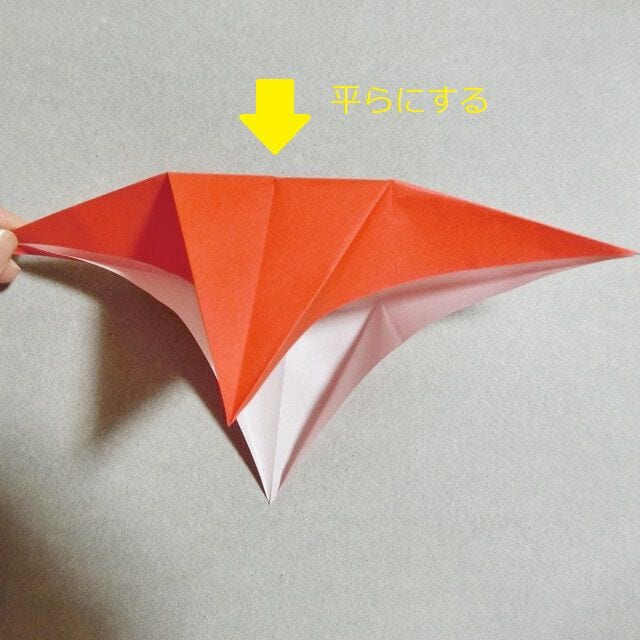
STEP 8. Fold one of the downward-pointing corners as shown in the photo, and open out the other corner.
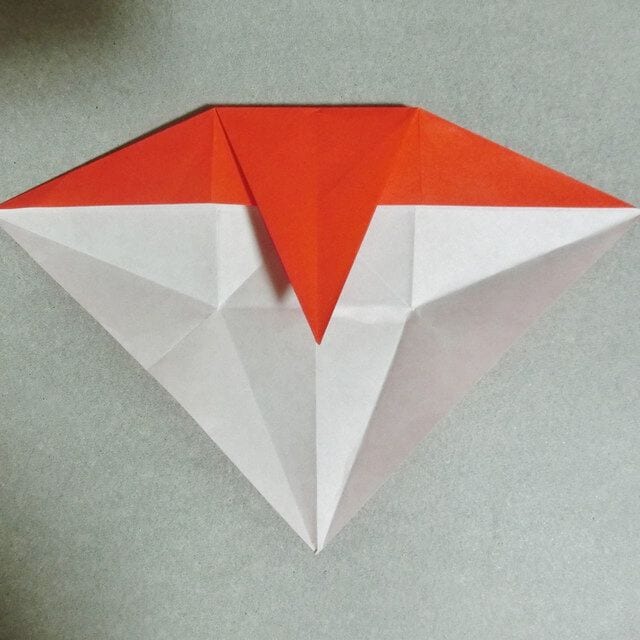
STEP 9. Fold the left and right corners in to create crease lines.
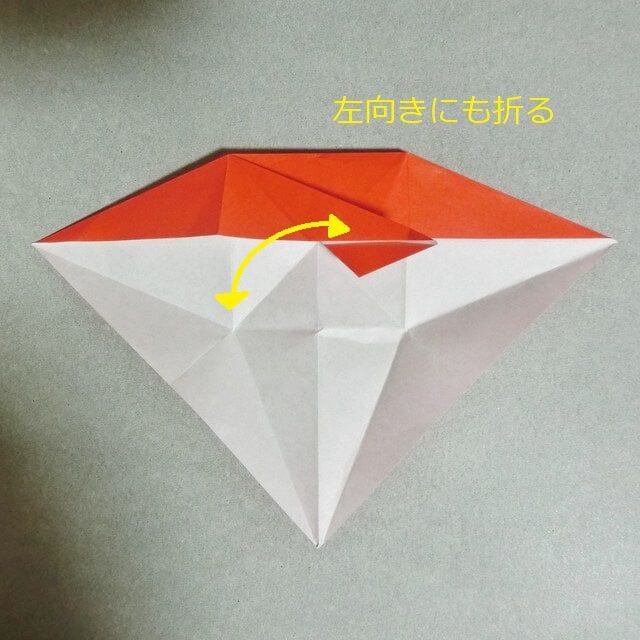
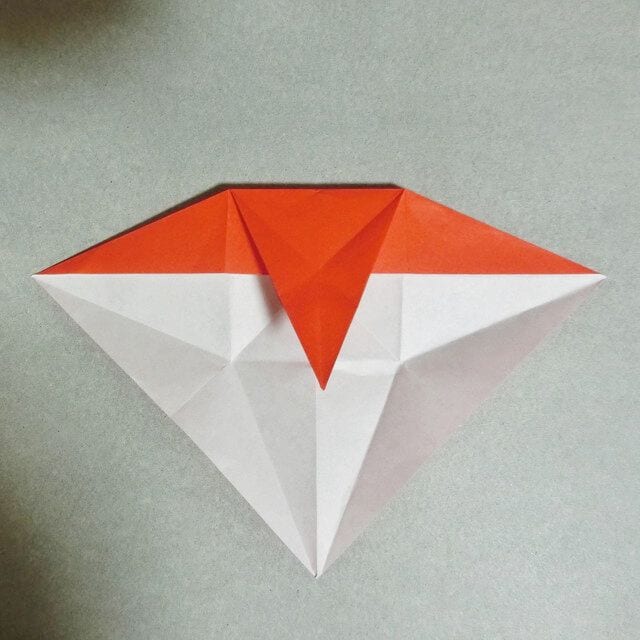
STEP 10. Fold it up once more.
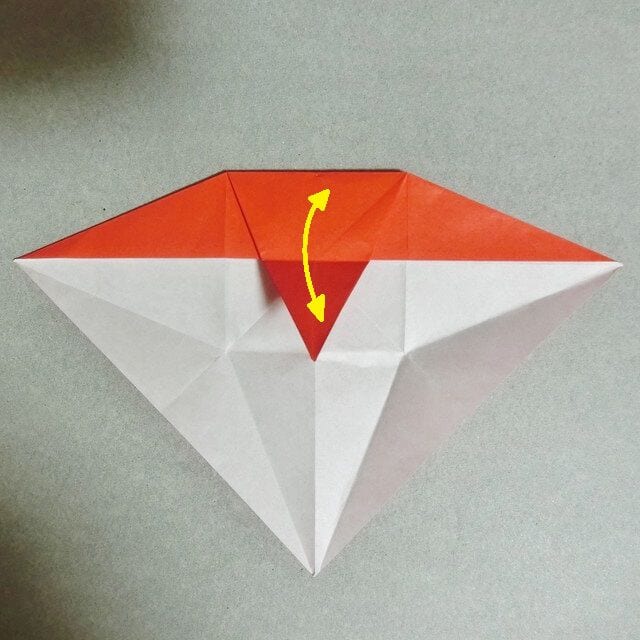
STEP 11. Fold along the crease line, turning the corner to the right or left.
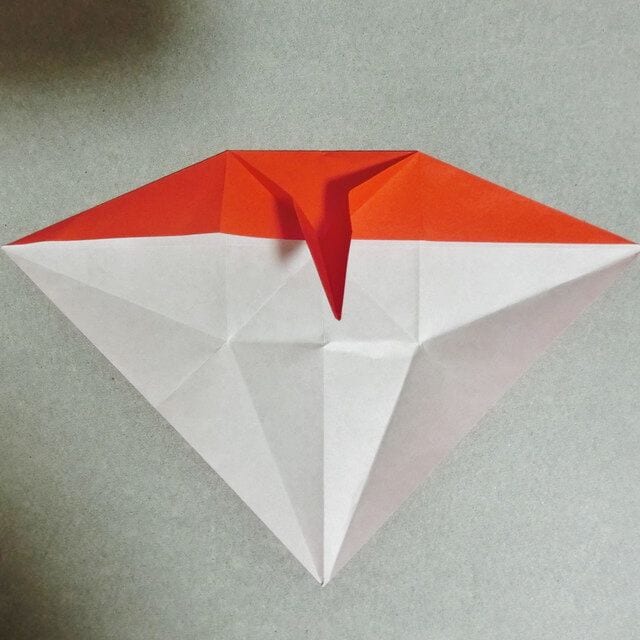
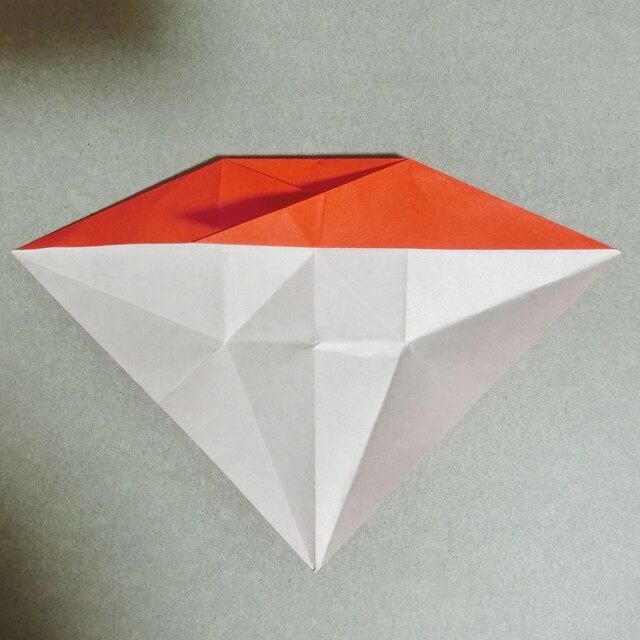
STEP 12. Open out the horizontal corners and fold the flap upward.
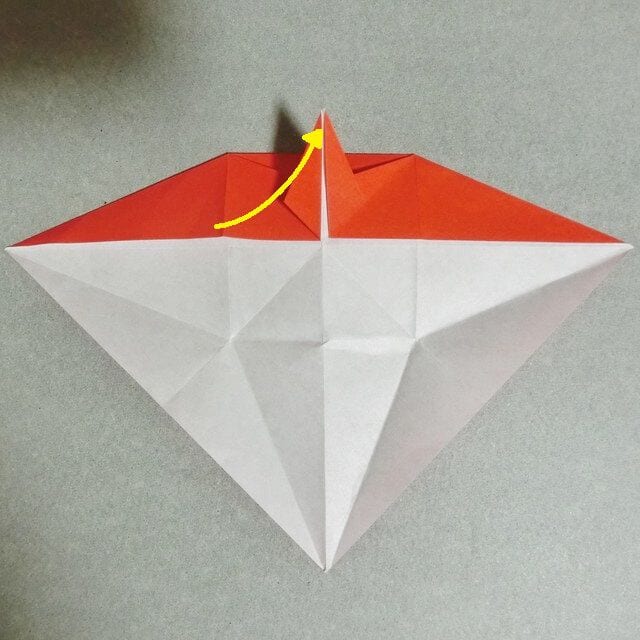
STEP 13. Fold the lower half the same way as the upper half.
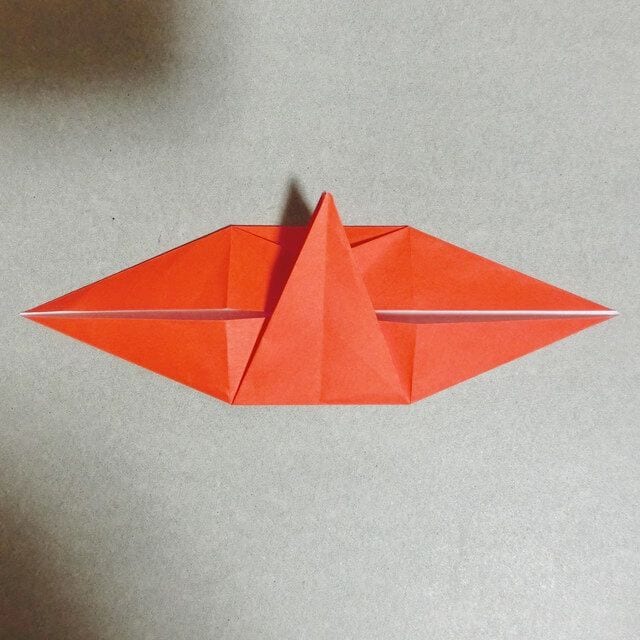
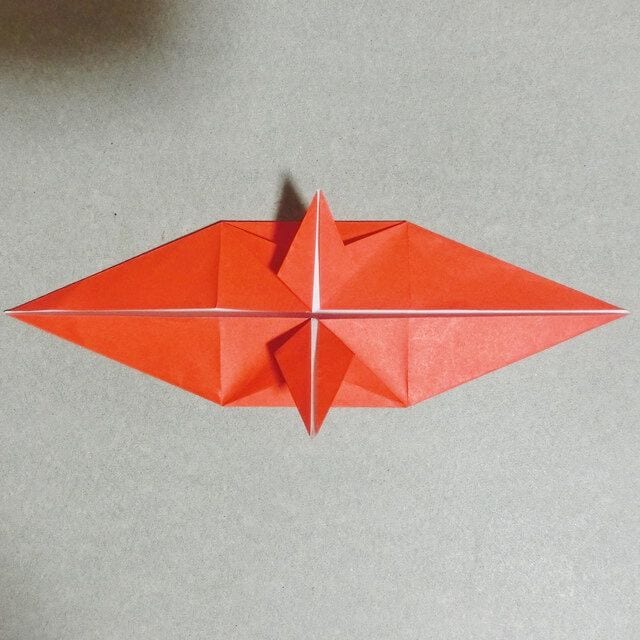
STEP 14. Fold the right and left triangles in the same way.
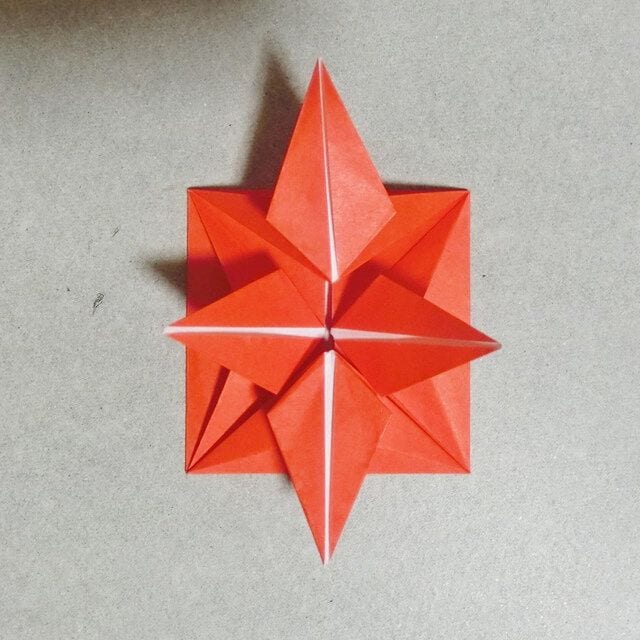
STEP 15. Fold both sides of this section in toward the center, then repeat on the other three places.
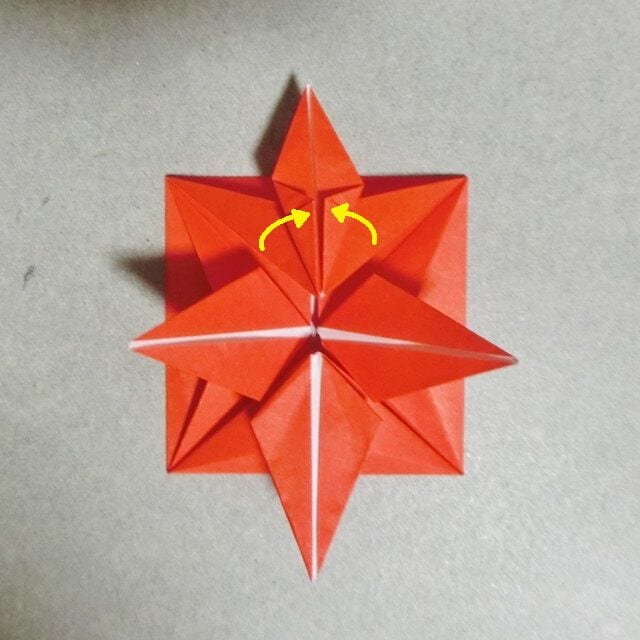
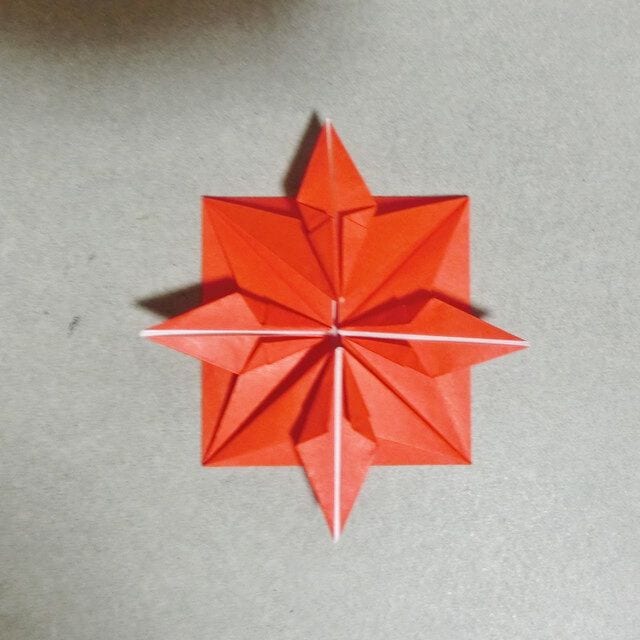
STEP 16. Lift the part shown in the photo and glue it to the layer behind it. Repeat the gluing on the other three places.
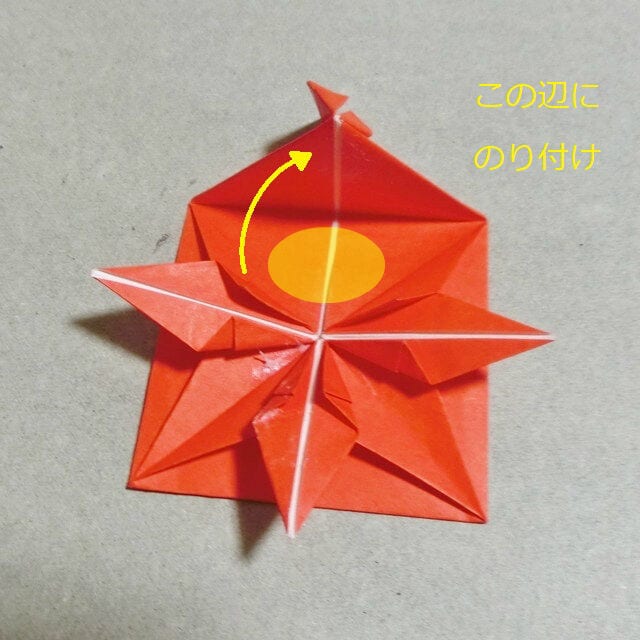
STEP 17. Stick a sticker or a small round paper in the center, and your poinsettia is complete.
Well done — how did it turn out?
Once the initial creases are in place, every step is just a matter of folding along them, so you'll find it surprisingly easy to pick up. One tip: keep the paper away from wet glue, as it will wrinkle.




