
Bird Base
If you have ever folded a paper crane, you have already met the bird base - it is the quiet foundation hiding beneath almost every origami bird you can name. From the classic crane to swans, pheasants, and even dragons, this one base is the starting point for an enormous family of models. At first glance it looks like just a neat diamond of layered paper, but as you fold it you will notice something special: the long flaps that will become wings and a tail are already taking shape. Grab any square sheet and fold along with me - it takes only a few minutes, and once the bird base is in your hands, a whole flock of birds opens up.
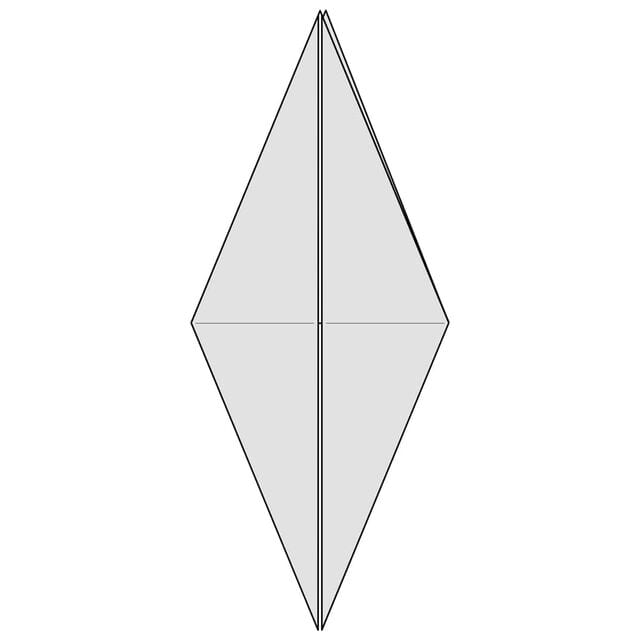
This base is used to fold many different origami birds, including the classic paper crane, which is where its name comes from. It’s a very common base, though, and it can also be used to fold all kinds of other things.
STEP 1. Start with a square sheet of paper with the white side up. Fold it in half along the dotted line.
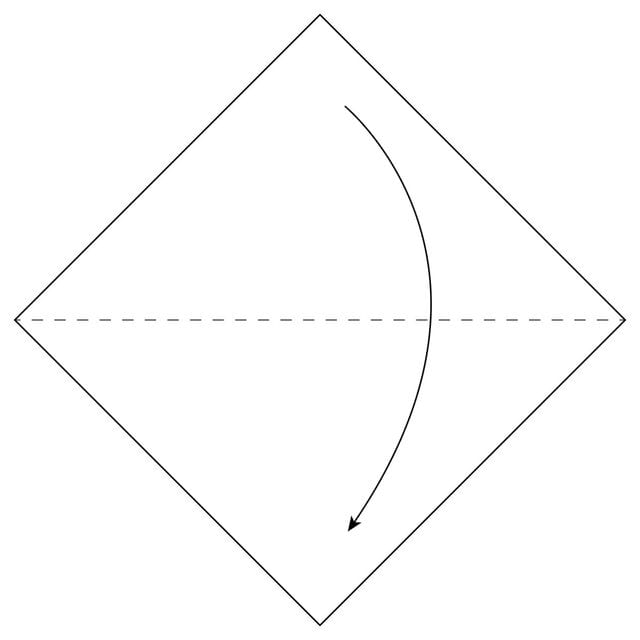
STEP 2. Fold the paper in half again along the dotted line.
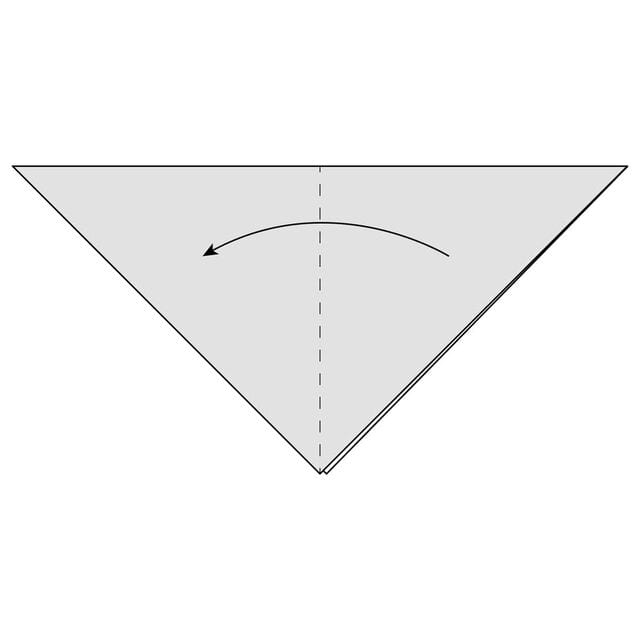
STEP 3. Bring the top flap of paper up.
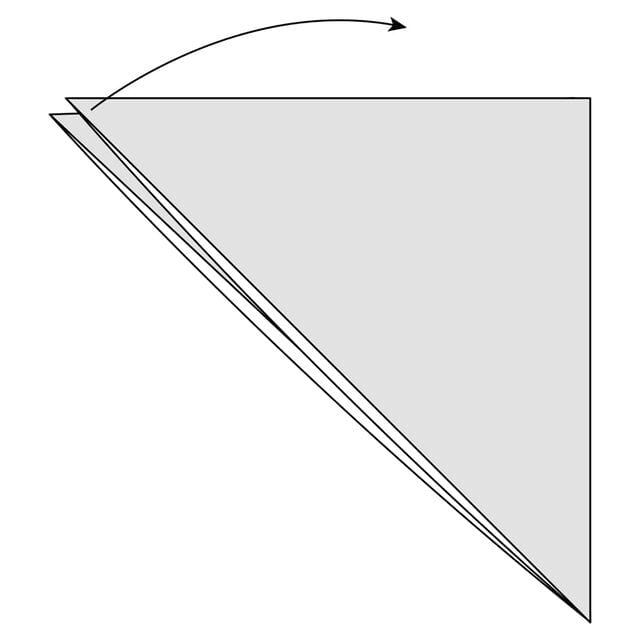
STEP 4. Squash fold this flap of paper down. Make sure you keep both sides symmetrical. You should end up with a diamond shape.
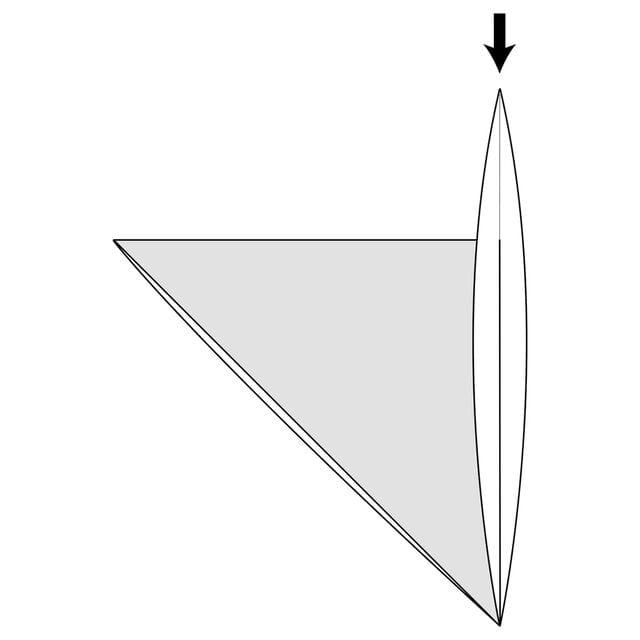
STEP 5. Turn the model over.
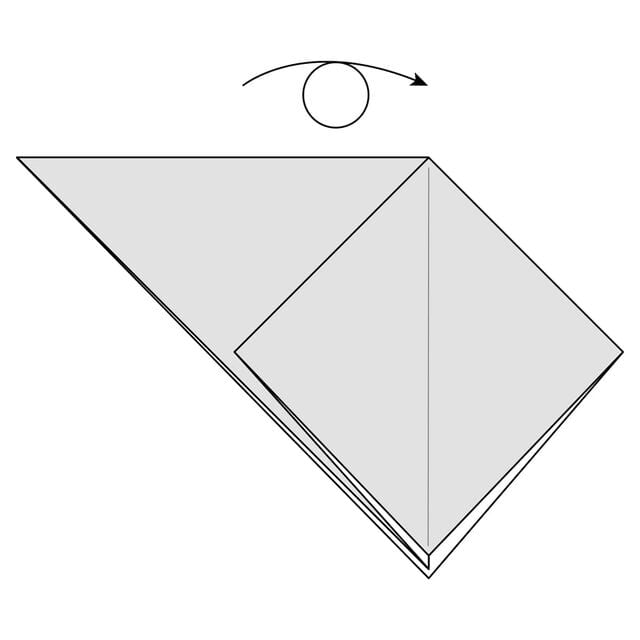
STEP 6. Lift the top left flap of paper up to the middle.
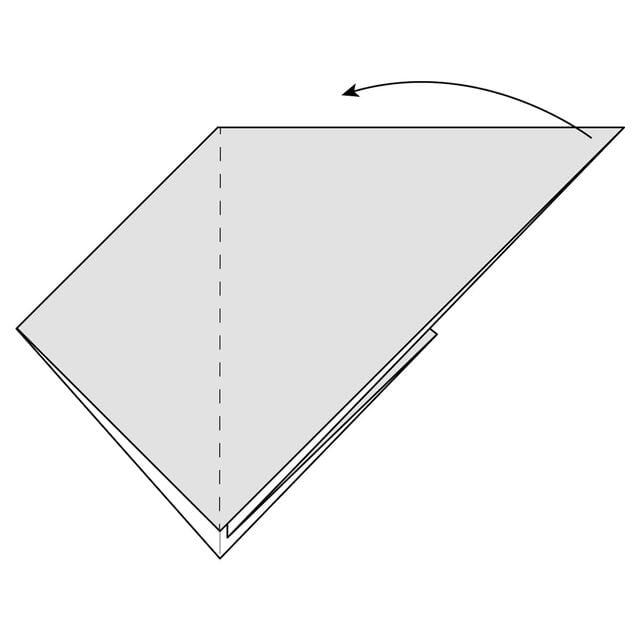
STEP 7. Squash fold this flap of paper down. Make sure you keep both sides symmetrical. You should end up with a diamond shape matching the one on the other side. You now have a Square Base.
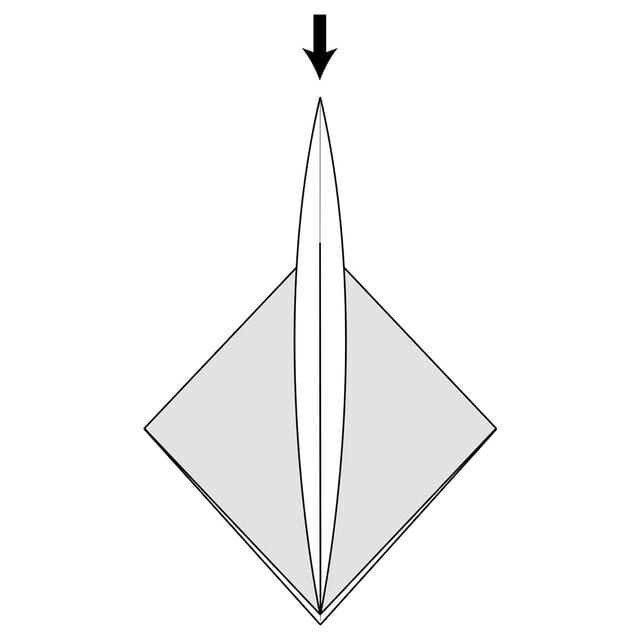
STEP 8. Fold the top right flap of paper to the centre along the dotted line.
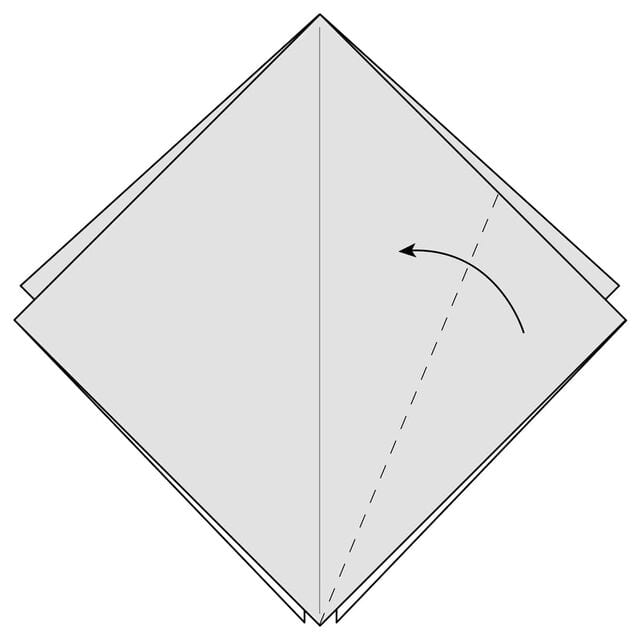
STEP 9. Crease this fold well and unfold it.
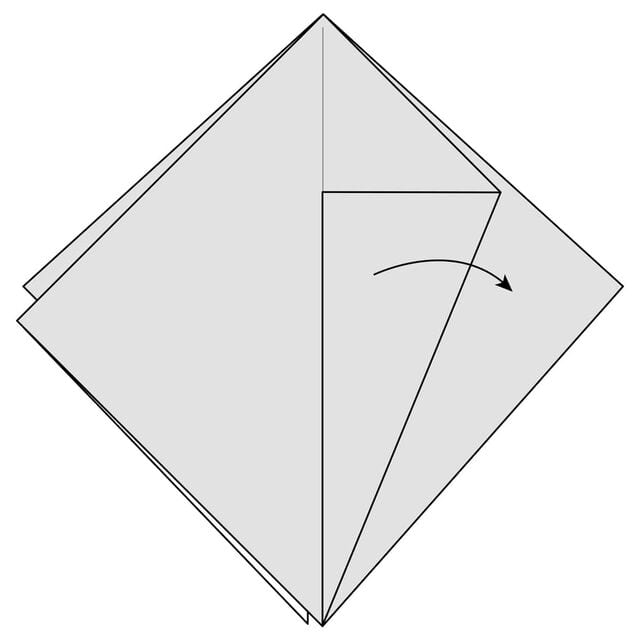
STEP 10. Fold the top left flap of paper to the centre along the dotted line.
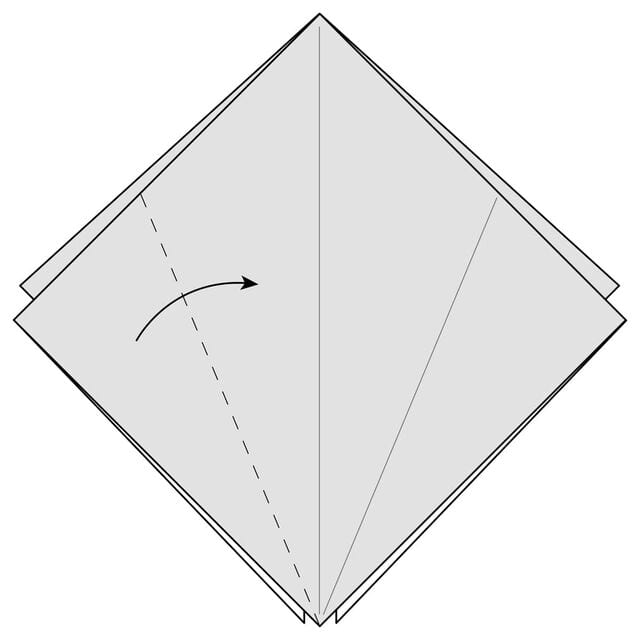
STEP 11. Crease this fold well and unfold it.
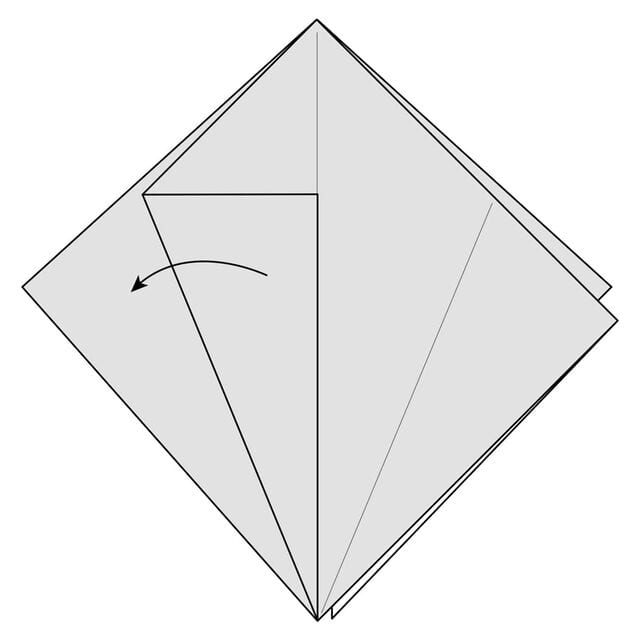
STEP 12. Fold the top of the model down along the dotted horizontal line. The end points of this horizontal line will line up with the tops of the creases on either side.
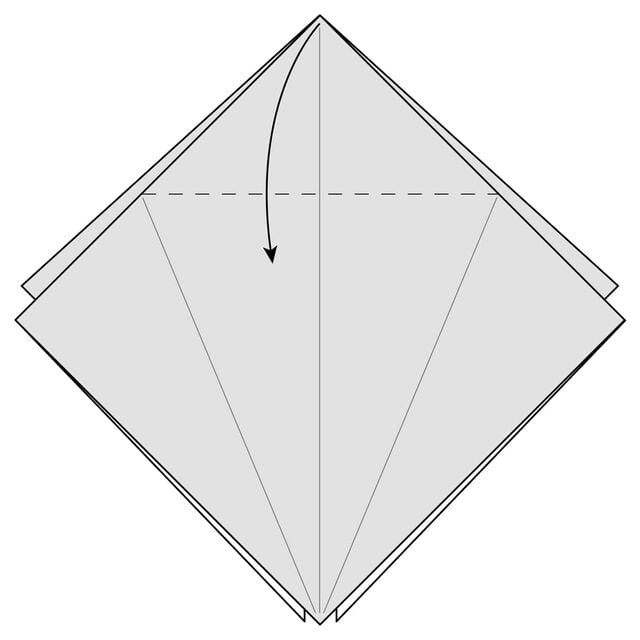
STEP 13. Crease this fold well and unfold it.
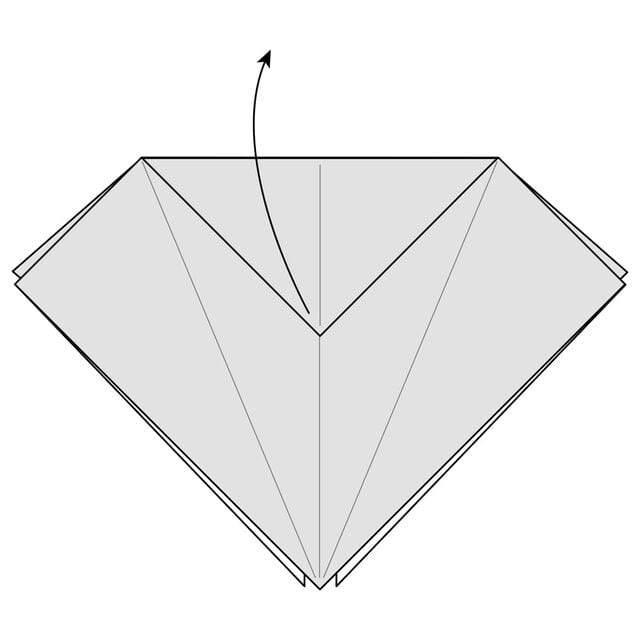
STEP 14. Petal fold the top flap of paper up along the dotted line. There is already a crease here from the previous step.
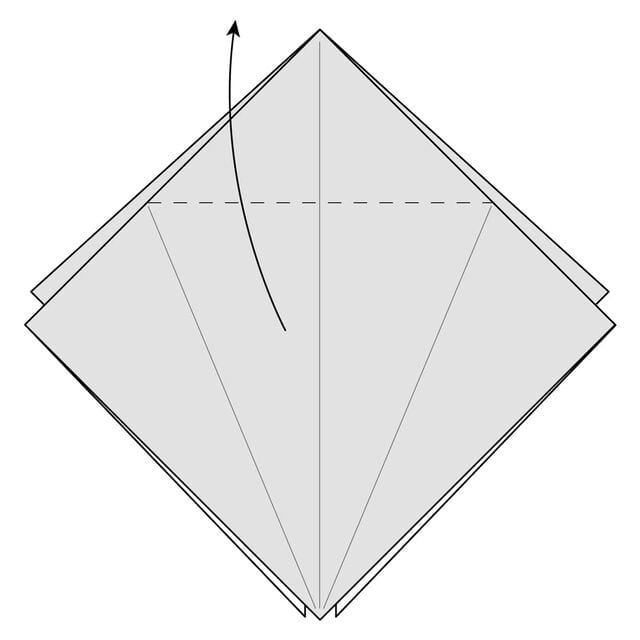
STEP 15. Continue lifting up the top flap of paper while folding in the sides along the existing creases.
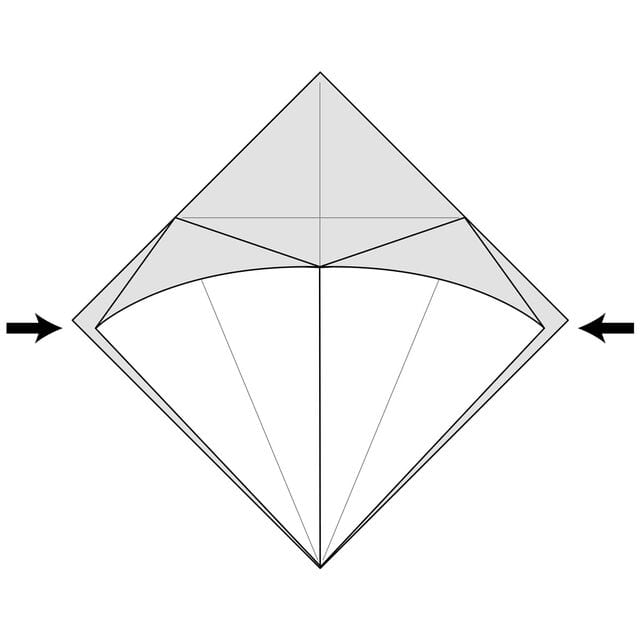
STEP 16. Push everything flat along the existing creases.
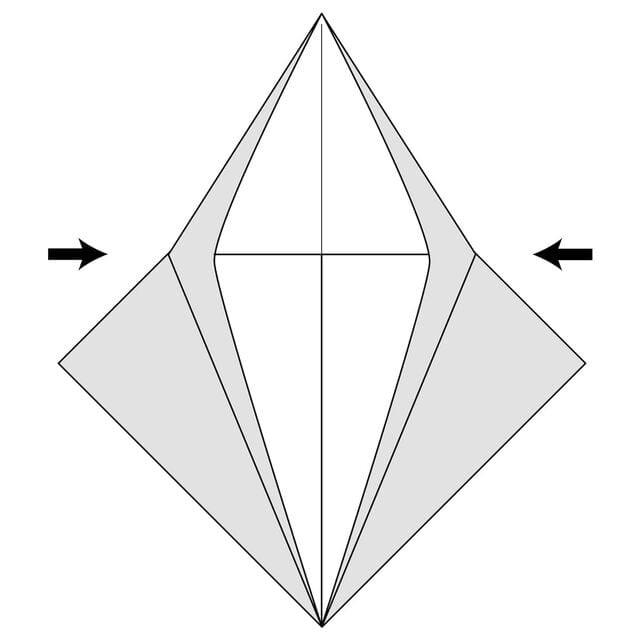
STEP 17. The completed petal fold. Turn the model over.
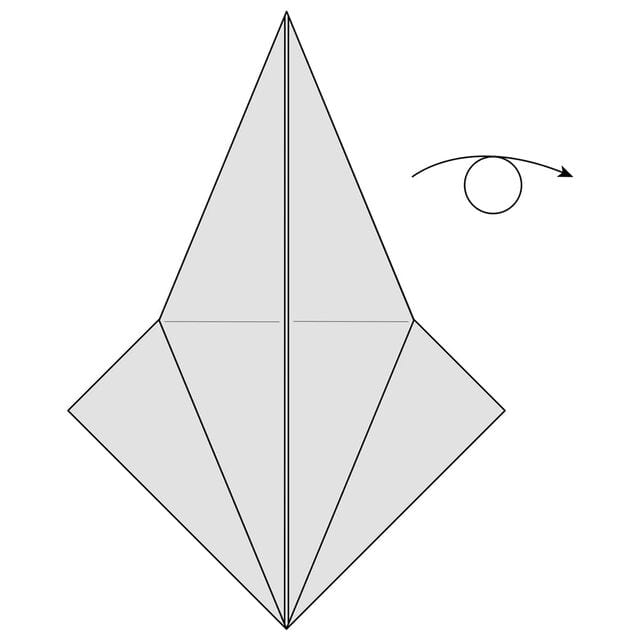
STEP 18. Fold the top right flap of paper to the centre along the dotted line.
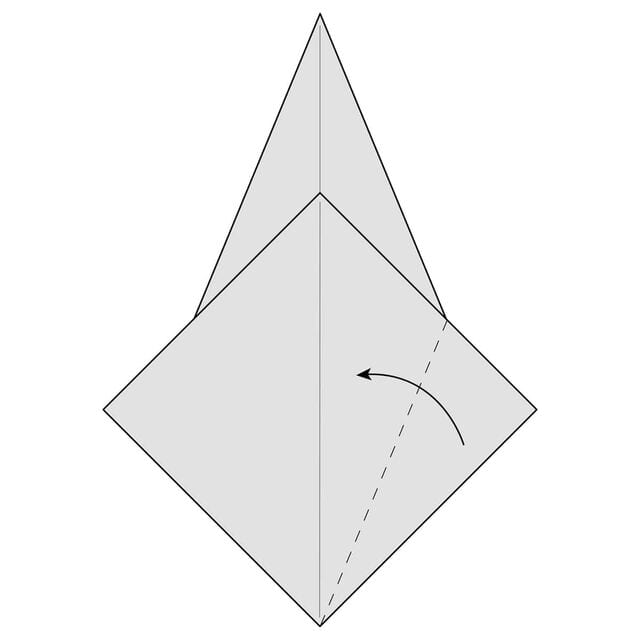
STEP 19. Crease this fold well and unfold it.
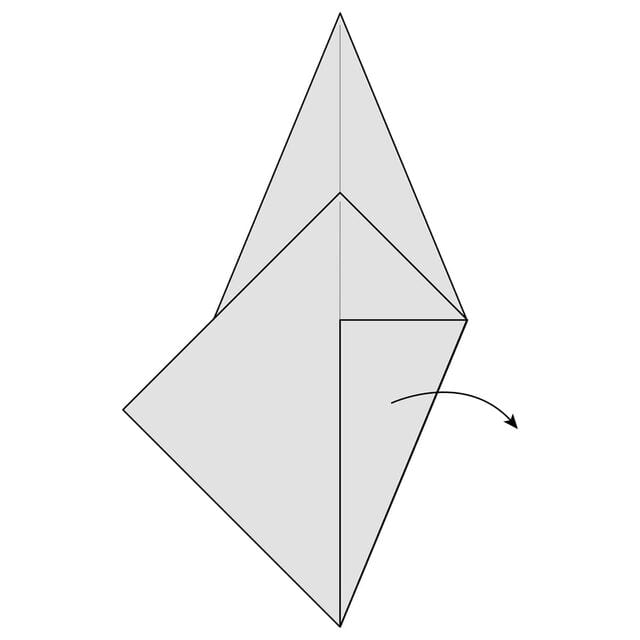
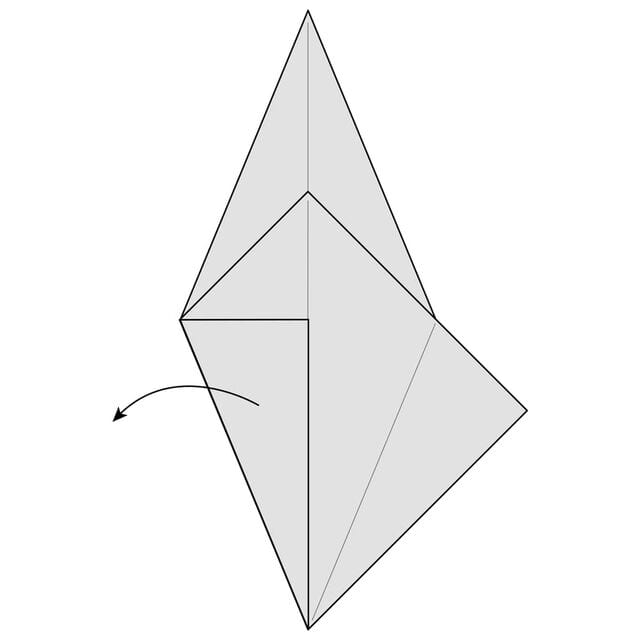
STEP 20. Fold the top left flap of paper to the centre along the dotted line.
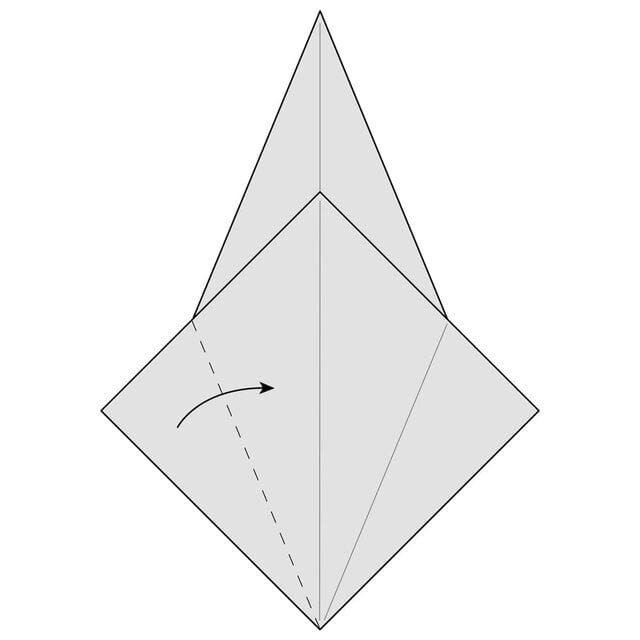
STEP 21. Crease this fold well and unfold it.
STEP 22. Fold the top of the model down along the dotted horizontal line. You already folded this on the opposite side of the model, so a crease is already in place. Now you will fold it the other way.
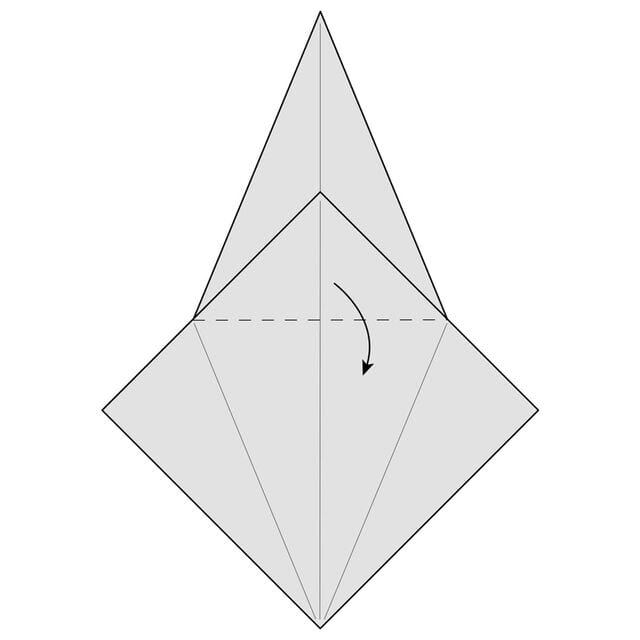
STEP 23. Crease this fold well and unfold it.
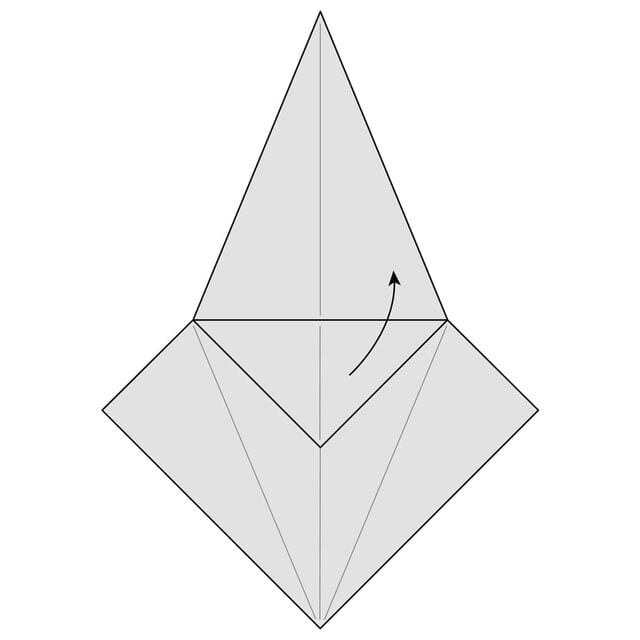
STEP 24. Petal fold the top flap of paper up along the dotted line. There is already a crease here from the previous step.
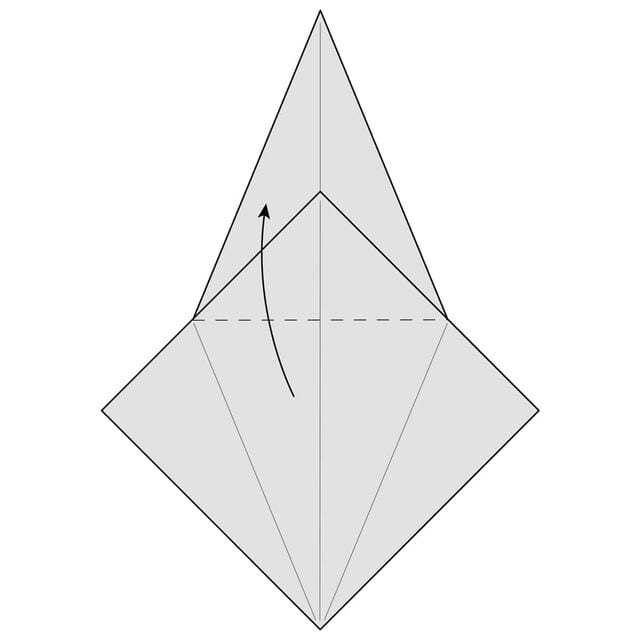
STEP 25. Continue lifting up the top flap of paper while folding in the sides along the existing creases.
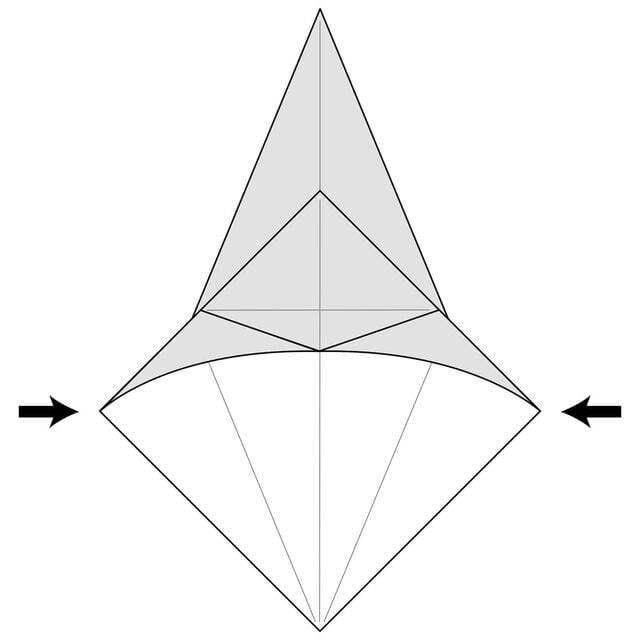
STEP 26. Push everything flat along the existing creases.
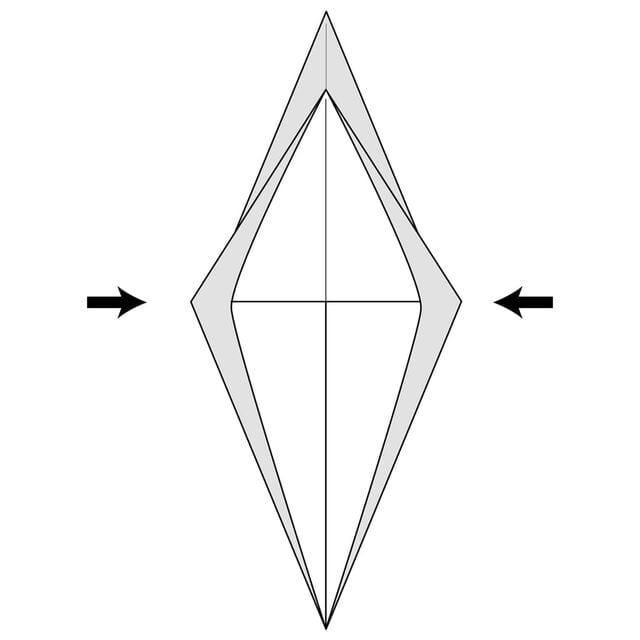
The Completed Bird Base




