
Origami Water Bomb Base
If you have ever squeezed a paper balloon until it pops, you already know the fold this tutorial is built on. The water bomb base - or balloon base, as it is often called - is the hidden foundation behind a whole family of puffed-up, three-dimensional origami models. It starts with nothing more than a flat square of paper, yet a few folds later the same sheet is standing up in your hand, ready to become a balloon, a water bomb, or the centerpiece of all kinds of decorated projects. The whole fold takes less than a minute and feels almost like a magic trick the first time you do it. Grab a square of paper and let me walk you through it - by the last step you will have a base you will use again and again.
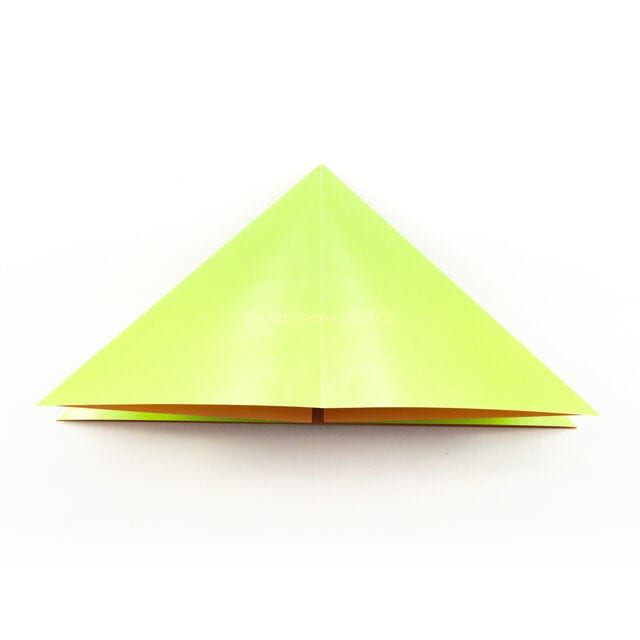
Learn how to fold an origami water bomb base, sometimes called a balloon base. This classic foundation is used in many different origami models, so it is well worth committing to memory.
The origami balloon base takes its name from the traditional origami water balloon - or water bomb - model.
STEP 1. This is the back of the paper (usually white).
STEP 2. This is the front of the paper.
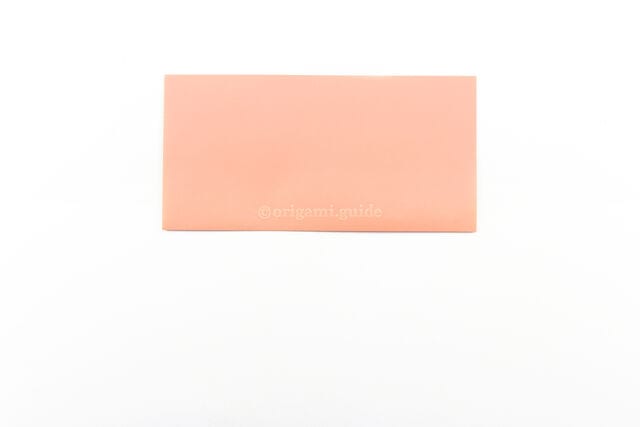
STEP 3. Fold the bottom edge of the paper up to the top edge.
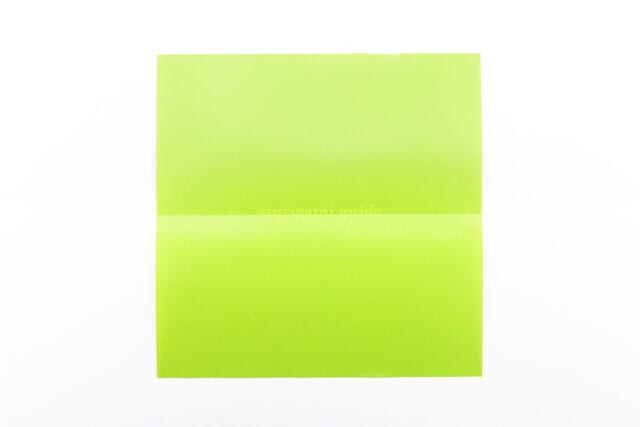
STEP 4. Unfold the previous step.
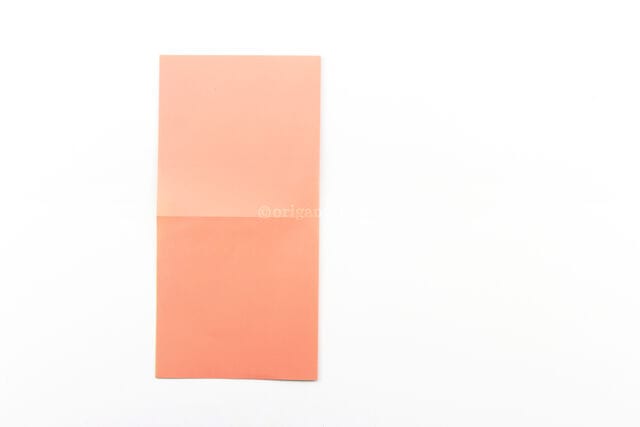
STEP 5. Fold the right edge over to the left edge.
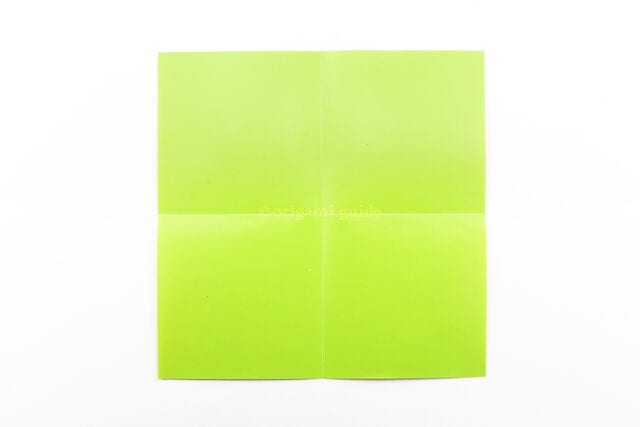
STEP 6. Unfold the previous step.
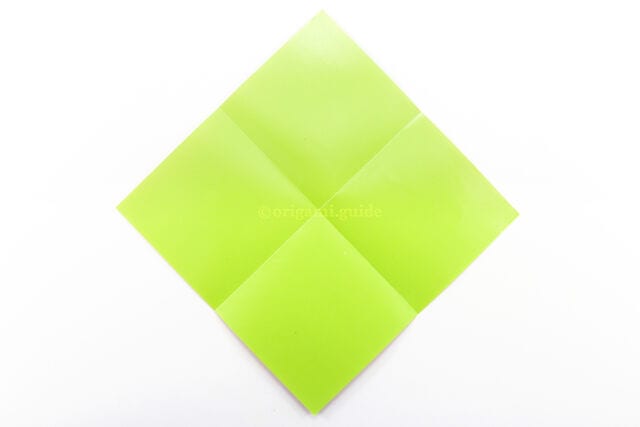
STEP 7. Rotate the paper.
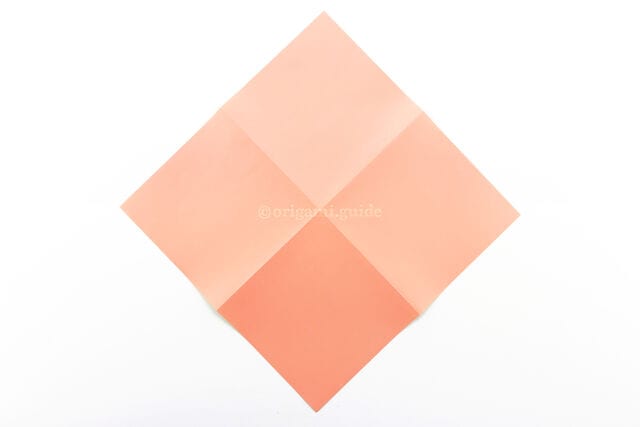
STEP 8. Flip the paper over to the other side.
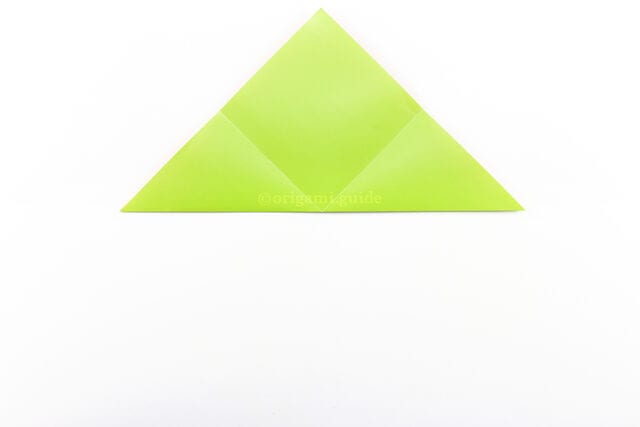
STEP 9. Fold the bottom corner up to the top corner.
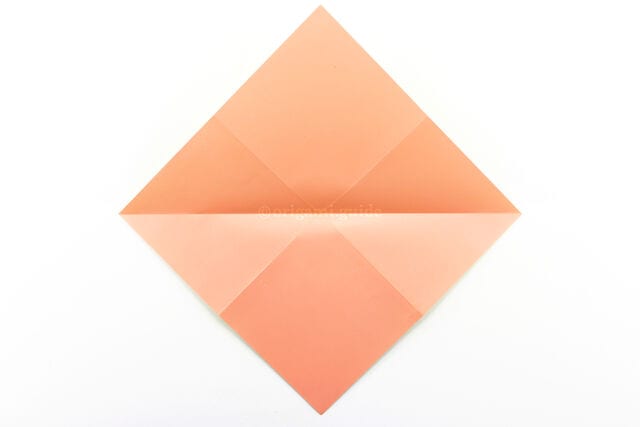
STEP 10. Unfold the previous step.
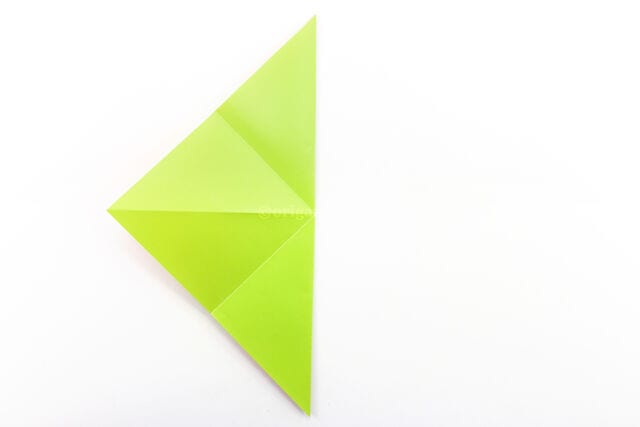
STEP 11. Fold the right corner over to the left corner.
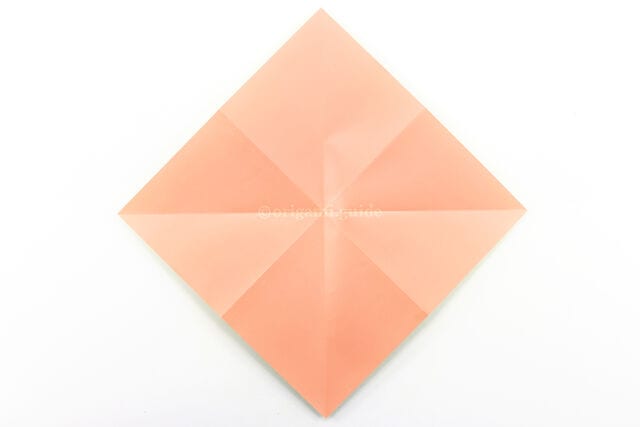
STEP 12. Unfold the previous step.
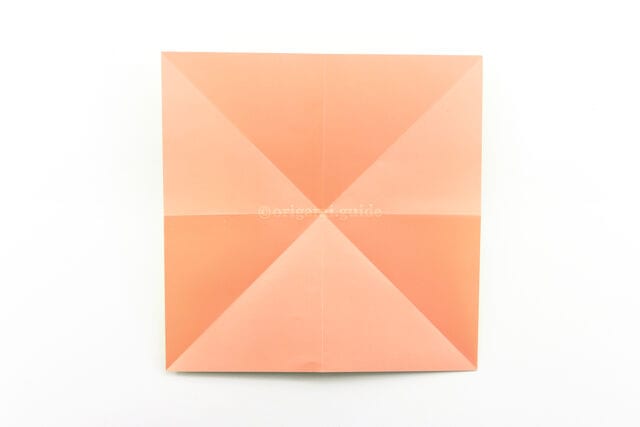
STEP 13. Rotate the paper.
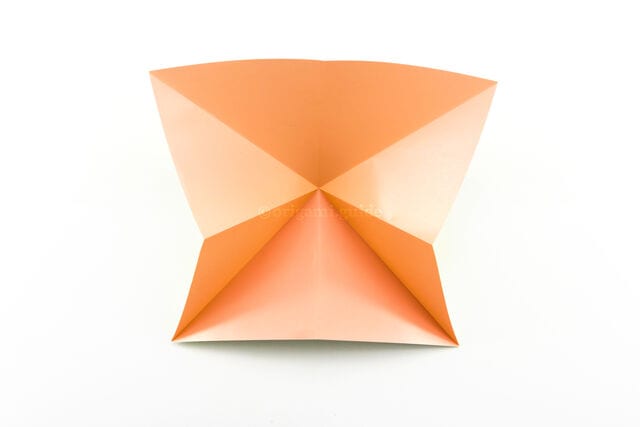
STEP 14. Bring the left and right edges towards you.
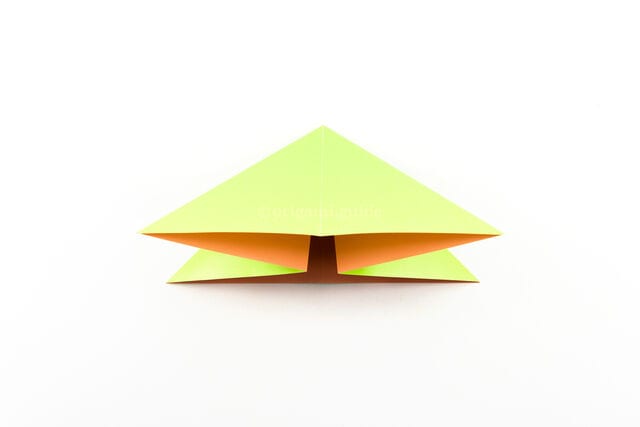
STEP 15. Flatten the top layer, squashing the left and right corners inside.
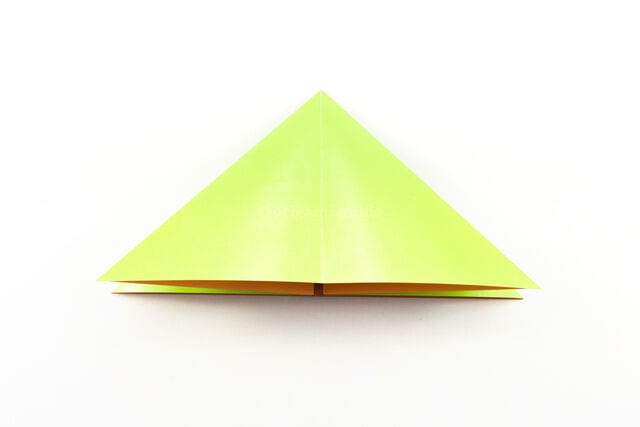
STEP 16. The finished water bomb base.




