
Gaikotsu
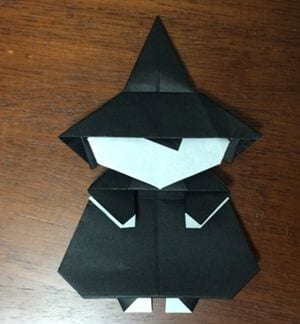
Halloween decorations are at their best when they are handmade, and this little witch might be the friendliest thing you will fold all season. The project is cleverly split into three tiny builds - a face with a jaunty hat, a simple dress-like body, and a small pleated broom - each made from its own square of paper and then tucked together in the end. What makes it especially nice for beginners is that no part is long or complicated; the scariest thing about this witch is how quickly she comes together. Fold her in classic black and orange, or break tradition with purple and green paper for a softer, cuter look. When she is done, sit her on a shelf, tie her to a gift, or make a whole coven for your Halloween party table.
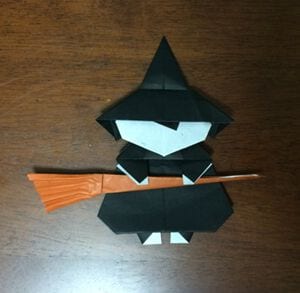
Let me show you how to fold an origami witch with a broom.
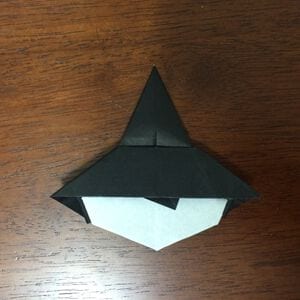
The finished witch is adorable and perfect for Halloween, so follow along and make one.
How to make a witch with a broom
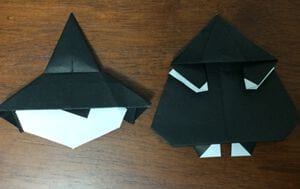
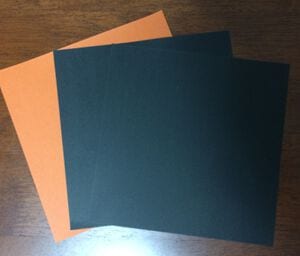
This time I will show how to fold the witch's face, her body, and the broom. Each part is made from a separate sheet of origami paper of the same size.
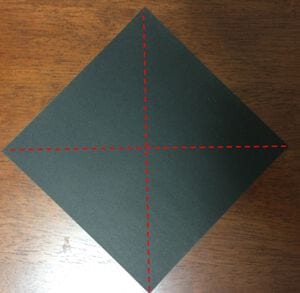
STEP 1. Make a crease on each diagonal.
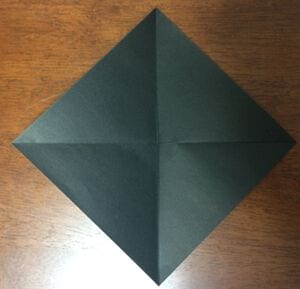
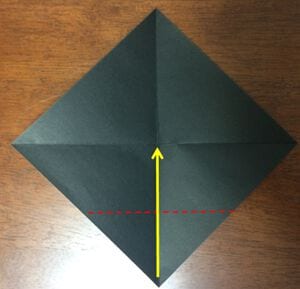
STEP 2. Fold the bottom corner to the middle crease.
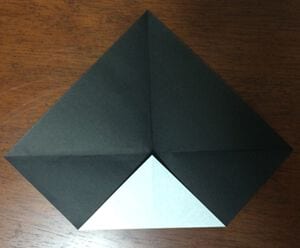
STEP 3. Turn it over and fold it so that the left and right edges are aligned with the center crease.
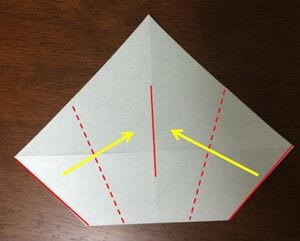
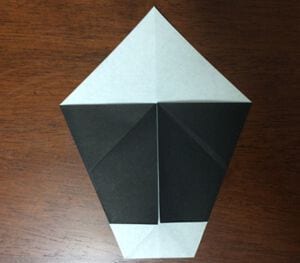
STEP 4. Fold it up along the dotted line.
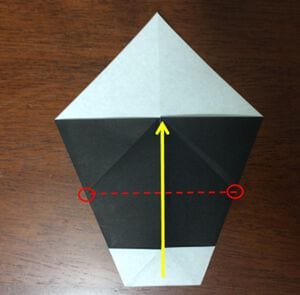
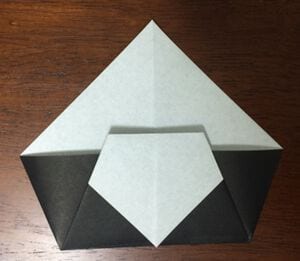
STEP 5. Fold the bottom corner upward, just past the black line. * The black line becomes the brim of the hat, so leave a little of the hair visible above it.
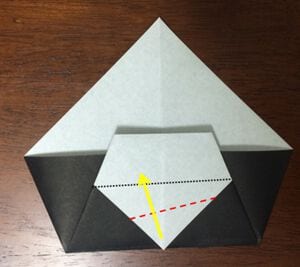
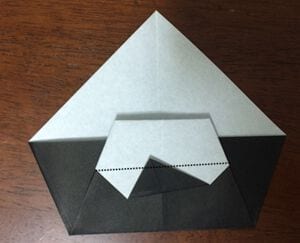
↓ This is the part.
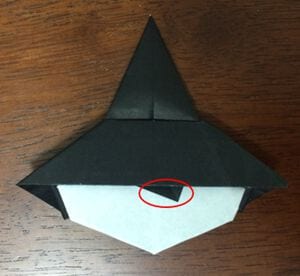
STEP 6. As shown, fold it backward where the edge of the lower paper meets the black edge of the upper paper.
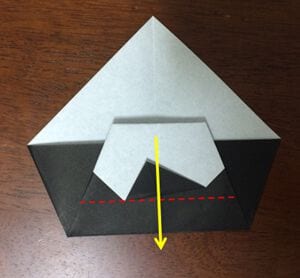
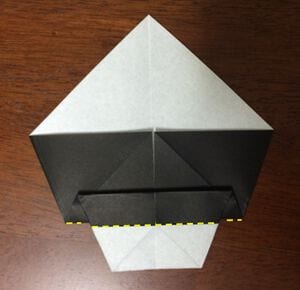
STEP 7. Fold it so that the edges overlap.
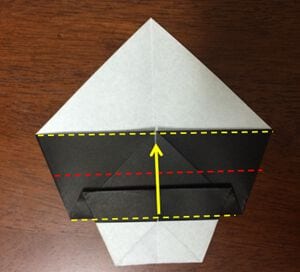
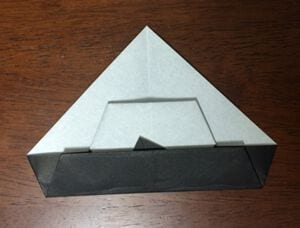
STEP 8. Turn it over and fold the bottom corner up.
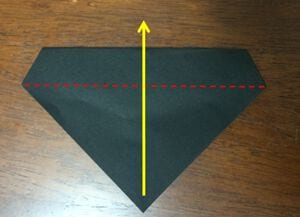
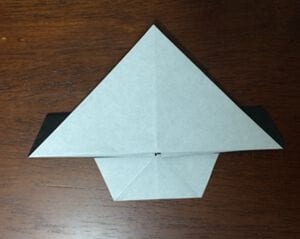
STEP 9. Fold the edges along the middle crease.
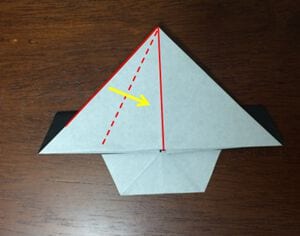
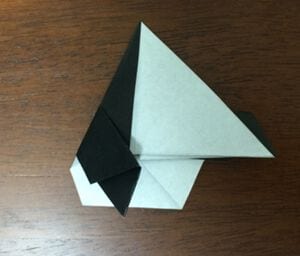
STEP 10. As shown, spread the layers apart and flatten them down.
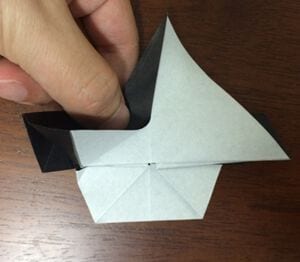
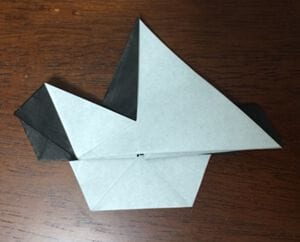
STEP 11. Fold the right side in the same way.
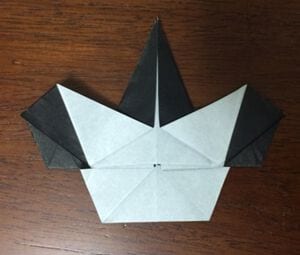
STEP 12. Fold it along the dotted line.
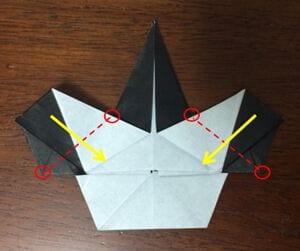
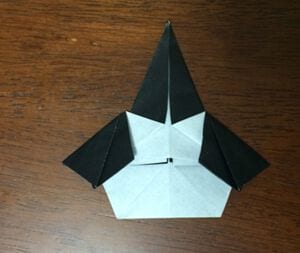
STEP 13. Turn it over and fold the dotted line to the back to complete the witch's face.
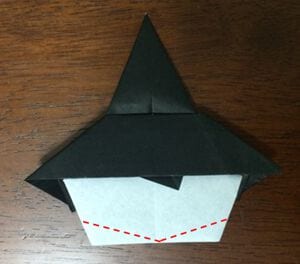
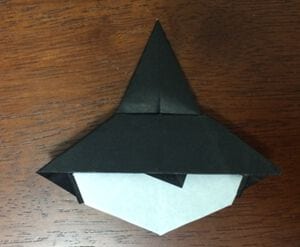
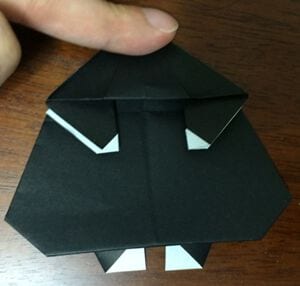
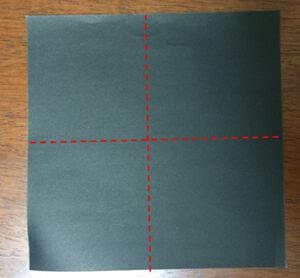
STEP 1. Fold it in half vertically and horizontally to make a crease.
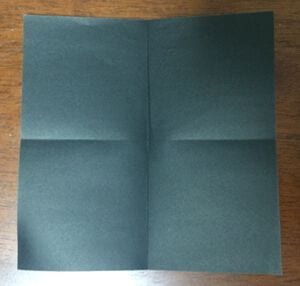
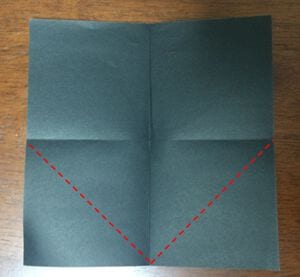
STEP 2. Fold the bottom corner to the middle crease and make a crease.
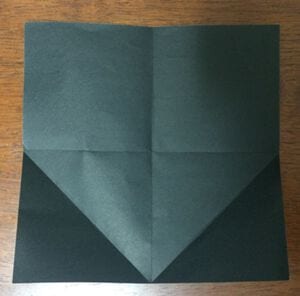
STEP 3. Turn it over and fold it so that the creases match.
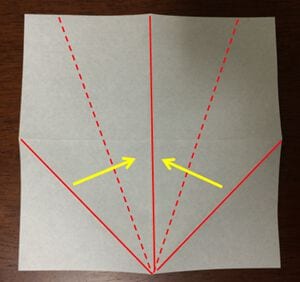
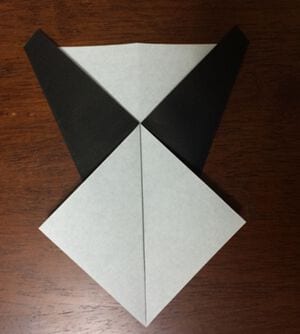
STEP 4. Fold the edges along the creases. Fold the left side in the same way.
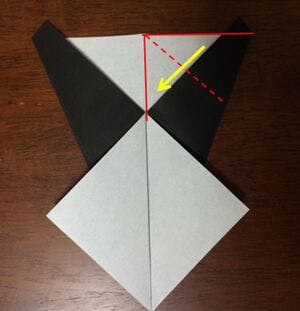
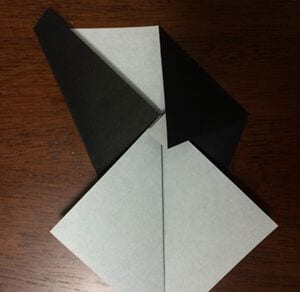
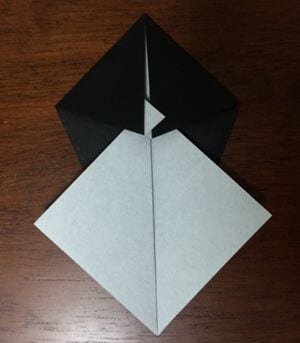
STEP 5. Make a crease as shown.
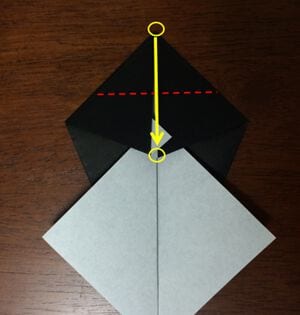
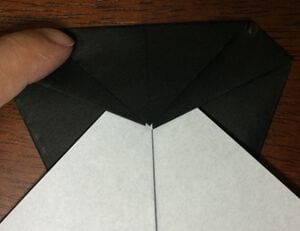
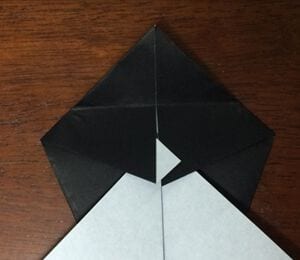
STEP 6. Fold it so that the corners are aligned with the creases.
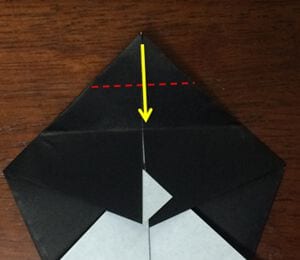
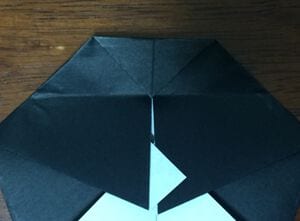
STEP 7. Fold the edges along the creases.
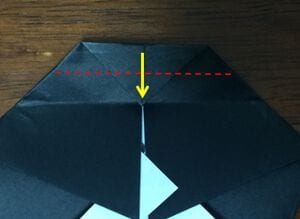
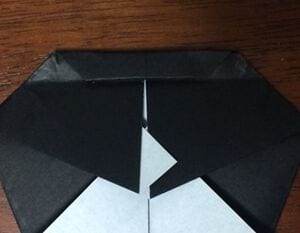
STEP 8. Fold it again at the crease.
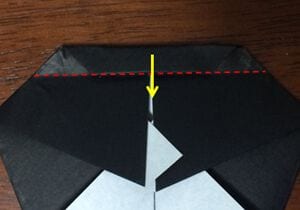
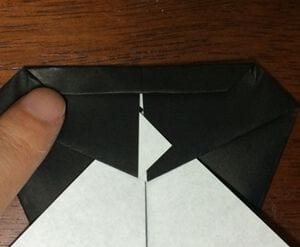
STEP 9. Fold it diagonally as shown.
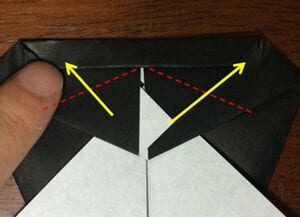
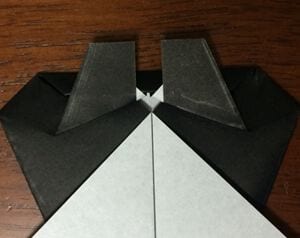
STEP 10. Turn it over and fold the left and right corners slightly.
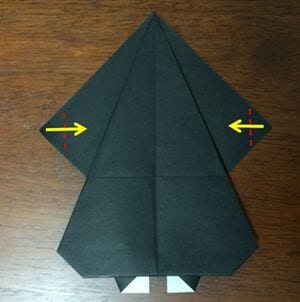
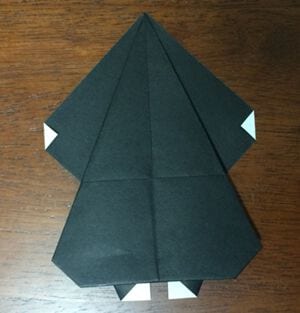
STEP 11. Fold it down along the dotted line.
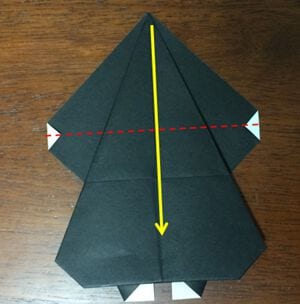
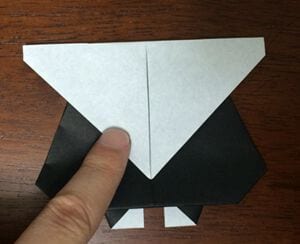
STEP 12. Fold the corners up using the crease below as a guide.
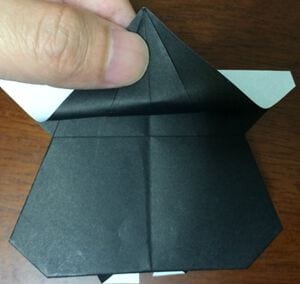
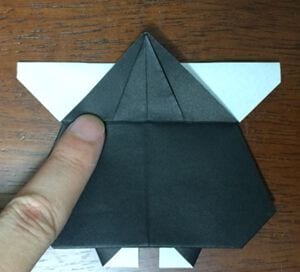
STEP 13. Make a crease along the dotted line.
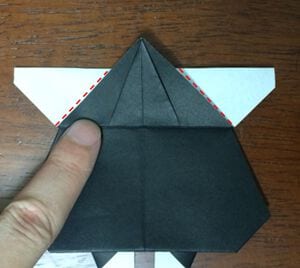
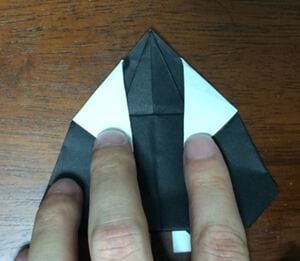
STEP 14. Fold it inward along the creases to complete the witch's body.
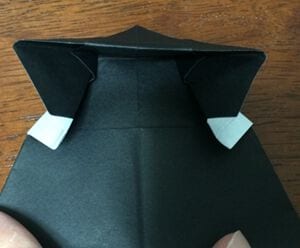
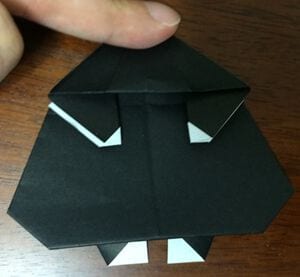
Insert the corners of the body parts into the face parts and glue them together to complete the witch.
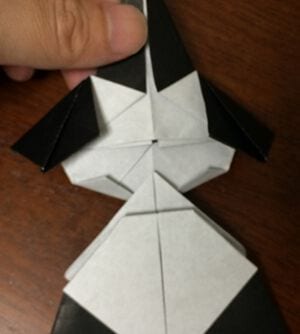
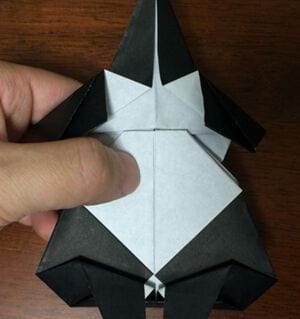
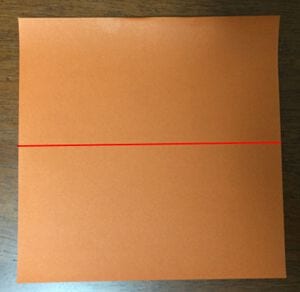
STEP 1. Cut in half.
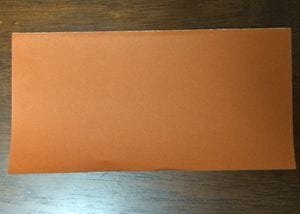
STEP 2. Fold it diagonally.
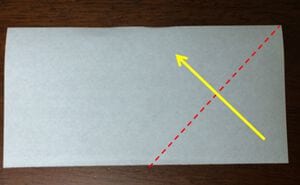
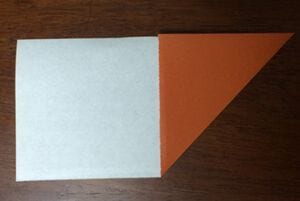
STEP 3. Fold it diagonally.
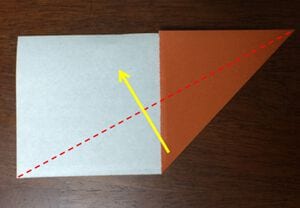
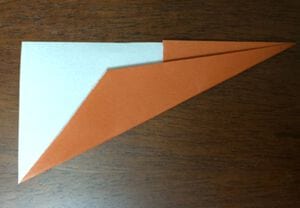
STEP 4. Make a crease along the dotted line.
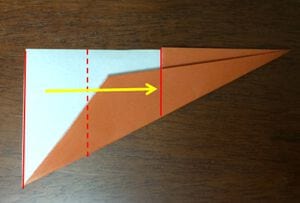
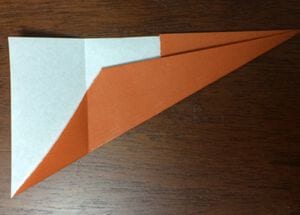
STEP 5. Fold the top edge to the bottom edge.
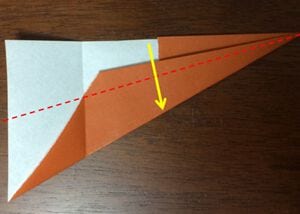
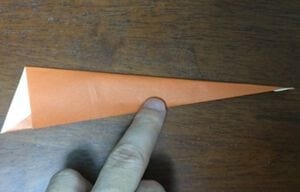
STEP 6. Fold it into a step shape around the creases.
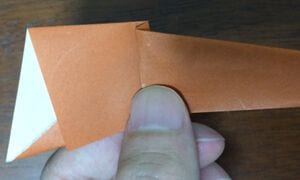
STEP 7. Fold the edge up so the edges meet.
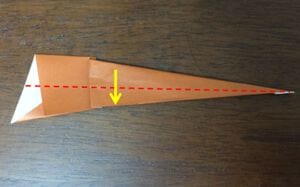
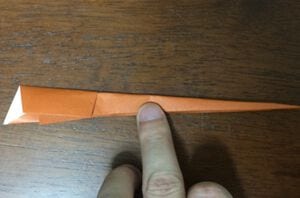
STEP 8. Fold it open inside.
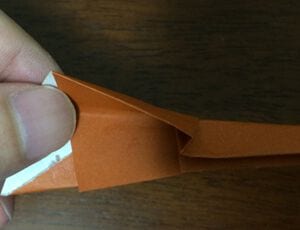
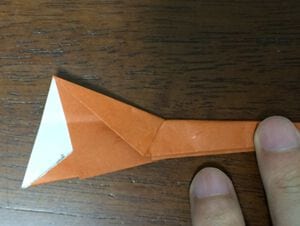
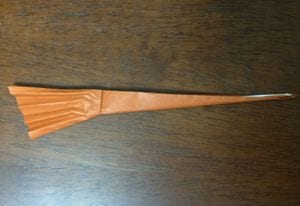
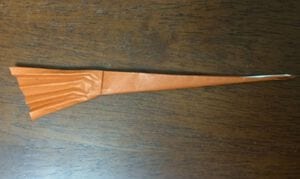
STEP 9. Turn it over and fold it in steps to complete the broom.
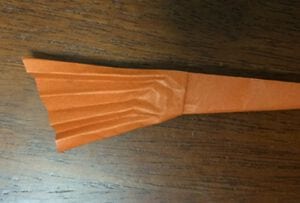
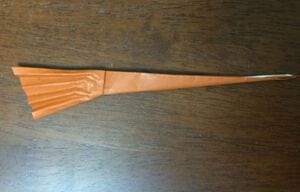
Glue this to the witch and you're done.




