
How to Fold an Origami Pikachu
For the first seven steps this is a paper crane. Then something shifts: one point gets folded down, a couple of angled creases go in, and the bird you were halfway through becomes something with ears.
That shared beginning is good news if you have folded a crane before — the base is already under your fingers, and steps 1 to 7 will feel like memory rather than instruction. If you have not, they are still only straight creases and a single opening-out move, so do not be put off by the resemblance.
The hardest part is not the folding. It is the face at the end, which looks trivial and turns out to be where most of the character lives. The original tutorial suggests handing the pen to the Pokémon fan in the house, which is probably the best advice on the page. Yellow paper helps, if you have it.
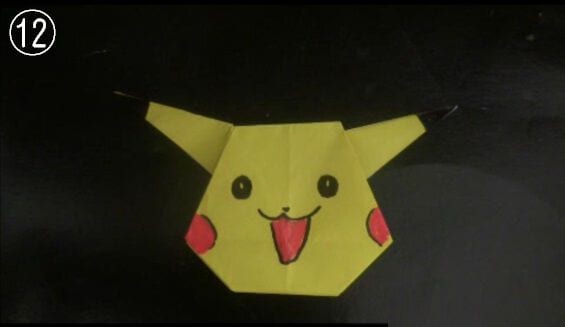
How to fold Pikachu
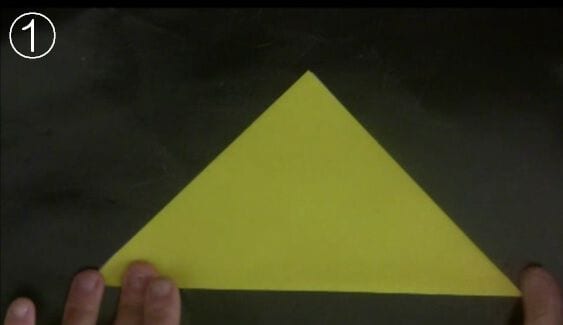
STEP 1. Fold the paper in half into a triangle.
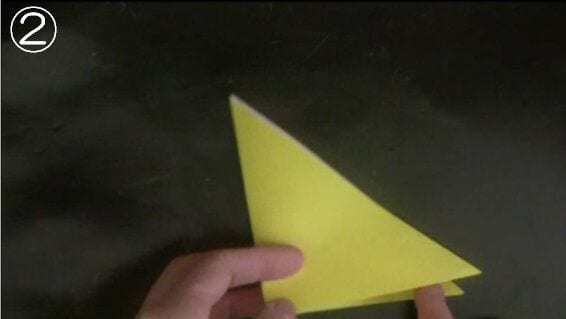
STEP 2. Fold the triangle in half again.
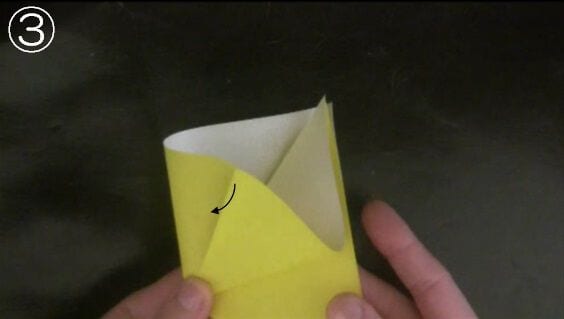
STEP 3. Open the triangle out and fold the other side the same way.
STEP 4. Fold along the blue line so it meets the centre line (red), crease it, then unfold.
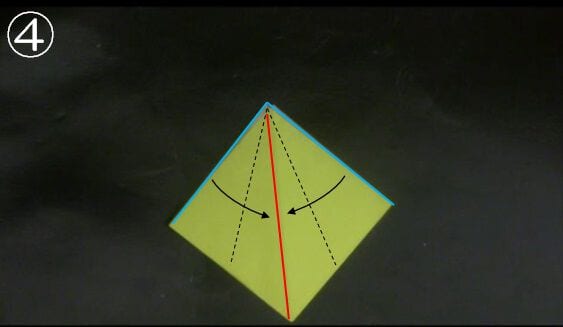
STEP 5. Crease along the dotted line that connects the ends of the crease you just made.
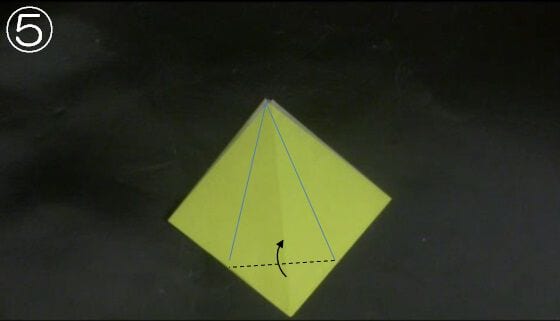
STEP 6. Use the creases you have made as a guide to open the paper up.
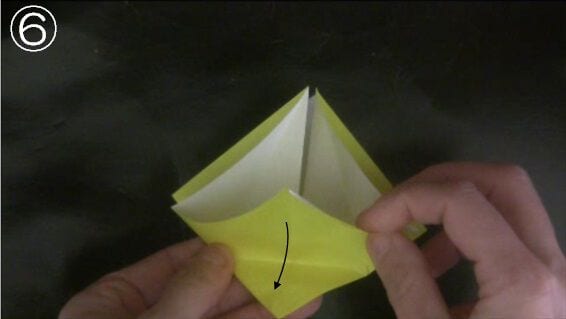
STEP 7. Fold the back the same way. Up to this point the folding is the same as for a paper crane.
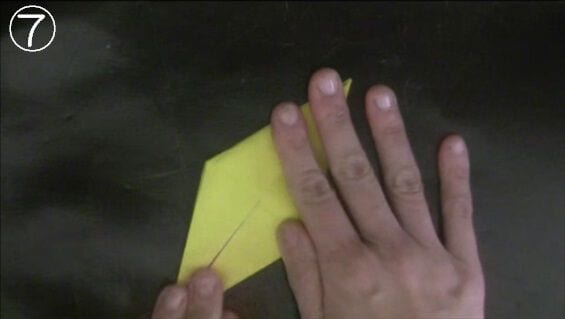
STEP 8. Fold the top point down. Then turn the model over and rotate it.
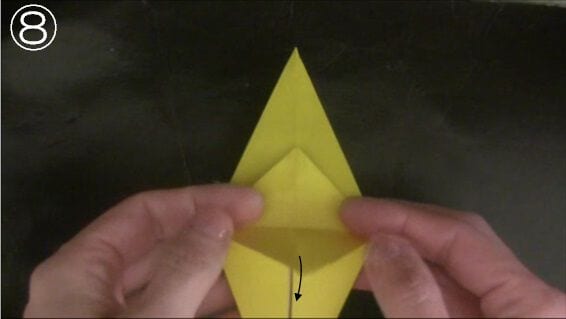
STEP 9. Fold along the dotted line.
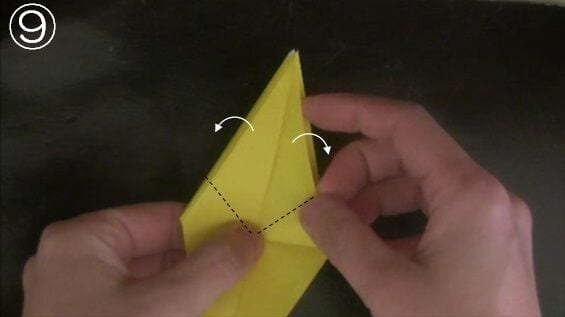
STEP 10. Fold upwards from the dotted line.
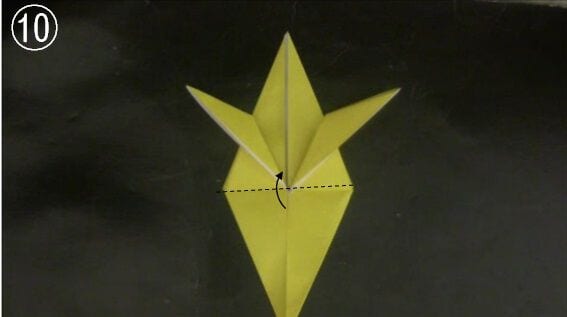
STEP 11. Fold along the dotted line, then turn the model over.
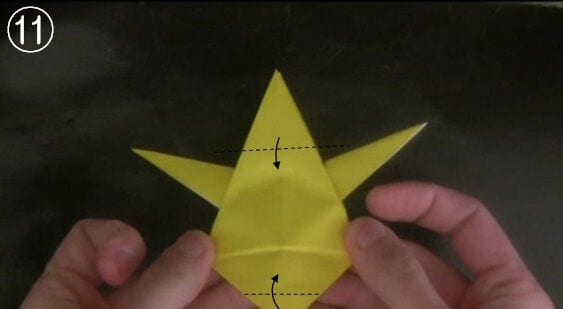
STEP 12. Pikachu is finished!
Tips for folding
Check the shape from the front at step 11, so the outline looks cute.
Finally, draw on the face.
It looks easy to draw, but finishing it off so it looks cute is surprisingly difficult.
You might do better leaving the face to the Pokémon-mad child in the house!




