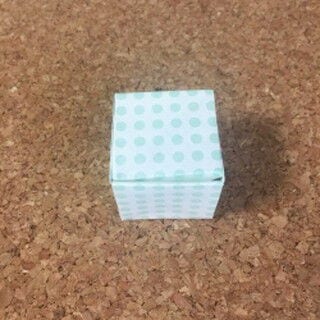
Scary box pops out of the box
There are few paper crafts that get a bigger reaction than a jack-in-the-box — and this origami version delivers the same delightful surprise without any fancy mechanisms. Fold a tidy little box, build a simple paper spring, glue on a goofy ghost, and suddenly opening the lid sends a spooky face leaping out at whoever lifts it.
It's a longer build at twenty-six steps, but each stage is shown in photos and it's really just a box plus a coiled strip of paper. Perfect for Halloween, party favors, or just pranking a family member who thought they were opening a harmless gift.
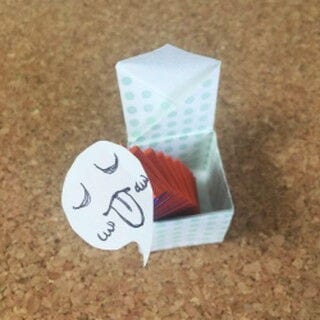
What You'll Need
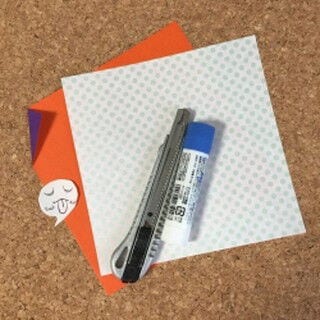
Origami paper: 2 sheets. Scissors or a craft knife. Glue. A small picture to attach where the figure pops out.
※ You'll also need one extra sheet of paper for the figure that pops out. (The edge of a notepad works instead of origami paper.)
Folding the Jack-in-the-Box (with Photos)
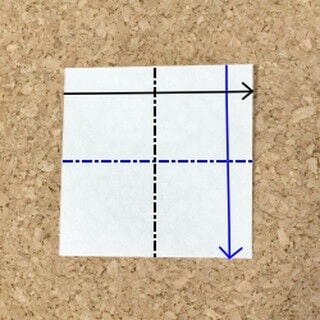
STEP 1. Start by folding the box. Prepare one sheet of origami paper. Fold it in half on the back to make a cross crease, unfold, then fold the other sides in the same way.
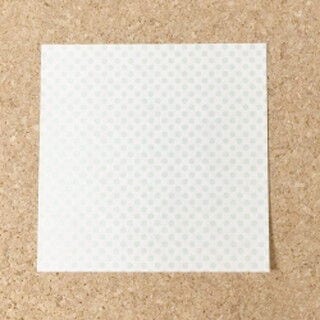
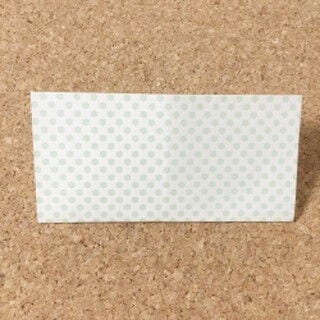
STEP 3. Next, fold the four corners toward the center point.
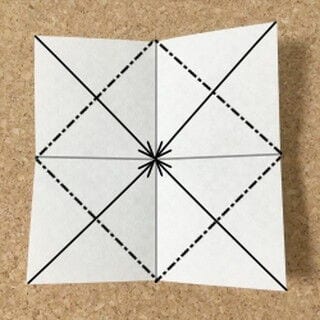
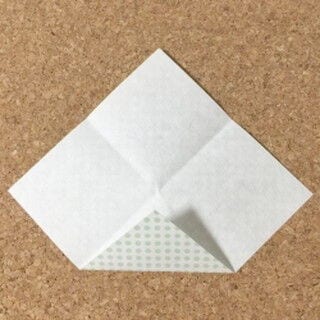
STEP 4. Once all four corners are folded, make a horizontal crease dividing the paper into thirds.
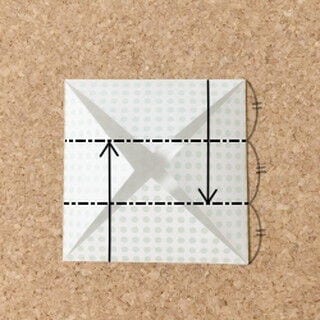
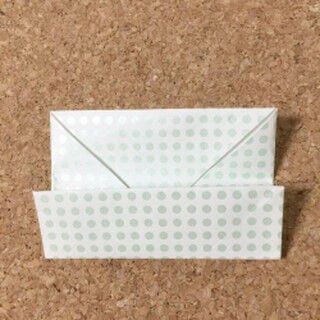
STEP 5. Next, make a vertical crease dividing it into thirds.
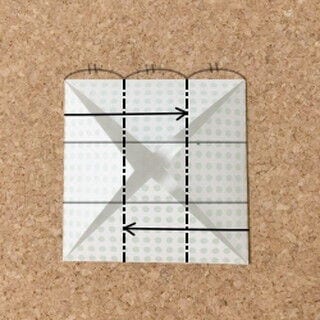
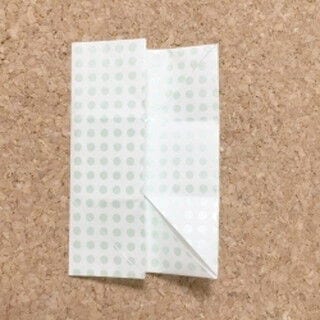
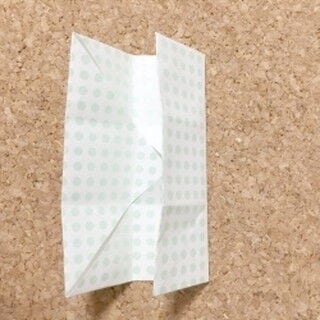
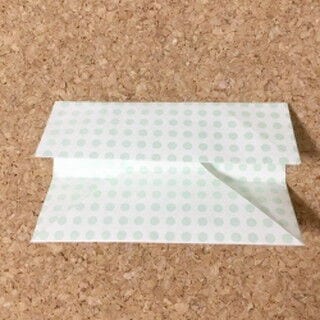
STEP 6. Open the top and bottom triangles. STEP 7. Stand the sides up. Dotted line = mountain fold; one-dot chain line = valley fold.
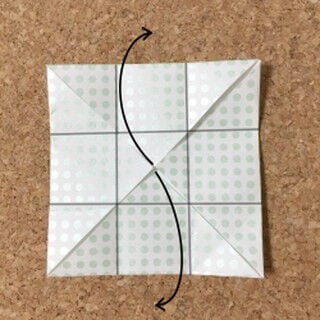
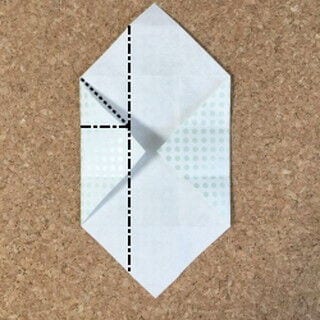
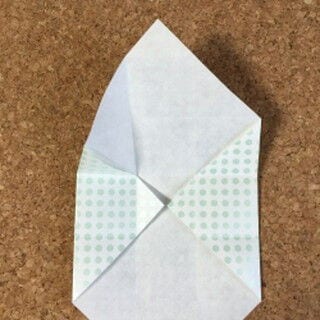
STEP 8. Do the same on the other side. Dotted line = mountain fold; one-dot chain line = valley fold.
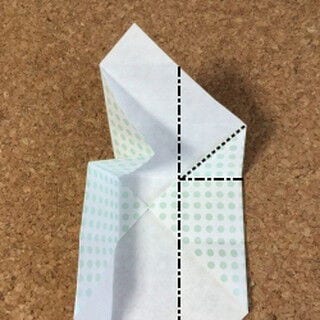
STEP 9. Stack the layers together.
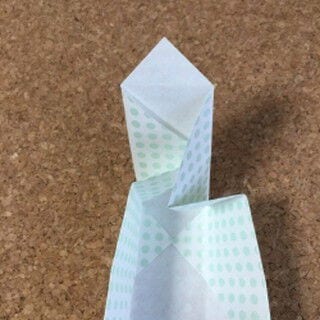
STEP 10. Fold it inward.
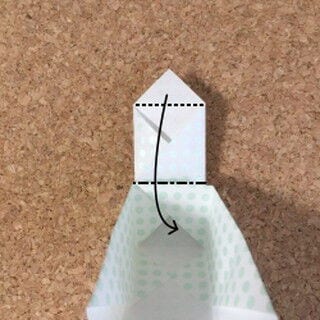
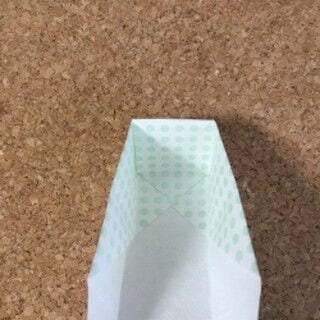
Raise both sides on the other end as well.
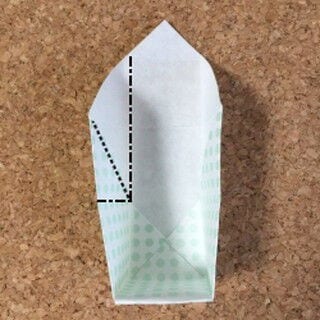
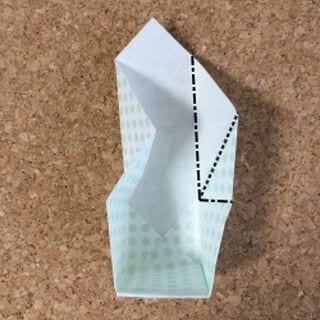
STEP 11. Glue it in place so it won't unfold. (Use glue)
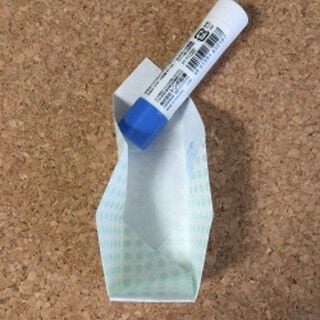
STEP 12. Fold the tip of the triangle down.
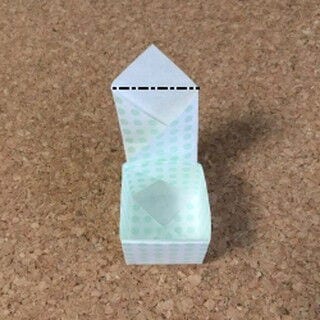
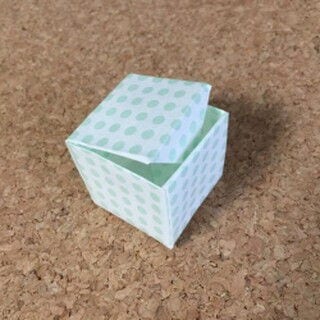
STEP 13. The box is now complete.
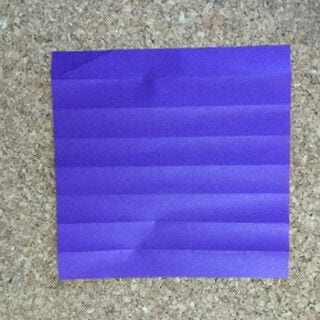
STEP 14. Take a new sheet of origami and divide it into eight equal parts. (Use a second sheet.)
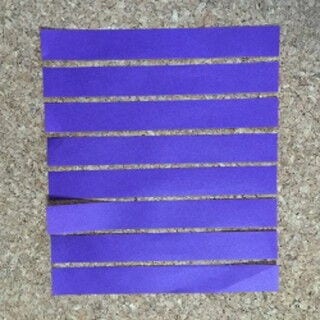
STEP 15. Cut along the crease lines with scissors or a craft knife. Be careful when handling the blade.
STEP 16. Align the ends of the cut strips and glue them together. (Double-sided colored origami is recommended, since the exposed part will look more decorative.)
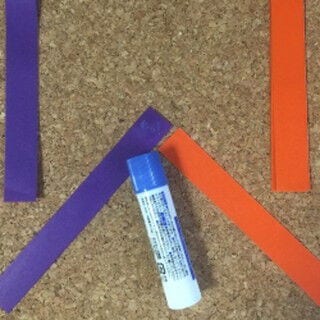
STEP 17. Fold the bottom strip over the top one.
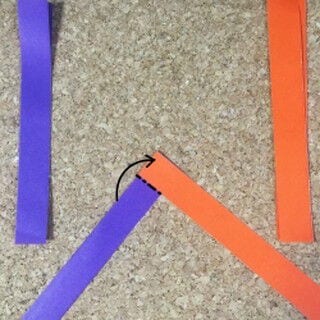
STEP 18. Fold the strip that wasn't folded in Step 17.
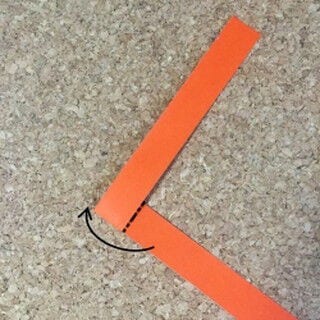
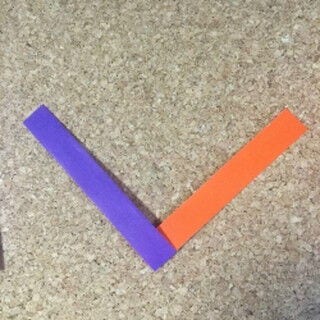
STEP 19. Repeat Steps 17 and 18, adding more strips with glue as it gets shorter.
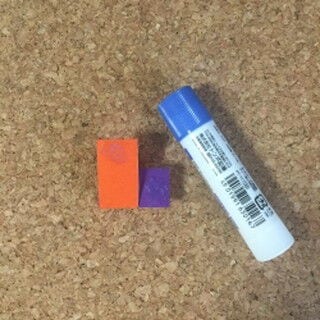
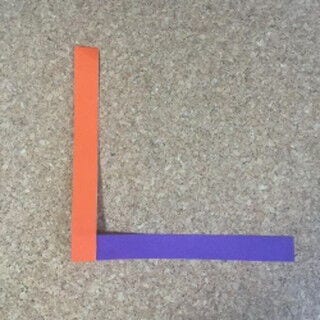
STEP 20. Repeat Steps 17 and 18 again, continuing to add strips as needed.
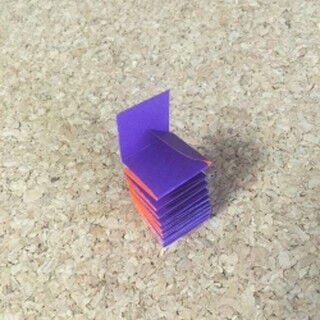
STEP 21. Glue the end so it doesn't come loose. (Use glue)
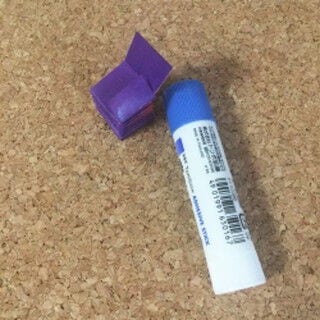
STEP 22. Glue on the ghost you prepared in advance. (Any same-sized cutout works if you'd rather not use a ghost.)
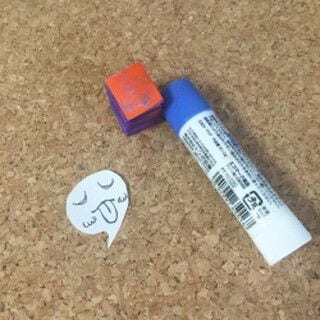
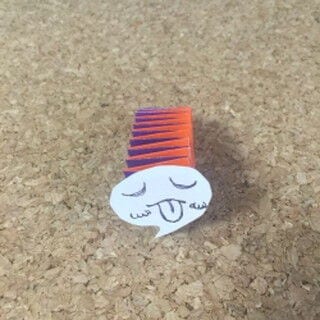
STEP 23. Stretch the spring. If it isn't long enough, pull it to its limit carefully so it doesn't tear.
STEP 24. Take the box you just folded.
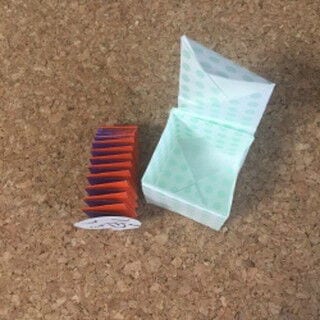
STEP 25. Glue the base of the spring and stick it to the inside bottom of the box.
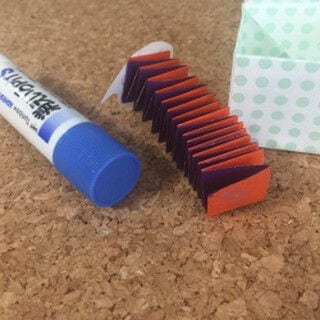
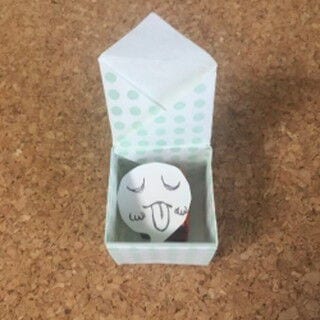
STEP 26. Close the lid.