
Origami Butterfly
Butterflies are one of origami's favourite subjects, and this version by Akira Yoshizawa shows why. Yoshizawa is the man who turned paper folding into a modern art form, and even in a small, accessible model like this one you can feel his eye for natural shape: the wings are not flat triangles but gently curved, with a body that tapers the way a real butterfly does.
Do not be put off by the twenty-seven steps. Most of them are quick, and the first dozen simply guide you through the waterbomb base — a fold you will use again and again in origami. The rest is shaping: bring the flaps down, narrow the body, and let the wings open. Once you have folded one, it is hard to stop at one. They look lovely strung up in a window or perched on the edge of a plant pot, and patterned paper makes each one different.
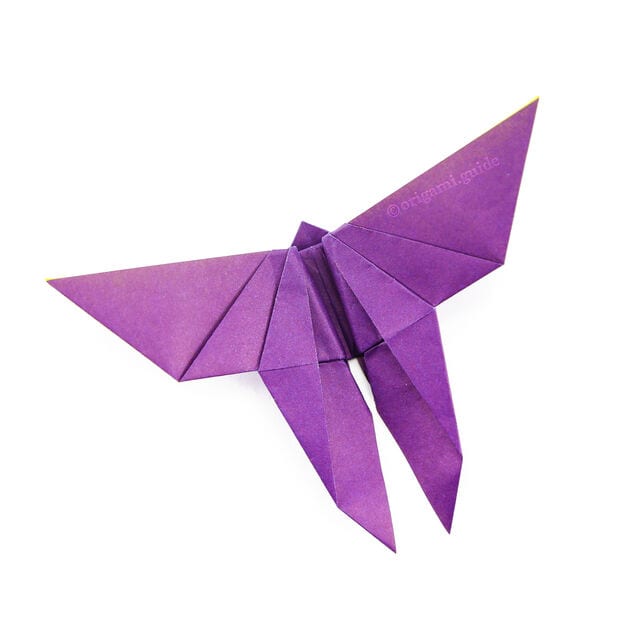
These pretty origami butterflies are designed by Akira Yoshizawa. They are easy to fold and look lovely as decorations for spring and summer.
This model is rated easy to intermediate, but children can make it too, perhaps with a tiny bit of help.
STEP 1. This is the front of the paper — our origami butterfly will end up being this color.
STEP 2. This is the back of the origami paper.
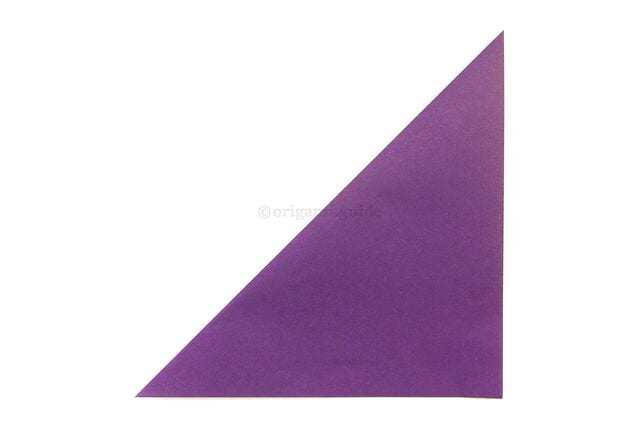
STEP 3. Fold the top left corner diagonally down to the bottom right corner.
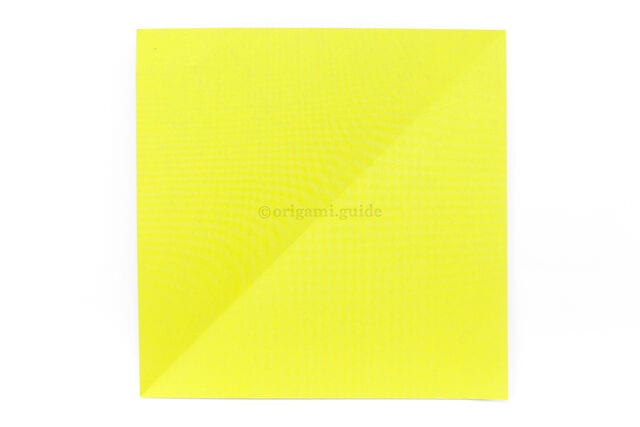
STEP 4. Unfold the previous step.
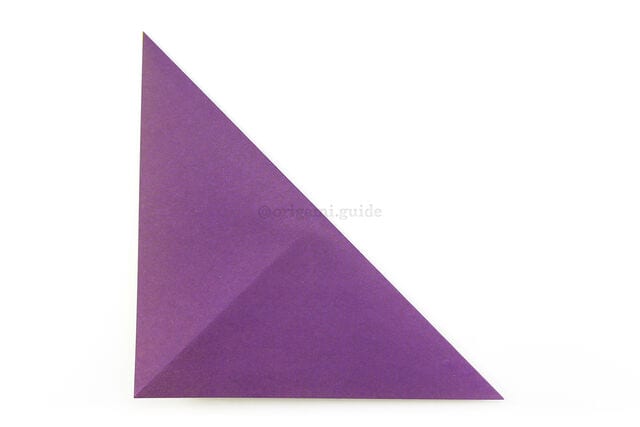
STEP 5. Fold the top right corner diagonally down to the bottom left corner.
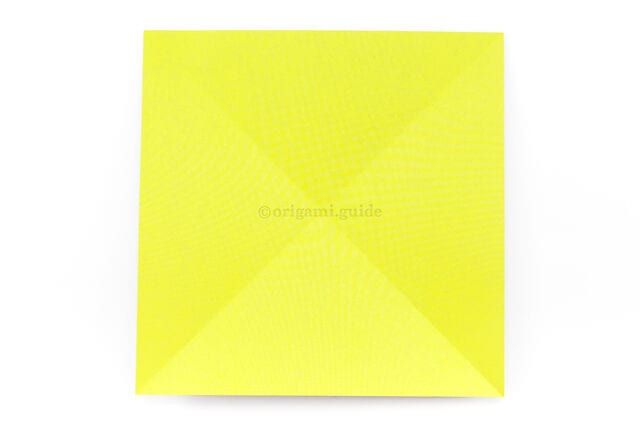
STEP 6. Unfold the previous step.
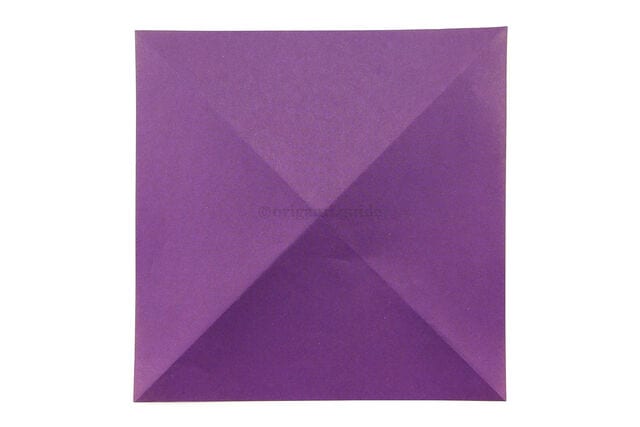
STEP 7. Flip the paper over to the other side.
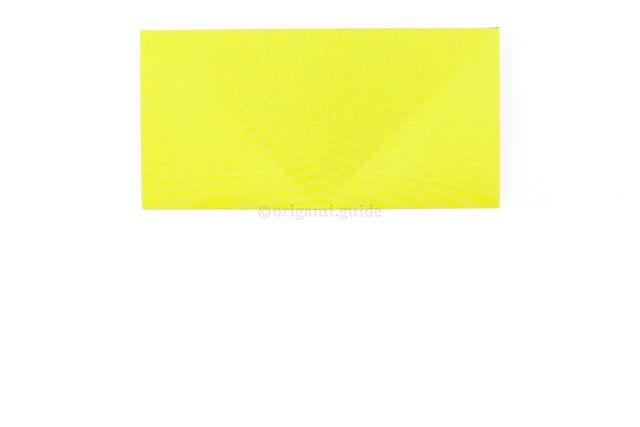
STEP 8. Fold the bottom edge up to the top edge.
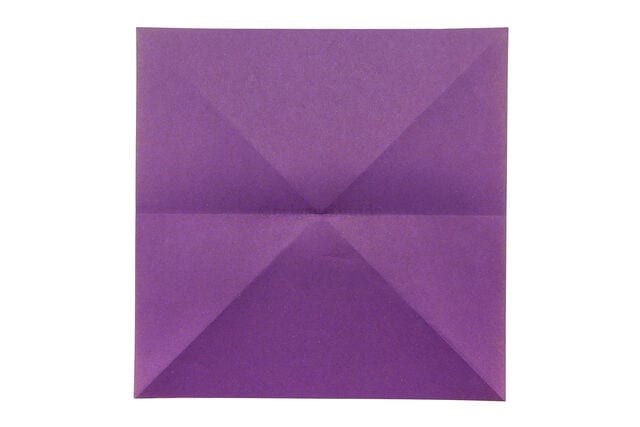
STEP 9. Unfold the previous step.
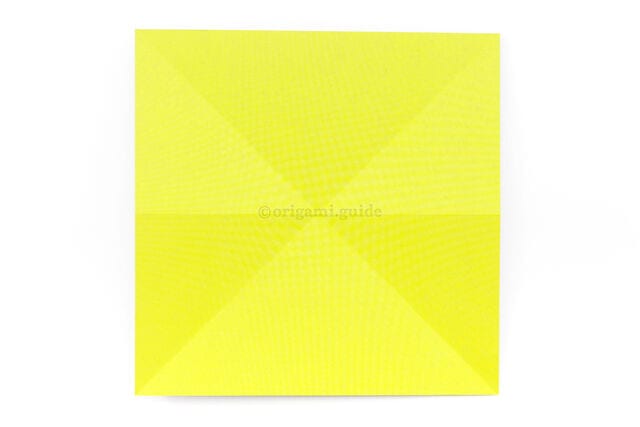
STEP 10. Flip the paper back over to the other side.
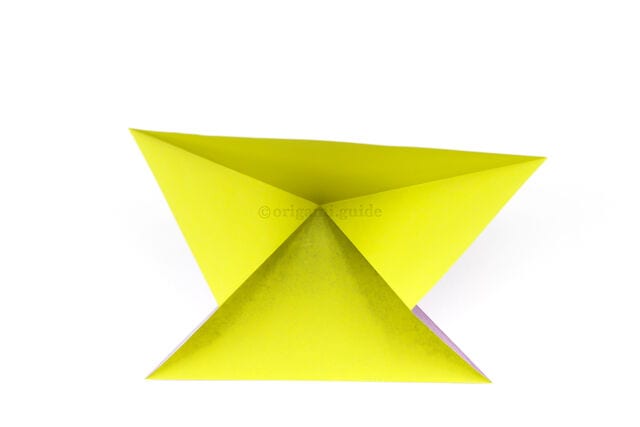
STEP 11. Push the left and right sides inward, collapsing the paper so the top edge comes down to the bottom edge.
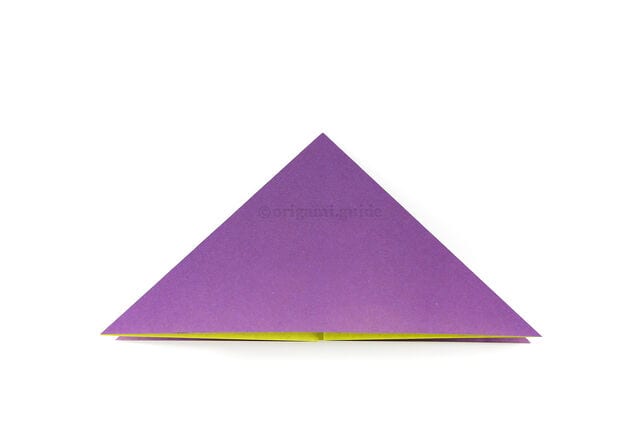
STEP 12. Flatten the paper to form a triangle. (This is a water bomb base)
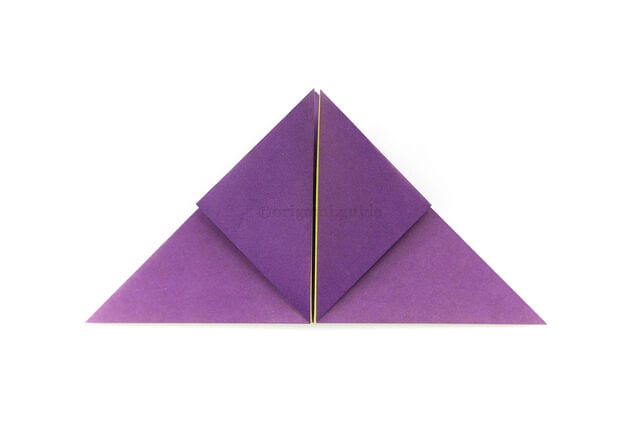
STEP 13. Fold the bottom left and right points diagonally up to meet the top point.
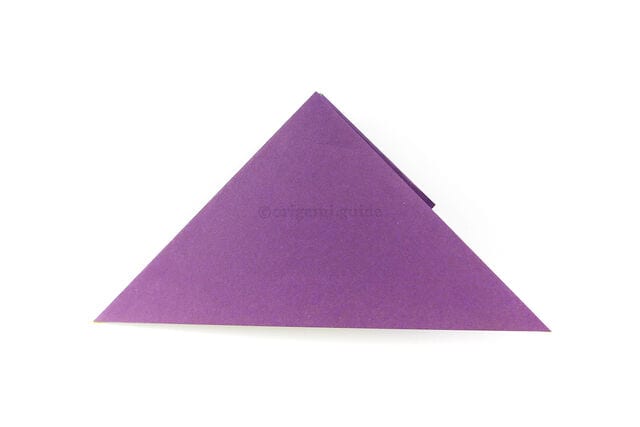
STEP 14. Flip the model over to the other side.
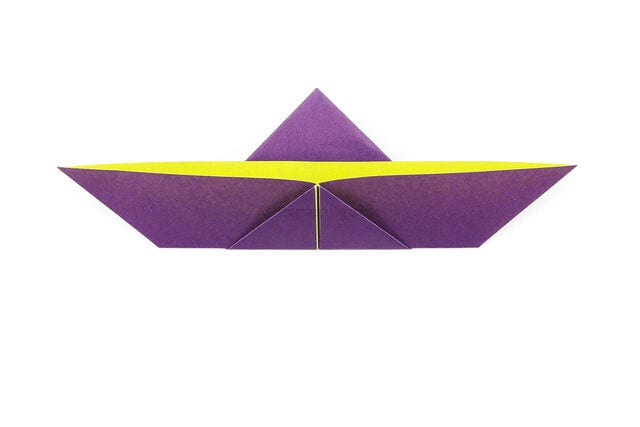
STEP 15. Fold the bottom edge up, a little more than halfway.
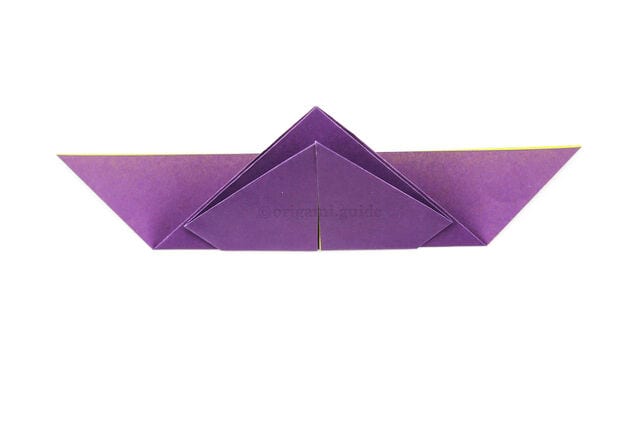
STEP 16. Flip the paper over to the other side.
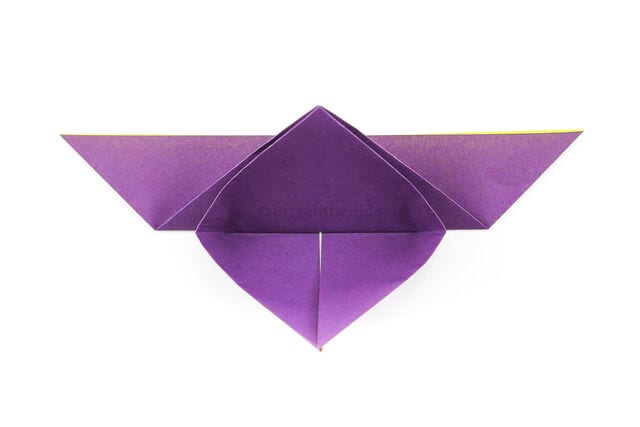
STEP 17. Bring the two flaps down.
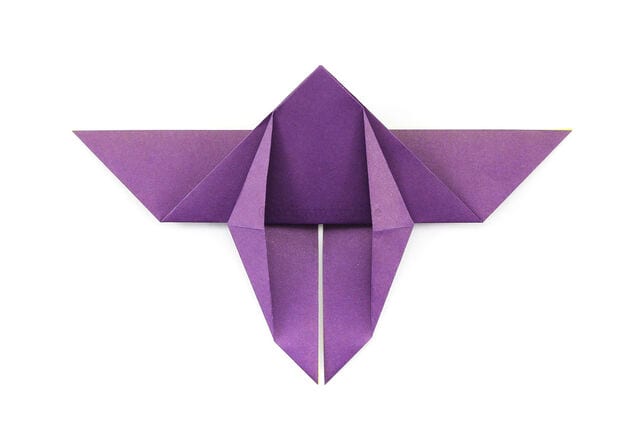
STEP 18. Flatten the two flaps down, squashing the left and right edges.
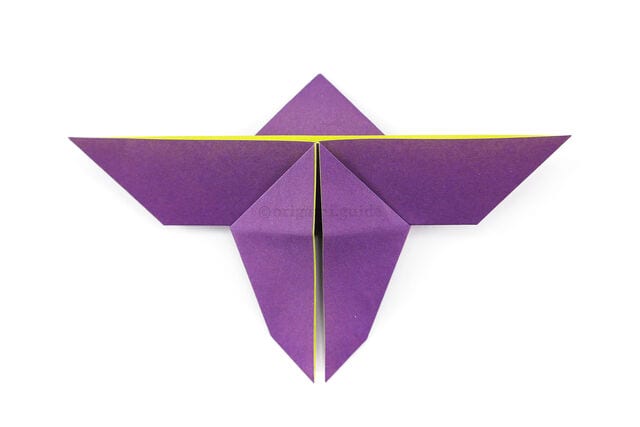
STEP 19. Flip the butterfly over to the other side.
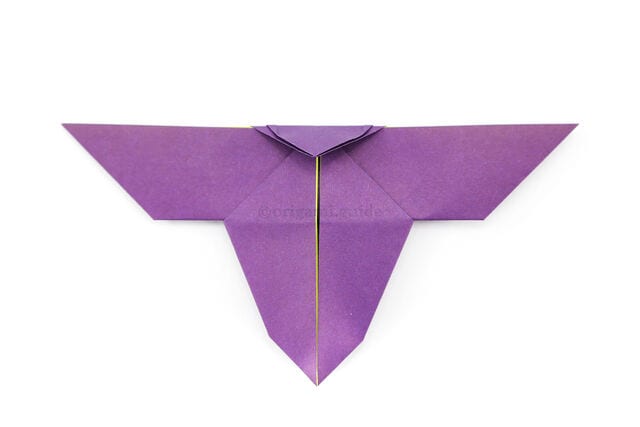
STEP 20. Fold the top triangle down.
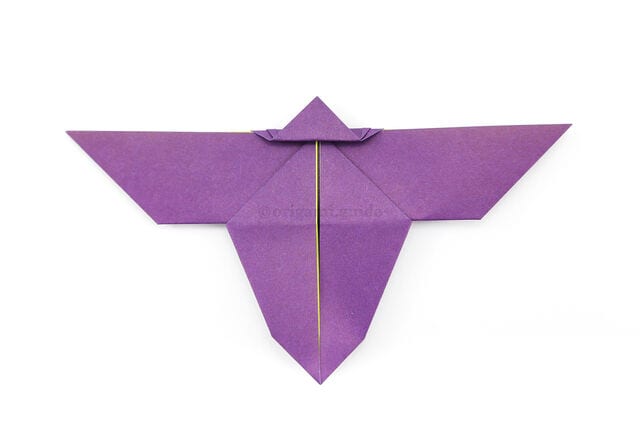
STEP 21. Fold the top triangular flap up, leaving a little gap.
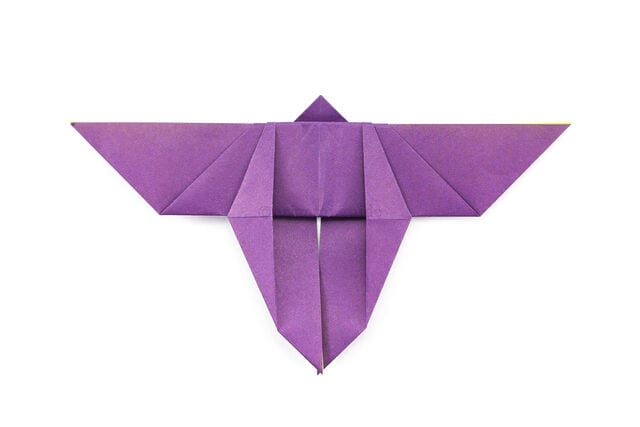
STEP 22. Flip the butterfly back over to the other side.
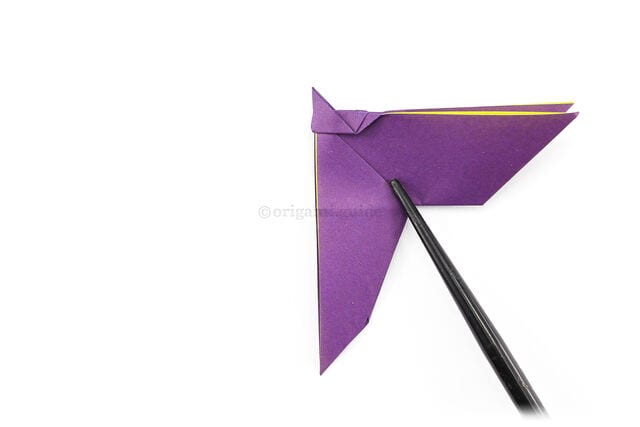
STEP 23. Fold the left side over to the right, being careful not to tear the little flaps in the middle.
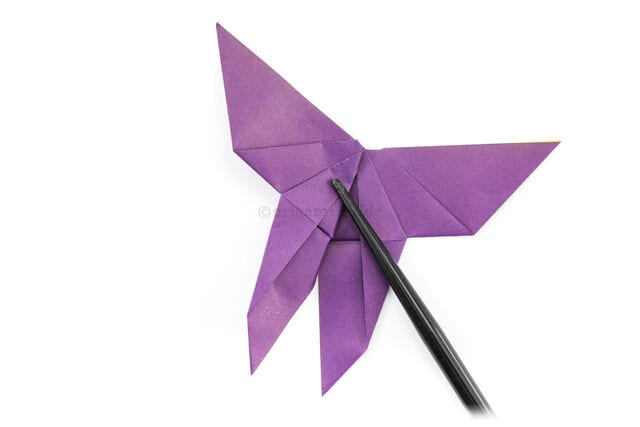
STEP 24. Fold the top layer back diagonally to the left.
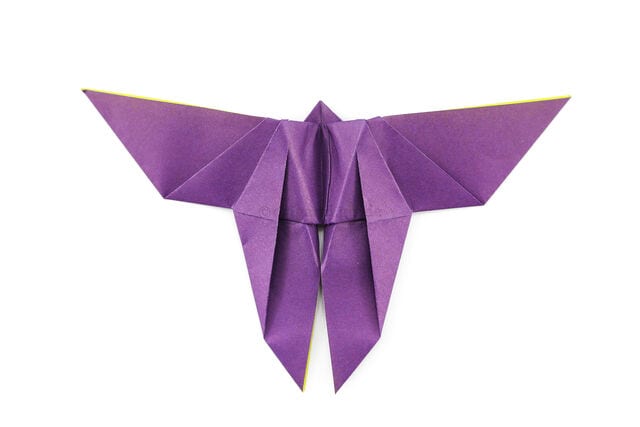
STEP 25. Repeat the last step on the other side.
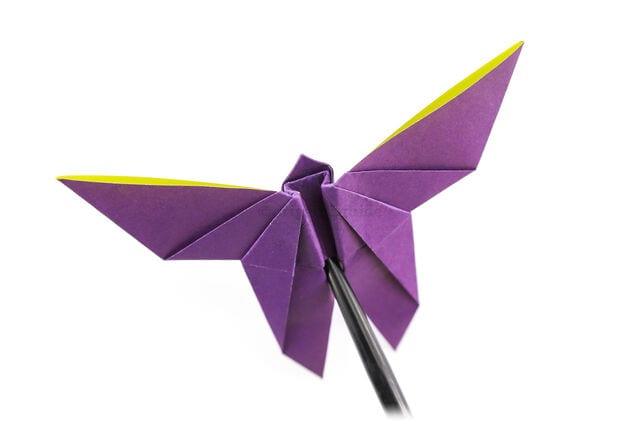
STEP 26. You can bring the two inner edges together.
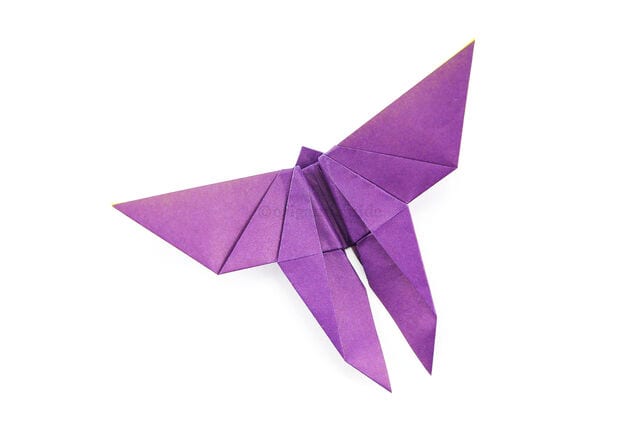
STEP 27. The butterfly is complete!




