
How to Make an Origami Jack-o'-Lantern
There is no quicker way to get into the Halloween spirit than folding a little jack-o'-lantern that grins back at you. This one starts from a single square of paper and, through a satisfying sequence of center folds, a square base, and a few clever corner tucks, becomes a round paper pumpkin with real character. The best part is step 13, where you get to decide how wide to fold each corner—fold them narrow for a slim gourd or wide for a fat, cheerful pumpkin. Once it is done, grab a pen and give it a face, maybe even a tiny hat, and suddenly it has personality. Let's make a whole patch.
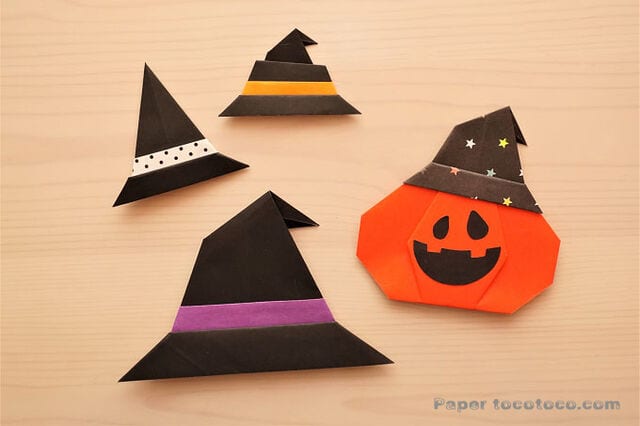
How to Fold a Halloween Jack-o’-Lantern
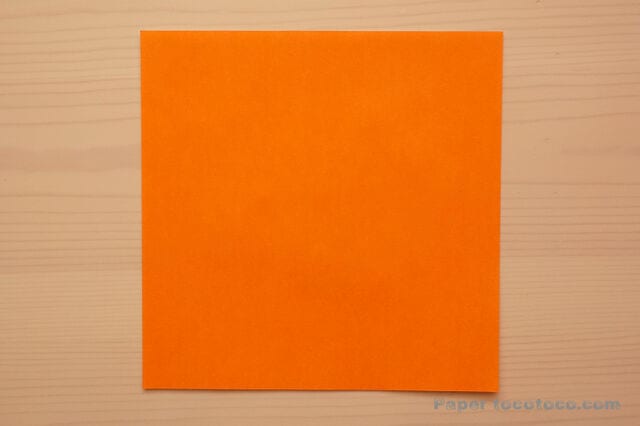
You will need one sheet of 15 × 15 cm origami paper.
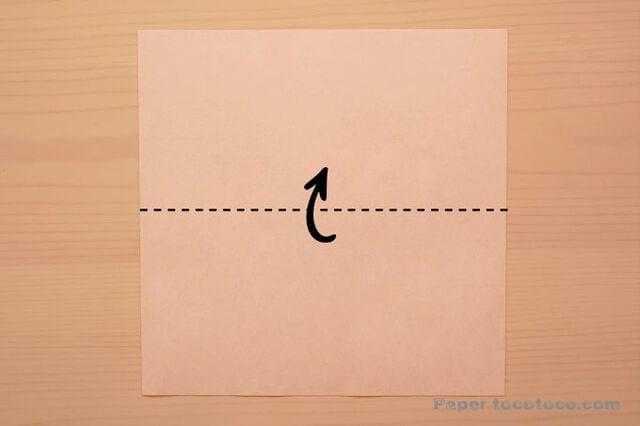
STEP 1. Fold it in half at the center.
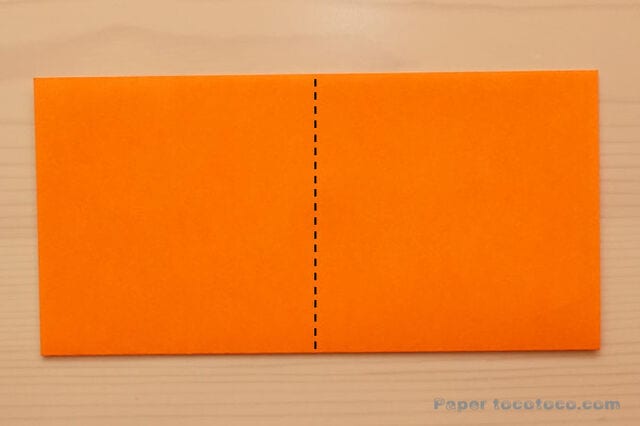
STEP 2. Fold it in half at the center again and make a crease.
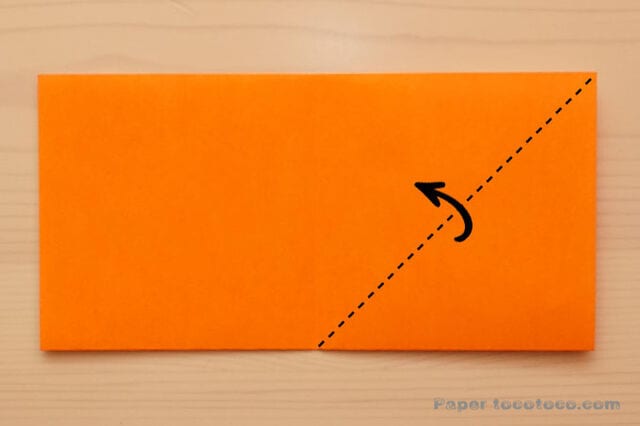
STEP 3. Valley-fold along the dashed line.
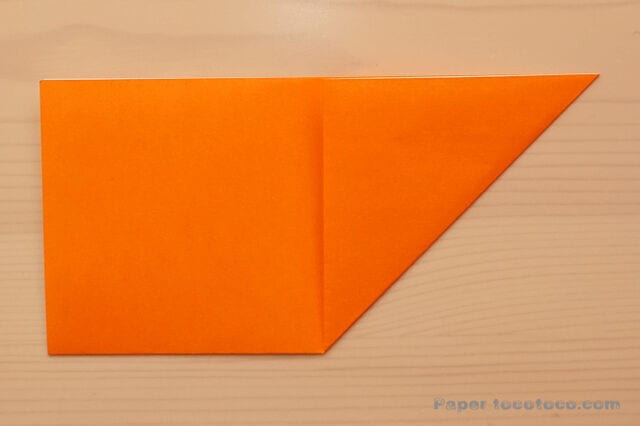
STEP 4. Once it folds like this, turn it over.
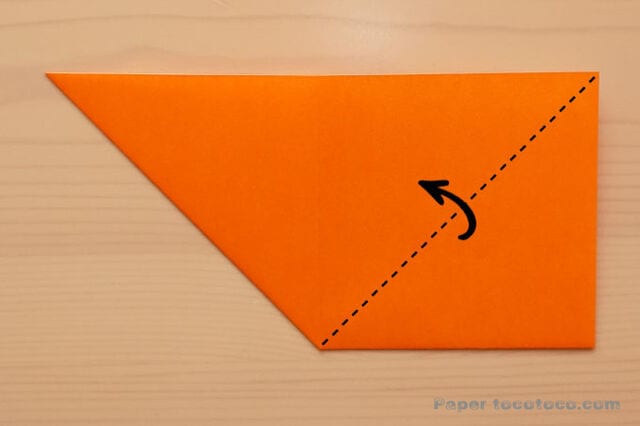
STEP 5. Valley-fold along the dashed line.
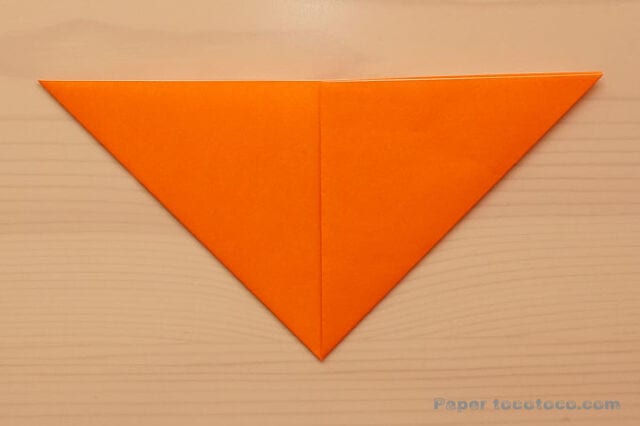
STEP 6. Unfold the inside and fold it into a square base.
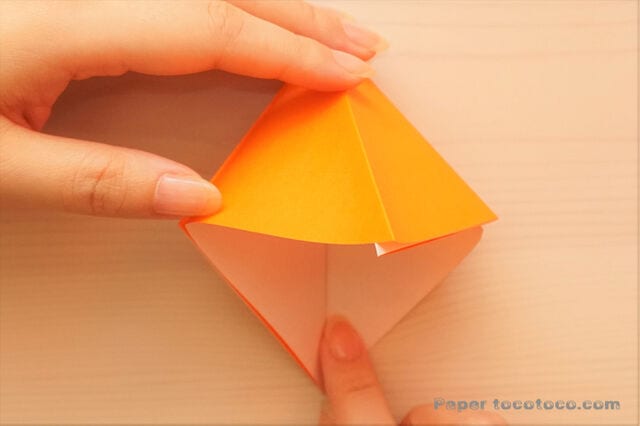
It should look like this.
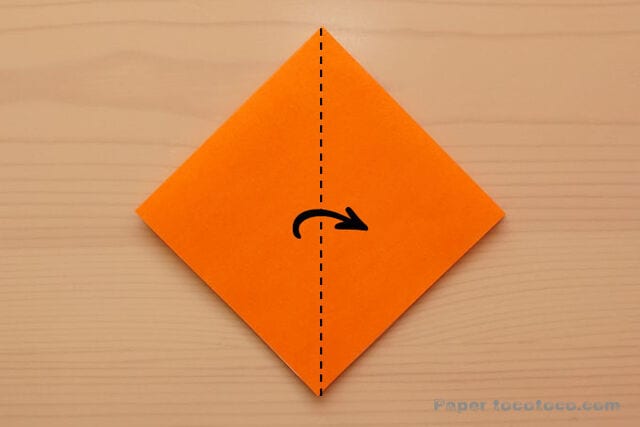
STEP 7. Fold the left side over to the right.
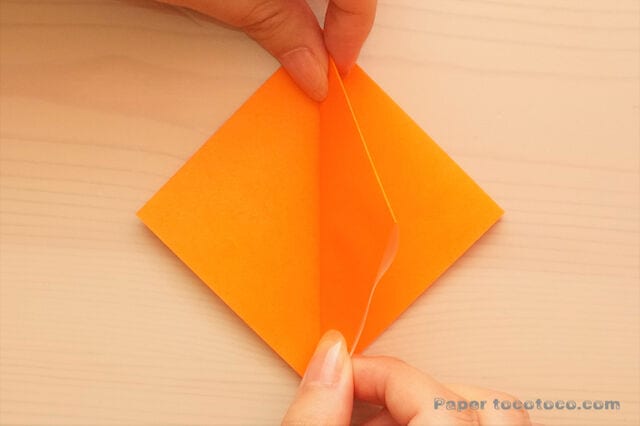
It should look like this.
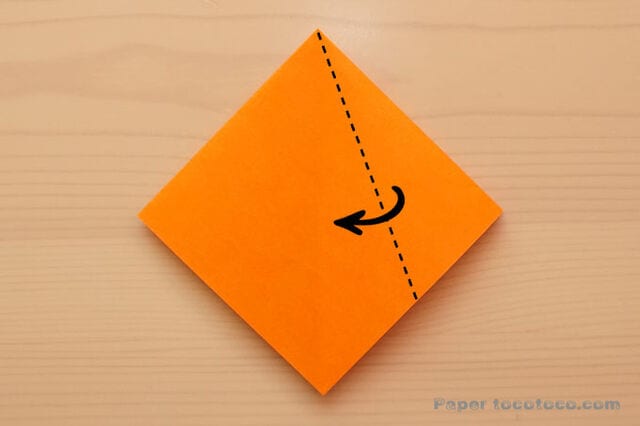
STEP 8. Fold so the upper-right edge meets the center.
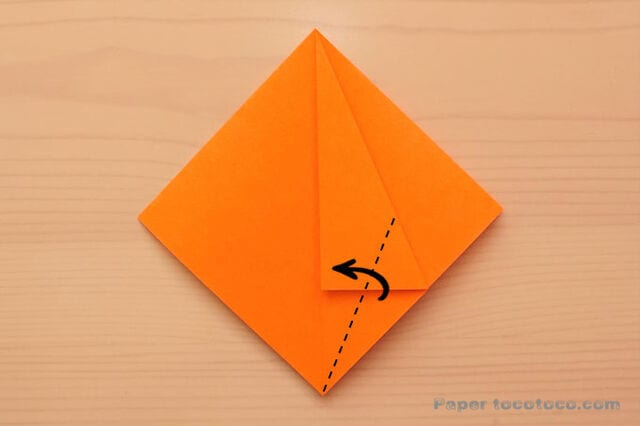
STEP 9. Fold so the lower-right edge meets the center.
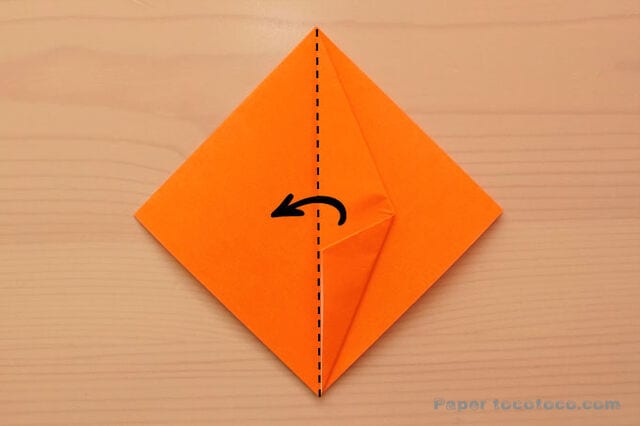
STEP 10. Once it folds like this, lay the folded flap to the left and fold it down.
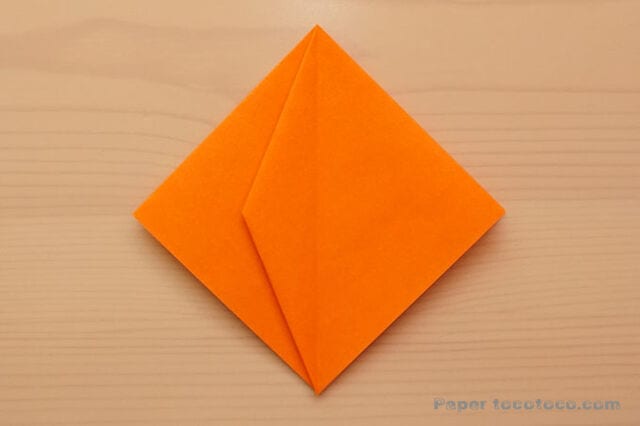
STEP 11. Repeat the same folds on the other side as in steps 7 to 10.
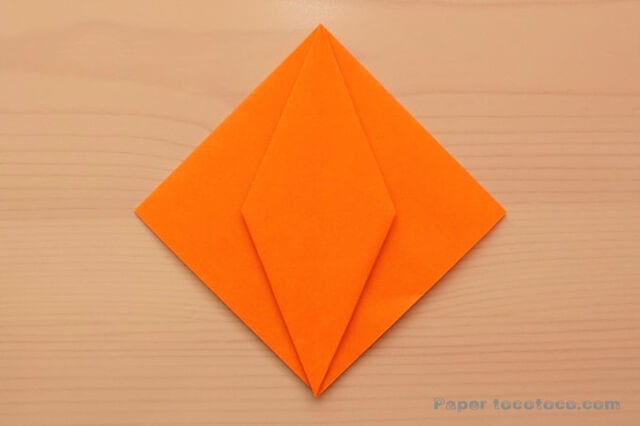
STEP 12. Once it folds like this, turn it over.
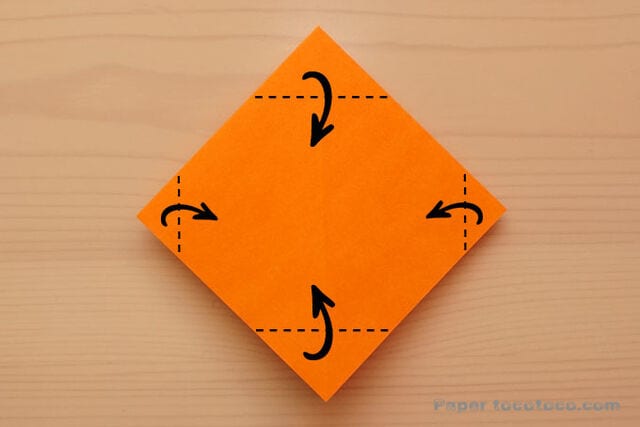
STEP 13. Valley-fold the four corners along the dashed lines.
The folding width of each corner is up to you! The shape of the pumpkin changes with how wide you fold.
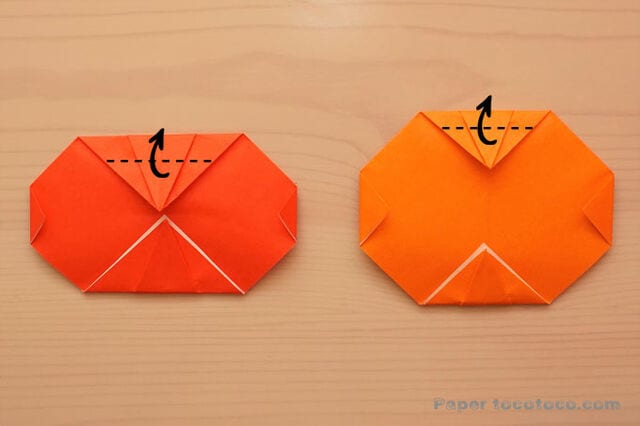
STEP 14. Here are two made with different folding widths. Once it folds like this, fold the top corner back along the dashed line.
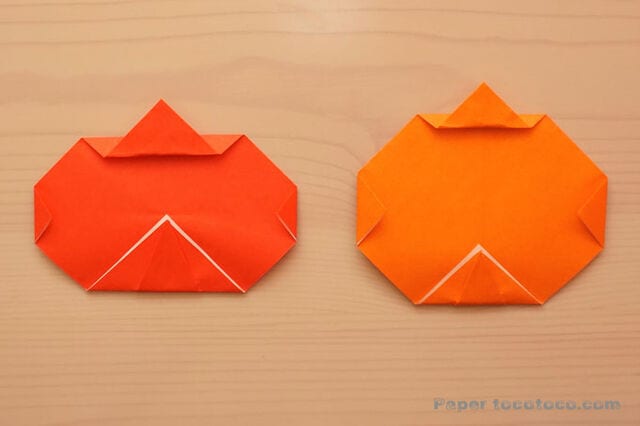
Turn it over.
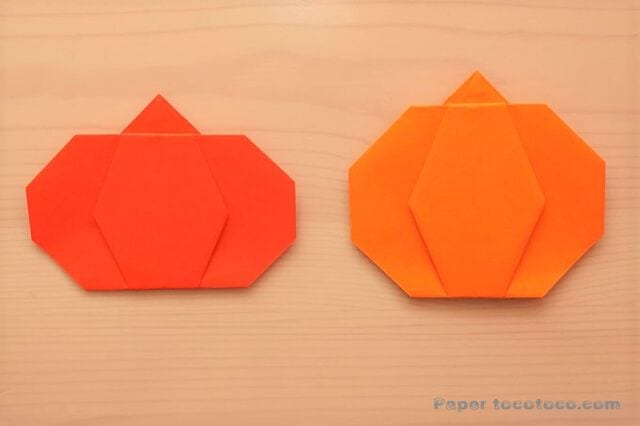
Draw a face or add a little hat…
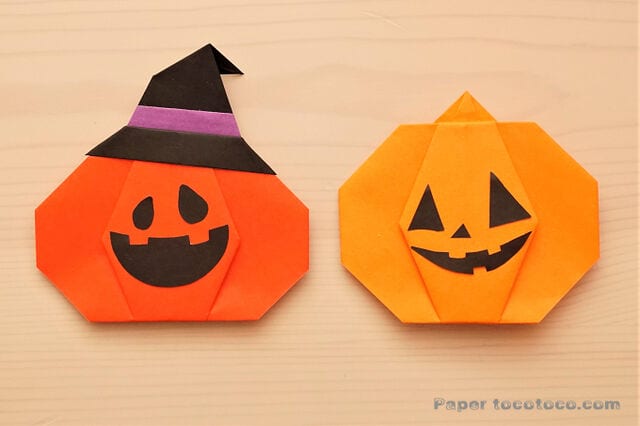
Your Jack-o’-Lantern is complete!




