
2D Origami Paper Heart
Hearts are one of the most satisfying things to fold—quick, recognizable, and endlessly useful. This 2D version is the flat one: no puffy pillow to inflate, just clean creases that collapse into a crisp heart you can glue onto a card or slip into a gift. If you have tried the 3D heart and found the shaping fiddly, this is the friendlier route, and it is a lovely way to practice reading crease patterns. Pick a sheet with a little contrast between front and back so the folds really pop, and take the middle collapse slowly—the rest is smooth sailing.

This page shows how to fold a flat, two-dimensional origami heart — usually called a 2D origami heart. It's the easier cousin of the 3D version, which makes it a great first heart for beginners.
Are you ready? Let's get started.
You can use almost any kind of paper for this heart. Here I'm using a sheet with the same color and texture on both sides, but a two-toned or textured paper works just as well.
This is the front side of the paper.
This is the back side of the paper, which is the same color as the front.
STEP 1. Prepare to fold the paper in half horizontally.
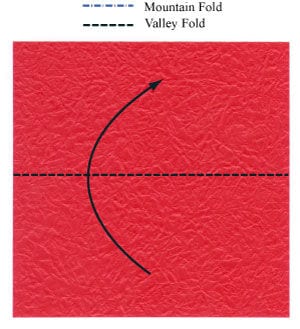
STEP 2. Valley-fold the paper in half horizontally, as in step 1. Prepare to unfold.
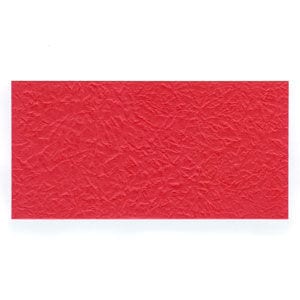
STEP 3. Unfold the paper. Prepare to valley-fold vertically.
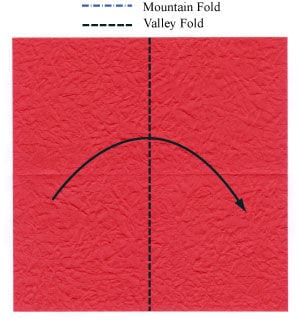
STEP 4. Valley-fold as in step 3. Prepare to unfold.
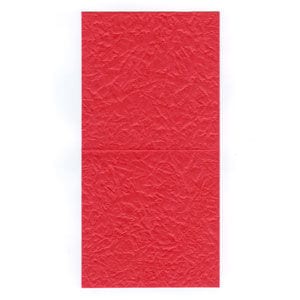
STEP 5. Unfold the paper. Prepare to valley-fold diagonally.
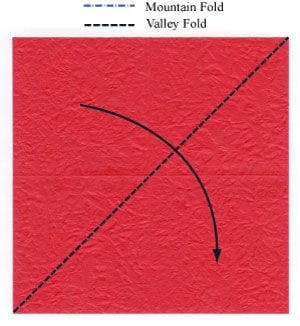
STEP 6. Valley-fold diagonally. Prepare to unfold.
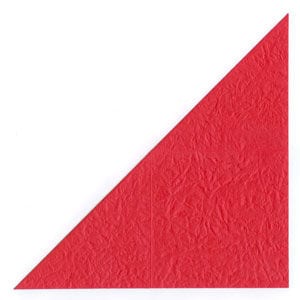
STEP 7. Unfold the paper. Prepare to valley-fold diagonally the other way.
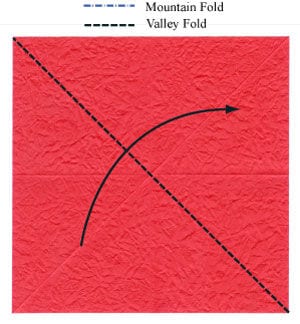
STEP 8. Valley-fold diagonally. Prepare to unfold.
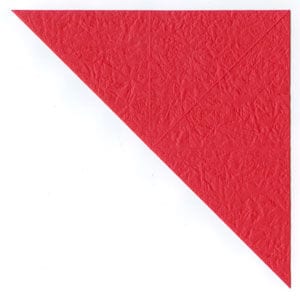
STEP 9. Unfold the paper. Prepare to valley-fold the upper half in half, then the lower half in half.
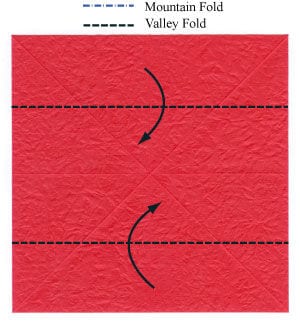
STEP 10. Valley-fold the upper half in half and the lower half in half. Prepare to unfold both folds.
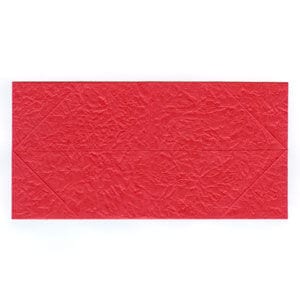
STEP 11. Unfold the previous two folds. Prepare to valley-fold the left half in half, then the right half in half.
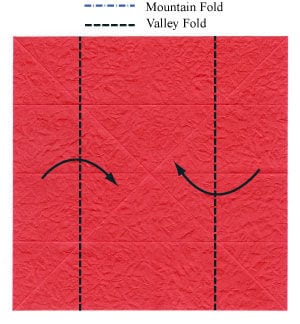
STEP 12. Valley-fold as in step 11. Prepare to unfold both folds.
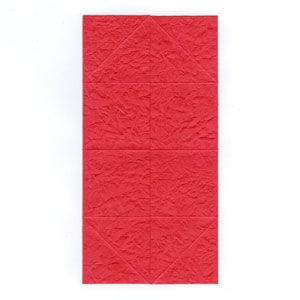
STEP 13. Unfold the paper. Prepare for two valley-folds.
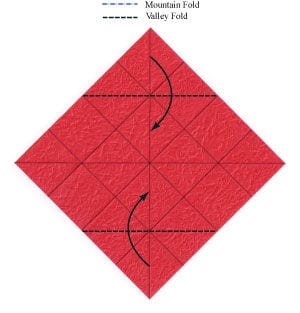
STEP 14. Apply the valley-folds from step 13. Prepare to apply the following crease pattern (CP).
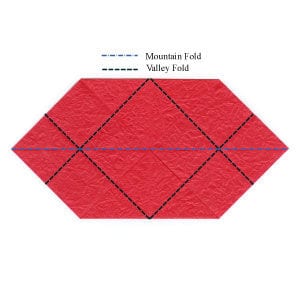
STEP 15. Apply the CP from step 14. Prepare to compress the model so that it becomes flat.
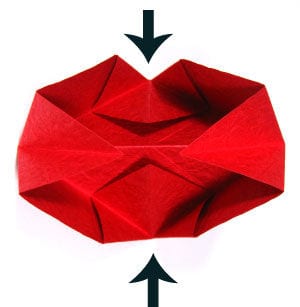
STEP 16. Flatten the model. Let's concentrate on the left side. Prepare for a valley-fold on the left side.
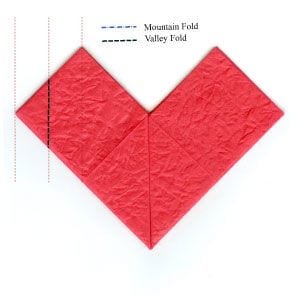
STEP 17. Apply the valley-fold from step 16. Prepare to convert the valley-fold into a mountain-fold.

STEP 18. Convert the valley-fold into a mountain-fold. Prepare to concentrate on the region inside the dotted ellipse.
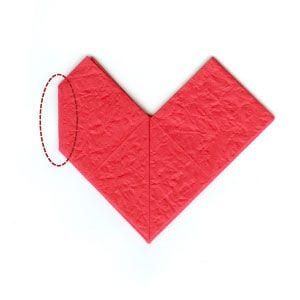
STEP 19. Let's look at the dotted-ellipse region from a different camera angle, that is, from the side. Prepare to pull the model out in opposite directions.
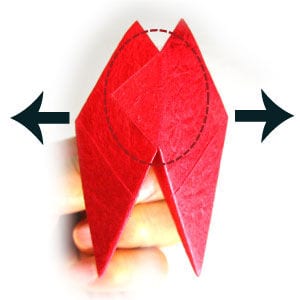
STEP 20. Pull the model out in opposite directions. You can clearly see the square-shaped crease.
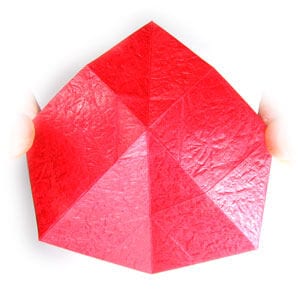
STEP 21. Prepare to apply a mountain-fold to the square-shaped crease.
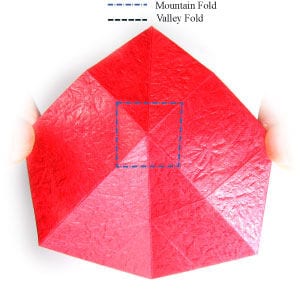
STEP 22. Apply the square-shaped mountain-fold.
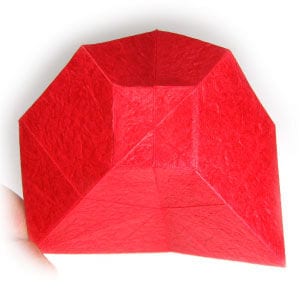
STEP 23. Prepare to apply a crease pattern inside the square.
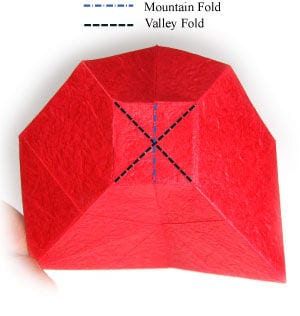
STEP 24. Apply the crease pattern from step 23. Prepare to look at the model from the front.
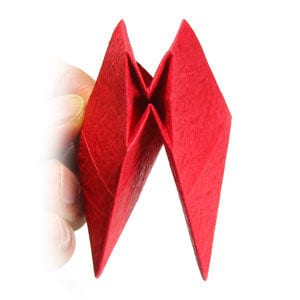
STEP 25. Look at the model from the front. Prepare to apply a set of mountain-folds to make the edge smooth.
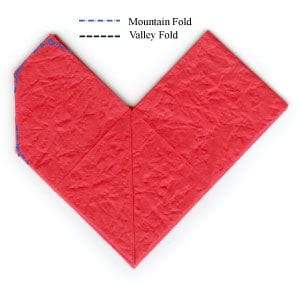
STEP 26. Apply a set of mountain-folds to smooth the edge. Apply a corresponding set of valley-folds to the back layer.

STEP 27. The left side is complete. Prepare to do the same for the right side.

STEP 28. Repeat steps 16-26 on the right side.

STEP 29. Congratulations! Your 2D origami heart is now complete.




