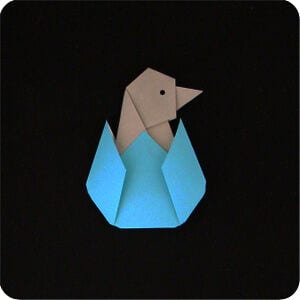
How to Fold an Origami Chick and Egg
Two sheets of paper, one small scene: a chick settled down inside the bottom half of its own shell. It is the sort of model that reads like an illustration until you pick it up and remember that nobody drew it.
The egg is the easy half — five steps, and the clever bit is step 5, where an outside reverse fold tucks the white side of the paper away so the shell reads as solid colour. The chick asks a little more of you: a rabbit ear for the head, an angled fold for the neck, and a crimp at step 16 that turns a pointed flap into a beak. Take your time over those three and everything else falls into place. Both models were designed by Sarah Wooden, whose diagrams once lived on her own site; what follows is a photographic retelling of the same folds.
Fold them from contrasting colours — a warm yellow chick against a pale egg — and the pairing does the rest.
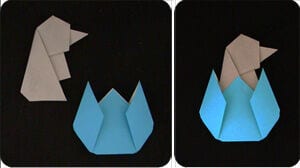
This chick-and-egg origami is folded from two sheets of paper: a separate egg and a separate chick that tuck together at the end. It is different from the Chick N Egg model, which is made from a single sheet.
Both models were designed by Sarah Wooden. Her diagrams used to be published on her own site, Sarah’s Origami, which is no longer online, and I have not been able to contact her. I hope she would be happy for the model to be shared here as photo instructions.
For the egg, start with the coloured side facing up if you want a coloured egg. For the chick, start with the white side facing up if you want a coloured chick.
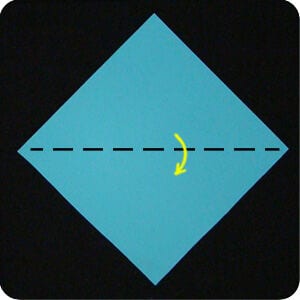
STEP 1. Start with a square sheet positioned like a diamond, balanced on one corner. Fold the top corner down so the paper is folded in half.
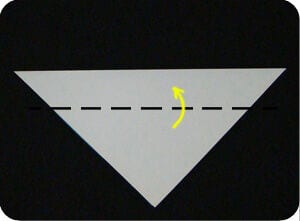
STEP 2. Fold both corners back up. The exact position can vary, but roughly two thirds of the way up works well.
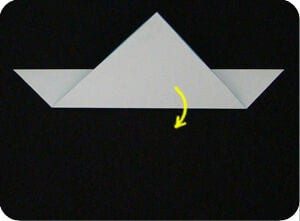
STEP 3. Fold the topmost layer of paper down
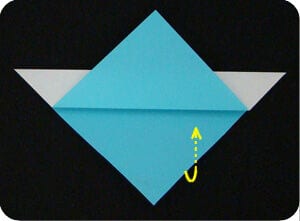
and then fold it up and behind.
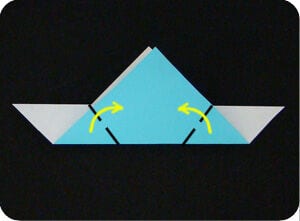
STEP 4. Fold the left and right arms of the model up. The position of the fold can vary, but aim for the general shape of an egg as shown.
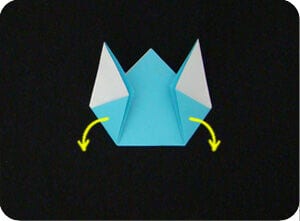
Unfold.
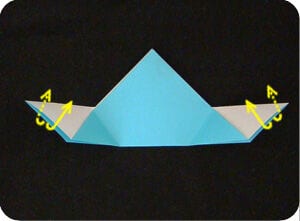
STEP 5. Fold the arms up again, this time as an outside reverse fold. To do this, pry the layers open and fold the paper so it wraps around the crease made in step 4.
In transition. Notice how the reverse fold hides the white part of the paper.
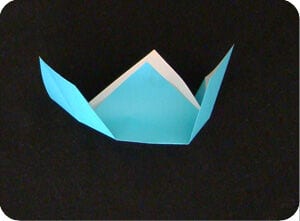
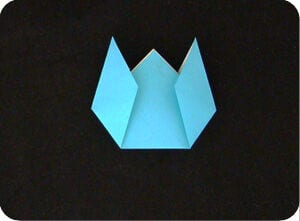
The egg is done.
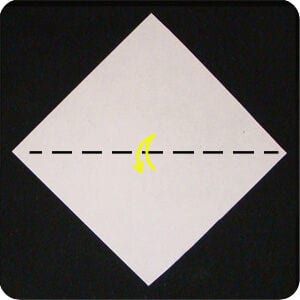
STEP 6. Take the second sheet and fold it in half from top to bottom, then unfold.
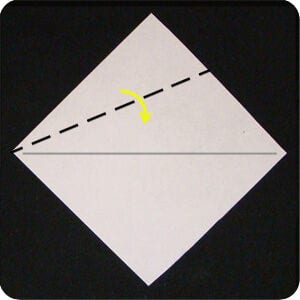
STEP 7. Fold the top-left edge down so it meets the horizontal crease made above.
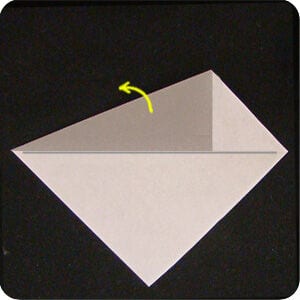
Unfold.
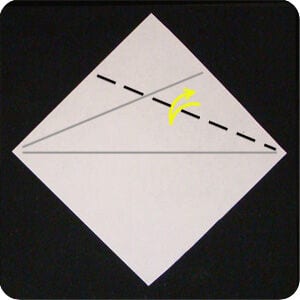
STEP 8. Repeat on the right side.
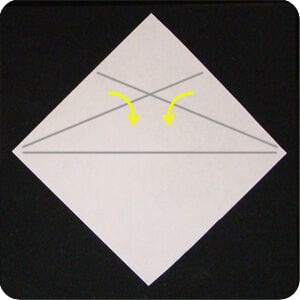
STEP 9. Make a rabbit ear fold: bring both the right and the left edge towards the middle, which will cause an extra flap of paper to pop out.
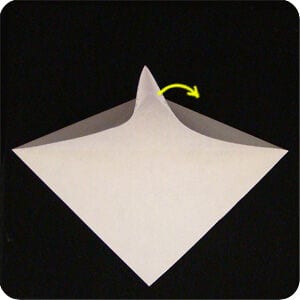
STEP 10. Fold this extra flap over to the right.
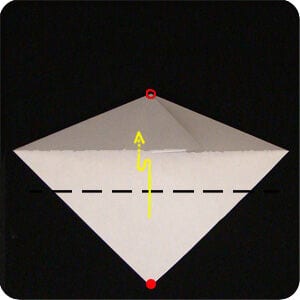
STEP 11. Fold the bottom corner up so it slides under the rabbit ear made in steps 7 to 10.
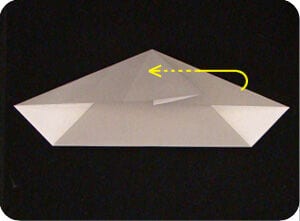
STEP 12. Make a mountain fold and fold the model in half, right side behind left side.
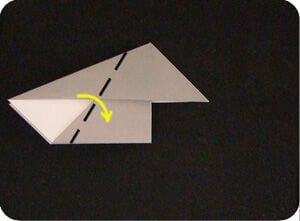
STEP 13. To shape the neck of the chick, fold the left side over to the right at an angle.
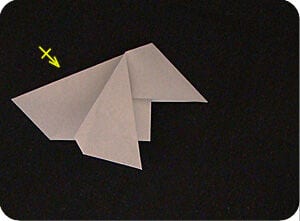
STEP 14. Repeat behind.
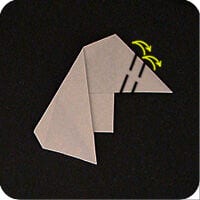
STEP 15. Make the two valley folds and unfold them as shown. They will be used to make a crimp fold.
Rotate the model so you are looking at it from the top of the chick’s head.
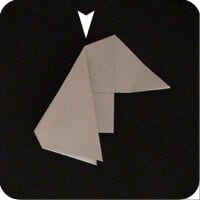
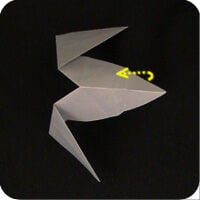
STEP 16. Make the crimp fold. First, fold the tip of the beak back so it sits under the head of the chick.
Second, fold the beak back out again, leaving some paper protruding beyond the fold made in step 15.
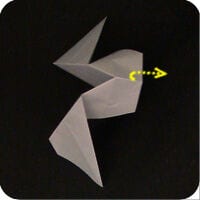
Adjust the folds so the crimp is clean and crisp.
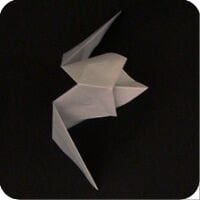
Rotate the model so it lies flat again.
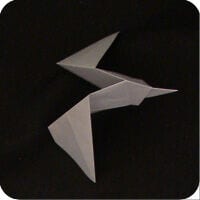
Place the chick inside the egg.
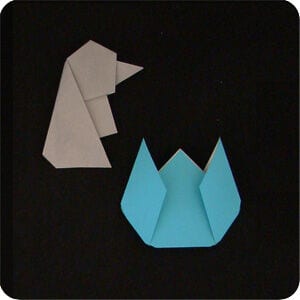
Done.