
Origami Shirt
There is a reason the paper shirt is a perennial favorite: it is the kind of fold that looks impressively "store-bought" but is really just clever creases and a couple of cuts. Father's Day cards, thank-you notes, tiny gifts—this little button-up fits them all.
In this tutorial we use two colors so the collar stands out, but a single sheet works just as well. It runs to 16 steps, but don't let that scare you—each one is a simple fold, and before you know it you will have a sharp little shirt ready to show off.

Step 1:
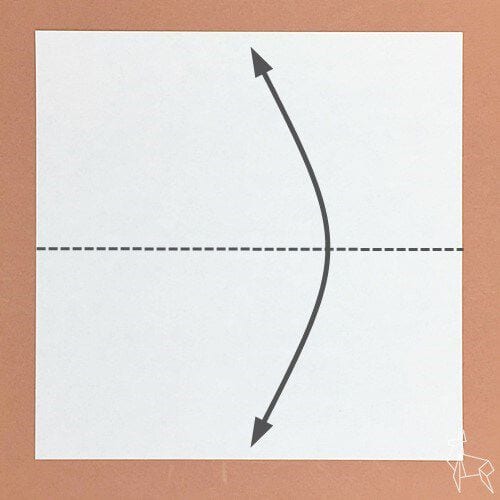
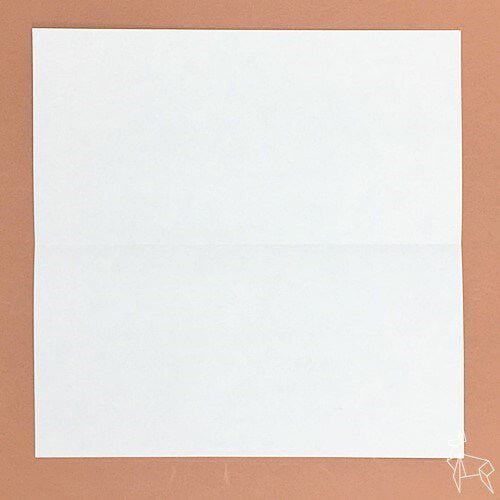
Fold the origami paper in half along the dotted line and make a crease.
Step 2:
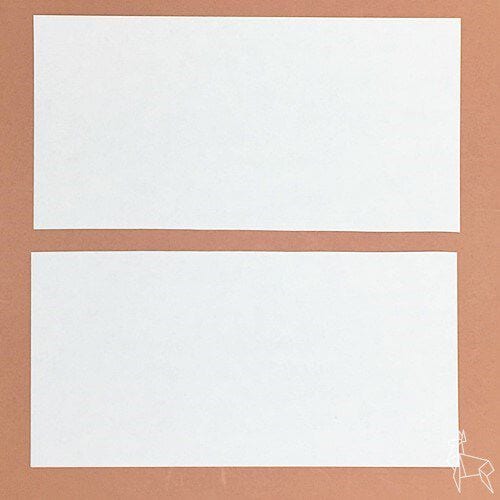
Cut along the crease lines with scissors.
Step 3:
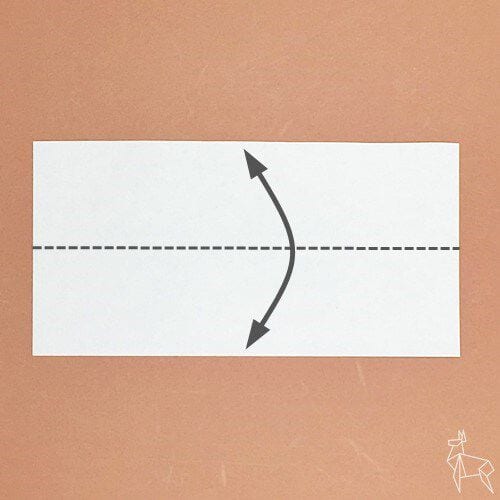
Place the separate sheet of origami paper with the color you want on the finished collar facing up, then fold it in half along the dotted line to make a crease.
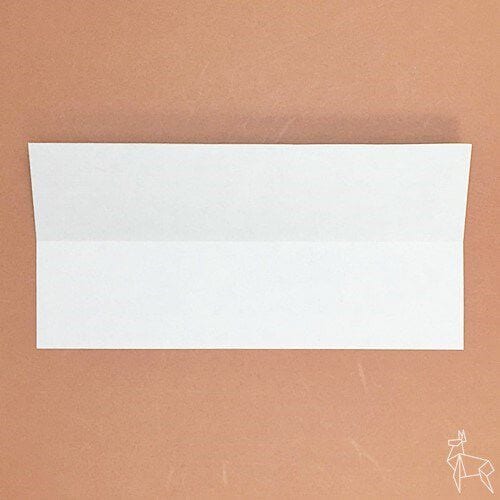
Step 4:
Make more creases by aligning the top and bottom edges with the creases.
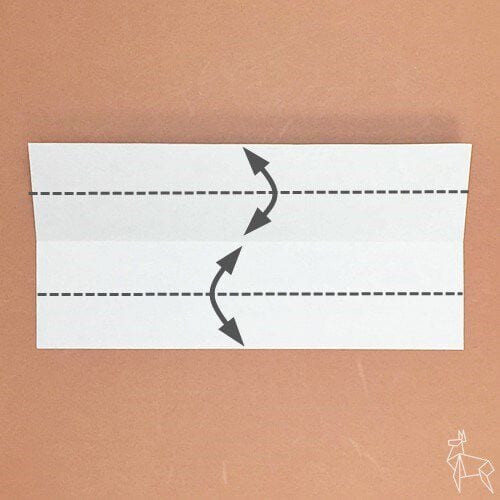
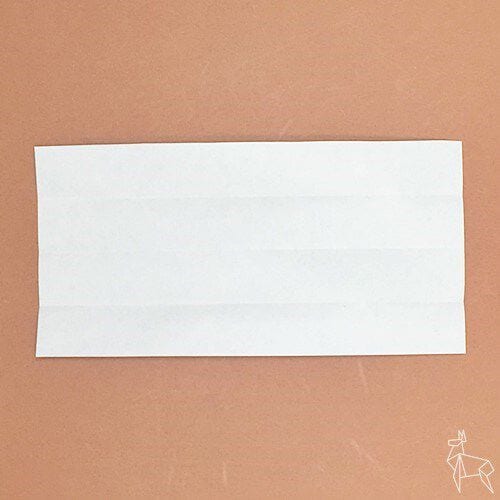
Step 5:
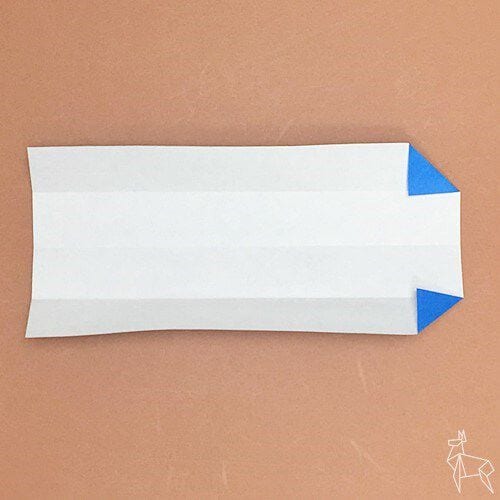
Fold it along the dotted line so that the corners fit the creases.
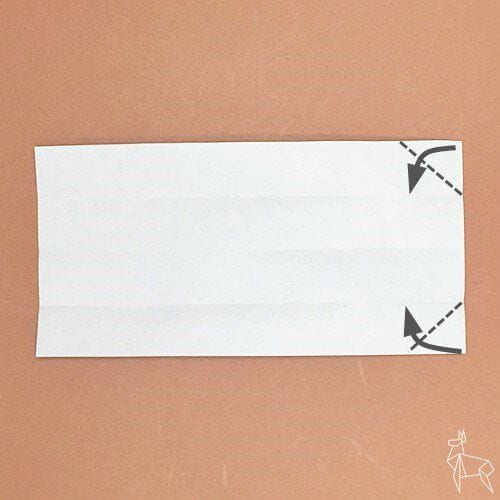
Step 6:
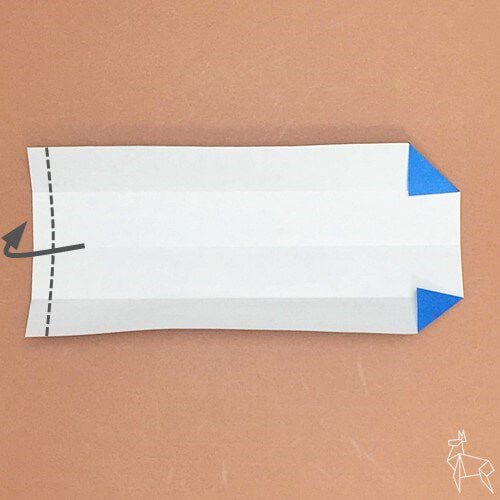
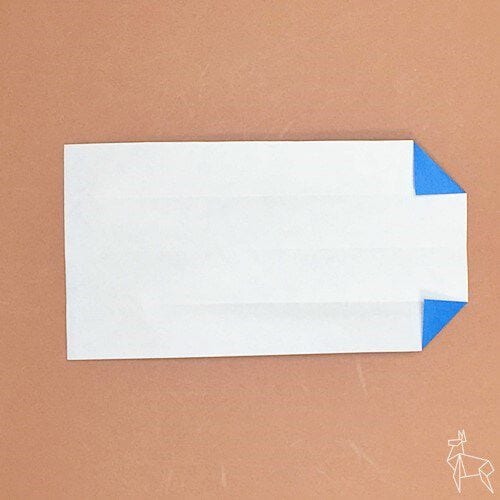
Fold it back along the dotted line.
Step 7:
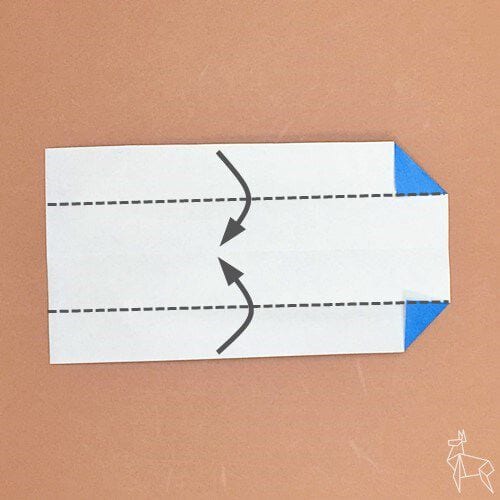
Fold it along the creases.

Step 8:
Make a crease along the dotted line that passes through the corner.
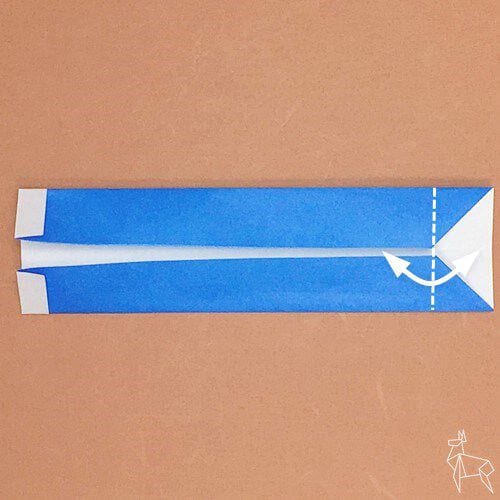
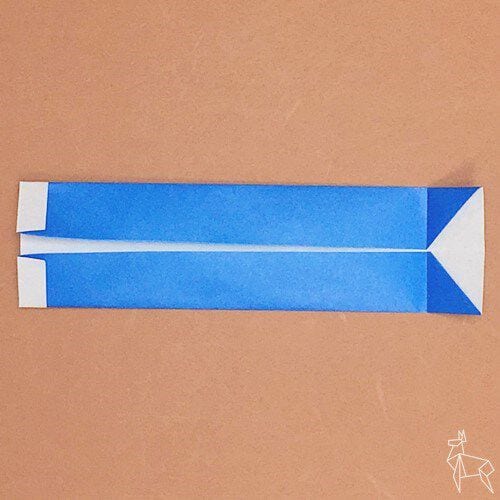
Step 9:
Open the corner and fold it along the dotted line so that the two white lines meet.
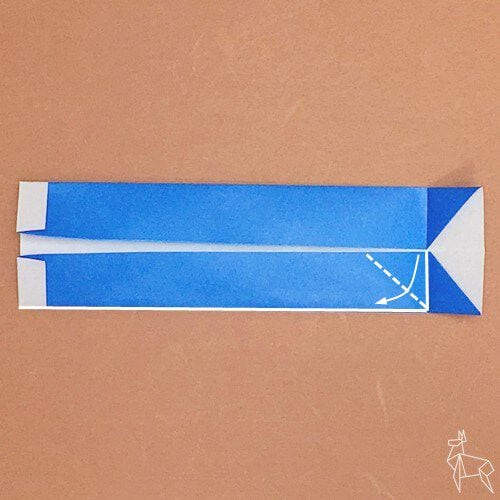
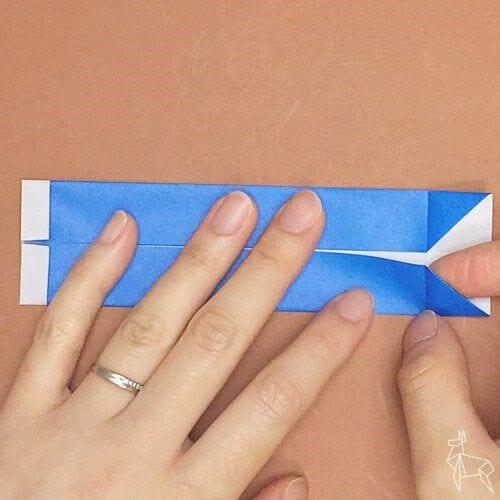
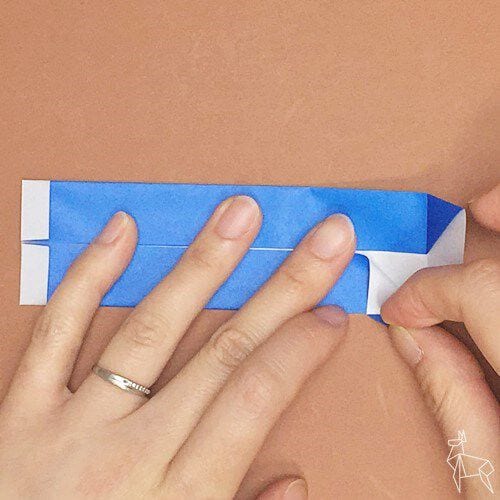
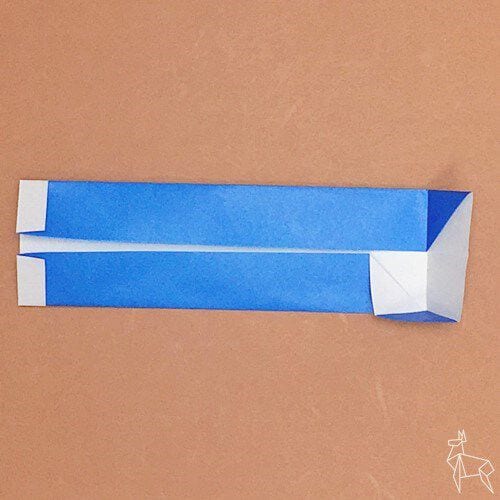
Step 10:
Fold the other side in the same way.
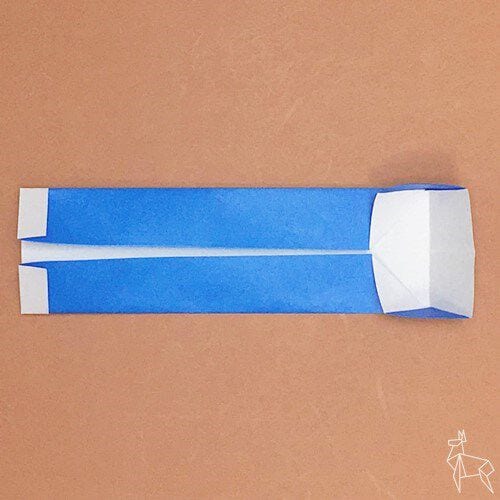
Step 11:
Fold the raised part as it is with a crease.
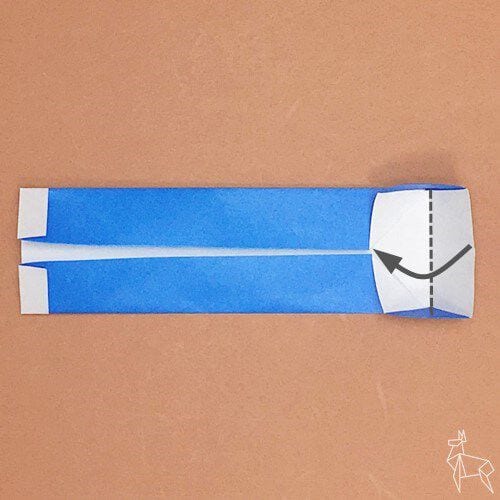
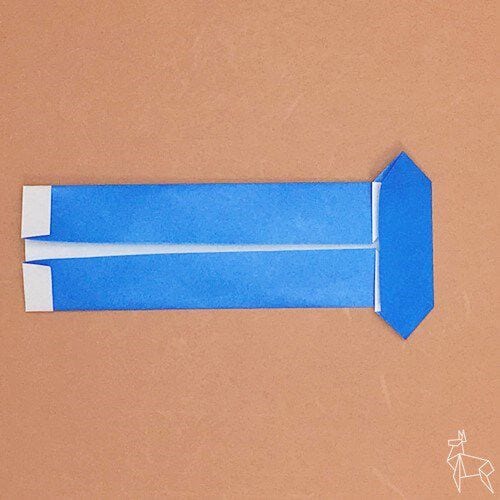
Step 12:
Fold it back along the dotted line.
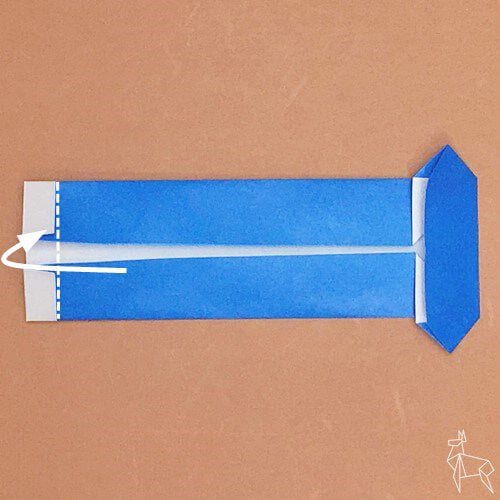
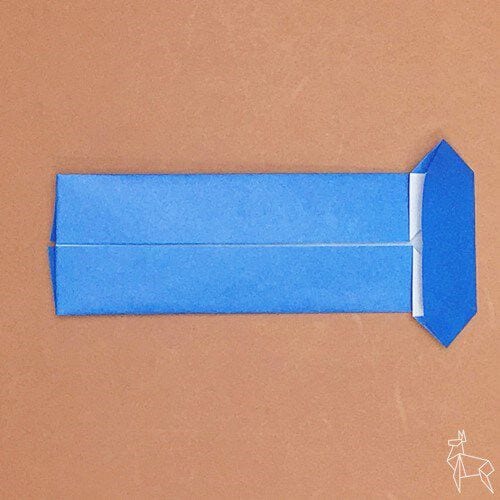
Step 13:
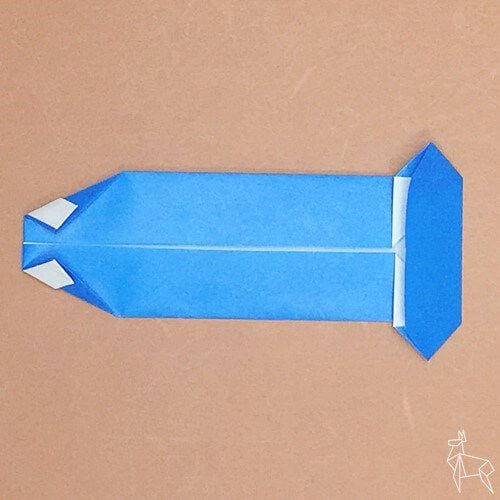
Fold along the dotted line so that the two corners meet at the center.
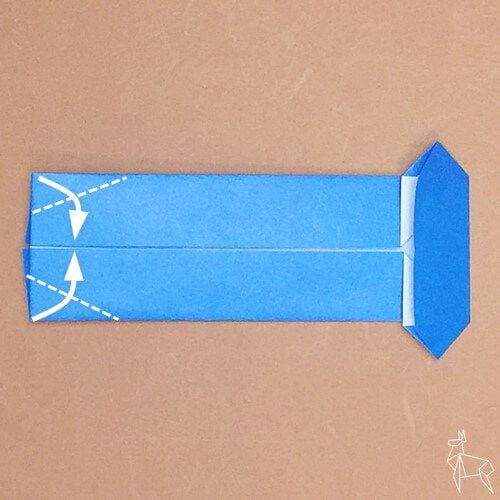
Step 14:
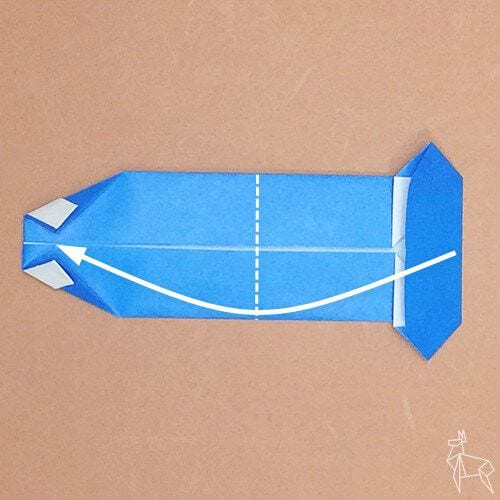
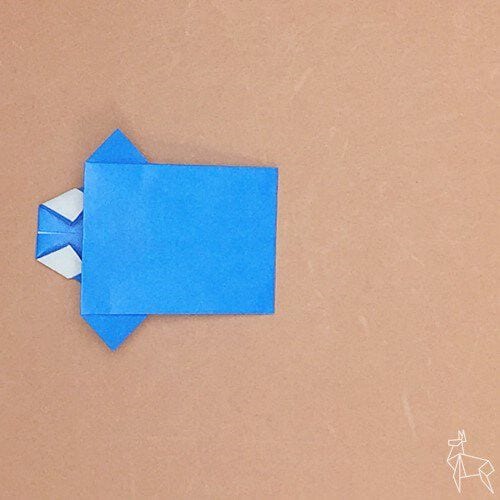
Fold the right edge along the dotted line to match the corner of the collar.
Step 15:
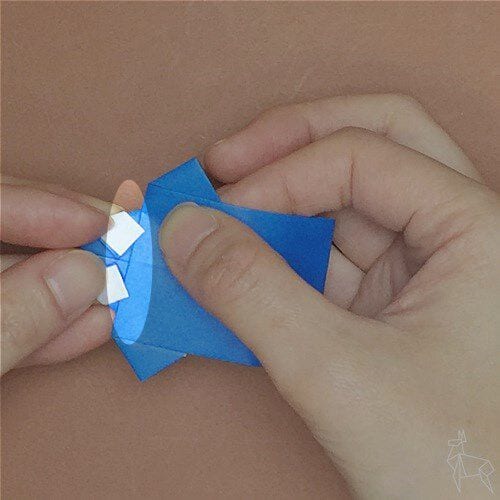
Place the folded part under the collar.
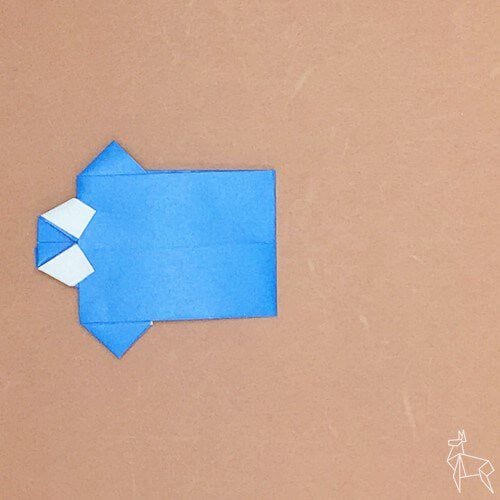
Step 16:
Flip it over, and your origami shirt is complete.



