
Origami Pochi Bag: A Little Paper Money Envelope with a Ribbon
A pochi bag is the little paper envelope people in Japan use when they hand over pocket money, a tip or a small gift, and part of the charm is that it is almost always cuter than whatever is inside. This version is folded from a single square and finished with a ribbon, which is what lifts it from a plain envelope to something you actually want to give someone. The folding is a slow, satisfying build: a lot of creasing at the start, a collapse that turns flat paper into a pouch, and then the ribbon, which takes only a handful of steps but is the bit everyone notices. Take your time with the first nine steps, because those creases are what the whole bag collapses along. Once you have made one, it becomes very hard to make just one.
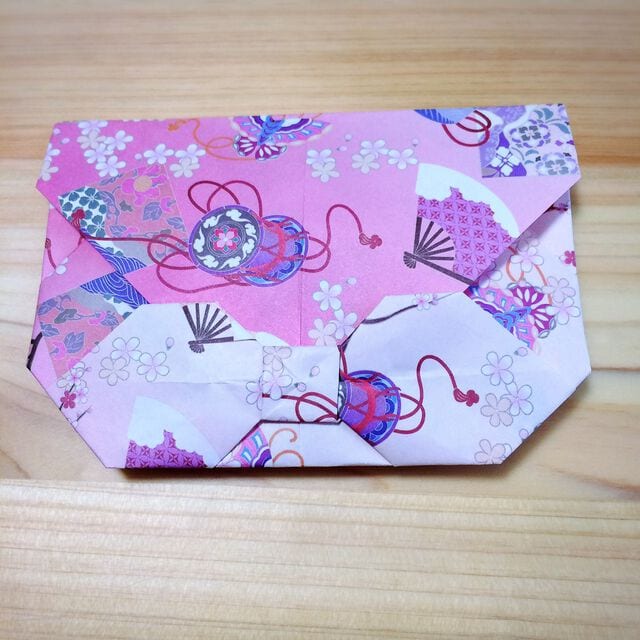

The ribbon is a little hard to make out in the photo, but I think it turned out cute.
How to fold an origami pochi bag with a cute ribbon
Ordinary origami paper is perfectly fine for slipping pocket money inside.
Let’s fold it now!
STEP 1. Fold it in half into a triangle and make a crease.
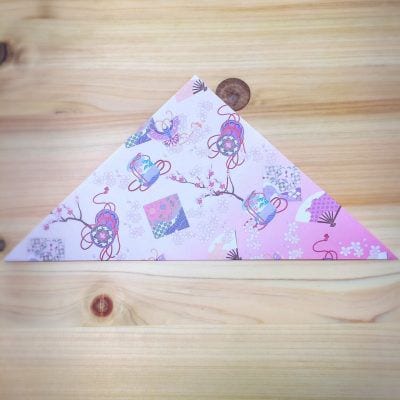
STEP 2. Open it out, then make a crease on the other side in the same way.
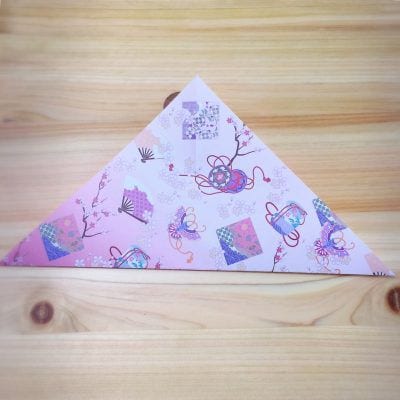
STEP 3. Fold the bottom corner up toward the point where the creases cross, and crease it.
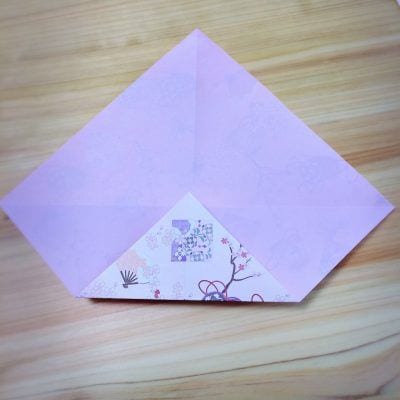
STEP 4. Open it out, turn it over and fold the lower side in to the center to make a crease.
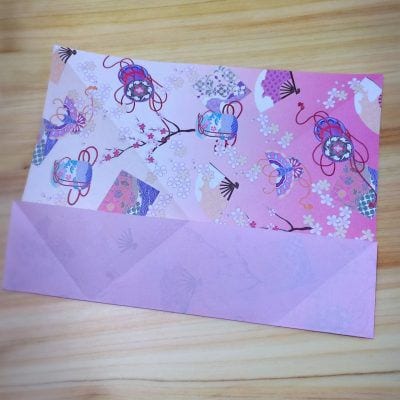
STEP 5. Open it out once and fold the right side the same way.
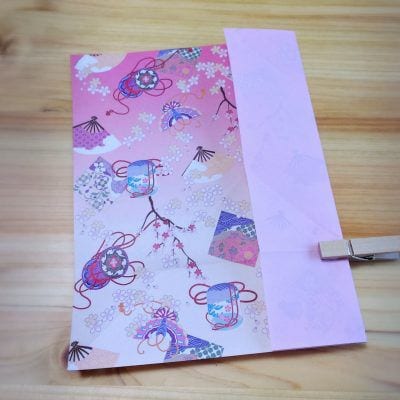
STEP 6. Using the creases from steps 4 and 5, fold the lower side down while opening out the overlapping layers with your fingers.
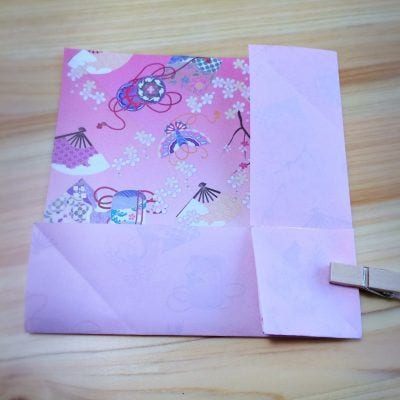
STEP 7. Fold the section you opened out in steps 5 and 6 up from the bottom so that it forms a triangle, and crease it.
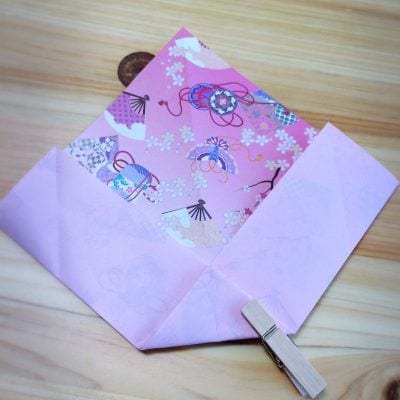
STEP 8. Crease along the lines made in steps 6 and 7 so that the bottom point comes out.
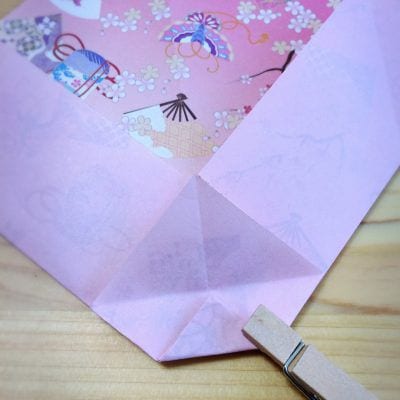
STEP 9. Open everything out gently, then valley-fold along the fold lines as shown in the photo.
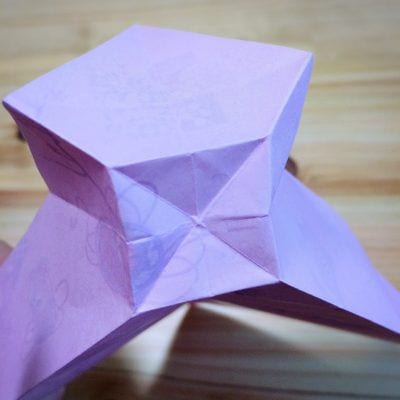
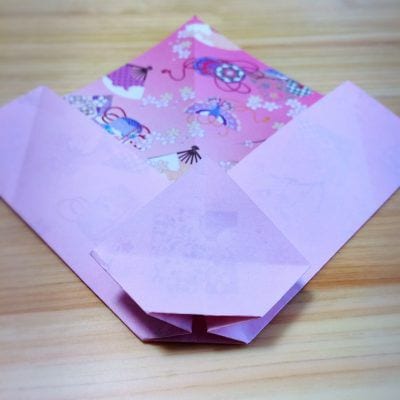
STEP 10. Fold the right corner over to the left side.
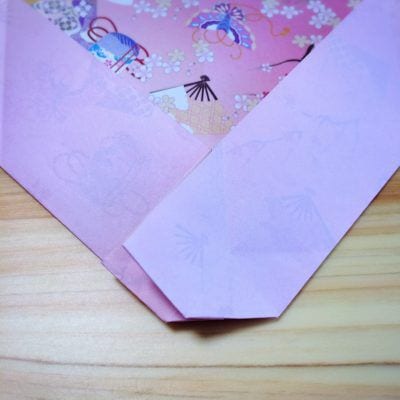
STEP 11. Fold the lower left face diagonally.
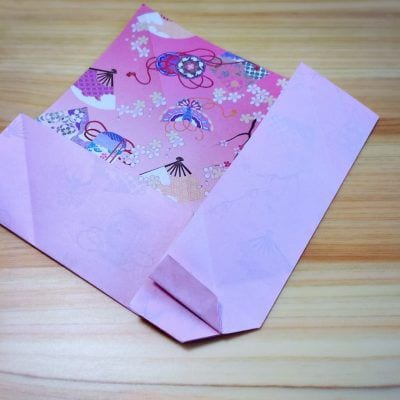
STEP 12. Fold the right face diagonally.
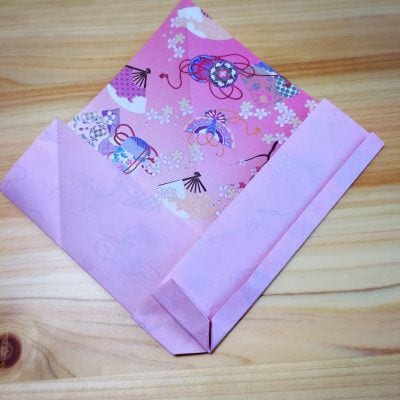
STEP 13. Turn the two layers over to the right.
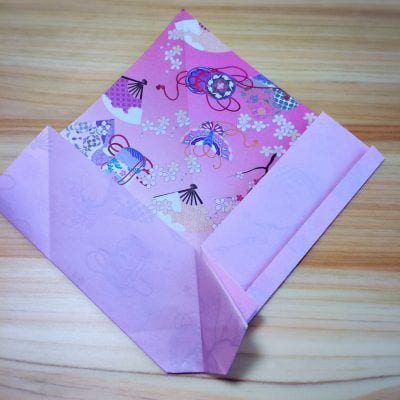
STEP 14. As before, fold the lower right face and the left face diagonally.
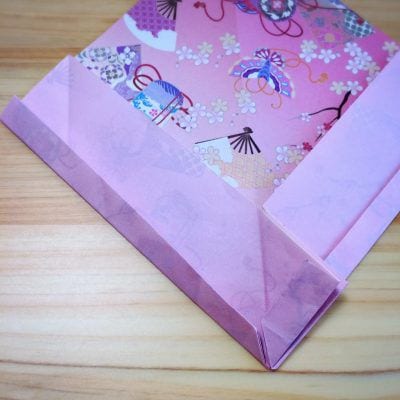
STEP 15. Open out the left and right sides carefully, so that the face of the handle is visible.
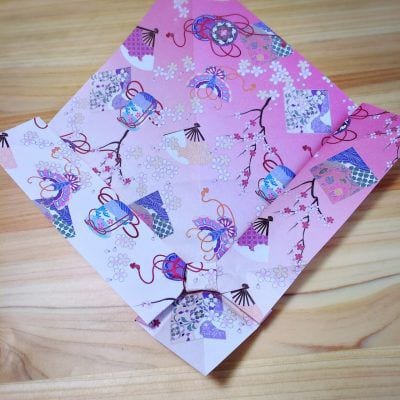
STEP 16. Fold it up from the bottom and tuck the tip inside.
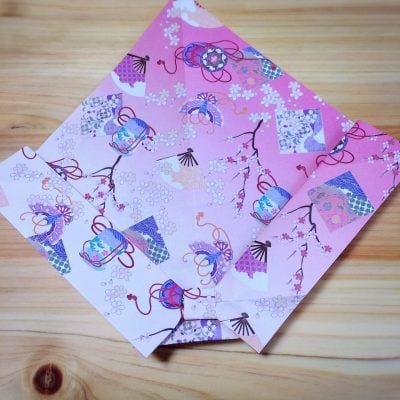
STEP 17. Fold the two bottom corners on the left and right inward and tuck them in.
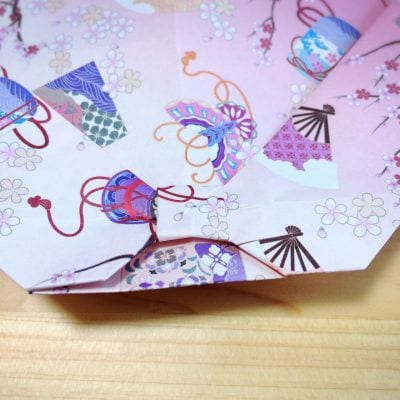
STEP 18. Turn it over and fold it up one third of the way from the bottom. At this point, fold the ribbon so that the top and bottom are even.
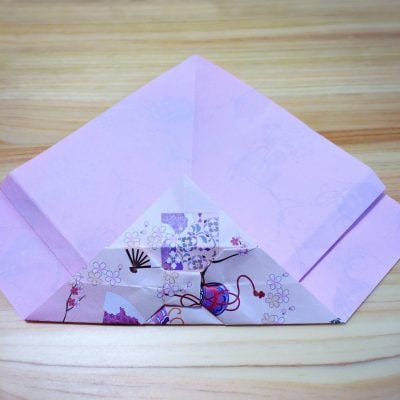
STEP 19. Fold it in half into a triangle and crease it lightly, just enough to leave a mark at the center.
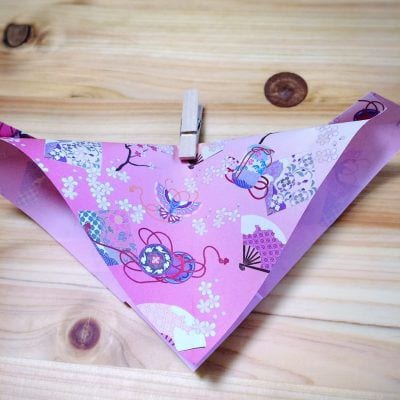
STEP 20. Fold the left and right corners in to the center crease.
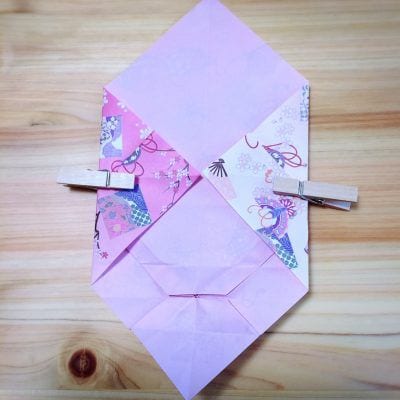
STEP 21. Fold the bottom corner along the crease you made in step 18.
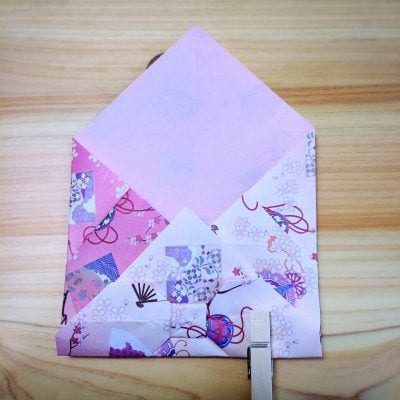
STEP 22. Fold the top corner down to the center of the bottom face.
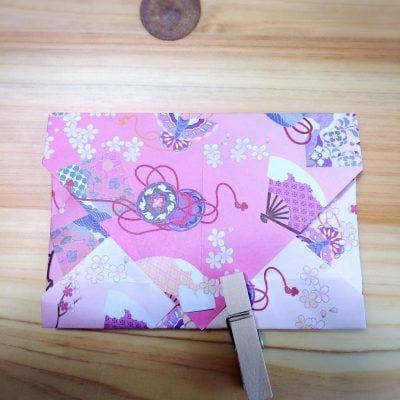
STEP 23. Fold the bottom corner inward, up to the fold line at the center of the ribbon.
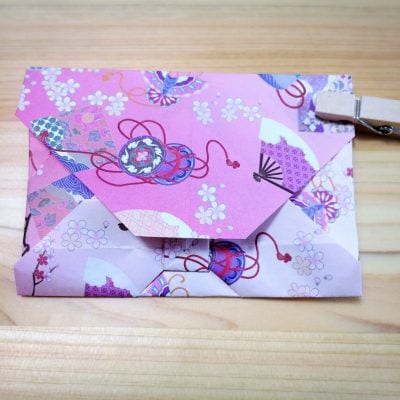
STEP 24. Tuck the part you folded in step 23 into the ribbon.
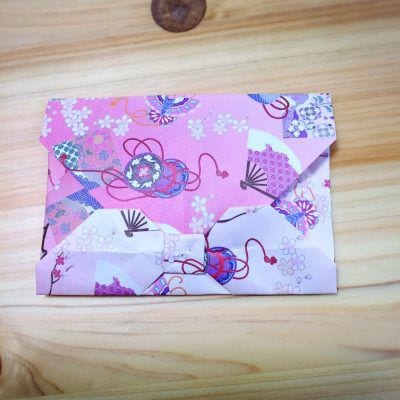
STEP 25. Fold the two lower corners slightly to the back to round them off, and you are done.




