
Origami Book & Cupboard Fold
Every origami journey starts with the same handful of humble moves, and the book fold and cupboard fold are two of the very first you will learn. They could not be simpler: a single valley fold that closes the paper like a book, and a slightly fancier cousin that tucks both edges toward the middle so the sheet stands up like a little wardrobe door.
What makes them worth knowing is how often they show up later. That neat closed edge of the book fold becomes the spine of a folded box, the cover of a tiny notebook, or the hinge of a greeting card; the cupboard fold is the starting point for drawers, cupboards, and all kinds of miniature furniture. Five quick steps and one square sheet are all it takes — let's fold them together.
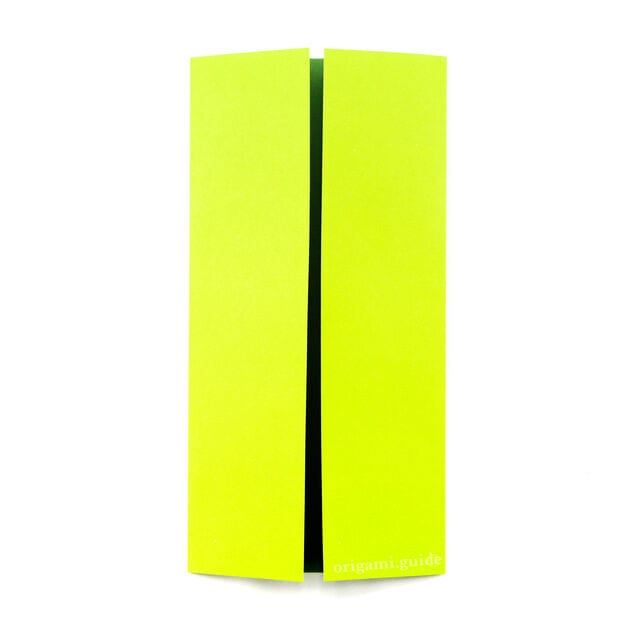
Learn how to make an origami book fold and an origami cupboard fold—two simple, easy-to-remember basic folds that are useful in many models.
The origami book fold is a basic valley fold that makes the paper look like a closed book. The cupboard fold makes it look like a cupboard or wardrobe.
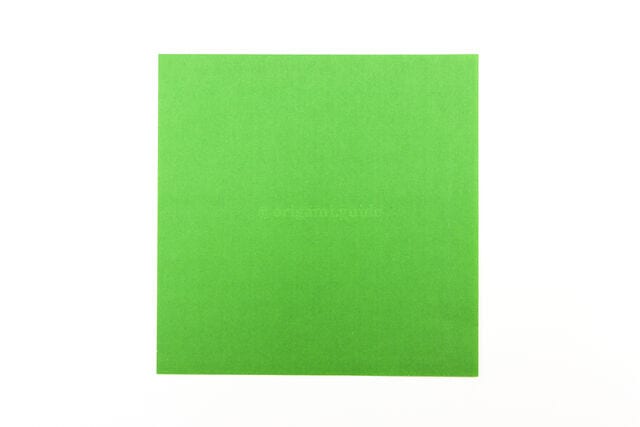
STEP 1. This is the back of the paper (usually white).
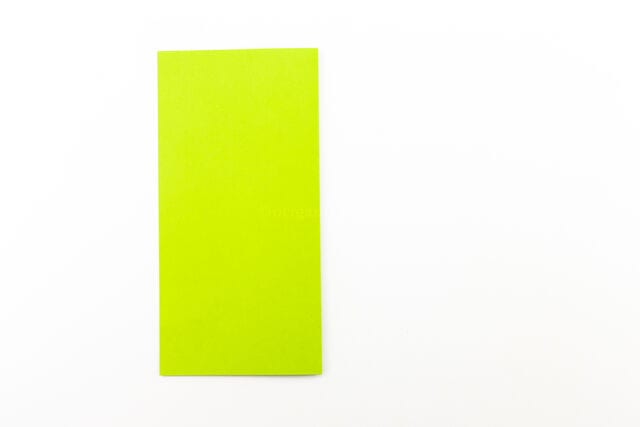
STEP 2. Take the right edge of the paper over to the left edge and crease well.
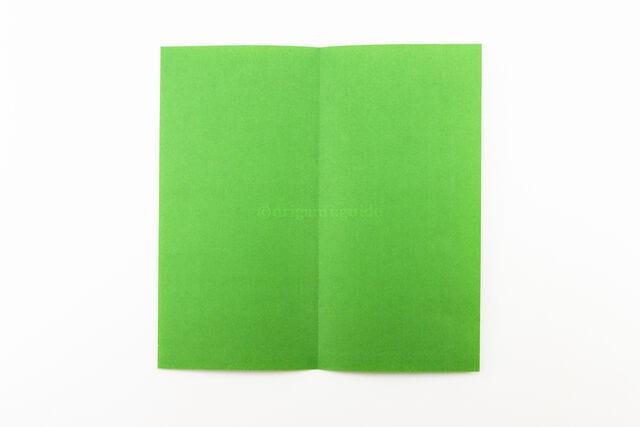
STEP 3. Unfold the previous step.
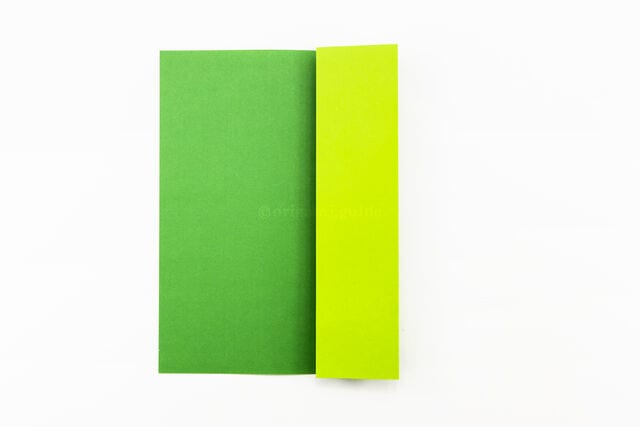
STEP 4. Now fold the right edge of the paper to the vertical crease you made in step 3.
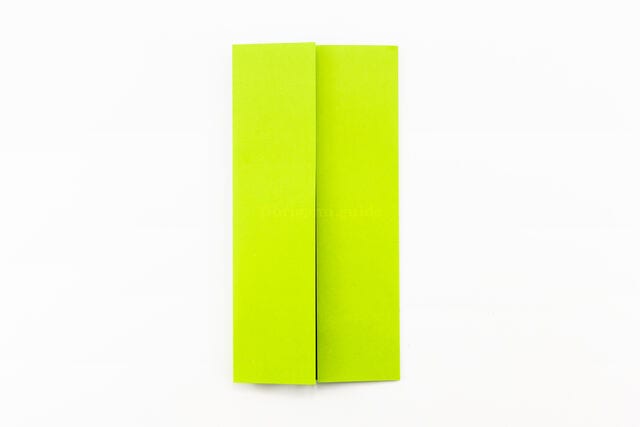
STEP 5. Finally, take the left edge and fold it to the same vertical crease. This completes the cupboard fold.




