
Witch Hat
Halloween is the perfect excuse to break out the orange and black paper, and a tiny witch hat might be the cutest thing you can fold for it. This little model comes together from a single square sheet in just a handful of folds, and once you've made the basic hat you can dress it up with a ribbon or bend the tip for a few fun variations. Hang a few on a string, perch one on a mini pumpkin, or scatter them across a spooky table — let's get folding!
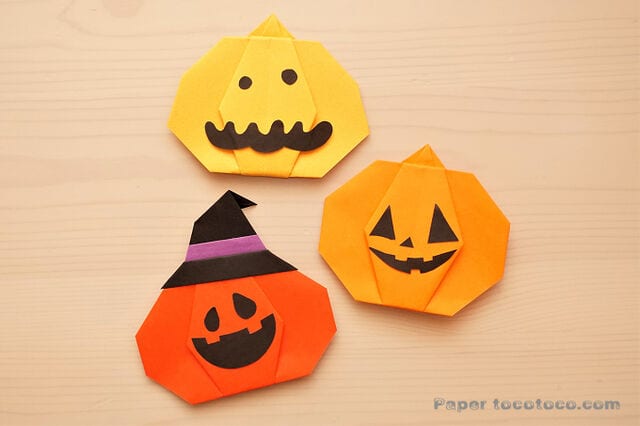
For Halloween! Easy to fold a cute witch hat
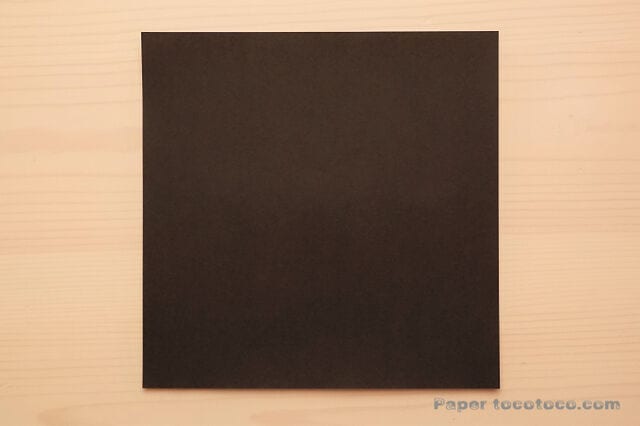
One sheet of origami paper in your favorite size, such as 7.5 × 7.5 cm or 15 × 15 cm.
If you make it with 7.5 cm square origami, it's the perfect size for a pumpkin ghost (🎃)!
Fold the sample with 15 x 15 cm origami paper.
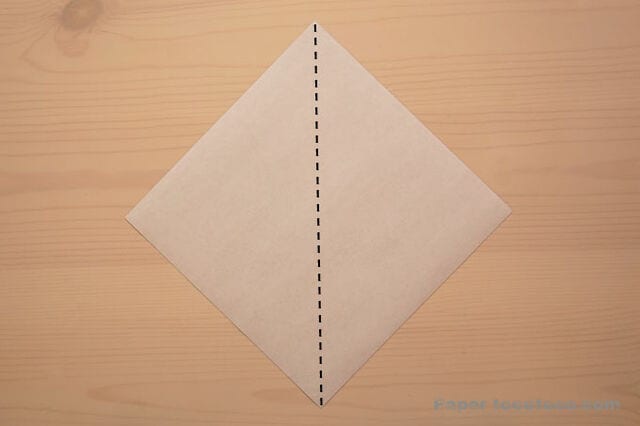
STEP 1: Fold it in half diagonally and make a crease.
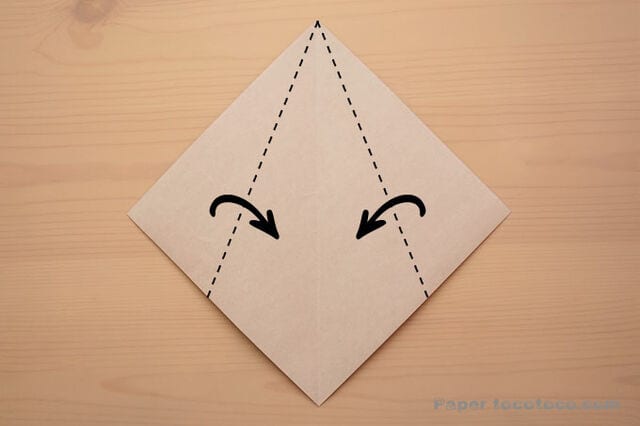
STEP 2: Fold the top two sides in toward the center.
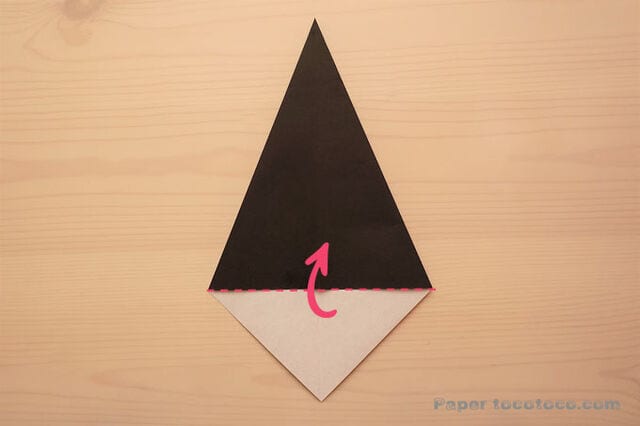
STEP 3: Fold the bottom triangle up.
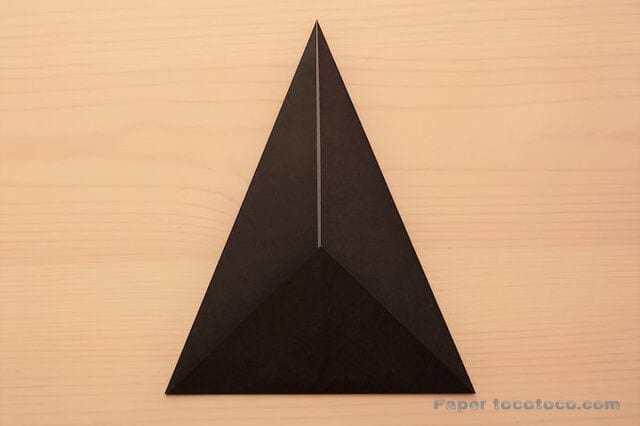
STEP 4: Rearrange so that the paper on both ends sits on top of the triangle you just folded.
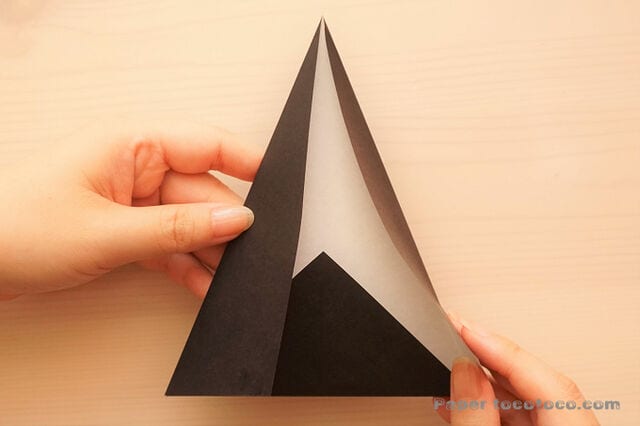
It's like this. Put the bottom triangle inside.
If you can do it like this, turn it over.
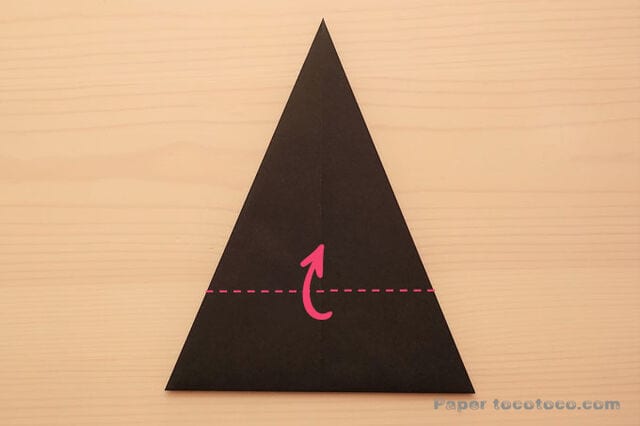
STEP 5: Valley-fold along the dotted line. The folded width is up to you.
Half the width of the fold here is the width of the brim of the hat.
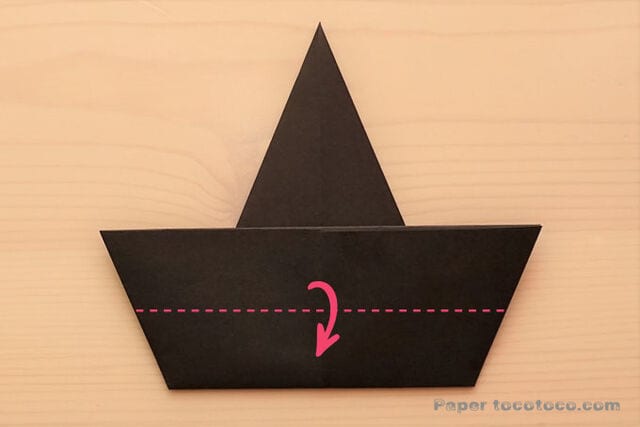
STEP 6: Align the top edge with the bottom edge and fold it in half.
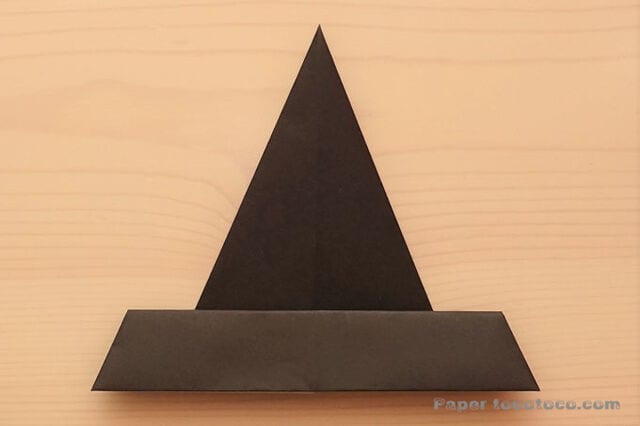
STEP 7: Once done, turn it over.
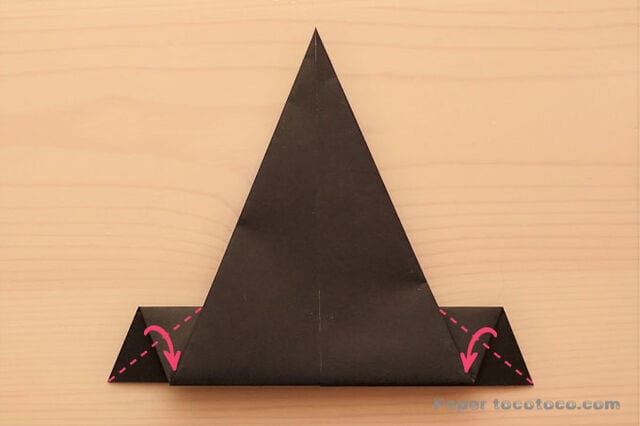
STEP 8: Fold along the dotted line.
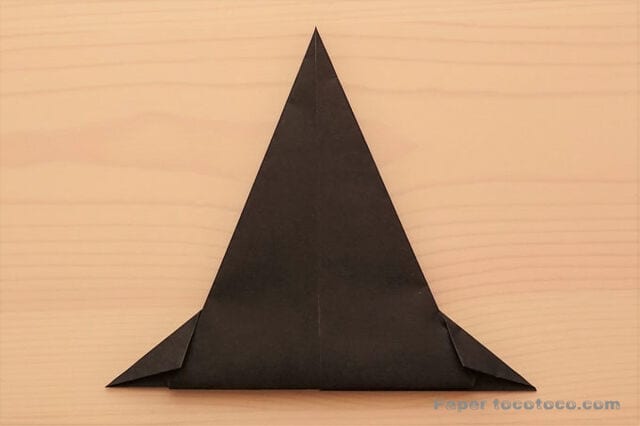
If you turn it over
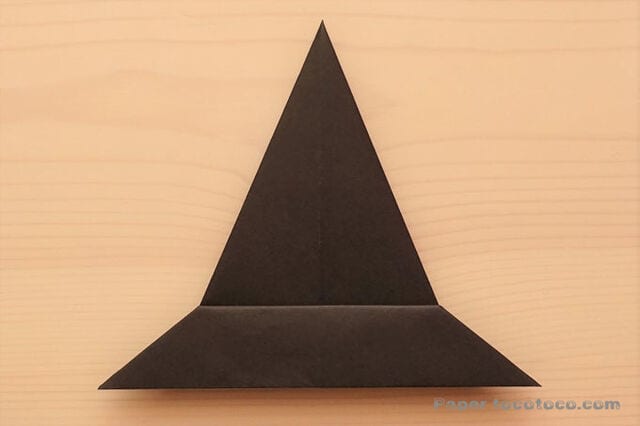
The “witch hat” is complete!
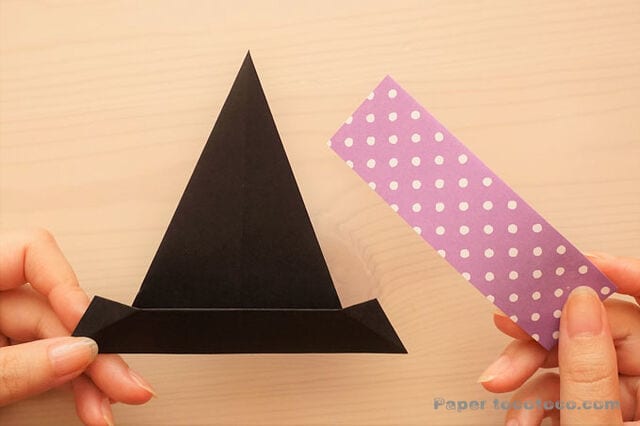
STEP 9: Prepare an origami strip of an appropriate size for the ribbon.
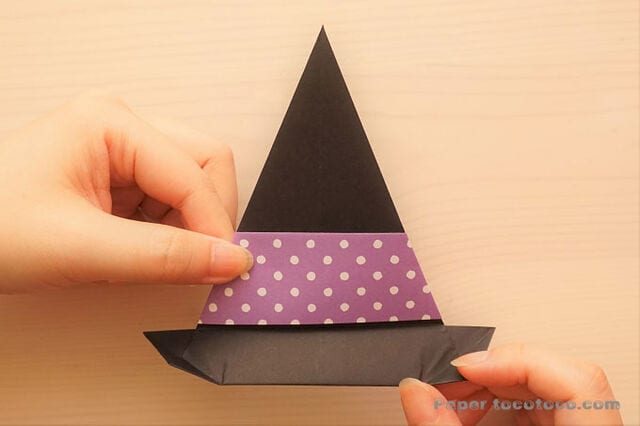
STEP 10: Open the brim of the hat, attach the ribbon, and fold both ends to the back.
Trim off any part that sticks out.
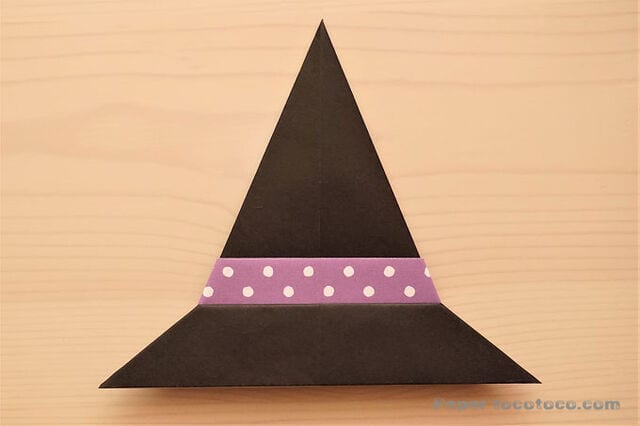
Put the brim of the hat back and you're done!
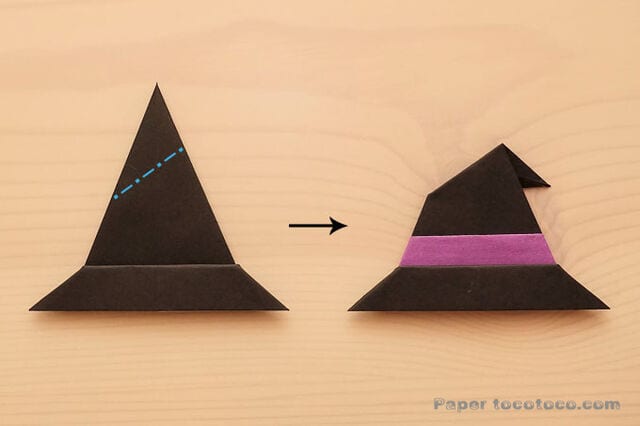
Variation 2: Make a hat with a bent tip by folding along the dotted line.
Fold it in the desired position so that the tip sticks out.
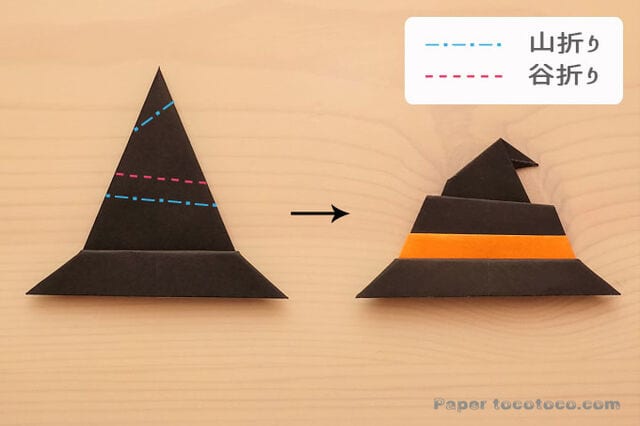
Variation 3: Fold along the dotted lines in mountain and valley folds to make a squished hat.
Fold it in the desired position so that it has the desired shape.
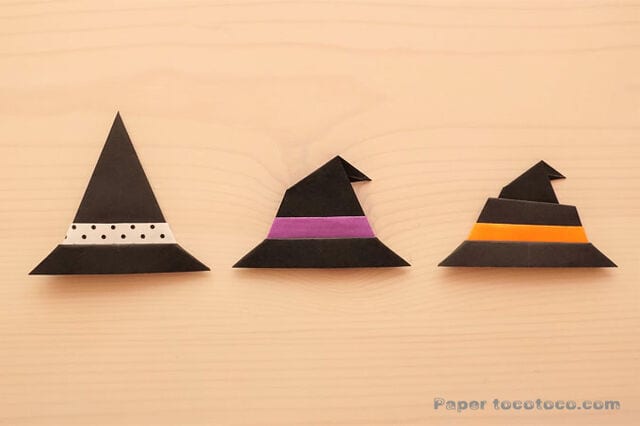
Three types of witch hats, all done!




