
Origami Ladybug
Is there anything cuter than a tiny red ladybug? This little origami version is one of those folds that makes people smile the moment they see it—round, spotted, and full of personality. Kids especially love it, because once the folding is done, the real fun begins: grabbing a marker and giving your bug its own set of spots and a happy little face.
It is also wonderfully low-commitment. One square of paper, a pen, and about ten minutes is all you need. Let's fold one together and see what personality yours ends up with!
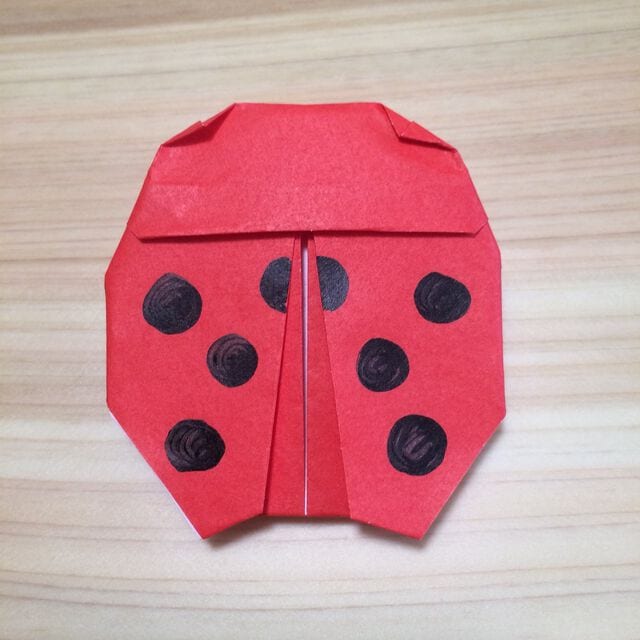
I think the kids will be happy with this one.
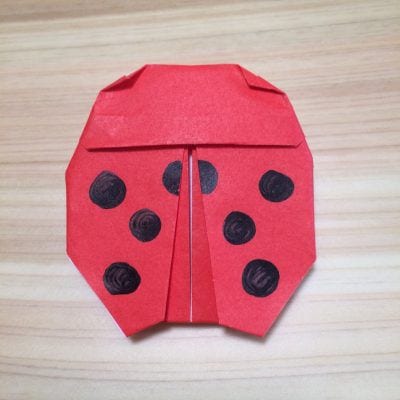
How to fold an origami ladybug
You can use any color of paper you like, but a seven-spotted ladybug is red.
Later we’ll draw the spots, so please have a marker (magic pen) ready.
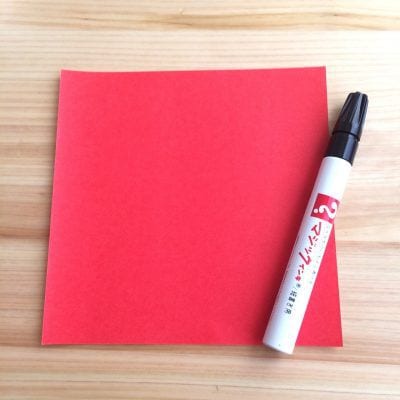
This time I followed the steps shown in the reference video.
Let’s start folding!
Step 1: Fold it in half into a triangle.
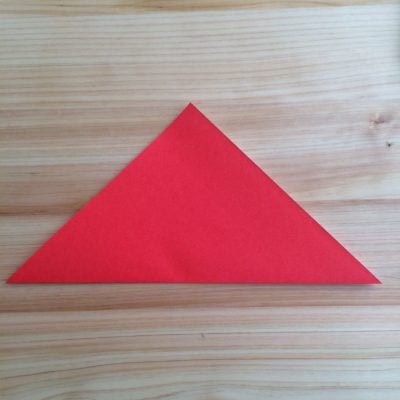
Step 2: Fold the left and right corners up to meet the top corner.
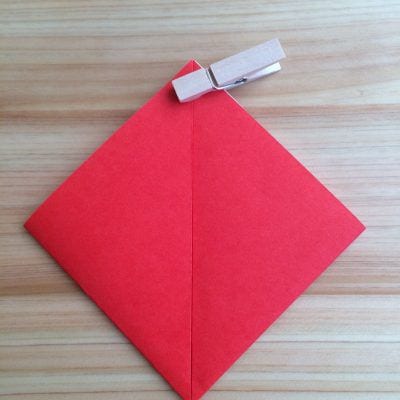
Step 3: Flip it over and fold the bottom corner up, leaving a small gap.
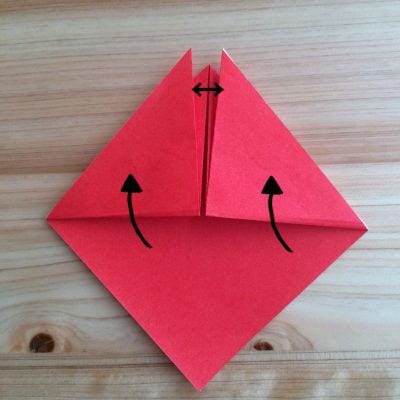
Step 4: Unfold it once, then fold the bottom corner upward.
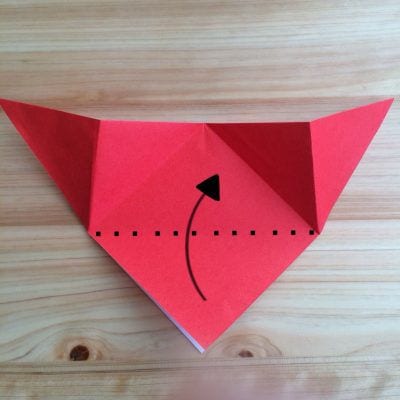
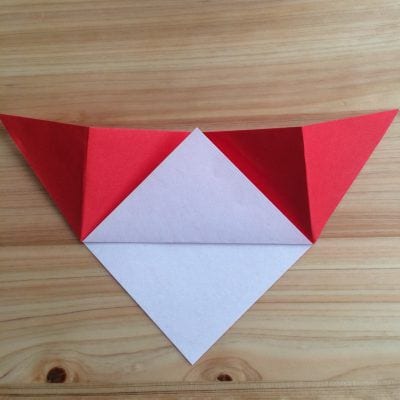
Step 5: Collapse it back along the crease.
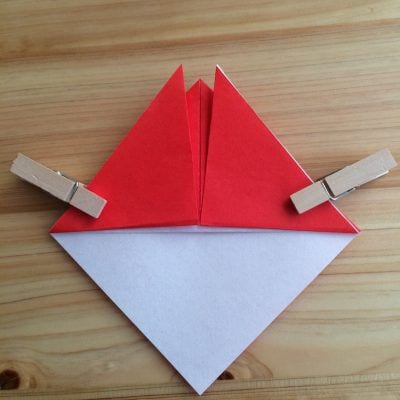
Step 6: Fold the bottom corner down to about 2 cm from the top.
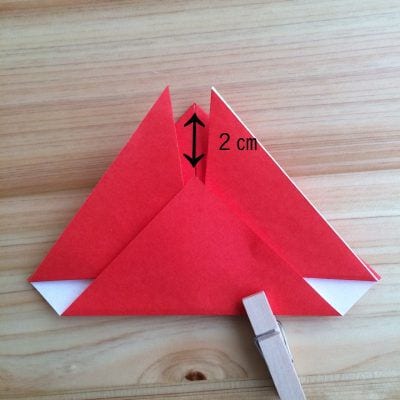
Step 7: Turn it over, flip it vertically, and fold toward the center using the right corner as a pivot.
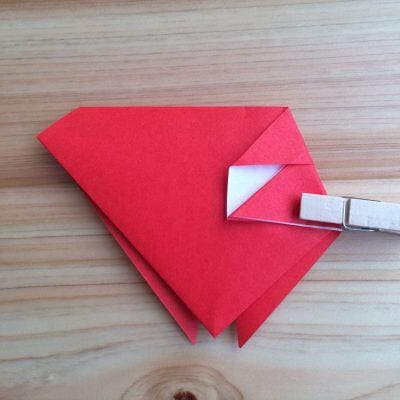
Step 8: Fold the left corner in toward the center.
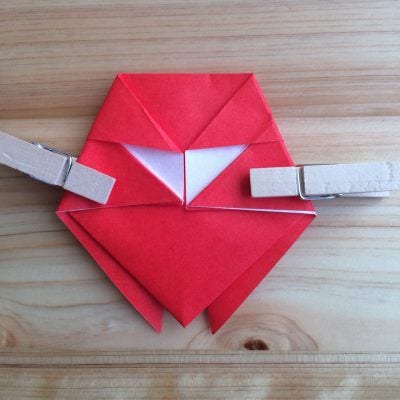
Step 9: After turning it over, fold the middle corner inward along the dotted line and tuck the folded flap inside.
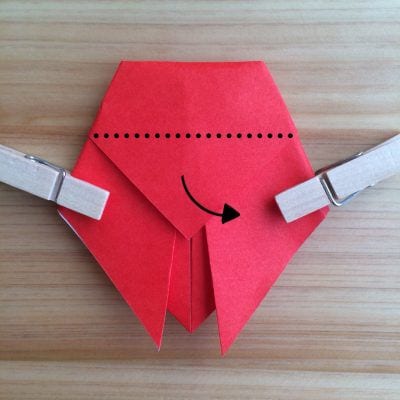
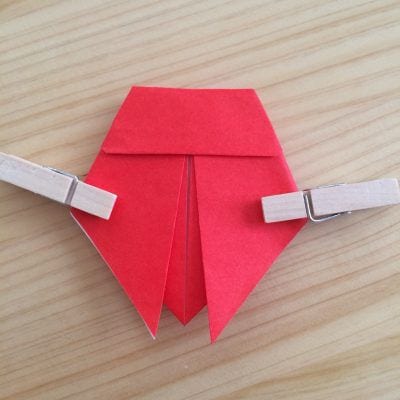
Step 10: Fold the two top corners down just a little.
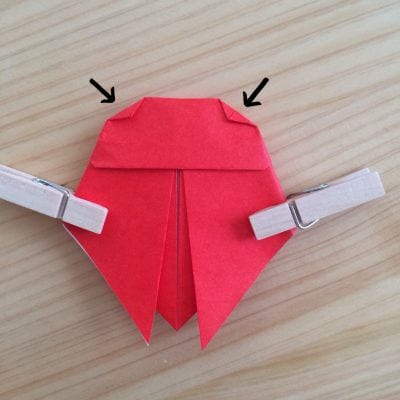
Step 11: Turn it over and fold the left and right corners slightly inward.
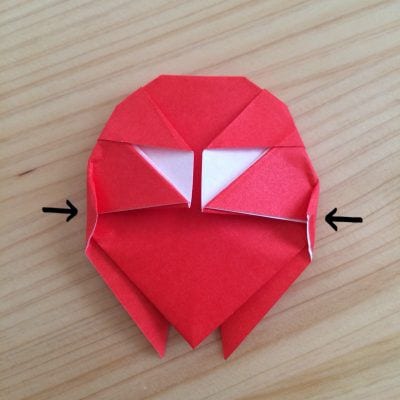
Step 12: Fold the bottom corner up just a little.
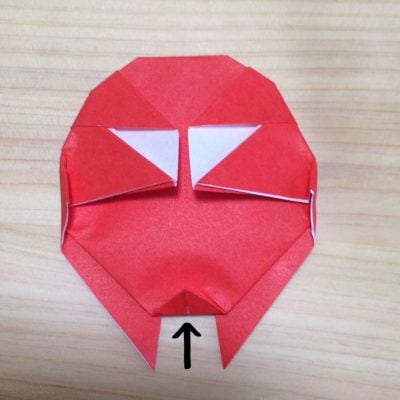
Step 13: Fold the two corners up just a little.
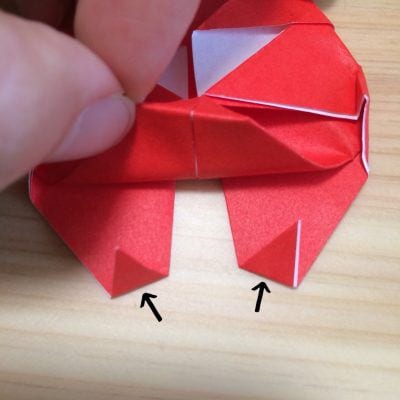
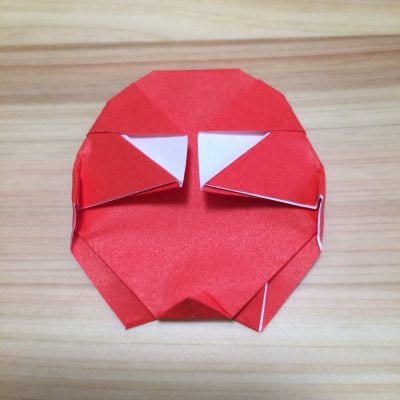
Step 16: Turn it over and draw a ladybug pattern with a marker, and you’re done!
Great job!
How was it?
Be sure to show it to the kids.




