
Four-pointed Cute Origami Star Box
Some origami boxes are built for speed - once you know them, you can fold them on autopilot while chatting, and the four-pointed cute star box belongs to that family. Seen from above it is the classic four-point star, but its smaller base and taller sides make it feel slimmer and more finished, like a little treasure chest that happens to have grown points.
It is also one of the gentlest introductions to a genuinely useful move, the squash-fold, which does most of the shaping here. The first steps set up a square base with a few valley and mountain folds; then a short sequence around the corners is repeated on both sides, and with one push on the top the box pops into shape. Grab a 20cm sheet for your first attempt - bigger paper makes the geometry easier to read - and you will soon be turning out a whole drawer full of them for holidays and gifts.
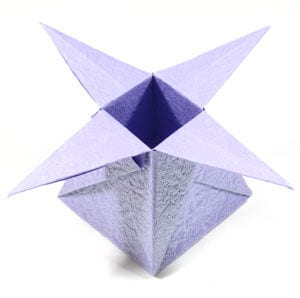
This tutorial is for everyone who wants to learn how to fold a four-pointed cute origami star box. The star box is similar to the classic origami star box, but it has a smaller base and stands a little taller - and, like its cousin, it starts from a square base.
The finished box is perfect as a gift box for any special occasion, and because it is so easy to fold, making dozens of them is no trouble at all.
If you are ready, let’s get started.
You can use almost any kind of paper for this origami star box. It is a little easier if the front and back of the sheet look slightly different, whether in texture or in color.
Make sure your paper is a perfect square, with all four sides equal and every corner exactly 90 degrees. The sheet used here is 20cm x 20cm - larger than the usual origami paper. Starting big is a good idea: once you are familiar with the model, you can gradually switch to smaller sheets.
This is the front side of the paper. It is a little shinier than the back side.
And this is the back side. Remember that the shinier side is the front.
STEP 1.
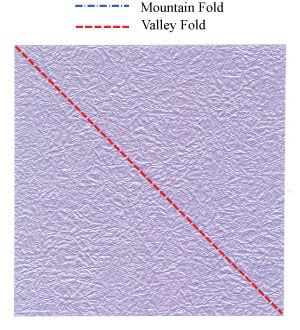
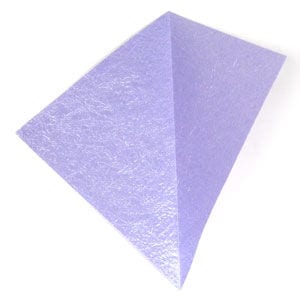
Start with the front side of the paper facing up. Make a valley-fold along one diagonal.
STEP 2.
Apply the valley-fold from step 1.
STEP 3.
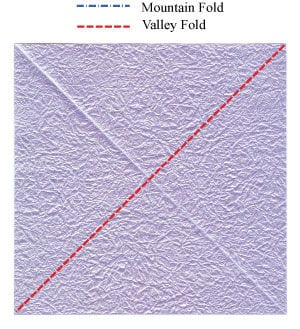
Make a valley-fold along the other diagonal.
STEP 4.
Valley-fold along the second diagonal, following step 3.
STEP 5.
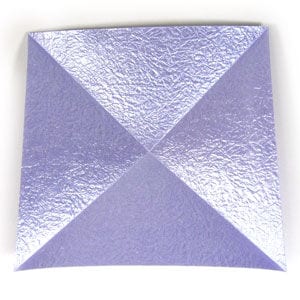
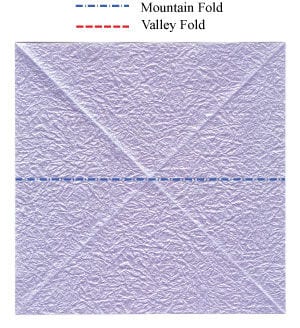
Mountain-fold along the horizontal center line.
STEP 6.
Apply the mountain-fold from step 5.
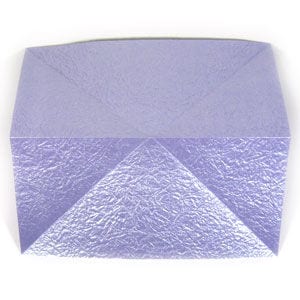
STEP 7.
Mountain-fold along the vertical center line.
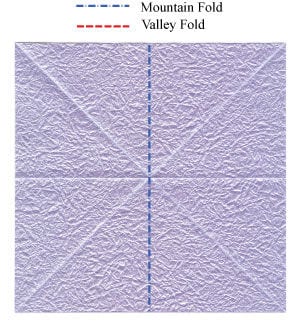
STEP 8.
Mountain-fold along the vertical center line, then prepare two valley-folds along a diagonal.
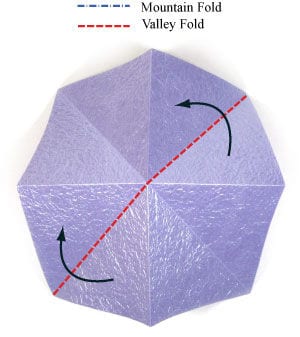
STEP 9.
Flatten the model as in step 8, with the open end at the bottom. Rotate the model 180 degrees.
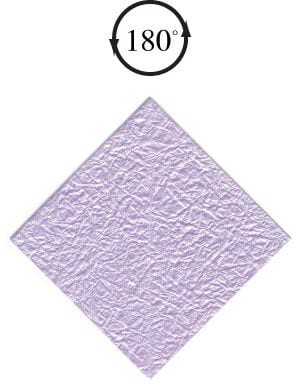
STEP 10.
Rotate the model 180 degrees so the open end is at the top. Make a valley-fold. Note that the outer angle (30 degrees) is twice the inner angle (15 degrees).
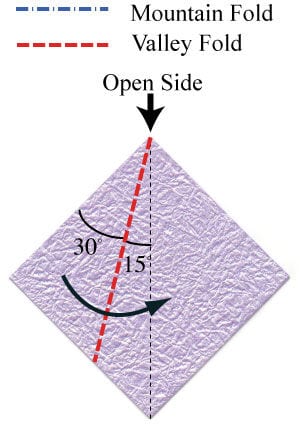
STEP 11.
Apply the valley-fold from step 10, then prepare another valley-fold.
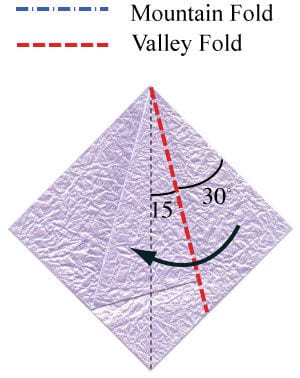
STEP 12.
Apply the valley-fold from step 11, then release the two previous valley-folds.
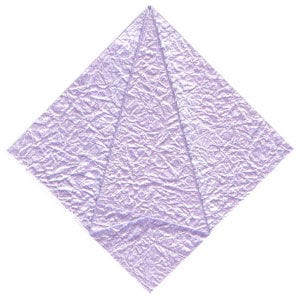
STEP 13.
Unfold the two previous valley-folds, then make a “squash-fold”.
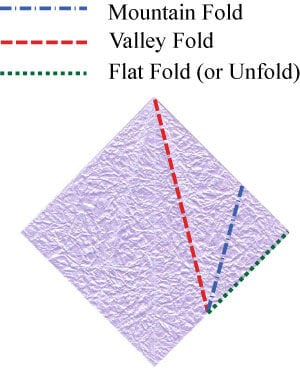
STEP 14.
Apply the “squash-fold” from step 13, then prepare another “squash-fold”.
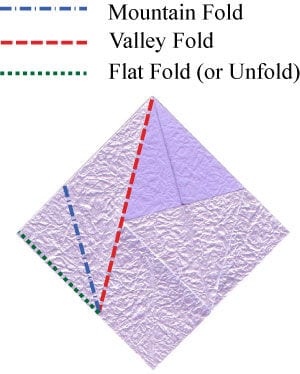
STEP 15.
Apply the “squash-fold” from step 14, then turn the model over.
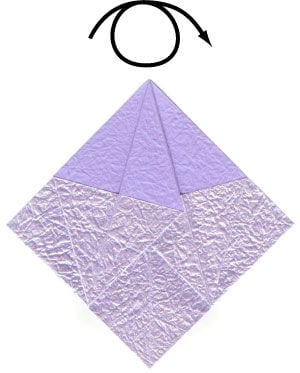
STEP 16.
Turn the model over. Repeat steps 10-15, working the squash-fold on the right side first and then on the left.
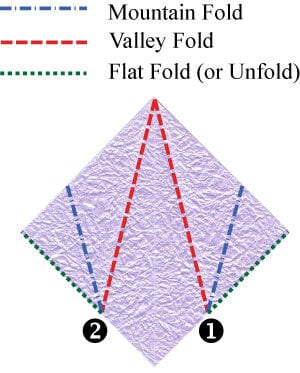
STEP 17.
Repeat steps 10-15 as shown, then prepare to fold the model in half with a vertical valley-fold.
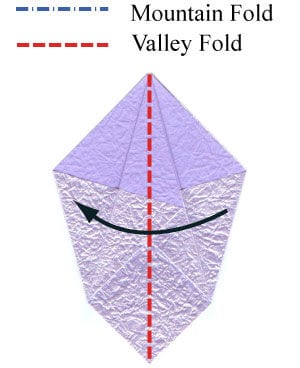
STEP 18.
Fold the model in half as in step 17, then prepare a valley-fold.
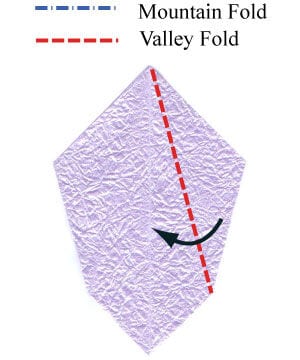
STEP 19.
Apply the valley-fold from step 18, then prepare another valley-fold.
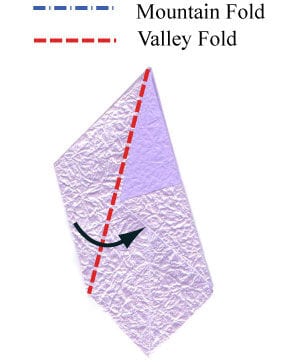
STEP 20.
Apply the valley-fold from step 19, then turn the model over.
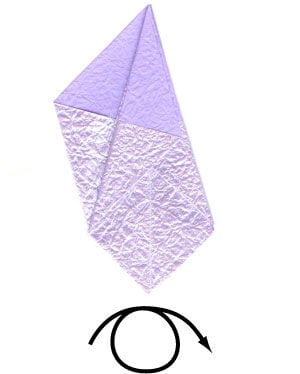
STEP 21.
Turn the model over, then make a valley-fold.
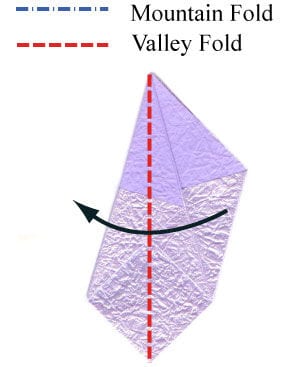
STEP 22.
Apply the valley-fold from step 21, then repeat steps 18-20.
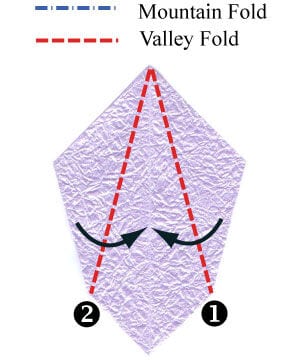
STEP 23.
Repeat steps 18-20. Make a valley-fold and unfold it, then rotate the model 180 degrees.
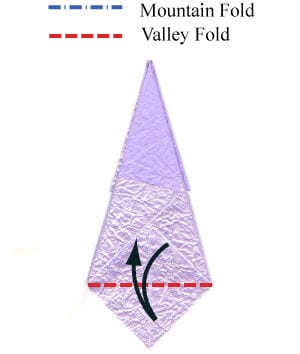
STEP 24.
Valley-fold and unfold as in step 23, then rotate the model 180 degrees.
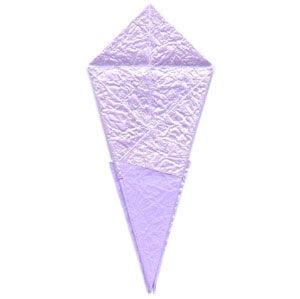
STEP 25.
Open the bottom by spreading the four legs apart. Press down on the top.

STEP 26.
Press the top down with your thumb.
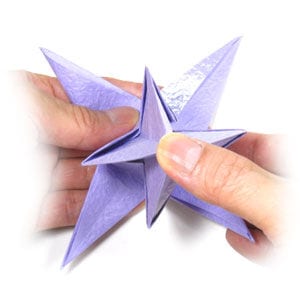
STEP 27.
Keep pushing until the top collapses completely.
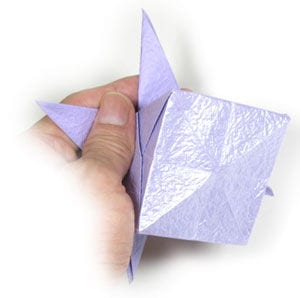
STEP 28.
Sharpen all four edges of the box.
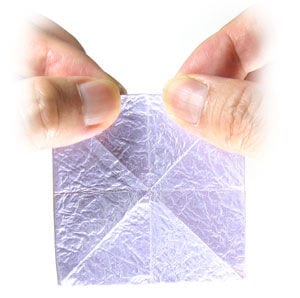
STEP 29.
Make four valley-folds.
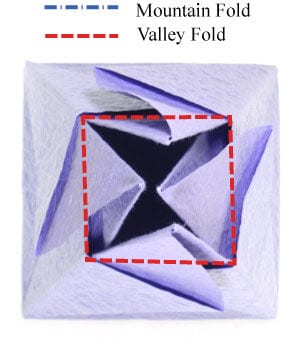
STEP 30.
Apply the four valley-folds from step 29. The cute origami star box is now complete.
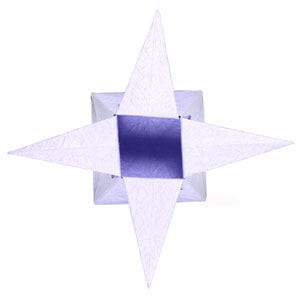
STEP 31.
Congratulations! You have just made a four-pointed cute origami star box.




