Dragonfly (Short Tutorial)
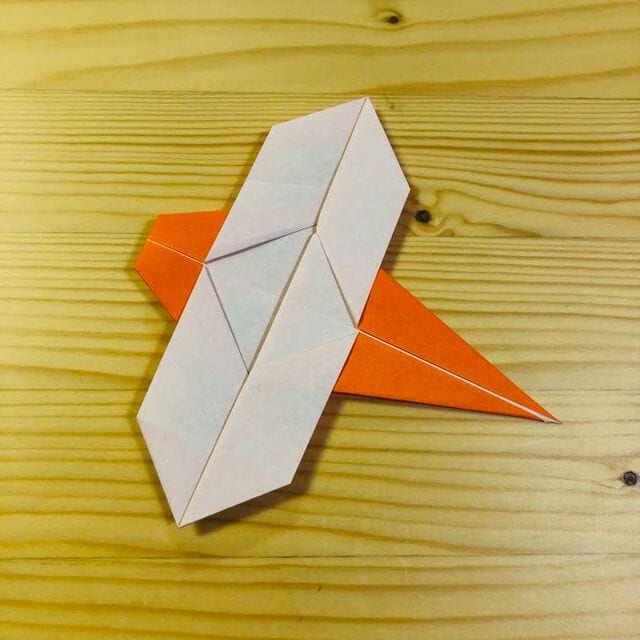
Ask any folder which insect they reach for first, and the dragonfly is a common answer — those long wings and narrow body are oddly satisfying to capture in paper. This short tutorial keeps things light: 17 photo-led steps that take you from a plain square to a finished dragonfly without any fiddly detours.
There is a real pleasure in watching the four wings appear as you work through the open-and-fold sequence. Use a bright or patterned paper and the finished bug looks almost ready to hover off the table. It makes a great little bookmark or a quick gift topper, and because the steps are so compact, it is a perfect model to fold while chatting or to teach a curious beginner.
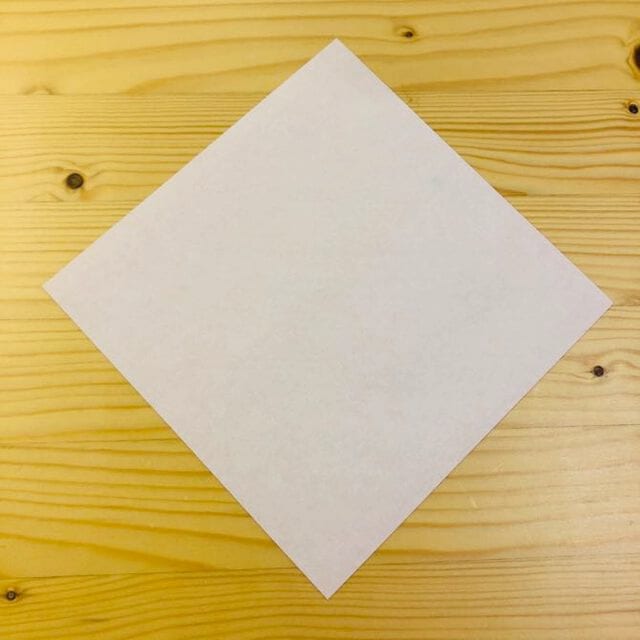
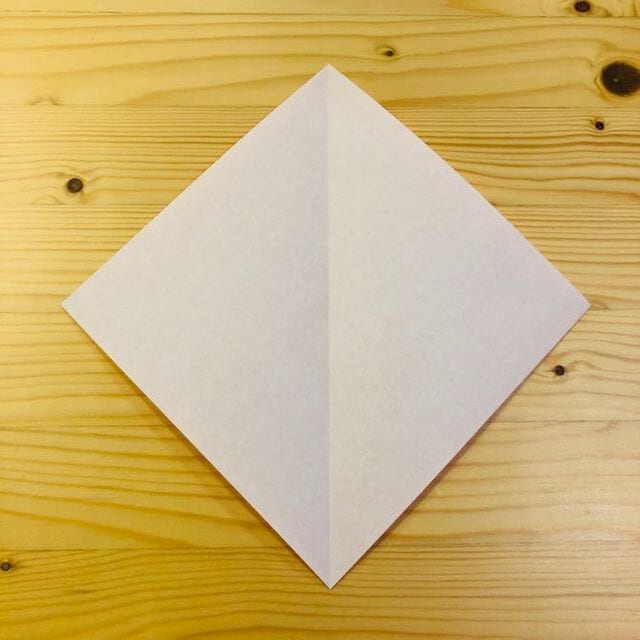
STEP 1. Fold it in half and make a crease.
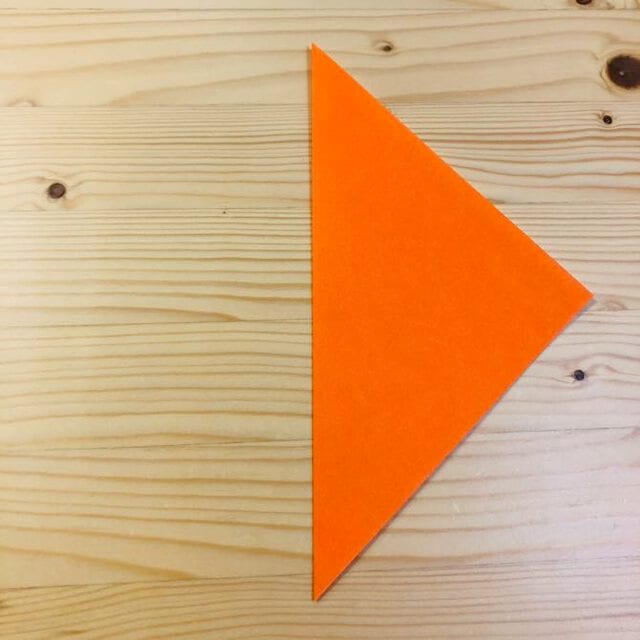
STEP 2. Fold it at the position shown in the photo.
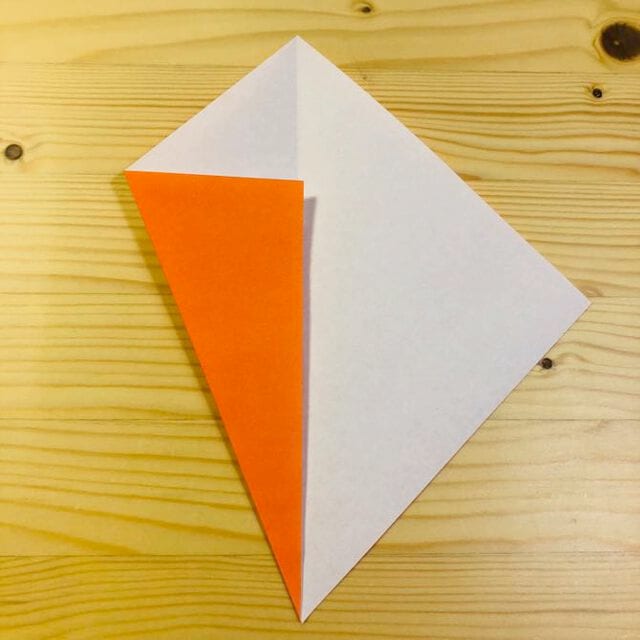
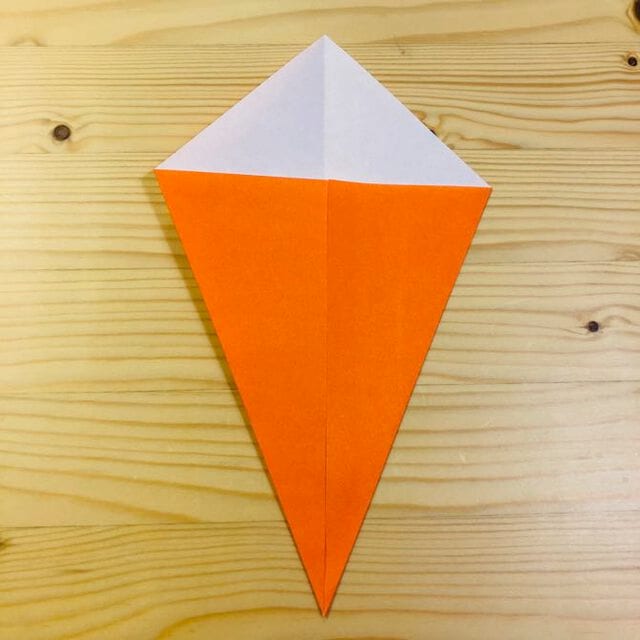
STEP 3. Turn it over.
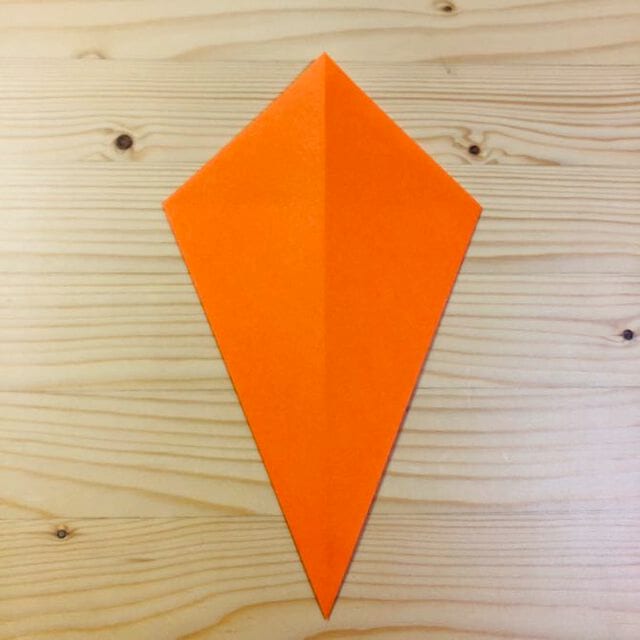
STEP 4. Fold it up at the position shown in the photo.
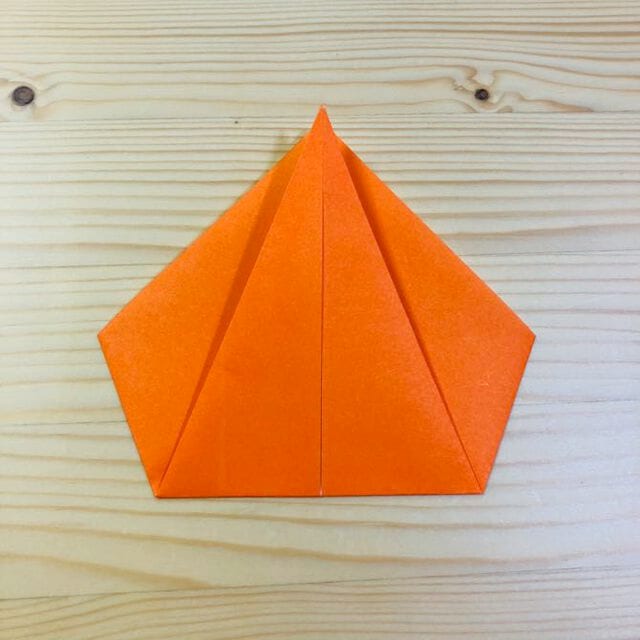
STEP 5. Turn it over.
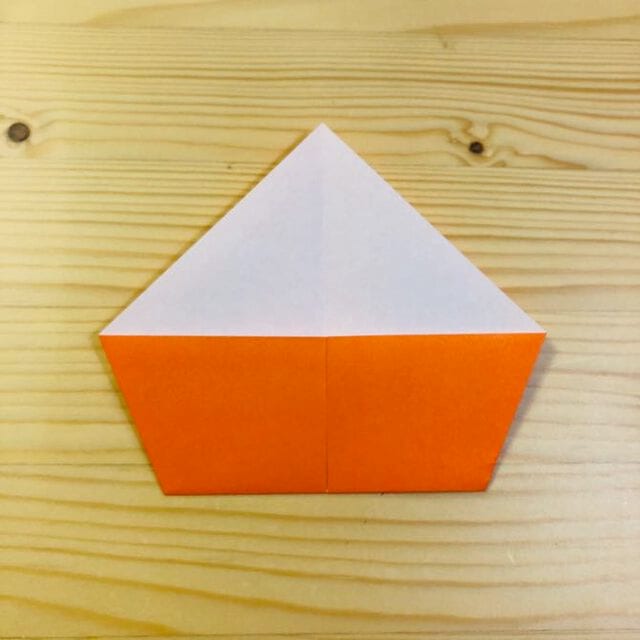
STEP 6. Fold it at the position shown in the photo.
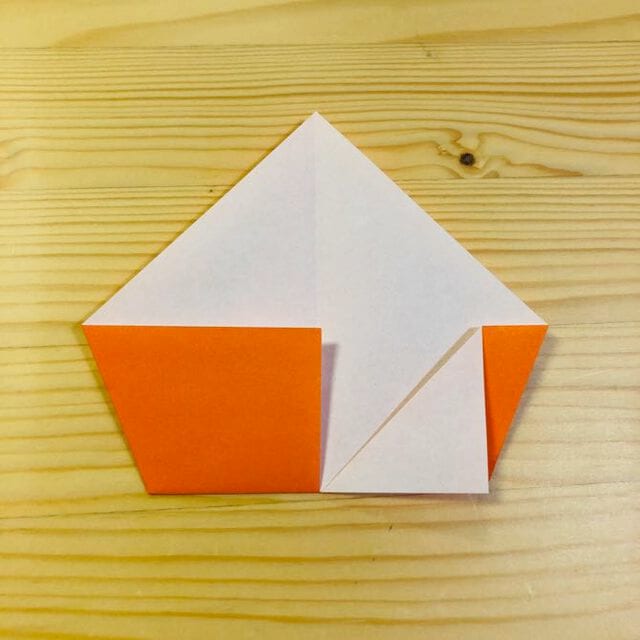
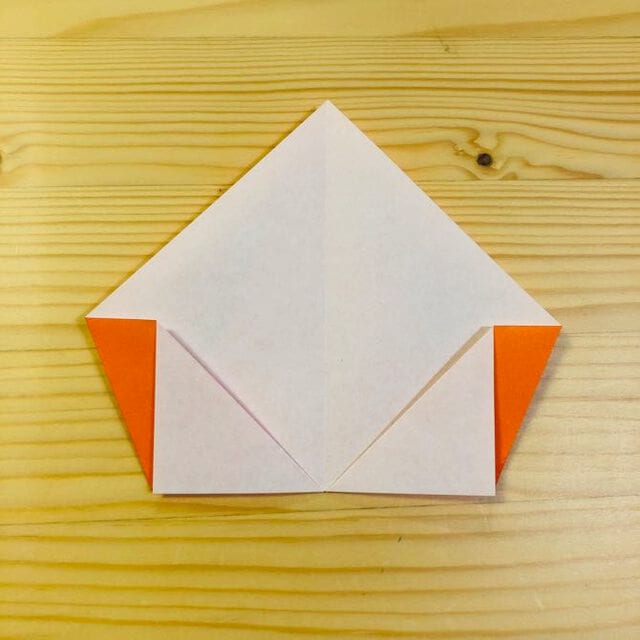
STEP 7. Open and fold as shown in the picture.
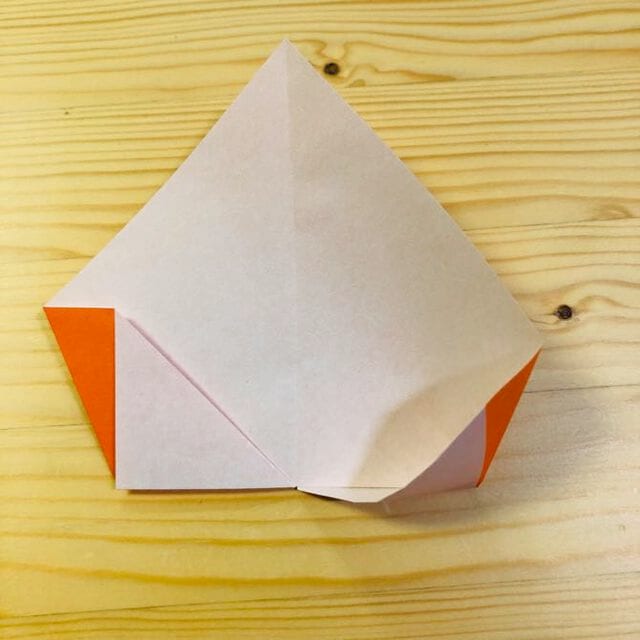
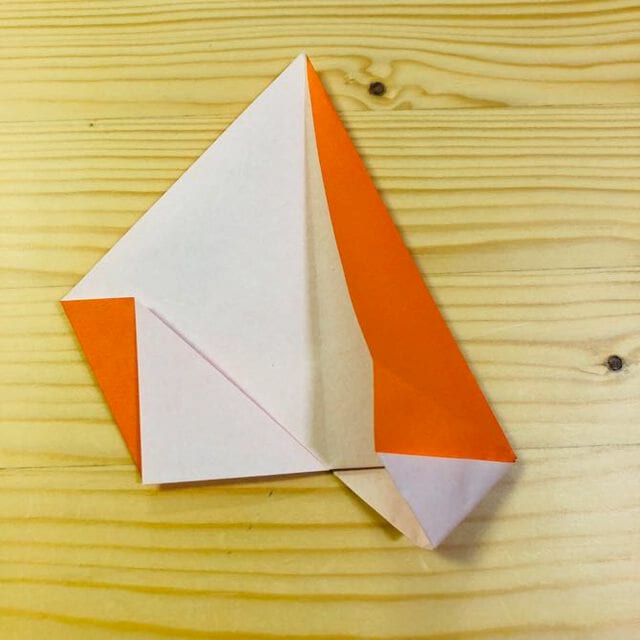
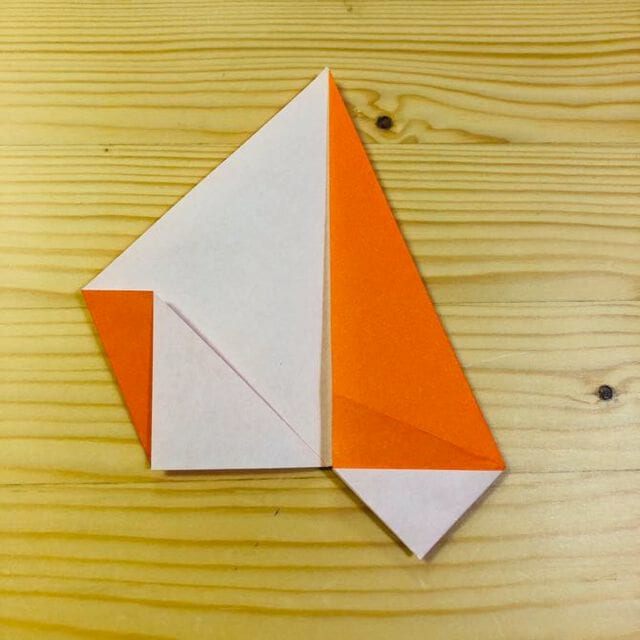
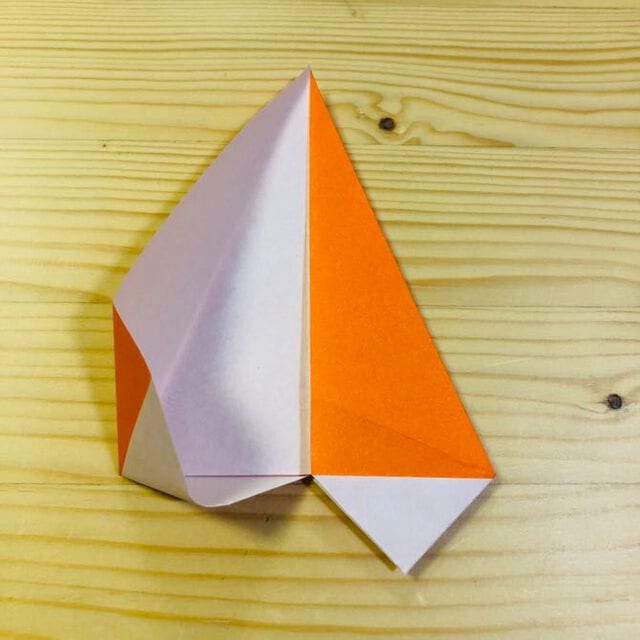
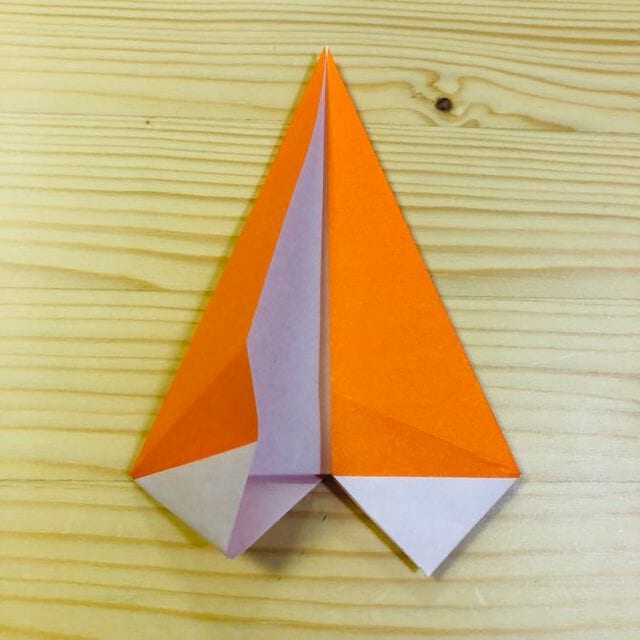
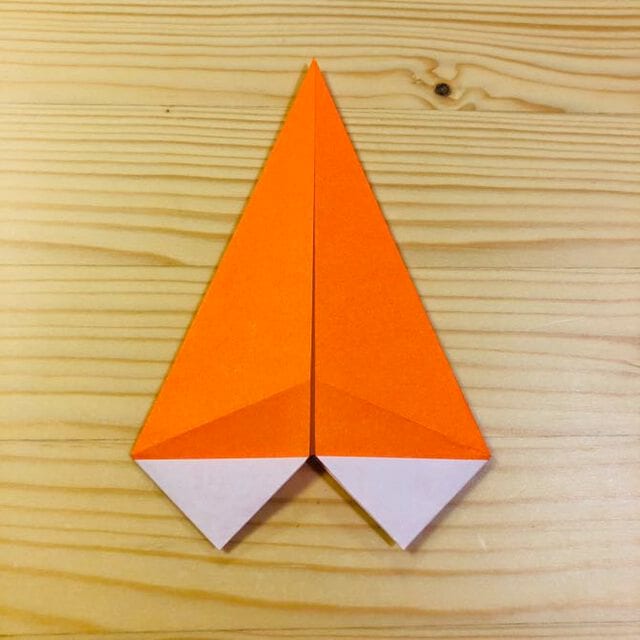
STEP 8. Fold it at the position shown in the photo.
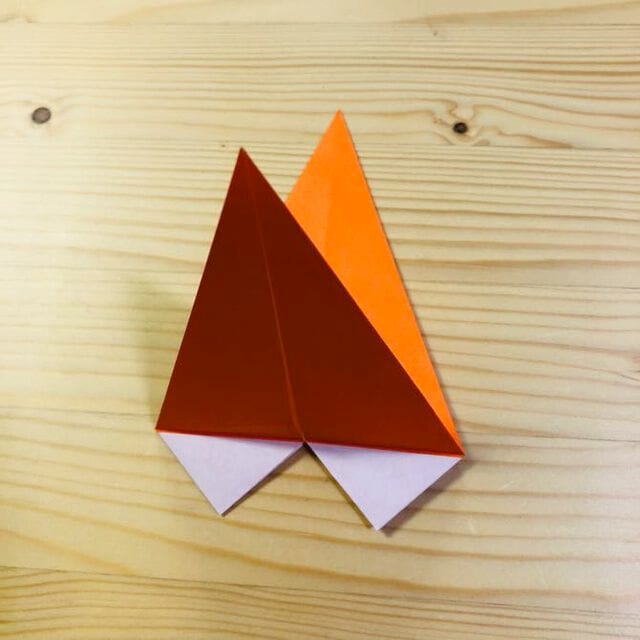
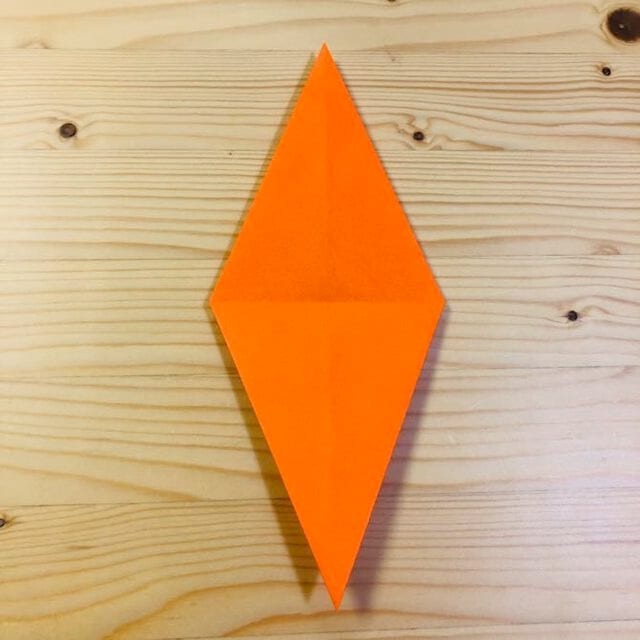
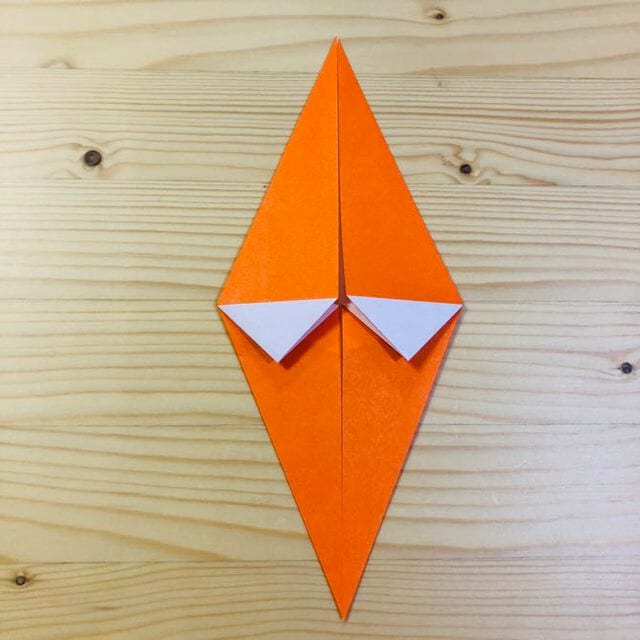
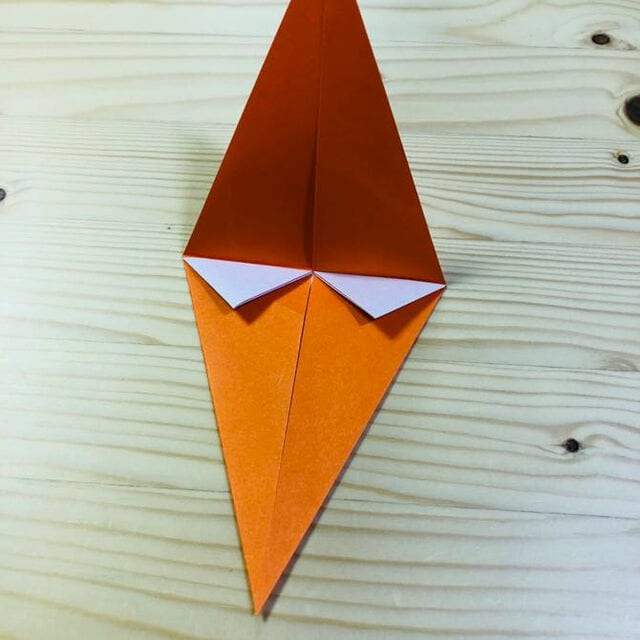
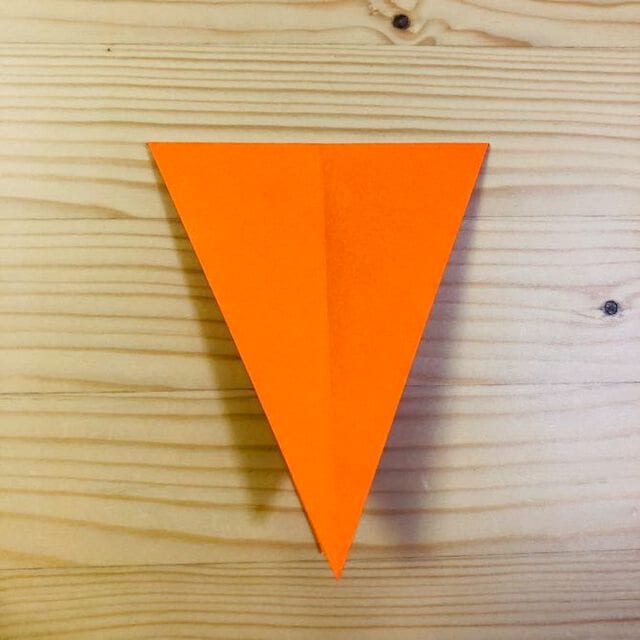
STEP 9. Open and fold as shown in the picture.
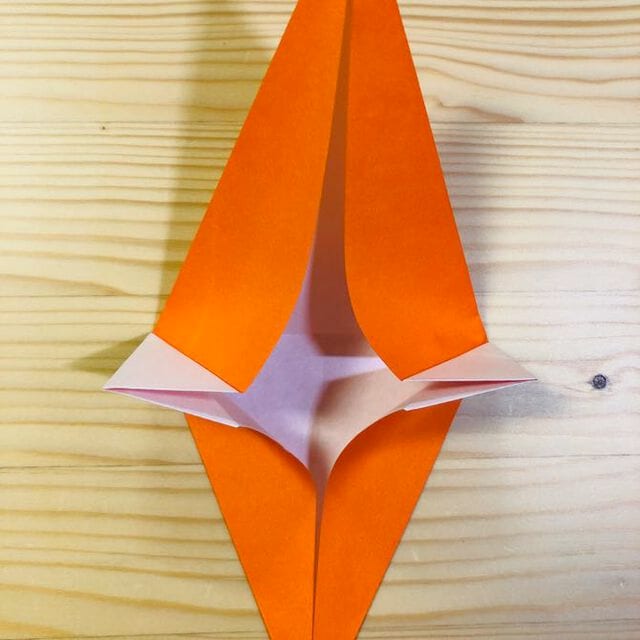
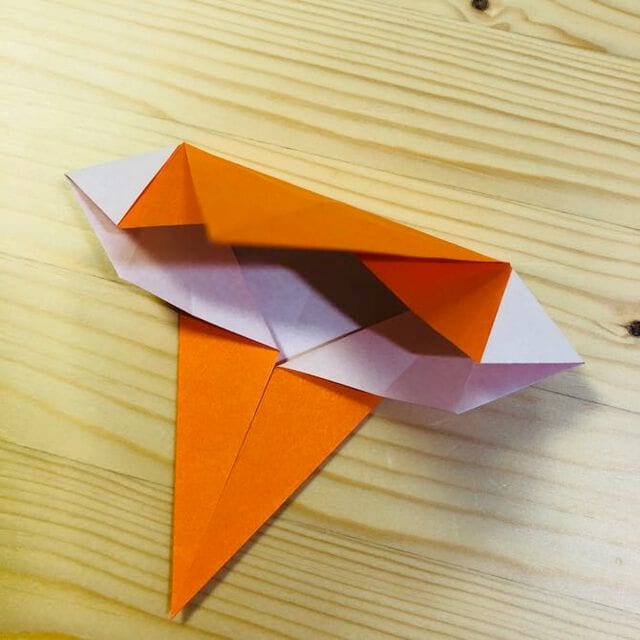
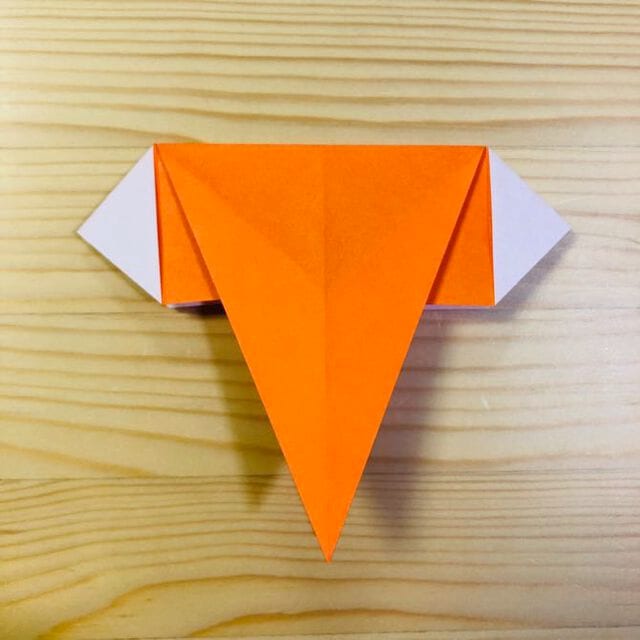
STEP 10. Fold it at the position shown in the photo.
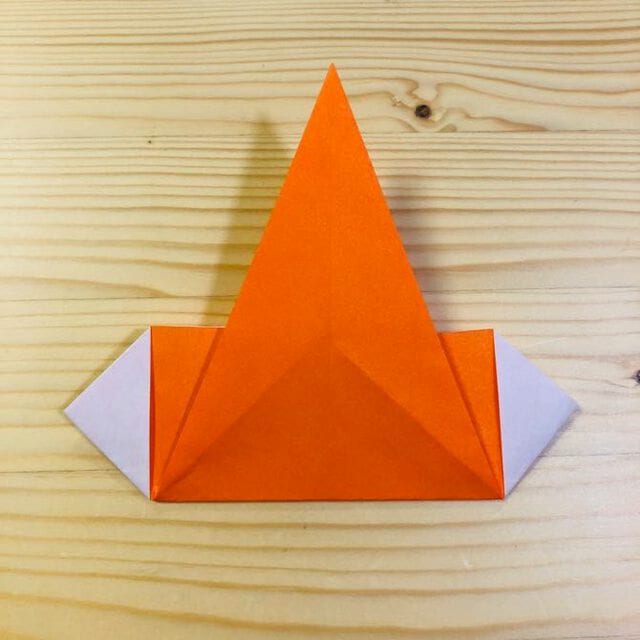
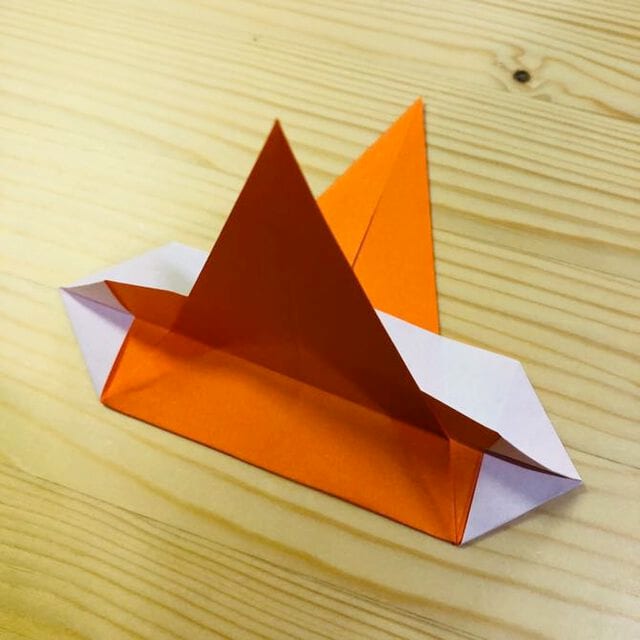
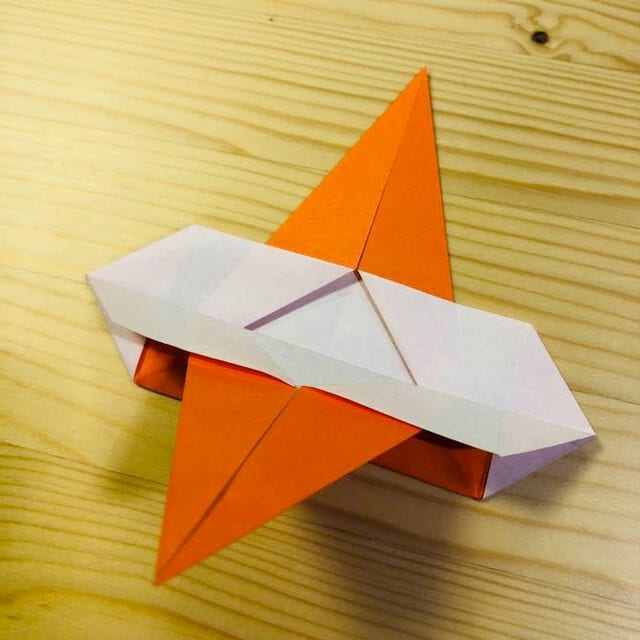
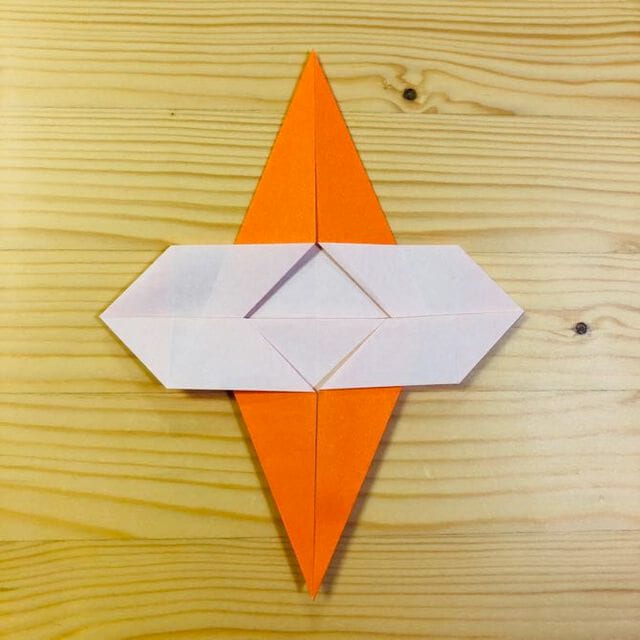
STEP 11. Turn it over.
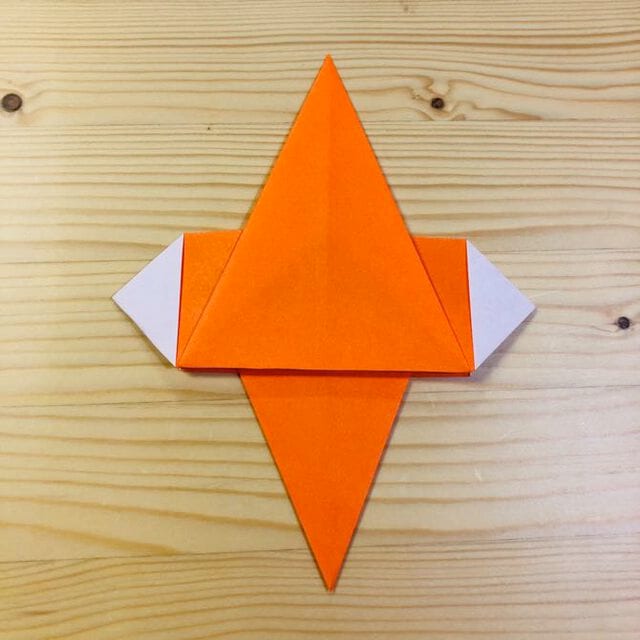
STEP 12. Fold it down at the position shown in the photo.
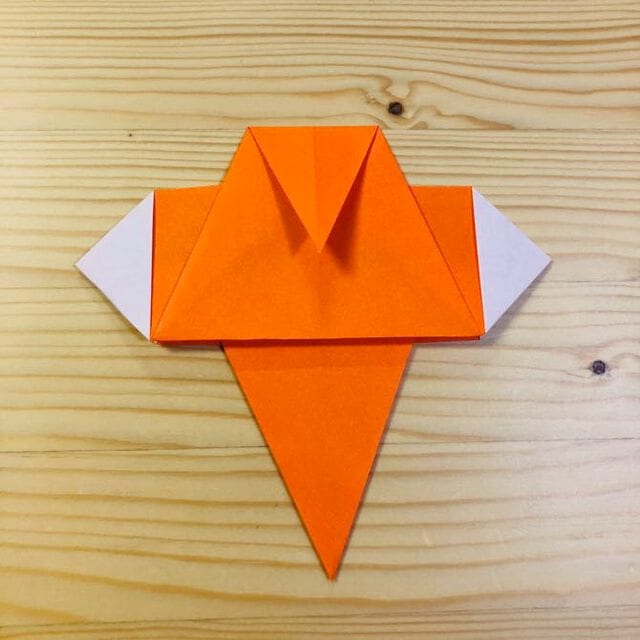
STEP 13. Turn it over.
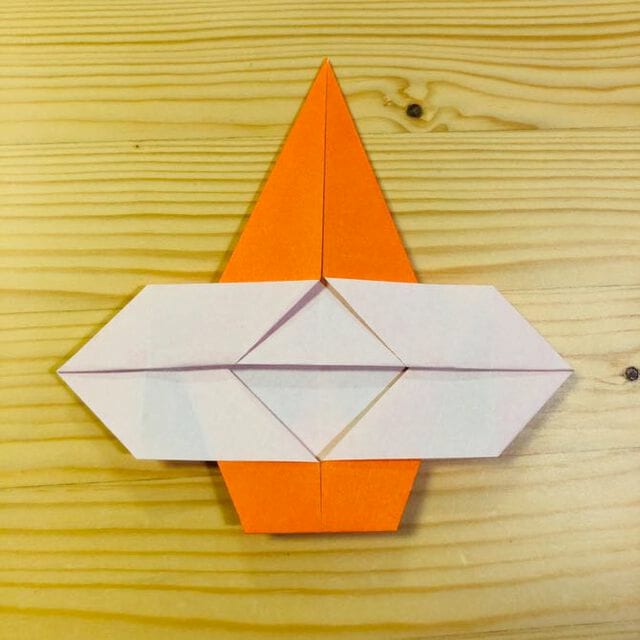
STEP 14. Fold it at the position shown in the photo.
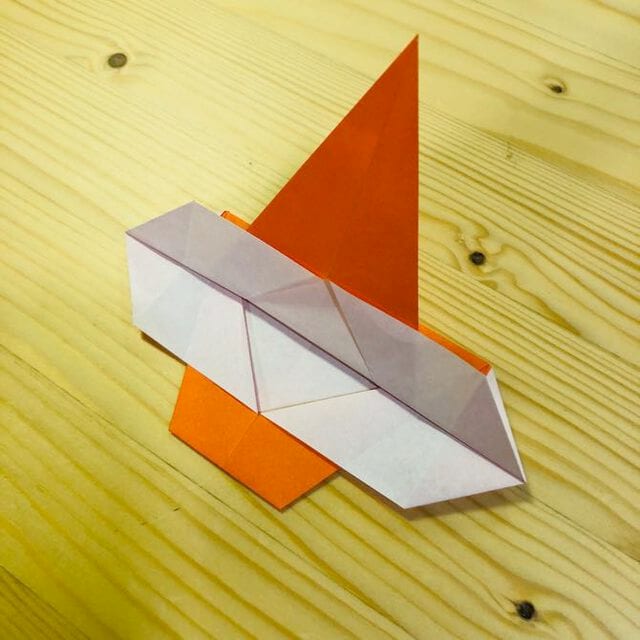
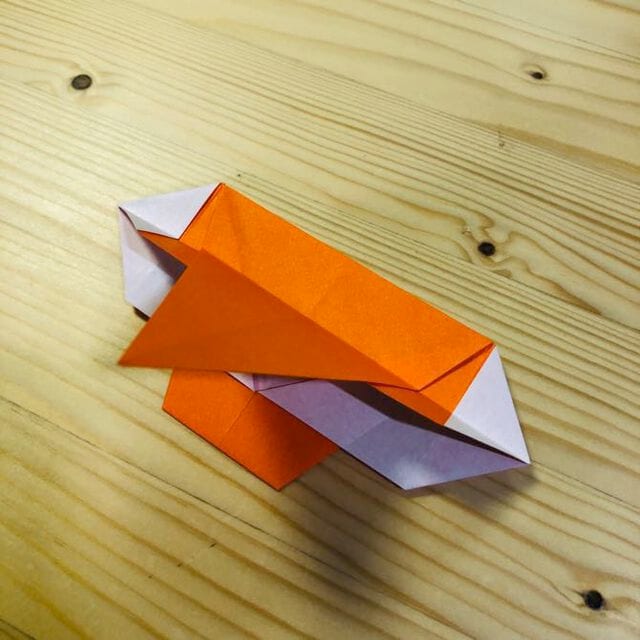
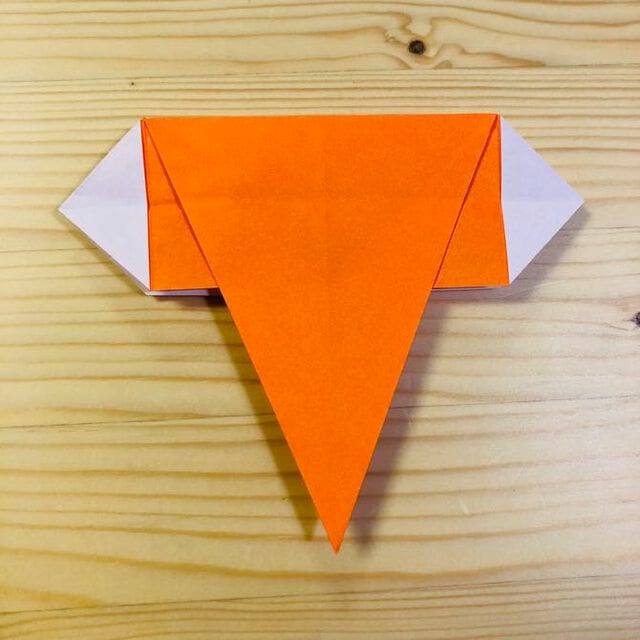
STEP 15. Fold it at the position shown in the photo.
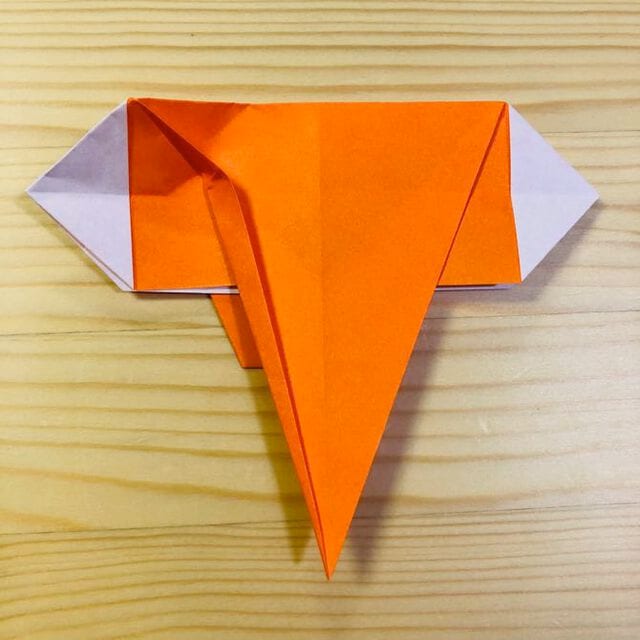
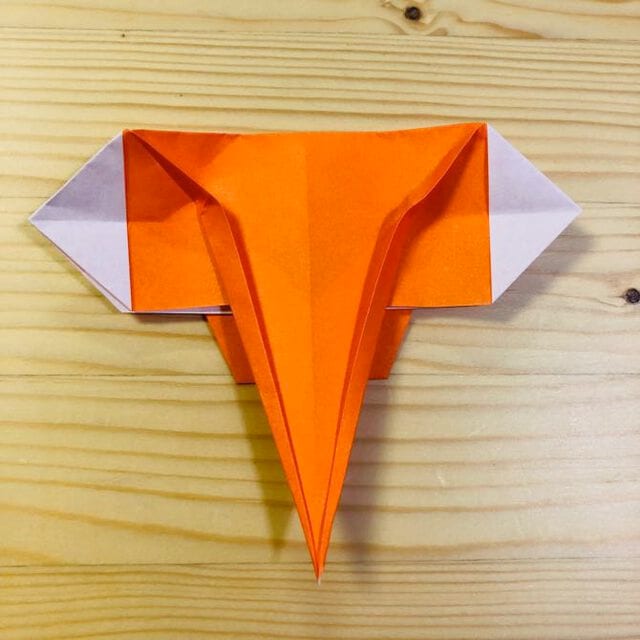
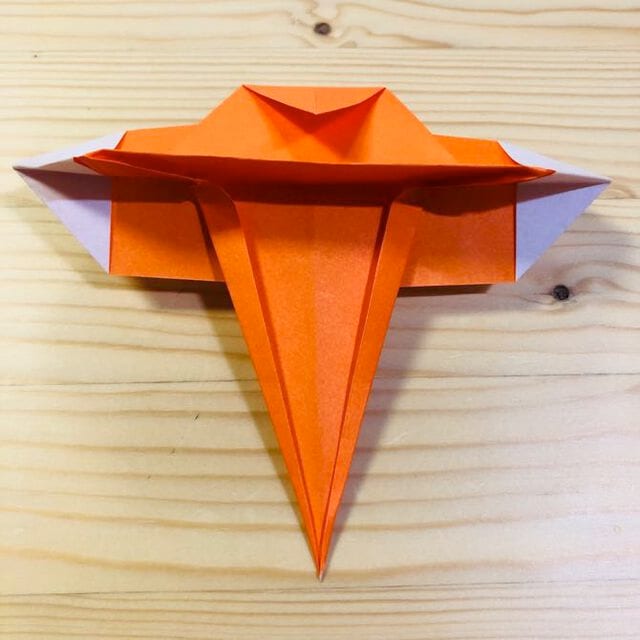
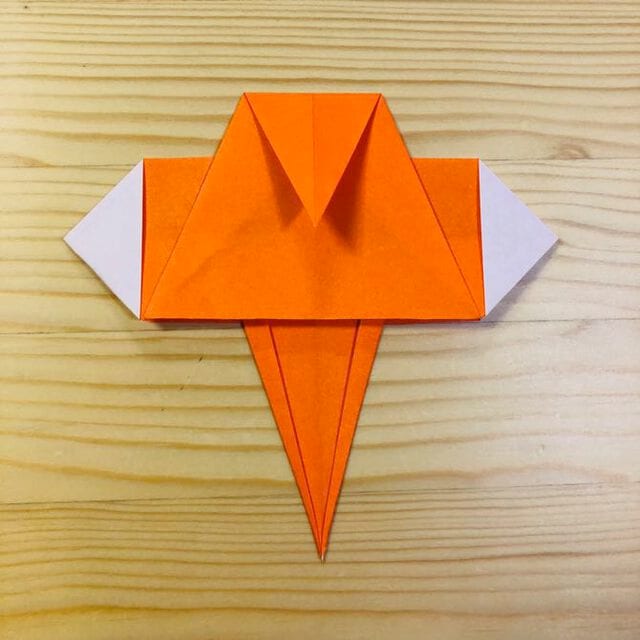
STEP 16. Fold it at the position shown in the photo.
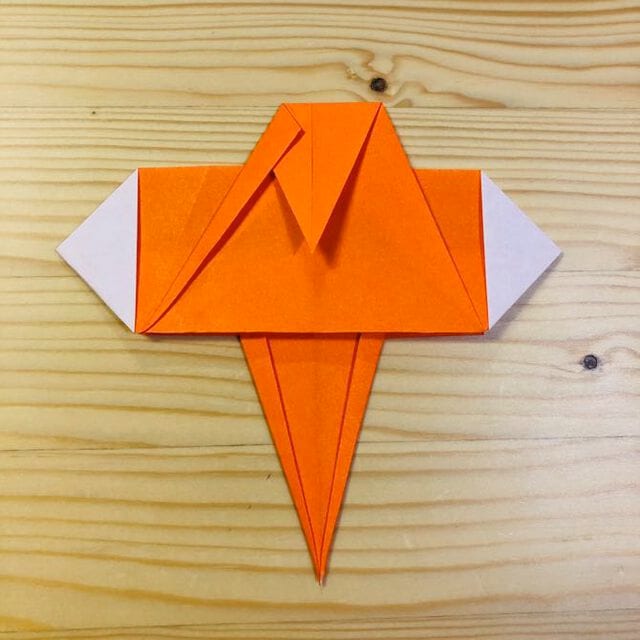
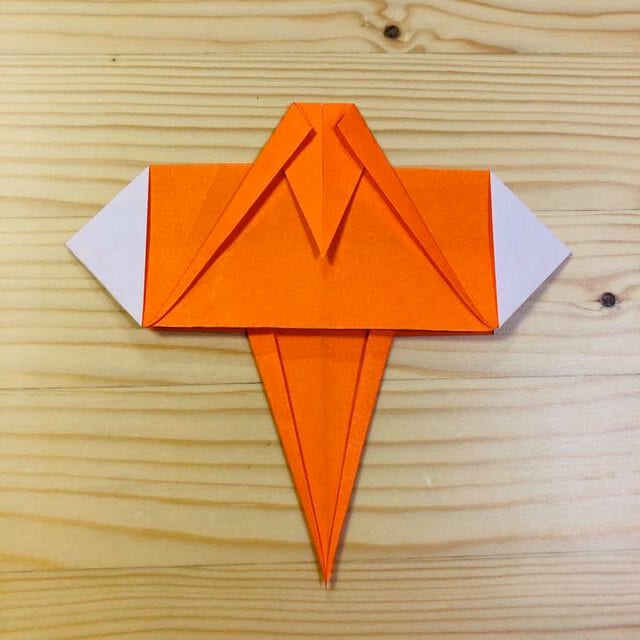
STEP 17. Turn it over.
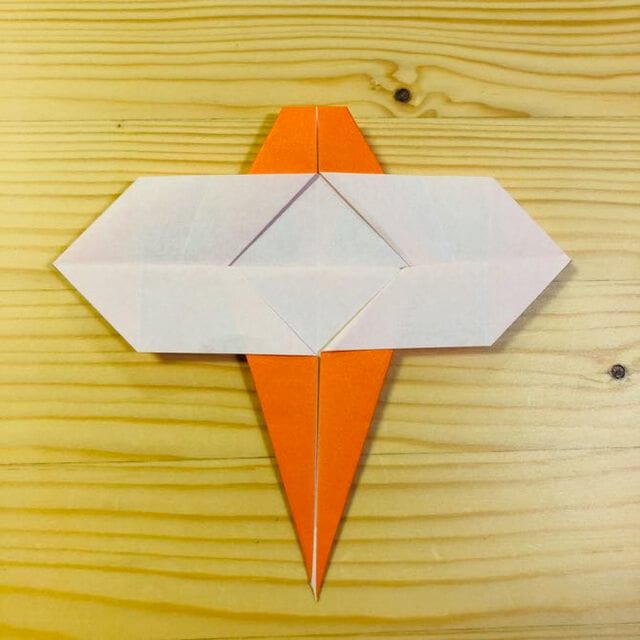
Completion!
The dragonfly is completed.