
Pleat & Crimp Folds
Have you ever opened an origami diagram, seen the words "make a pleat fold", and wondered what on earth that means? I have been there too. The good news is that pleat and crimp folds are two of the simplest techniques in origami - once you see them done once, you will never forget them.
A pleat is just a fold, then another fold in the opposite direction, like a tiny paper fan. A crimp is a sharp fold that bends the whole paper in half. This tutorial walks you through both with a single sheet of paper in six short steps. Grab a square (or any paper) and let's fold.
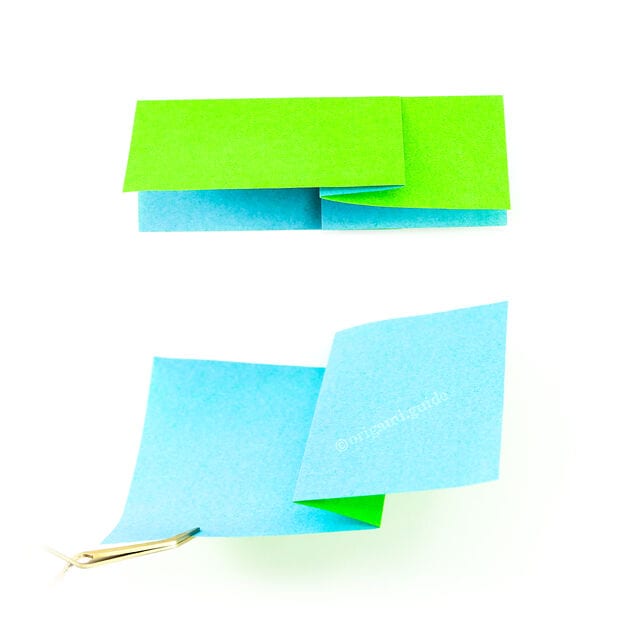
Sometimes an origami diagram will simply say “make a pleat fold”. What does this mean? This simple photo tutorial shows how to make both a pleat fold and a crimp fold.
Sometimes there are clear directions on how far to fold, and other times not. The most basic way to explain a pleat fold is a paper fan: the paper is folded one way and then the other.
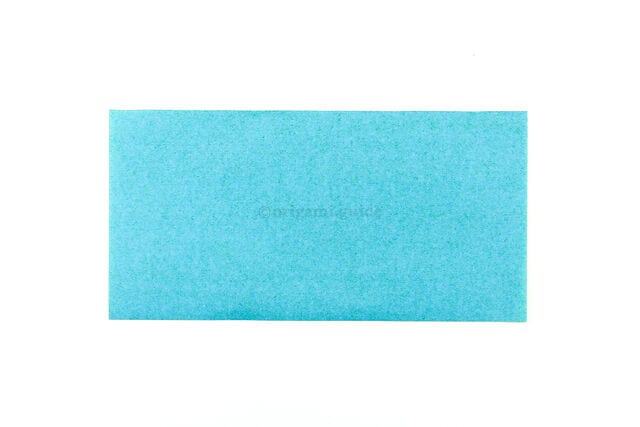
Step 1
Start with any sheet of paper - here we have a half square.
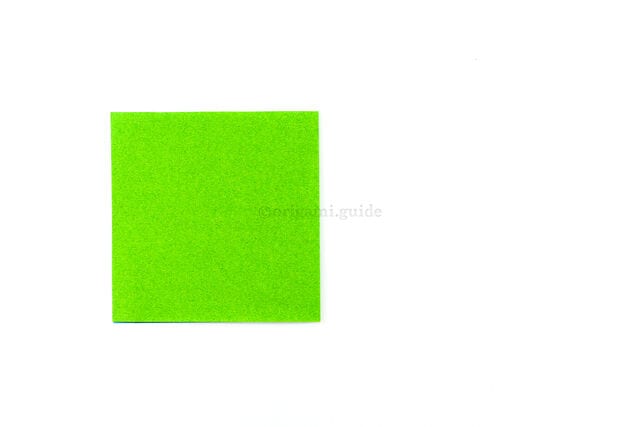
Step 2
Fold the right edge to the left edge.
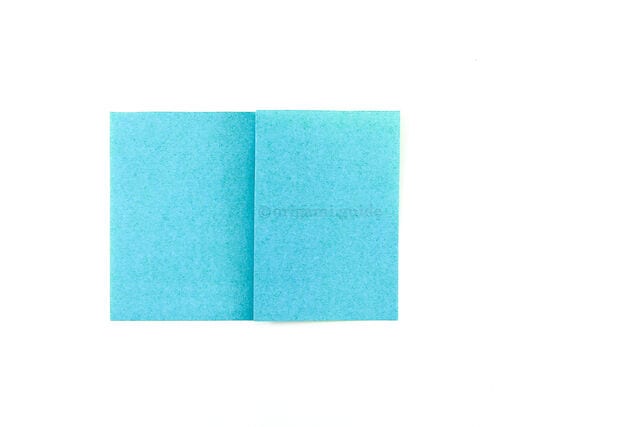
Step 3
Fold the front flap back to the right, leaving a gap.
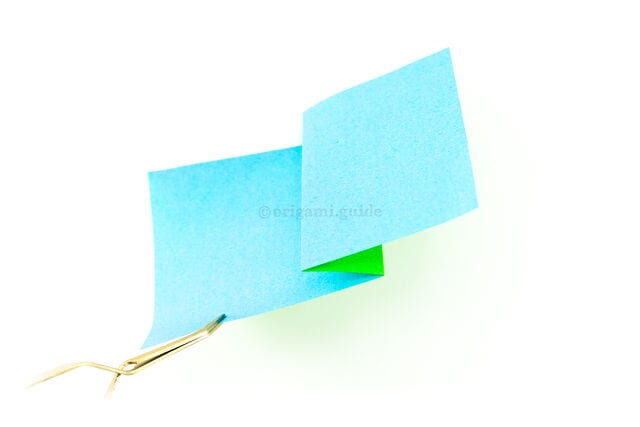
Step 4
If you pick up the paper, you will be able to see the “pleat”.
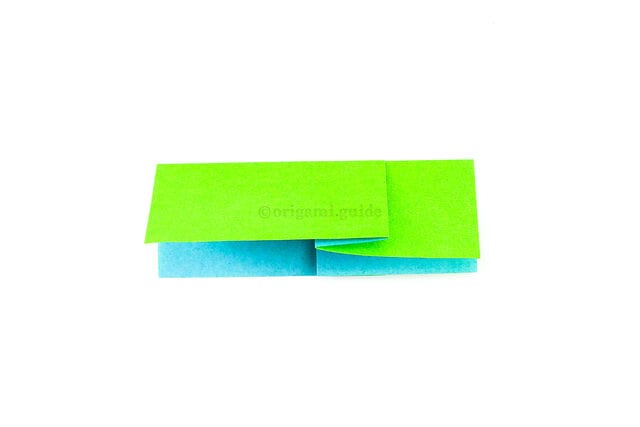
Step 5
To make a crimp fold, simply fold the paper in half from top to bottom.
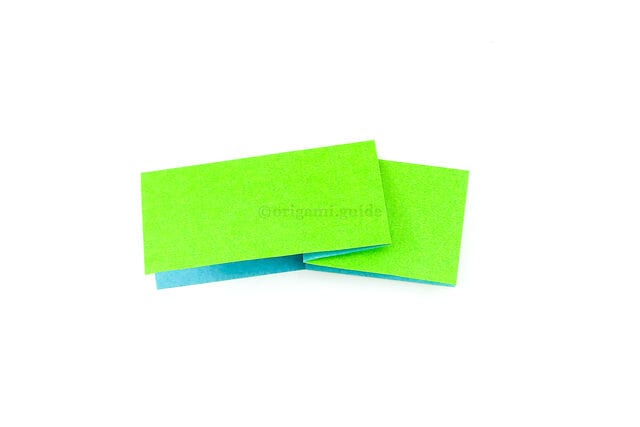
Step 6
You can pull the right end down and flatten the paper. This is how you might create something like a snake or a worm.




