
Origami Shuriken
Few origami models get as much mileage as a shuriken. Fold it, and about thirty seconds later you are flicking it across the room - which, let us be honest, is the entire point.
This one is a modular design, so you fold four identical parts and then slot them together. That sounds more complicated than it is: the parts are genuinely simple, and watching them lock into a solid star is the satisfying bit. Use four different colours and the finished star looks even better.

How to make a four-piece shuriken (explained with images)
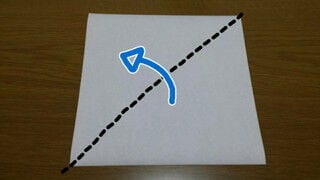
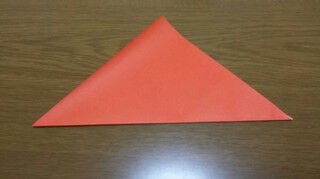
STEP 1. Start with a sheet of origami paper and fold it along the dotted line.
Crease it firmly, then unfold.


STEP 2. Fold towards the centre so that the star marks line up.
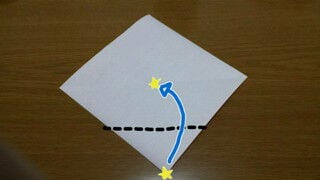
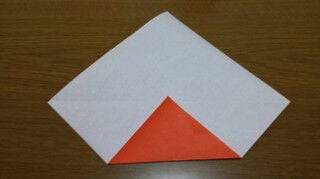
Do the same on the other side.
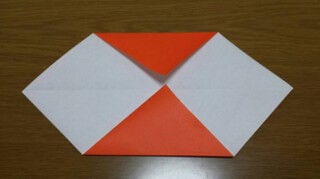
STEP 3. Fold towards the centre again.
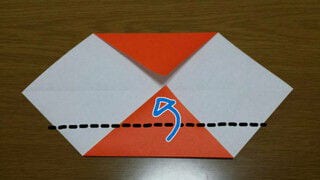
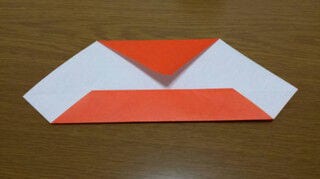
Do the same on the other side.
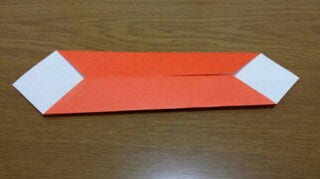
STEP 4. Fold along the dotted line.
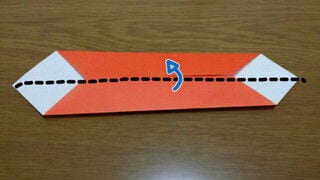
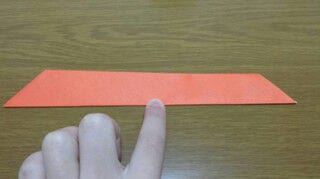
STEP 5. Fold along the dotted line.
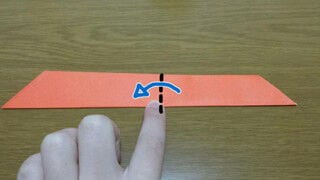
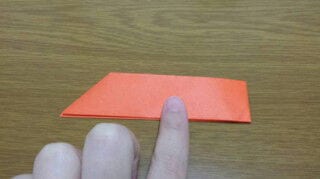
That is all it takes to finish one part!
Surprisingly easy, isn't it?
Make three more parts exactly like this one.
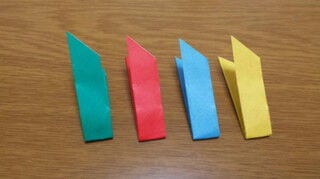
Now let's assemble them!
How to assemble a shuriken
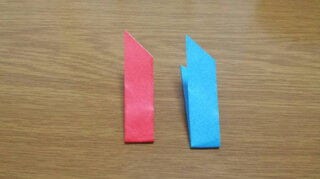
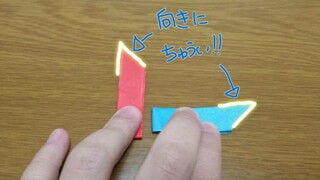
STEP 1. Take two parts and sandwich the red part with the blue part.
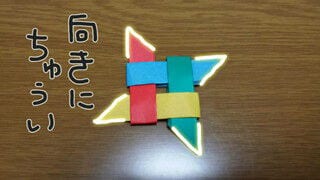
Pay attention to the direction of the tip!
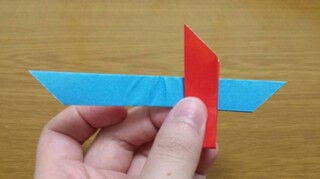
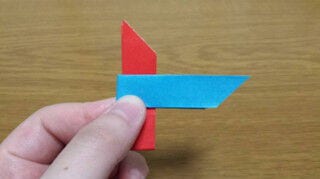
STEP 2. Next, sandwich the blue part with the green part.
Check the orientation in the same way.
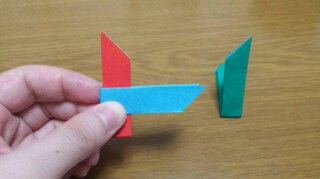
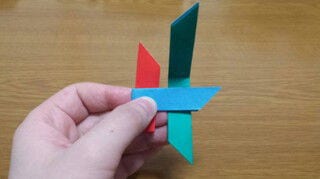
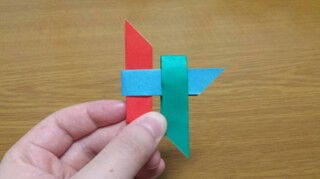
STEP 3. Finally, pass the yellow part through the red part and insert the green part.
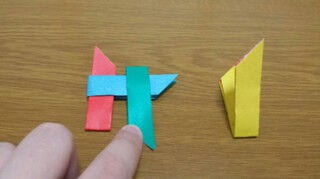
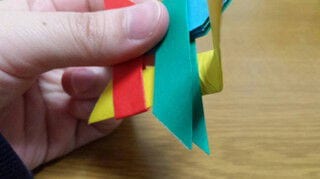
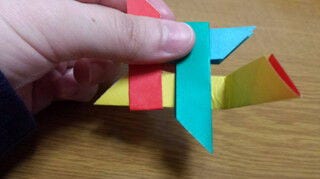
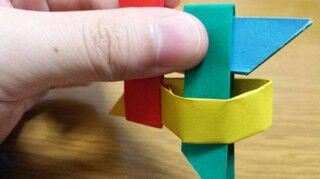
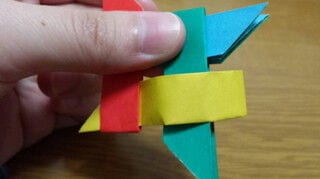
That's it.
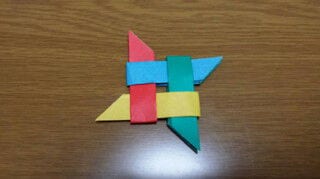
It's worth checking the direction of the tips once more.
STEP 4. Pull all the parts in the direction of the arrow…
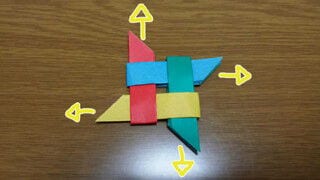
Your origami shuriken is complete!




