
Alphabet "P"
There is something quietly satisfying about folding a letter of the alphabet out of a single square of paper - and the "P" is a lovely one to start with. It has that rounded belly and those little feet that make it read instantly as a letter, yet the whole thing comes together from nothing but a handful of creases and corner folds.
This is part of the origami alphabet series, where every letter is built from one sheet with no cutting and no glue. The "P" is friendly for beginners: the steps are short, the photos show every move, and the only fiddly bit is tucking a couple of loose flaps back at the end - a touch of double-sided tape and it stays neat. Spell out a name for a birthday banner, hang a row of them at Christmas, or just fold one because it looks good on the desk.
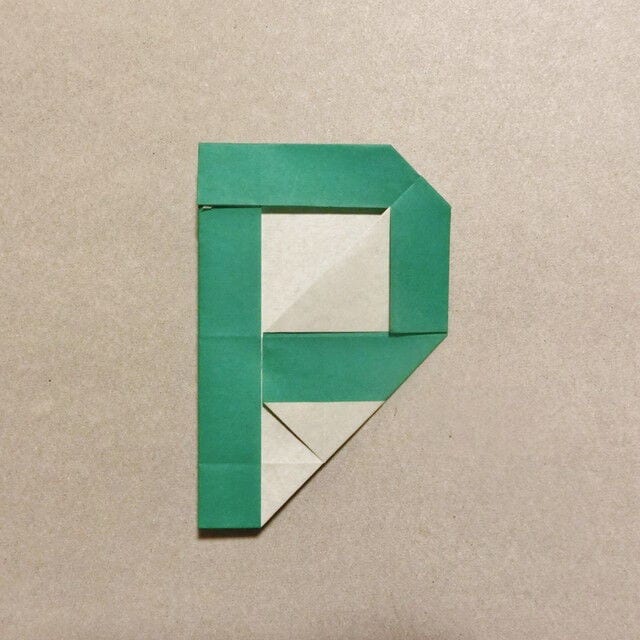
Here is how to fold the letter “P” out of origami.
This letter works for all kinds of occasions - not just Christmas decorations, but also your child's birthday party or a company event.
How to fold the origami alphabet “P”
As before, I will fold this from a single sheet of origami paper.
Let's fold it now.
[ 1 ] Turn the white side of the paper up.
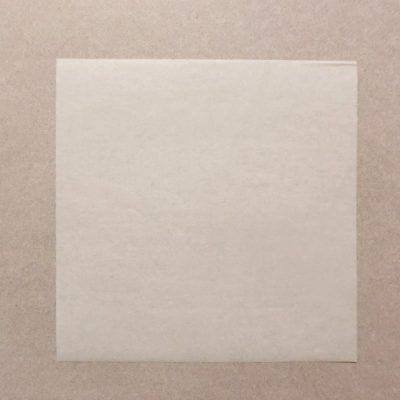
[ 2 ] Fold it in half upward, then fold it in half downward to mark a centre cross.
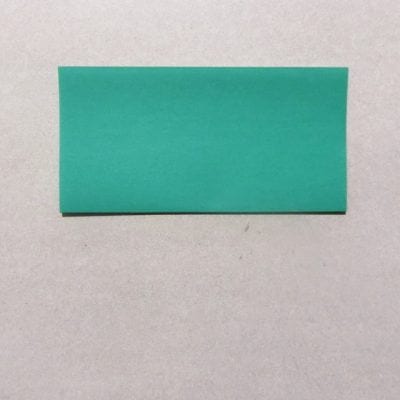
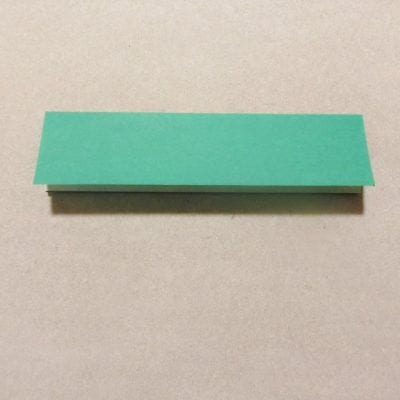
[ 3 ] Fold the top two sheets upward.
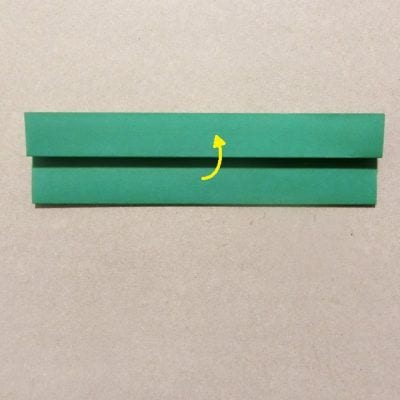
[ 4 ] Unfold it once, then fold it in half and make a crease.
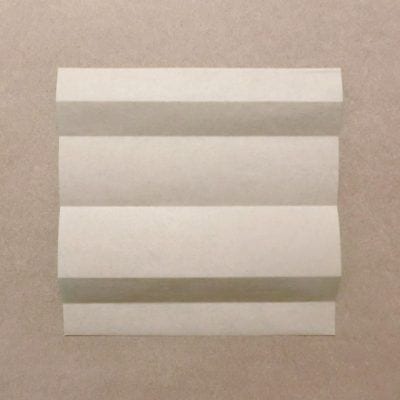
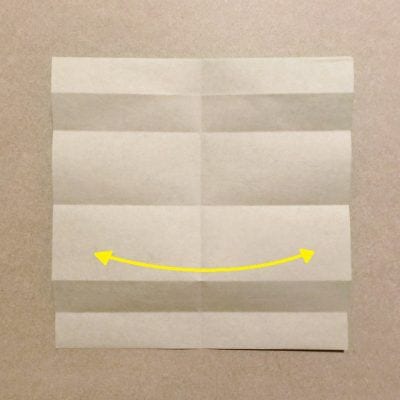
[ 5 ] Fold the left edge to the centre and make a crease.
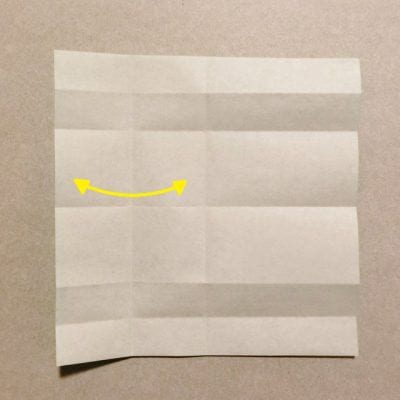
[ 6 ] Fold the left edge again along the crease.
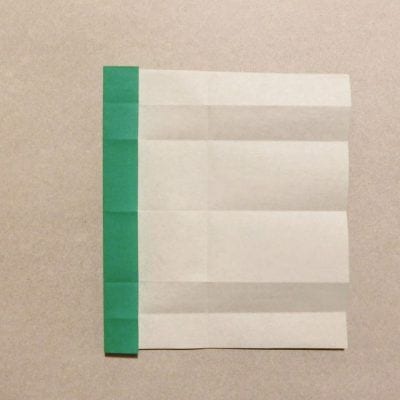
[ 7 ] Fold the top fold line toward you.
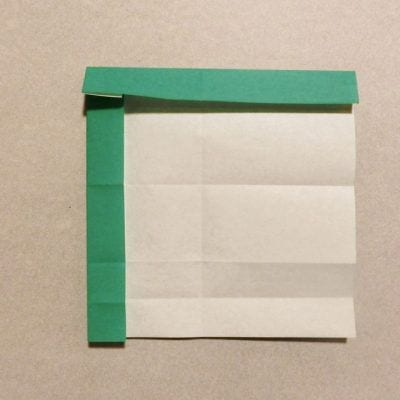
[ 8 ] Fold it along the left edge to match the side you just folded.
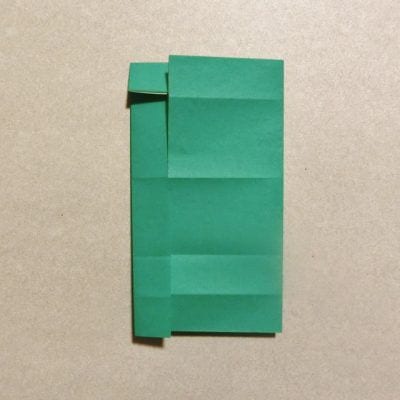
[ 9 ] Fold the top corner of the folded right edge to the right.
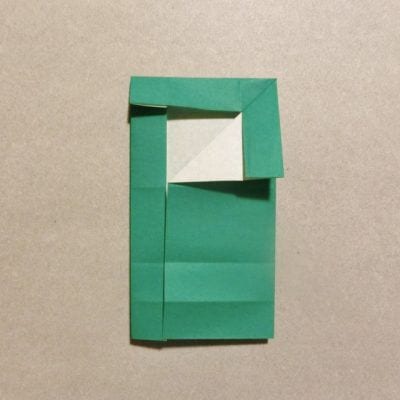
[ 10 ] Fold the bottom corner the same way.
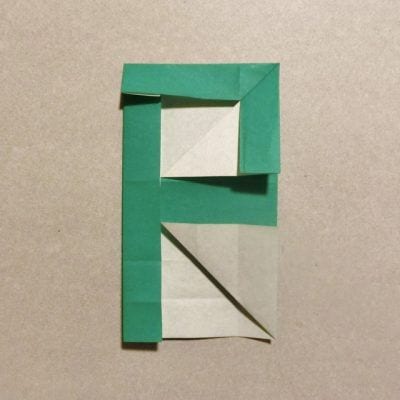
[ 11 ] Fold the upper right corner back.
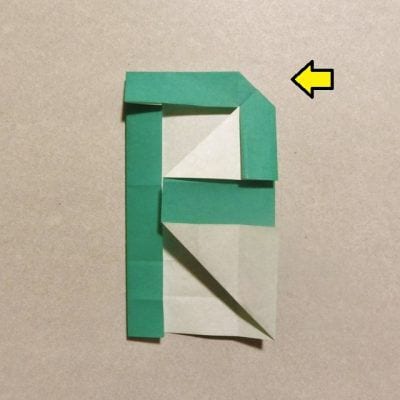
[ 12 ] Fold the bottom right corner back along the line shown in the photo.
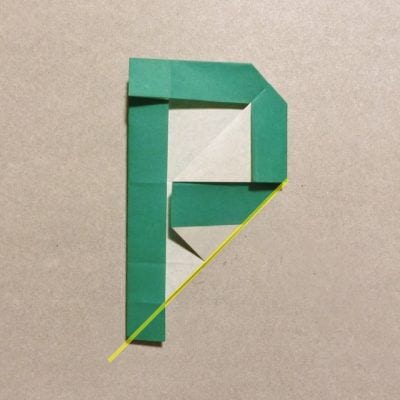
[ 13 ] Fold the protruding flap back, and you are done.
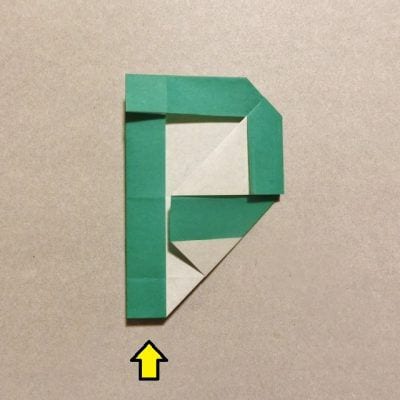
[ 14 ] If you fix the loose flaps with double-sided tape, the letter will hold its shape and look much cleaner.
Thank you for folding along!
How did it go?
It is easy to customise, so give it a try.




