
Swivel Fold in Origami
Every so often in origami you meet a fold that looks almost identical to one you already know, but moves in a slightly stranger way. The swivel fold is exactly that: a close cousin of the squash fold, except the paper does not spread evenly - one side pivots around a point while the other stays anchored, shaping the model in a way a regular squash fold never could. You will meet it again and again in birds with tucked wings, animals with angled necks, and any design where a flap needs to twist and lock into place.
The setup is small, which is the best part: one valley fold, one mountain fold, and one flat fold, and the paper basically does the rest. This tutorial shows the whole thing in six steps from a fruit base, and once you feel the pivot under your fingertips, you will start seeing places to use a swivel fold everywhere.
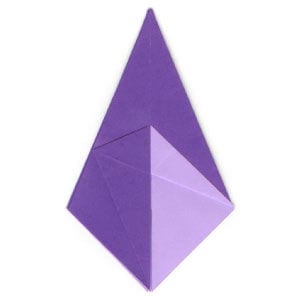
The swivel fold is a folding technique that produces an asymmetric squash fold. Where a regular squash fold spreads both sides of the paper evenly, the swivel fold lets one side pivot around a point while the other side stays anchored in place.
The “swivel fold” symbol looks very similar to the squash fold symbol, hinting that the paper twists as it flattens.
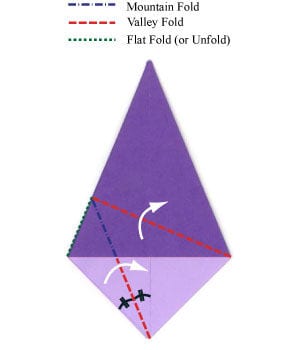
When you apply a swivel fold, the result is an asymmetric squash fold. The steps below show exactly how to work the fold.
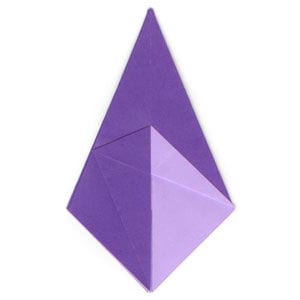
Step 1
Prepare to apply a valley fold. Here we start from a “fruit base”, but the swivel fold works on many other models too.
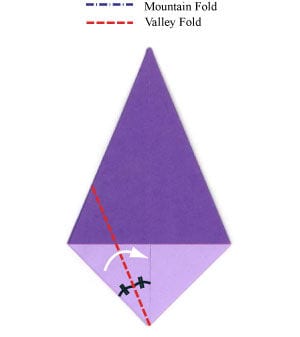
Step 2
Apply the valley fold from Step 1, then prepare to unfold the valley fold you have just made.
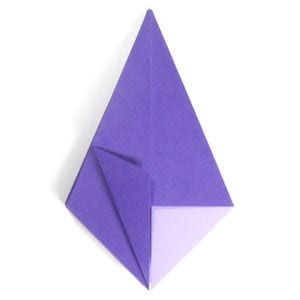
Step 3
Unfold the valley fold from Step 2. Now prepare to apply a swivel fold, which is made of one valley fold, one mountain fold, and one flat fold.
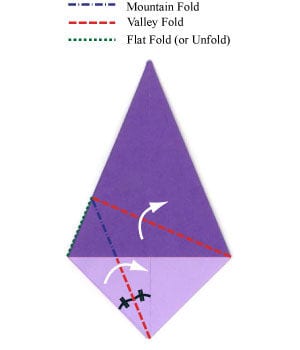
Step 4
Start applying the swivel fold from Step 3.
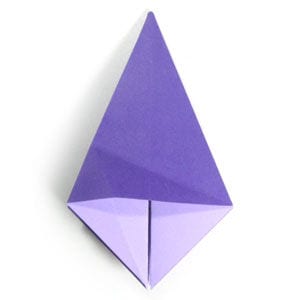
Step 5
Keep working the swivel fold from Step 3.
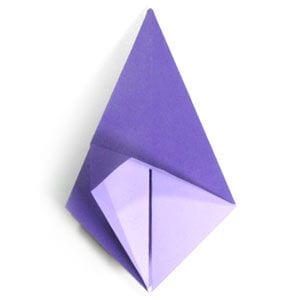
Step 6
Finish the swivel fold from Step 3. The swivel fold is now complete.





