Origami Flower Plate
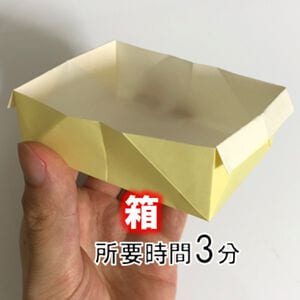
There is a quiet charm to a hand-folded dish, and this little origami flower plate is one of those models that feels both useful and pretty the moment it is done. The neat trick is in the base: you get to decide how wide or narrow the bottom becomes, so the same fold can become a shallow tray for rings or a deeper dish for candies.
It is a calm, repetitive sequence — lots of small pocket folds guided by arrows — which makes it a lovely project to unwind with. Use a paper you like looking at, because the plate shows both sides. Once finished, it is perfect by the bed for jewelry, on a party table for snacks, or just as a small handmade catch-all.
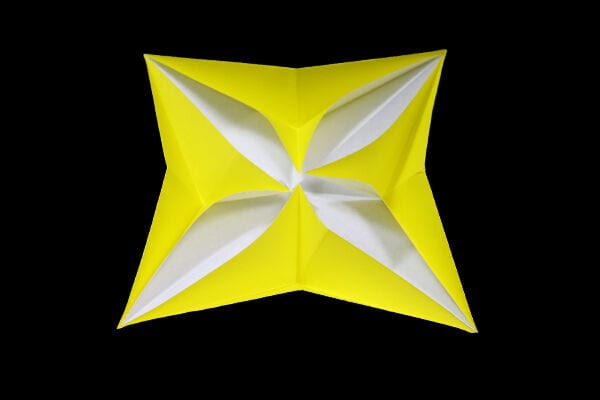
This pretty but simple origami flower plate, dish, or bowl has a base you can customize to make it wider at the bottom. It is great for displaying jewelry and trinkets or for serving candies and snacks.
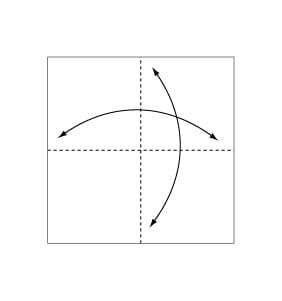
STEP 1. Fold and crease in the direction of the arrow.
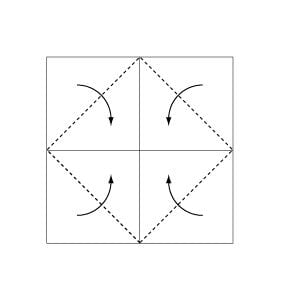
STEP 2. Fold the paper along the dotted line in the direction of the arrow.
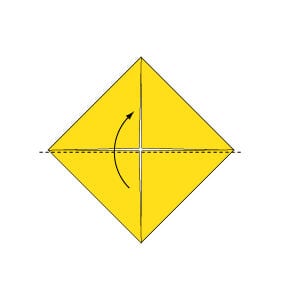
STEP 3. Fold the paper along the dotted line in the direction of the arrow.

STEP 4. Fold the paper along the dotted line in the direction of the arrow.

STEP 5. Open the paper as shown to create a small pocket. Then flatten down the sides of the pocket.

STEP 6. Continue from step 5.
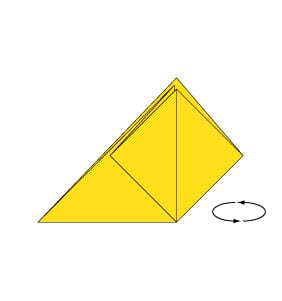
STEP 7. Turn over the paper.
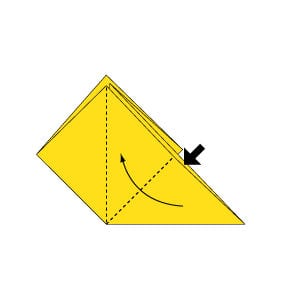
STEP 8. Open the paper as shown to create a small pocket. Then flatten down the sides of the pocket.

STEP 9. Fold and crease in the direction of the arrow.
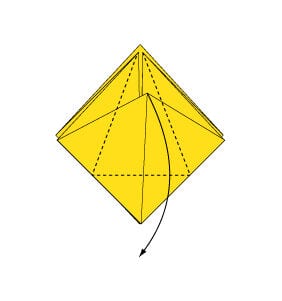
STEP 10. Open the paper as shown to create a small pocket. Then flatten down the sides of the pocket.

STEP 11. Continue from step 10.
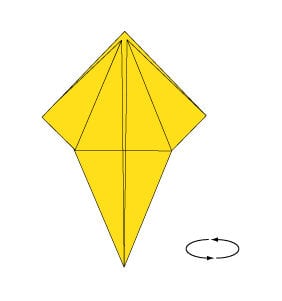
STEP 12. Turn over the paper.

STEP 13. Open the paper as shown to create a small pocket. Then flatten down the sides of the pocket.
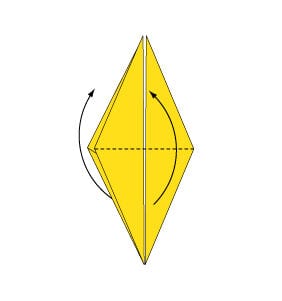
STEP 14. Fold the paper along the dotted line in the direction of the arrow.
Fold the reverse side in the same manner.
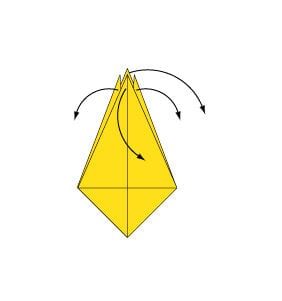
STEP 15. Open the paper in the direction of the arrow.

STEP 16. Complete.