
Origami Chick: How to Fold a Cute Round Baby Chick
There is a whole family of tiny paper birds you can fold from a single square, and this little chick is probably the friendliest of them all. It is round, plump and slightly lopsided in the best possible way, the kind of model that makes people smile before they notice how simple it is. Only a handful of creases are involved: one diagonal, a couple of folds toward the center, and a half fold that turns an ordinary corner into a beak.
My favorite part is the moment the beak appears. Up to that point you are just folding a triangle, and then suddenly there is a face looking back at you. Since the finished chick fits in the palm of your hand, it works beautifully as a spring table decoration, a gift topper, or a row of chicks lined up on a windowsill. Fold the first one in yellow, then try pastel colors once you know the steps.
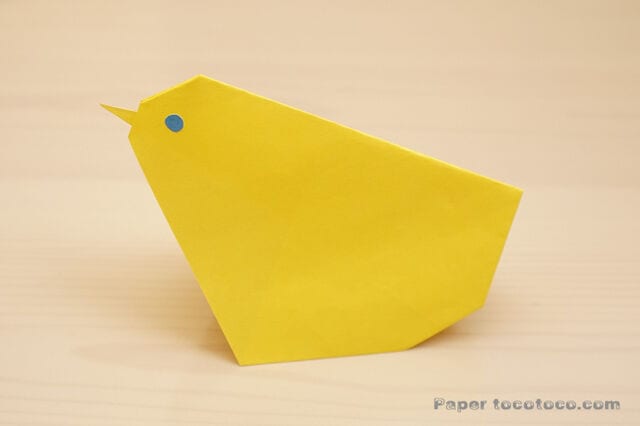
Easy and cute! How to fold a round little chick
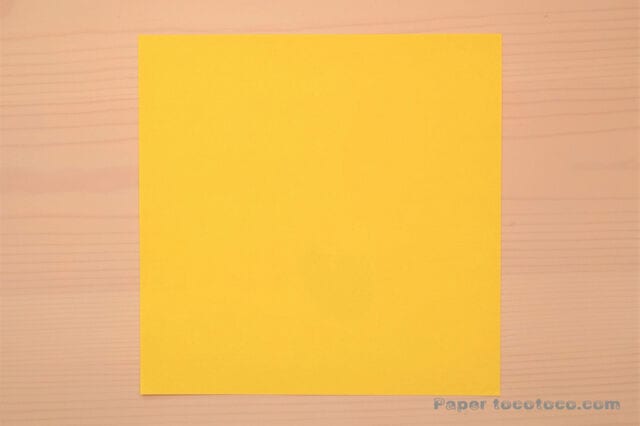
STEP 1. You need one sheet of 15 cm x 15 cm origami paper.
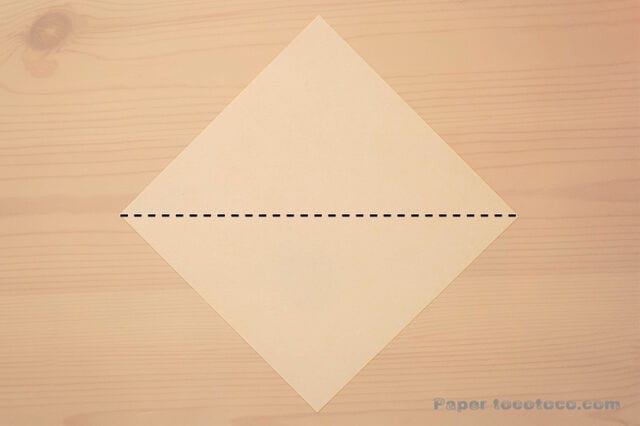
STEP 2. Fold the square in half along the diagonal, then unfold it and leave the crease in place.
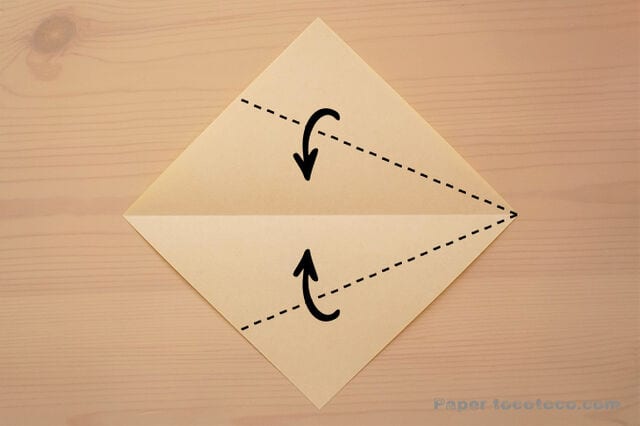
STEP 3. Fold the upper-right and lower-right edges in toward the center line so that the paper becomes a slim kite.
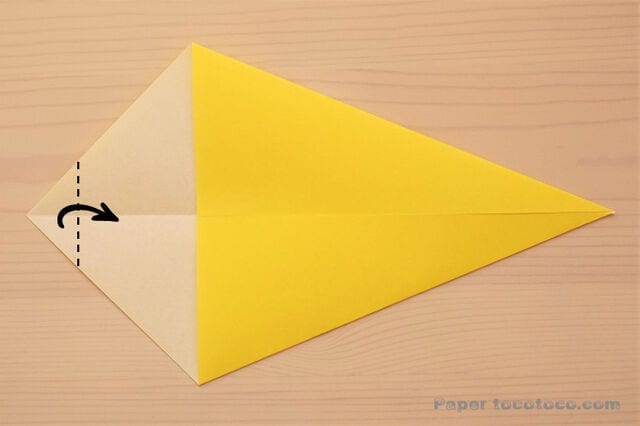
STEP 4. Fold the corner on the left down a little. There is no exact measurement, just fold it until it looks right. On my sample this part is about 2 cm.
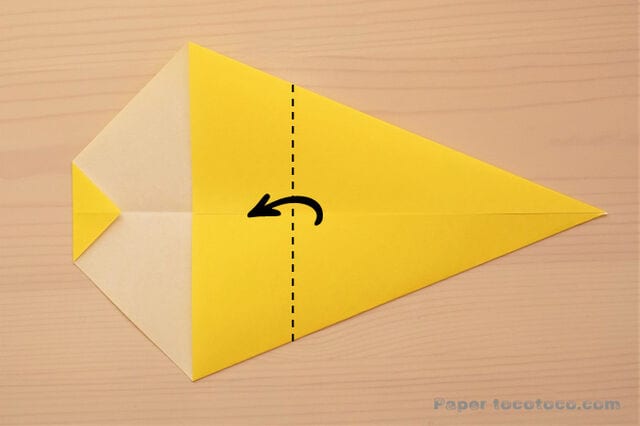
STEP 5. Fold the paper in half so that the right corner sticks out.
The part that sticks out becomes the beak of the chick, so make it as long or as short as you like.
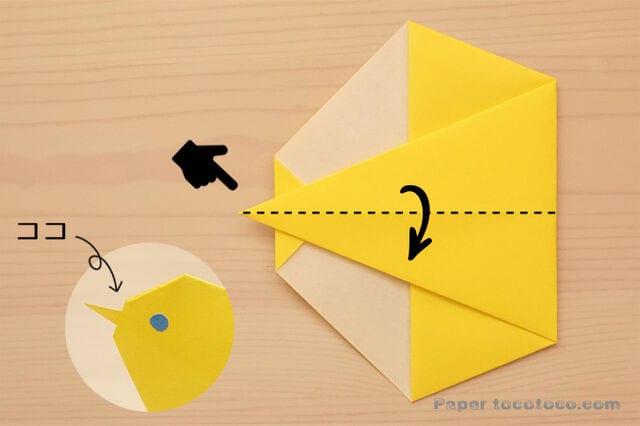
STEP 6. Once it is folded like this, fold the whole model in half.
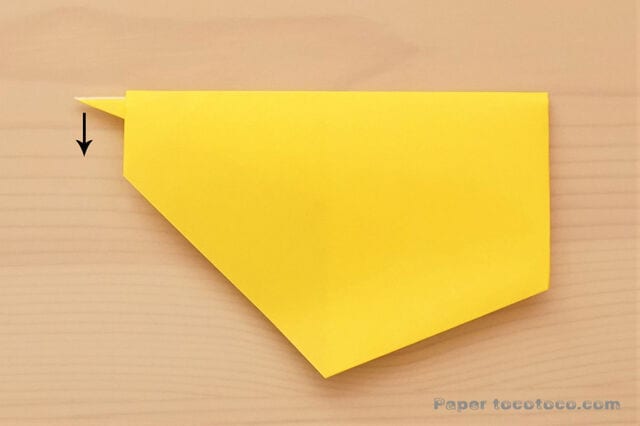
STEP 7. Pinch the beak and bend it downwards.
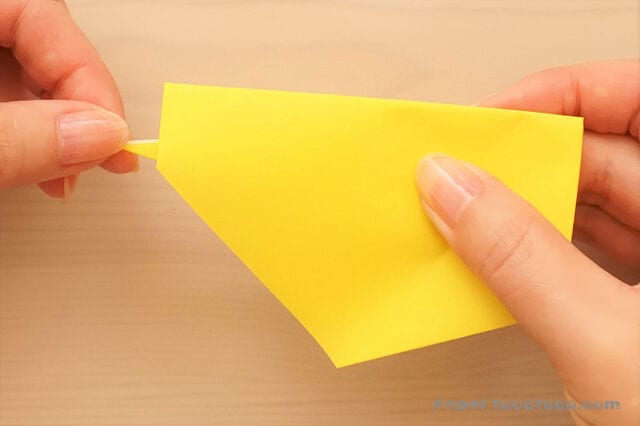
It should look like this.
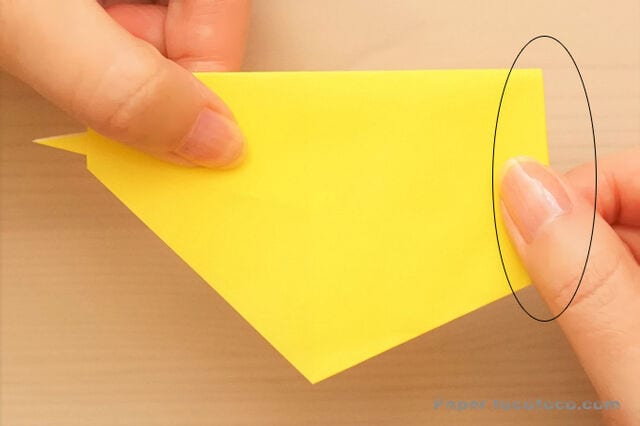
STEP 8. With the beak still bent down, flatten the part marked with a circle.
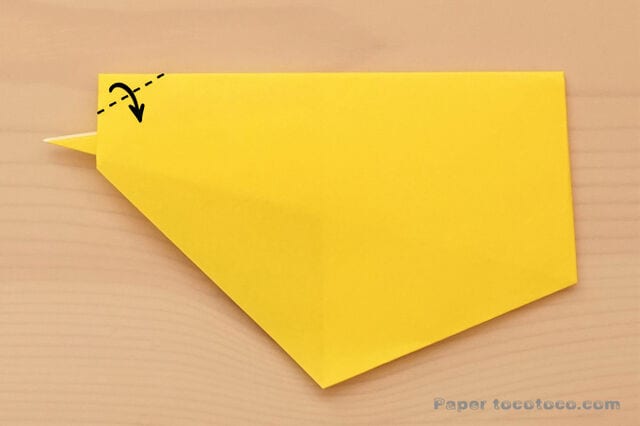
STEP 9. Crease along the dotted line and fold the model in half.
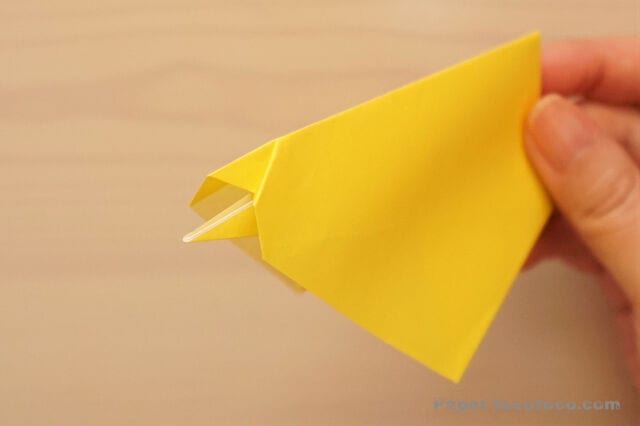
The folded shape looks like this.
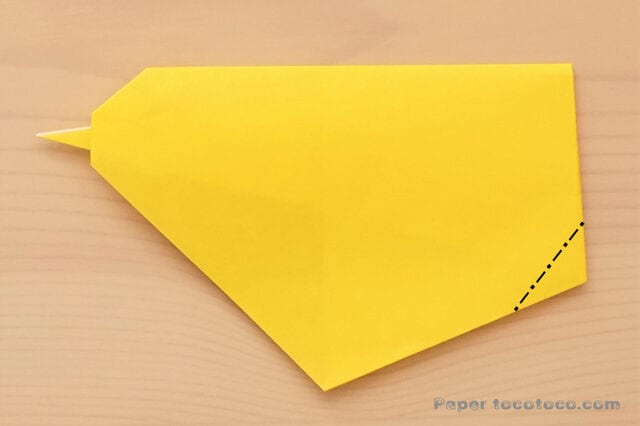
STEP 10. On both sides, fold along the dotted lines as mountain folds.
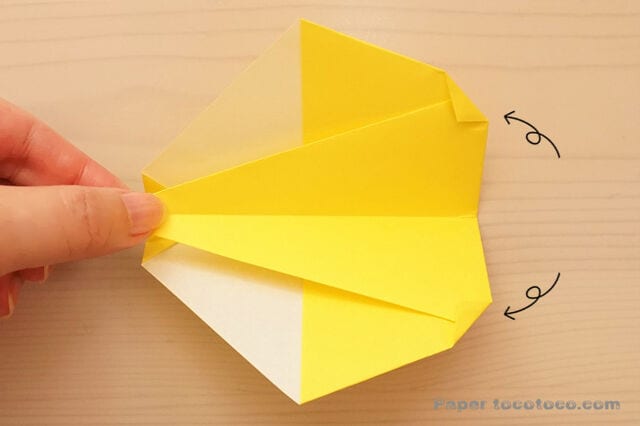
It should look like this.
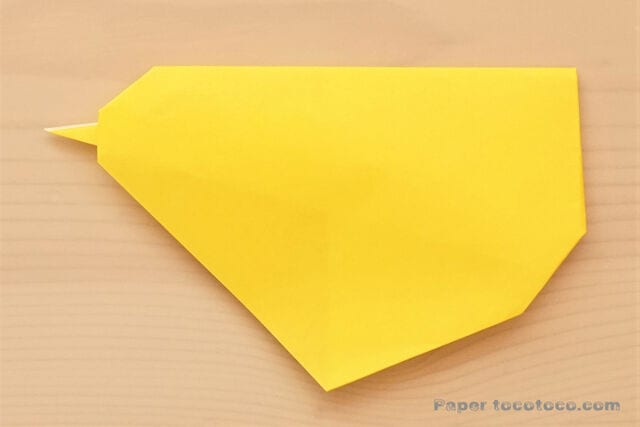
After that, draw on the eyes,
and the chick is complete!




