
Origami Rabbit Ear Fold
Somewhere between the beginner folds and the dramatic ones sits the rabbit ear fold — small, quiet, and used everywhere once you know it. It is the move that takes a flat triangle of paper, lets it collapse along two diagonal creases, and leaves a crisp little ear pointing out from the front of your model. Origami fish love it: that ear becomes the fin, and suddenly your folded fish has a silhouette that actually looks like a fish.
It looks fiddly in the photos at first, but the nine steps below follow one simple idea — fold, crease, mirror, and pinch — so take it slowly and let the paper do the collapsing for you. Learn this one, and a whole family of fish, birds, and winged creatures opens up.
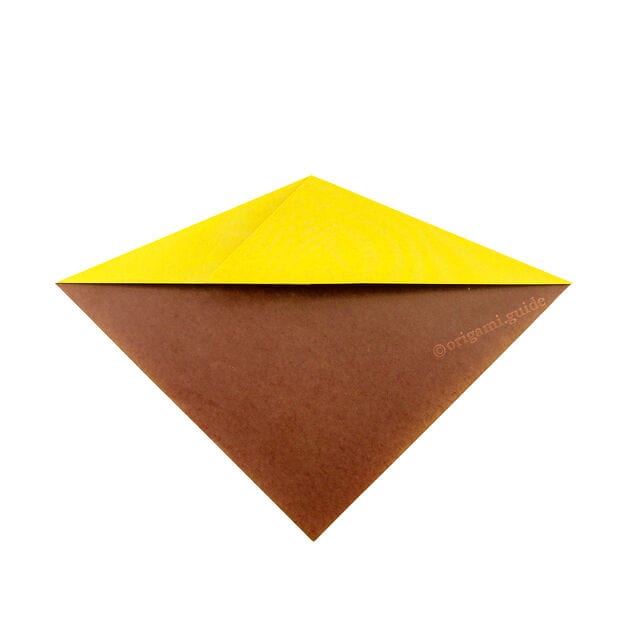
The rabbit ear fold is a common origami technique that collapses the paper and then produces a new flap, or “ear”, at the front. It is used a lot in origami fish models!
Step 1
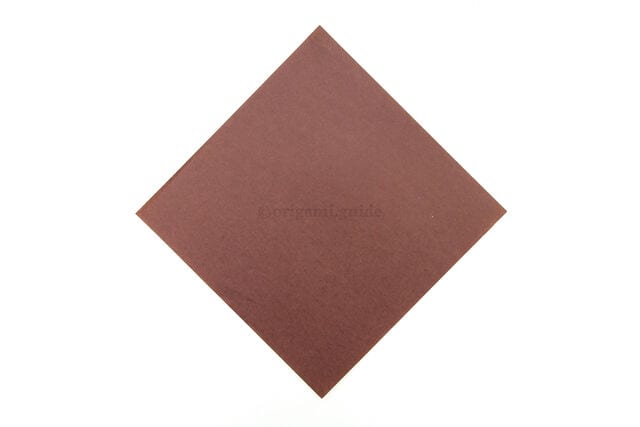
Start with your paper like this.
Step 2
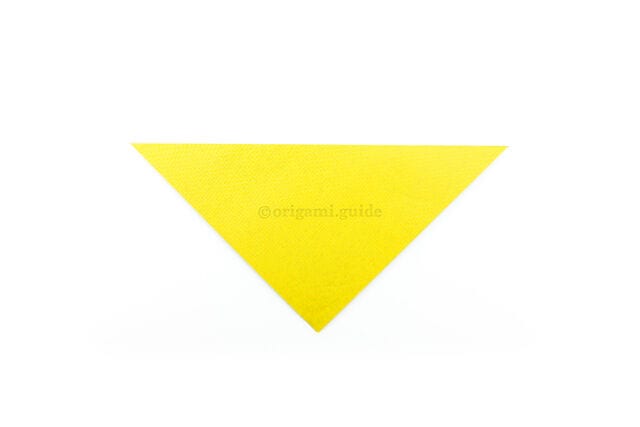
Fold the top point down to the bottom point.
Step 3
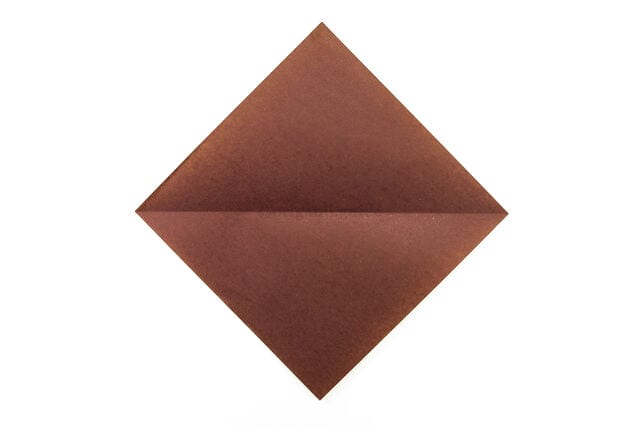
Unfold the previous step.
Step 4
Take the top right diagonal edge and fold it down, aligning with the crease you made in step 2.
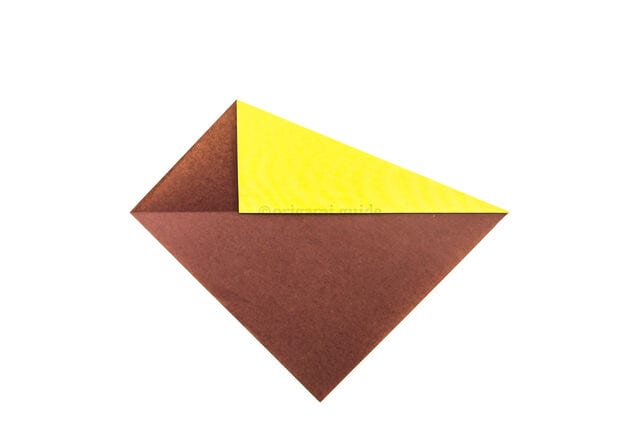
Step 5
Unfold the previous step.
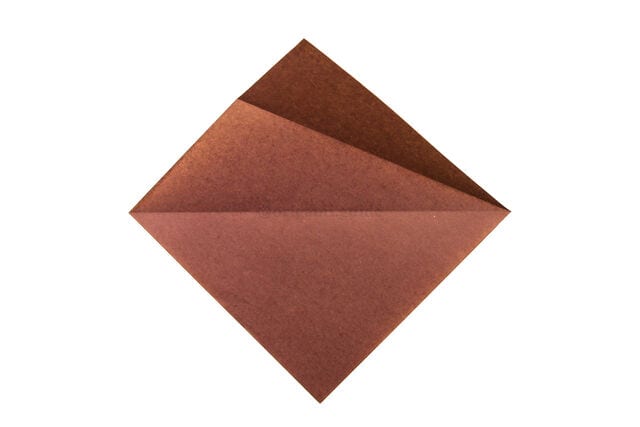
Step 6
Repeat the same fold on the top left diagonal edge.
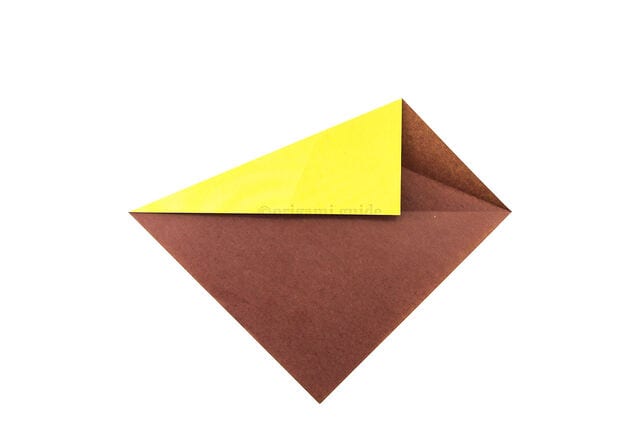
Step 7
Unfold the previous step.
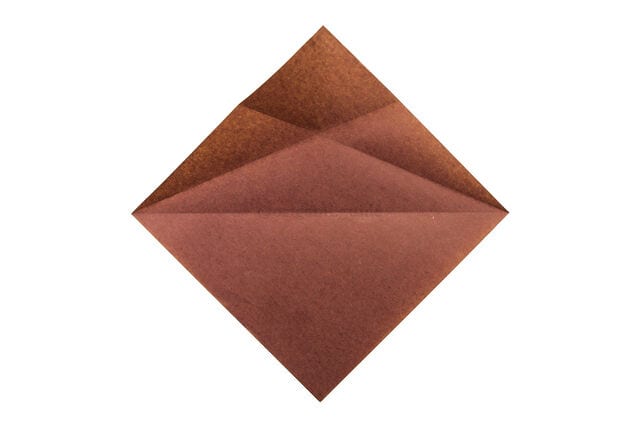
Step 8
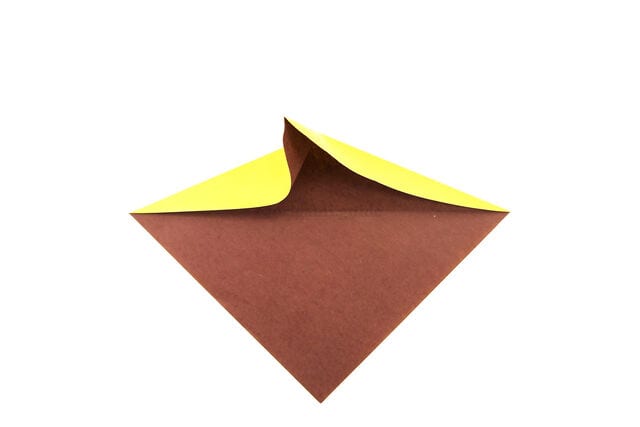
Create a new vertical valley fold at the top while pushing the top left and right edges forward.
Step 9
Flatten the paper like this.





