Origami Paraglider
There's a special kind of joy in a paper toy that actually flies, and this origami paraglider delivers. It looks unassuming — just a few straight folds from a single square — but toss it gently and it catches the air and sails. The build is short enough to do with kids (one step gets thick, so lend a hand there), and the real fun is in the experimentation: launch angle, height, and force all change how far it glides. Make a few in different colors and have a quiet little flying contest across the living room.
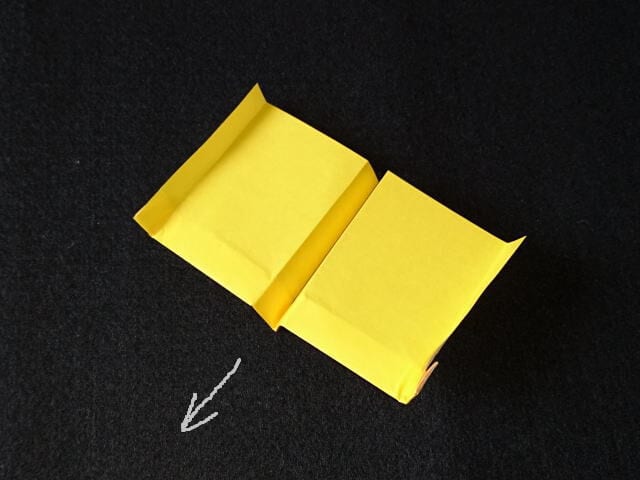
How to Fold
Step 1. Place the white side up and fold it in half. Once you have a crease, unfold.
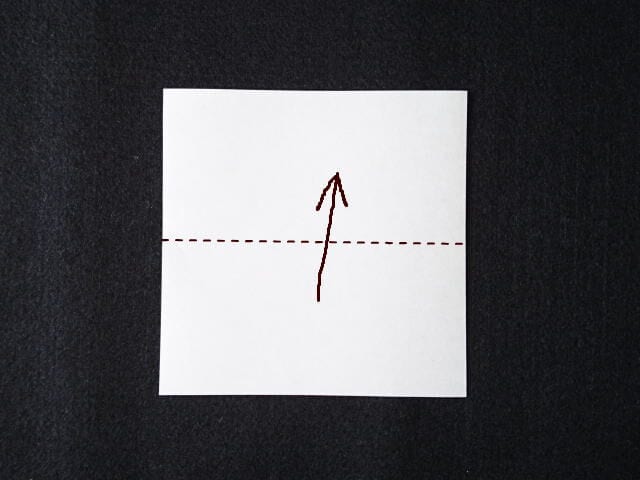
Step 2. Fold the bottom edge up to the center crease.
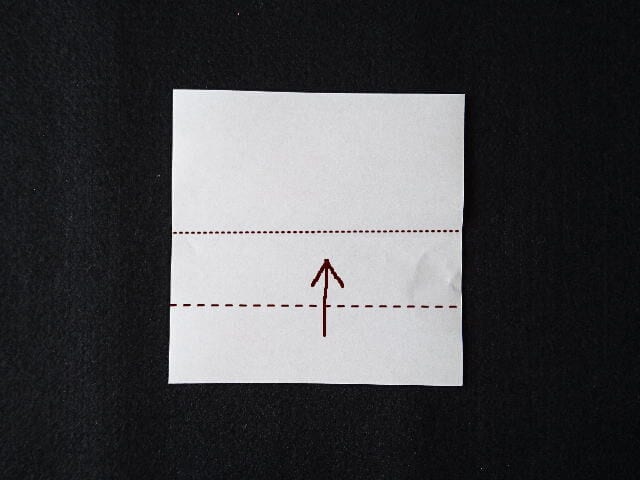
Step 3. Divide the folded section into three equal parts and fold them up in order from the bottom.
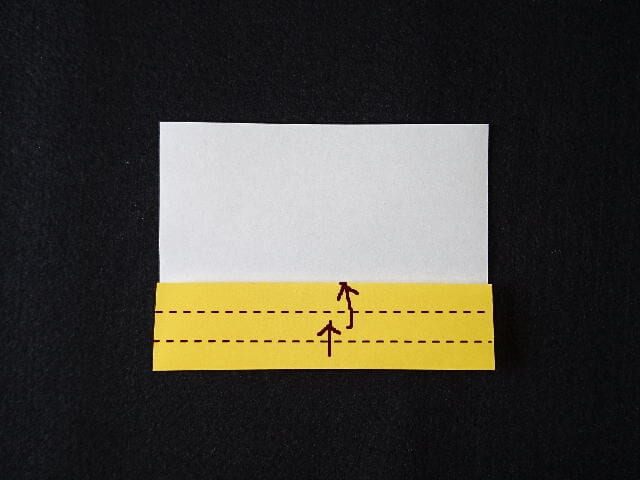
Step 4. Fold it up again from the half crease you made.
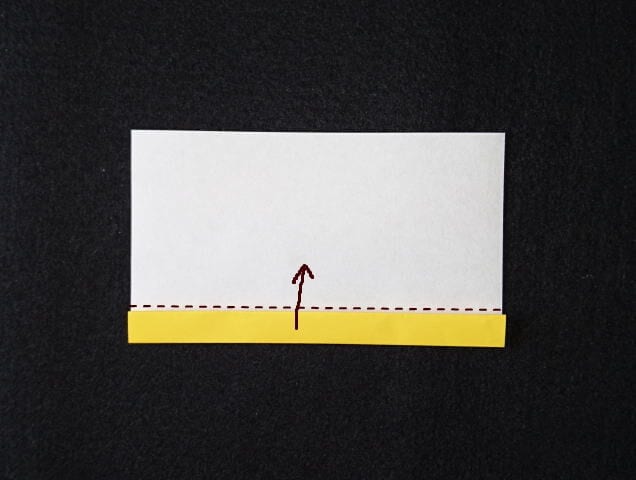
Step 5. Fold it in half vertically and turn it over.
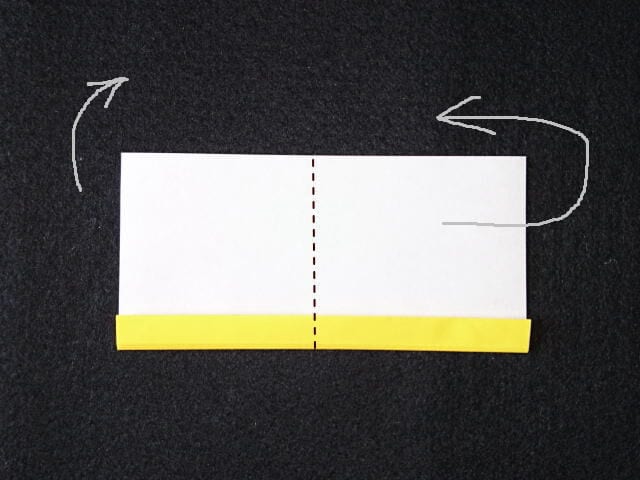
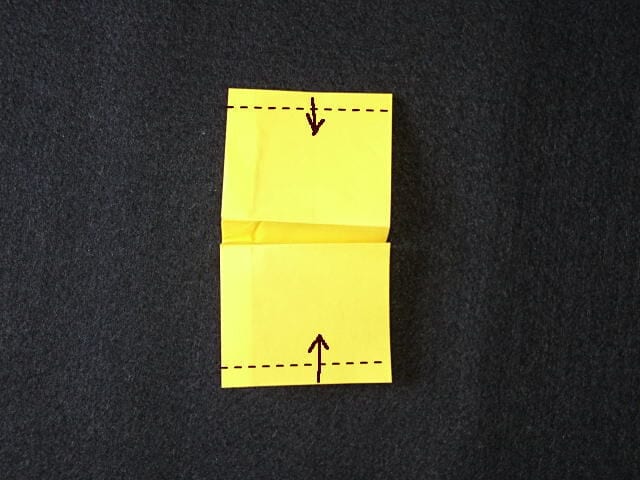
Step 6. Fold the front layer down from about 1 cm above the bottom.
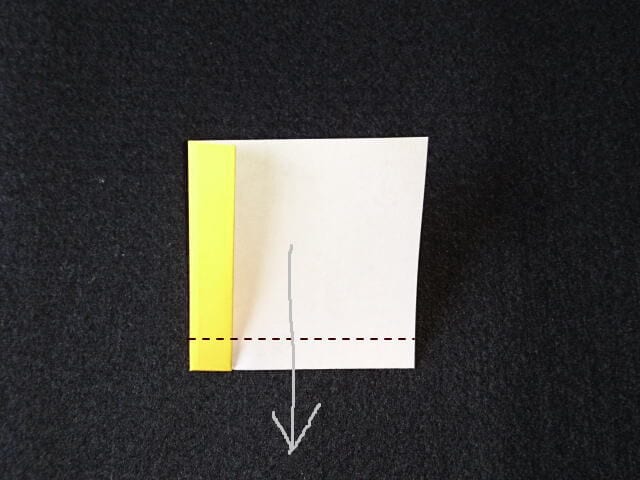
Step 7. Fold the back layer to the back the same way.
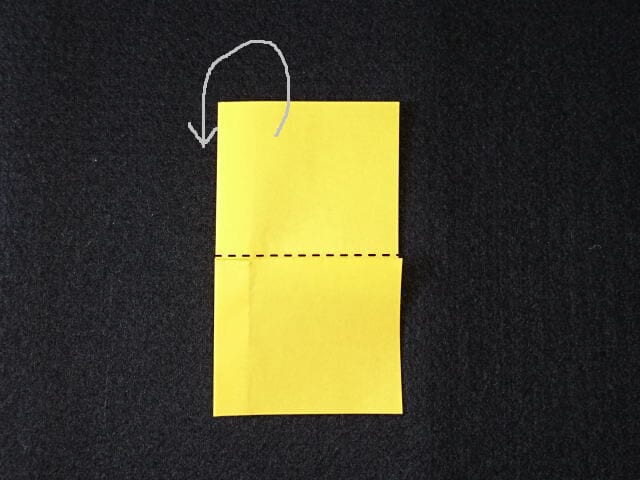
Step 8. Fold both sides inward from about 7–8 mm in.
Step 9. Stand the folded part up, shape it, and you’re done. Launch it by throwing the folded part forward.
Tips for Folding
Because it only uses straight folds, even children can fold it easily, but step 5 is quite thick and stiff, so an adult should help.
The flight distance changes with the launch angle, so try launching from a height, throwing upward, or giving it more force.
Despite its simple structure, it flies surprisingly well.