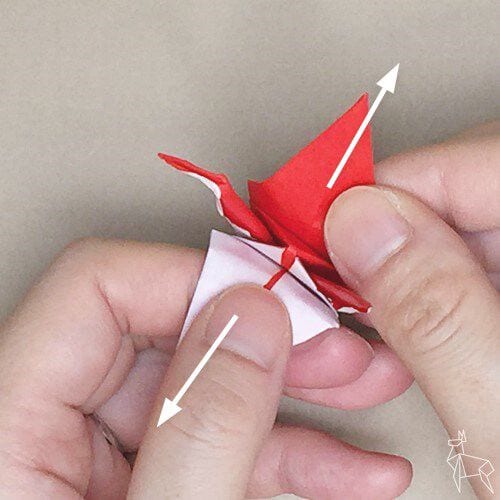
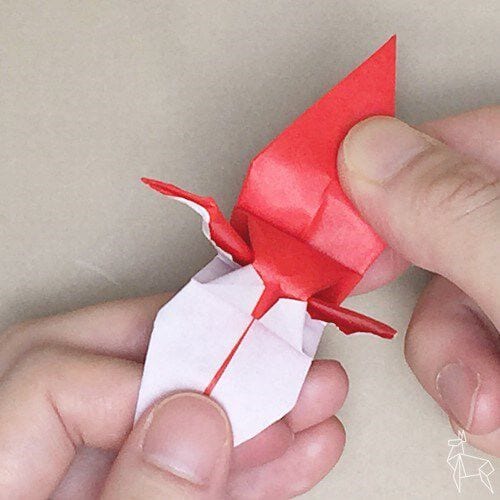
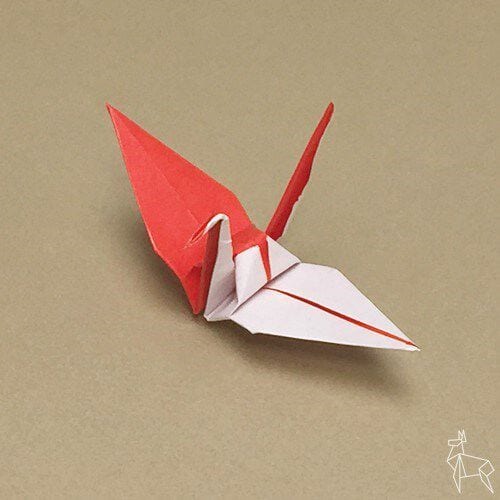
Red-and-White Crane
The classic paper crane is the first model many people learn, but a plain white crane can look a little shy. Fold it with paper that is red on one side and white on the other, and you get something brighter: a crane whose wings carry a soft red glow while the body stays crisp and white. That is exactly what this red-and-white crane offers, and it is easier than it looks.
The tutorial walks you through every crease with photos, starting with the white side up and moving step by step through the folds that shape the body, head and wings. Along the way you will pick up a few reusable moves, including the squash fold, that make many other bird models feel friendlier. Spread the wings at the end, set it on a shelf, or hang it beside a classic crane, one sheet of paper is all it takes.
STEP 1
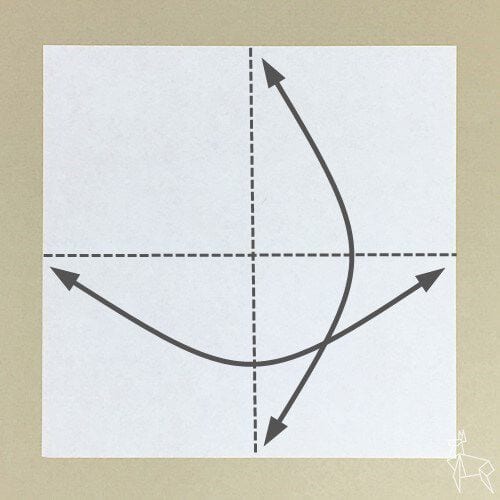
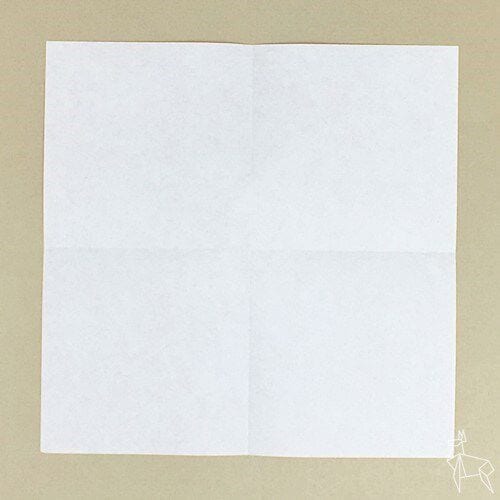
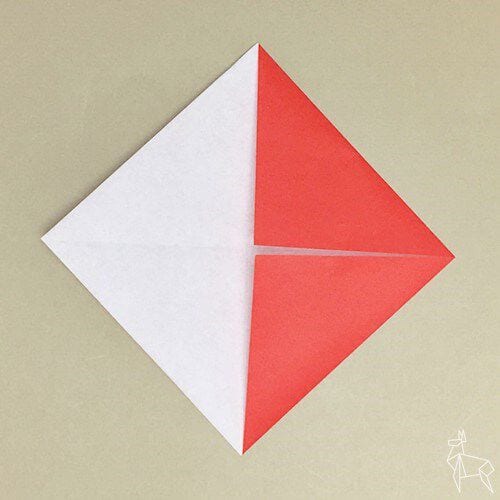
Place the origami paper with the white side facing up, fold it in half along the dotted line, and make a crease.
STEP 2
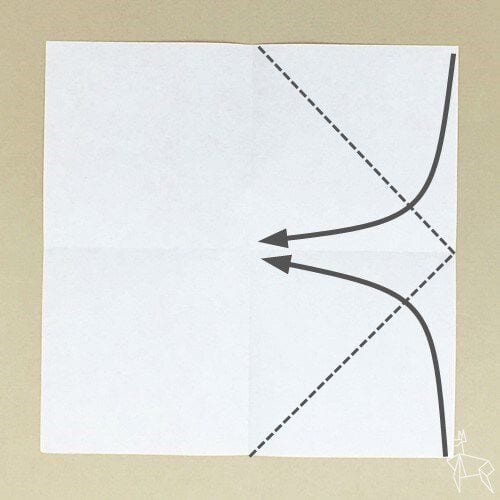
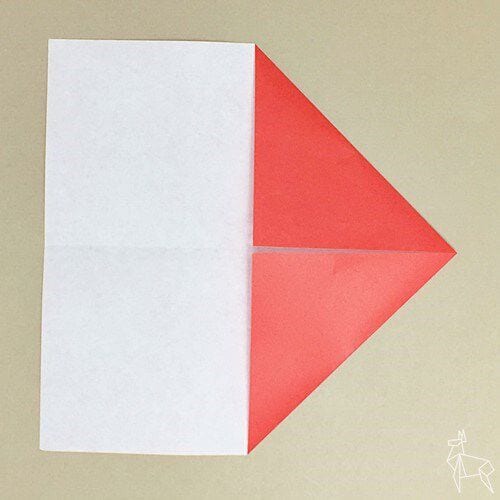
Fold it along the dotted line so that the corners are centered.
STEP 3
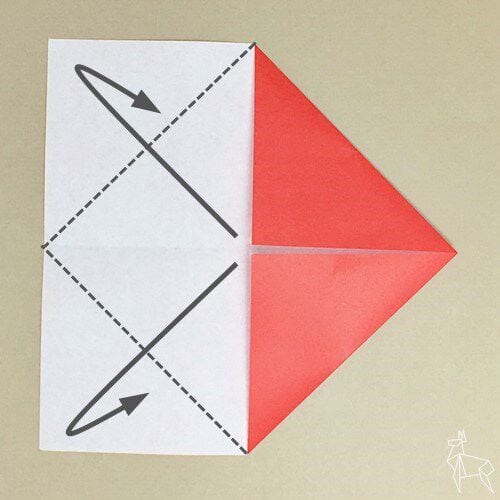
Fold it back along the dotted line so that the corners are centered.
STEP 4
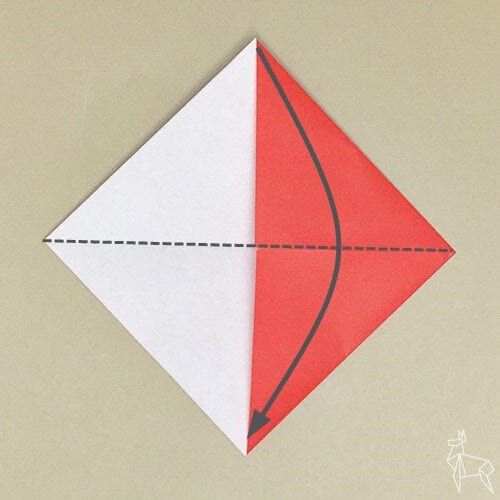
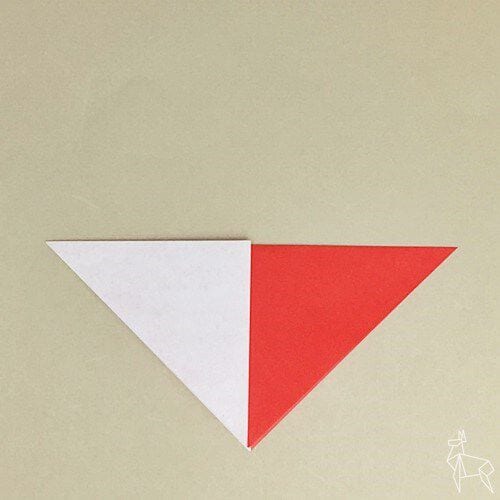
Fold it in half along the dotted line.
STEP 5
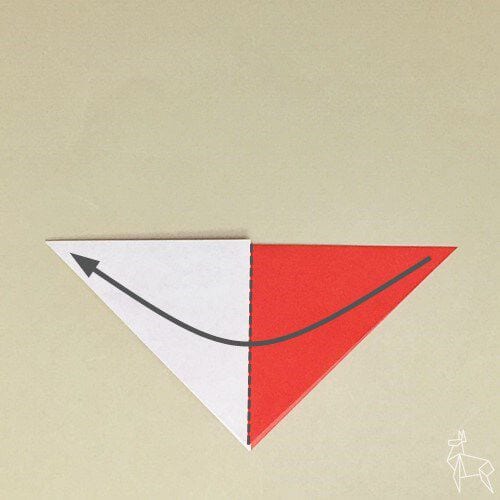
Fold it in half along the dotted line.
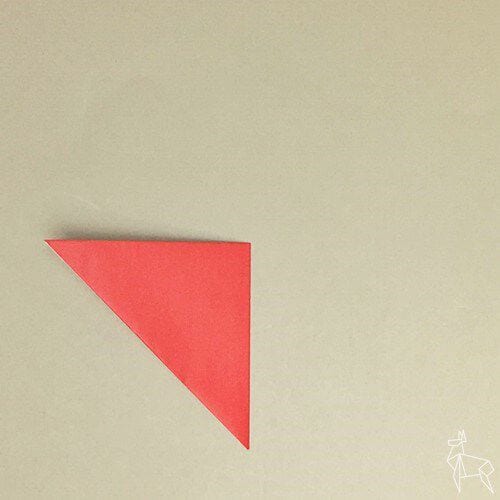
STEP 6
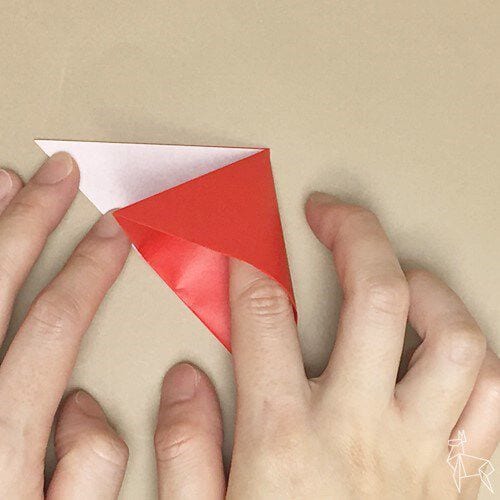
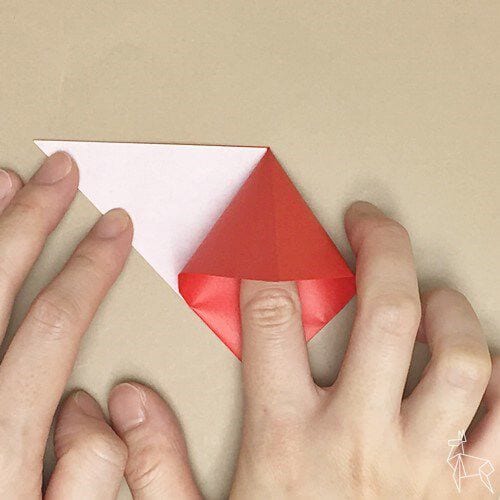
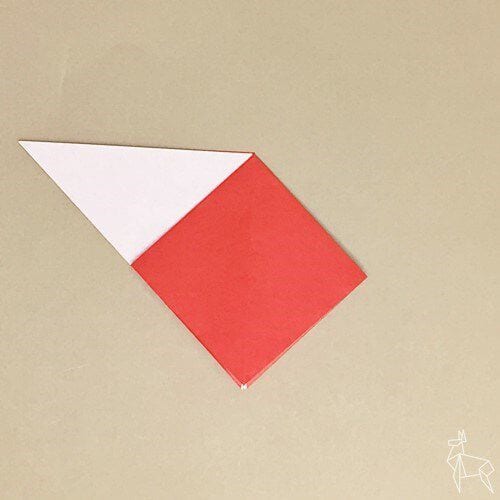
Open the corners and squash-fold them flat.
STEP 7
Fold the back side in the same way.
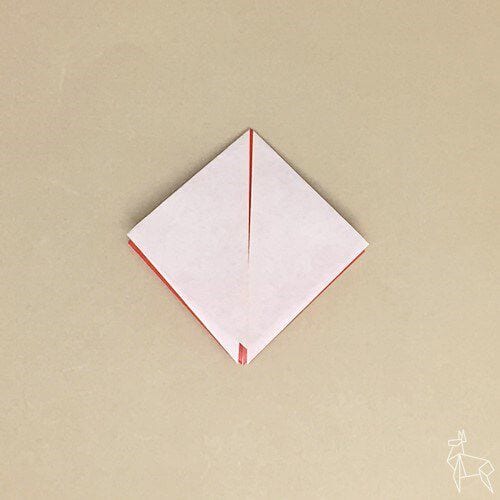
STEP 8
Fold it along the dotted line so that the corners are centered.
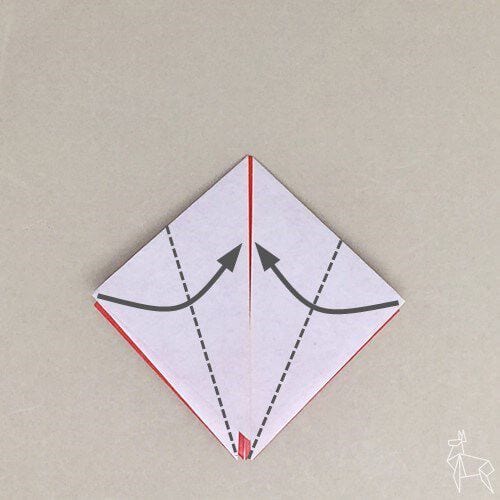
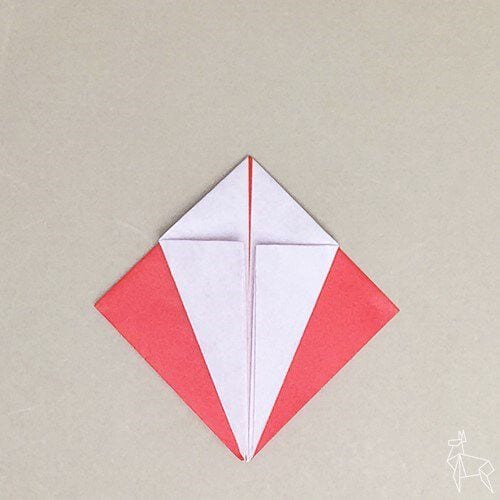
STEP 9
Make a crease along the dotted line.
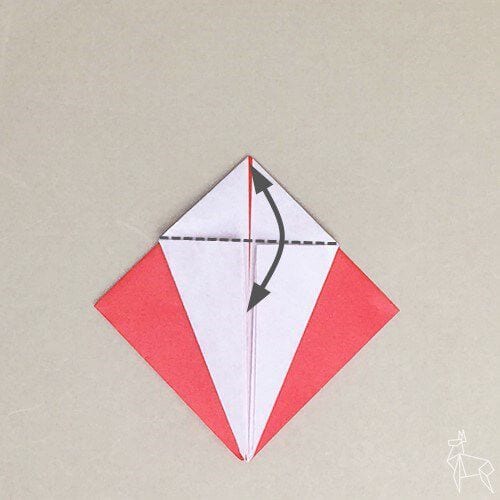
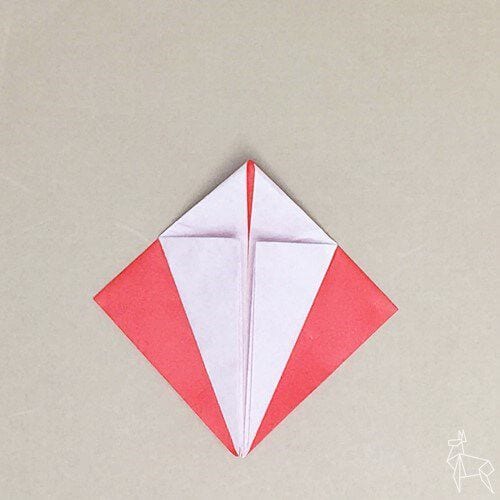
STEP 10
Unfold the section you folded in STEP 8.
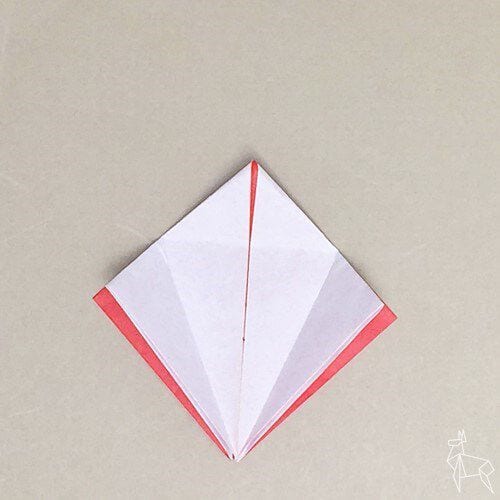
STEP 11
Open the corners and squash-fold them flat.
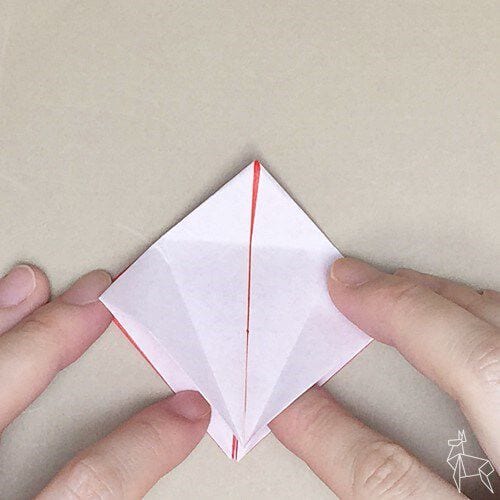
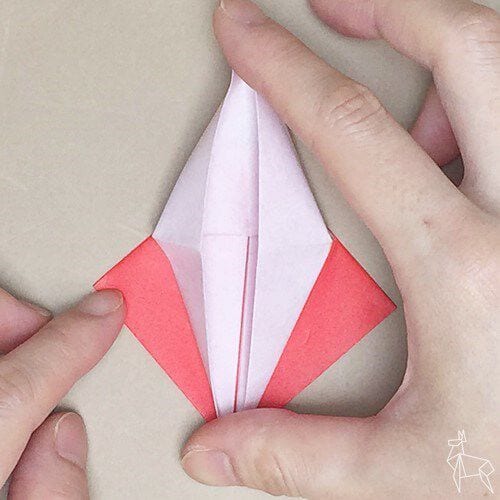
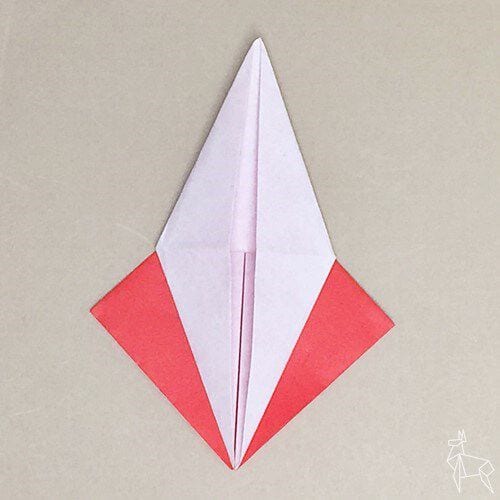
STEP 12
Fold the back side in the same way.
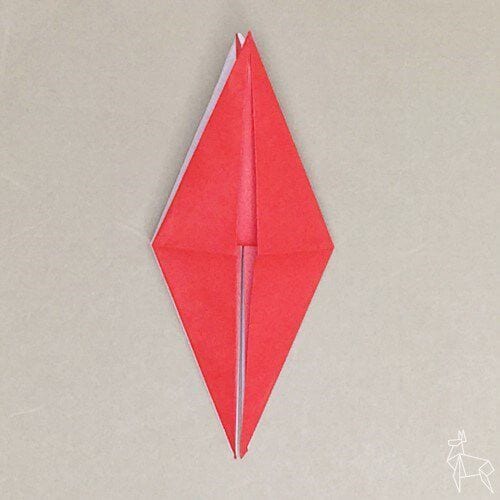
STEP 13
Fold it along the dotted line so that the corners are slightly outside the center.
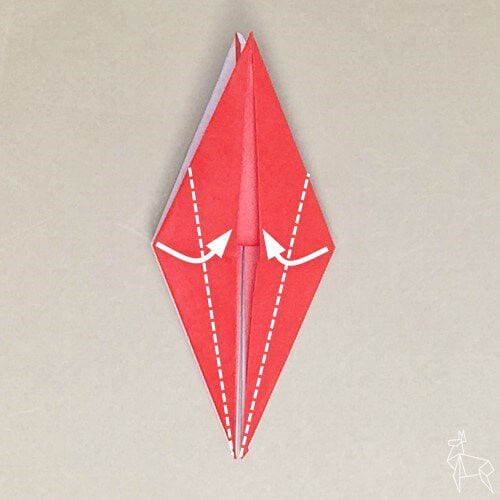
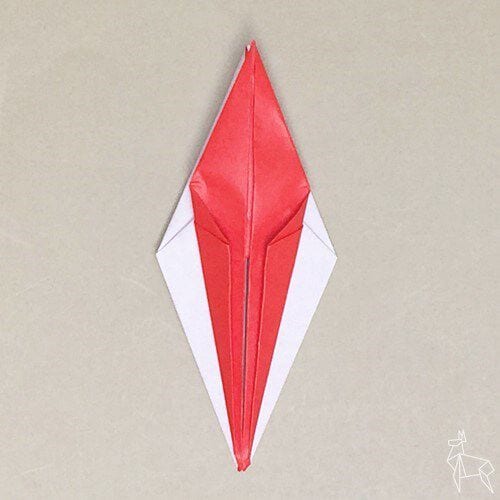
STEP 14
Fold the back side in the same way.
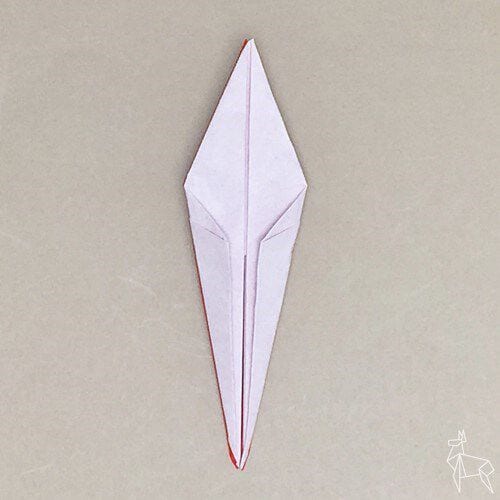
STEP 15
Fold the corners inward along the dotted line (a half fold).
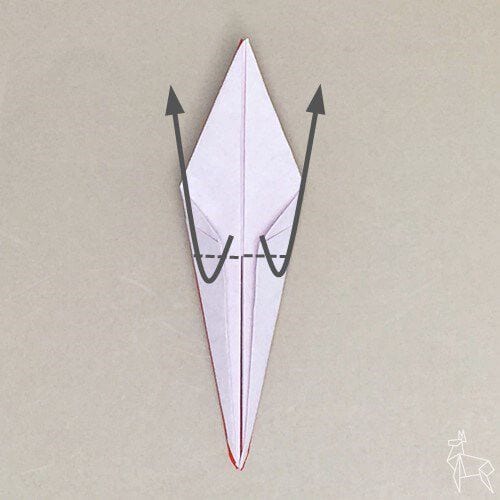
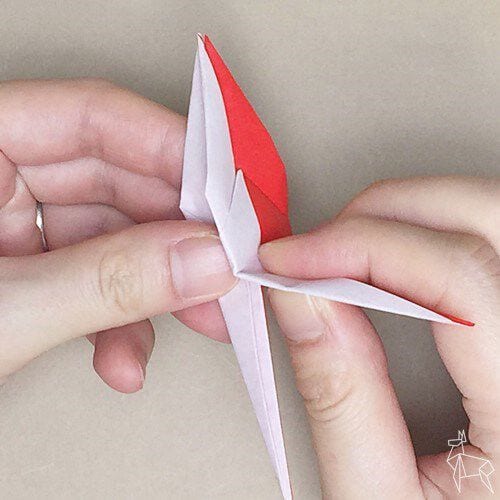
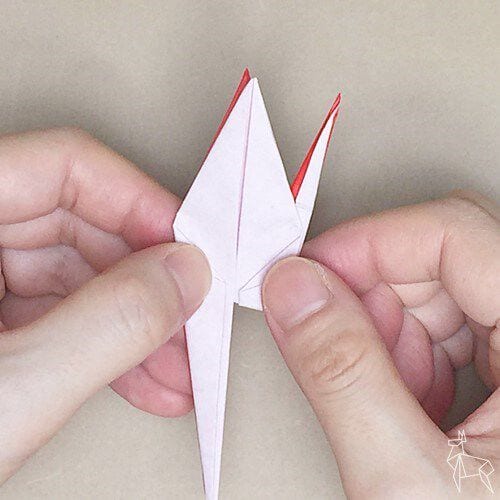
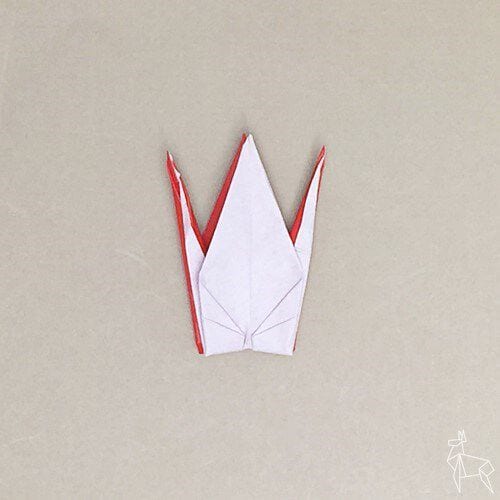
STEP 16
Fold it in half along the dotted line.
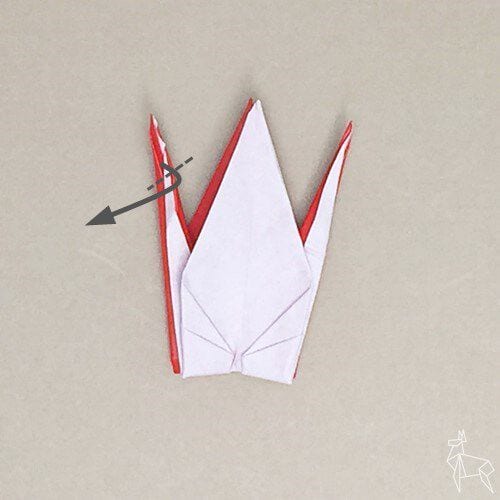
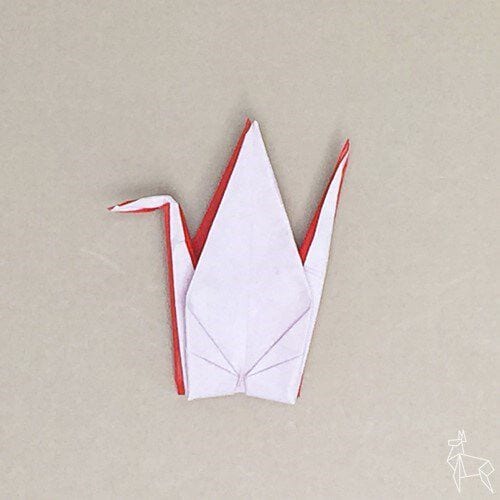
STEP 17
Spread the wings and you have a red and white crane.