
Chopstick bag
Some origami models just sit on a shelf, but this one earns its keep. A chopstick bag is the kind of project that makes people do a double take at the lunch table — that neat little wrapper was folded from a plain square of paper? In about three minutes, too. The best part is how forgiving it is: there is no precise locking step or tricky collapse, just a few mountain and valley folds, and the finished size can be tweaked to match your own chopsticks. It is also a wonderful way to use up scraps of pretty origami paper. Fold one in a bright pattern for your next bento, and watch it turn an ordinary meal into something a little special.
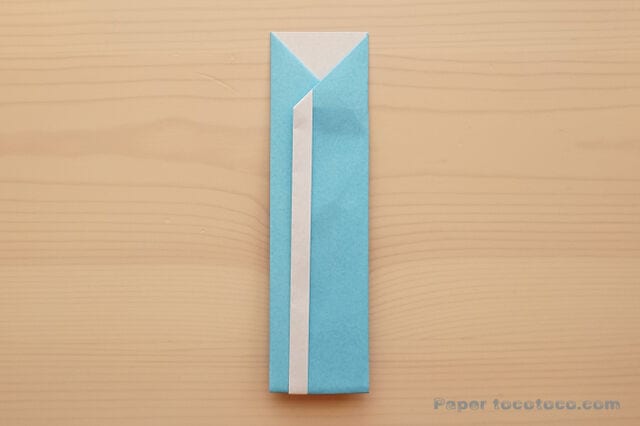
Super easy! How to fold a cute chopstick bag you can actually use
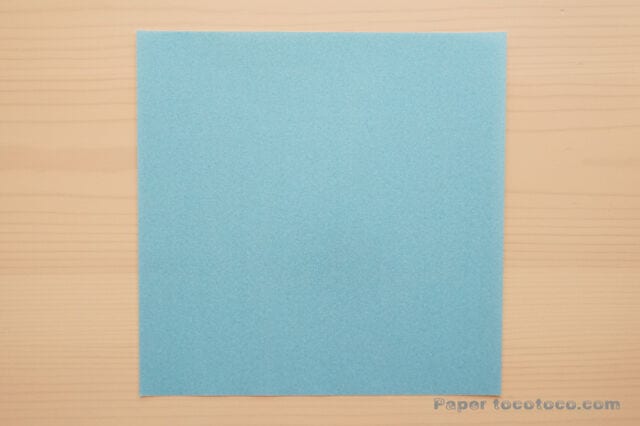
Materials: 1 sheet of 15 x 15 cm origami paper
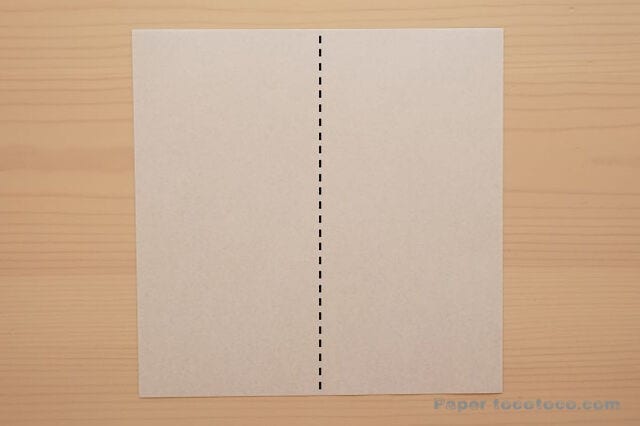
STEP 1
Fold the paper in half vertically and make a crease.
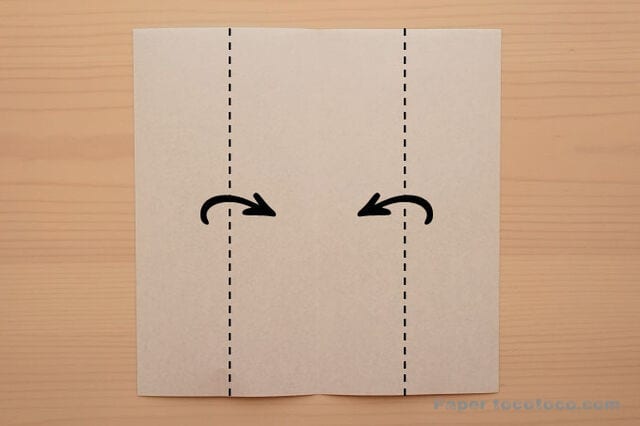
STEP 2
Fold both ends toward the center and make creases.
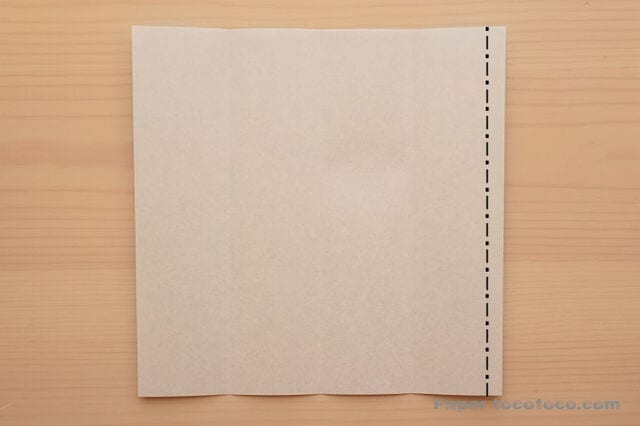
STEP 3
Fold the paper along the dotted line as a mountain fold — this one goes away from you.
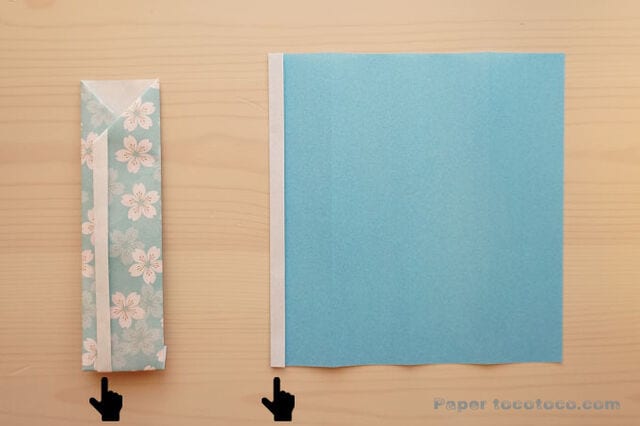
This section will become the white border of the finished bag, so fold it to whatever width you like.
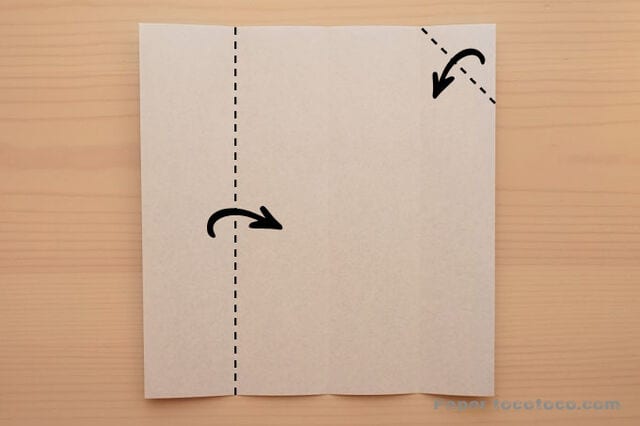
STEP 4
Fold it along the dotted line as a valley fold.
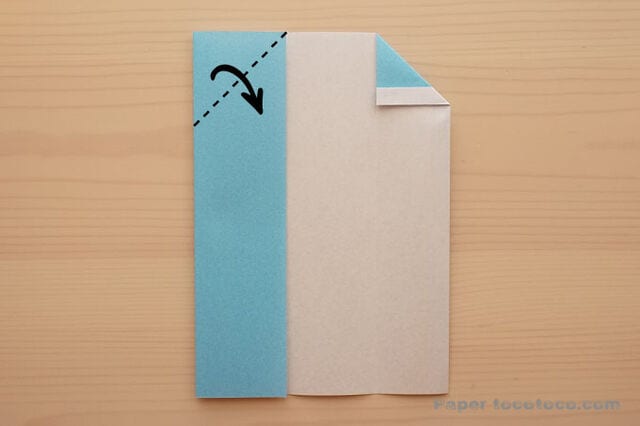
STEP 5
Fold it along the dotted line as a valley fold.
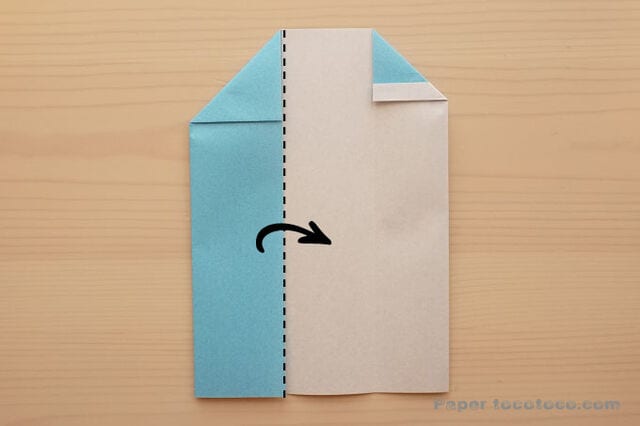
STEP 6
Turn the crease along the dotted line into a valley fold.
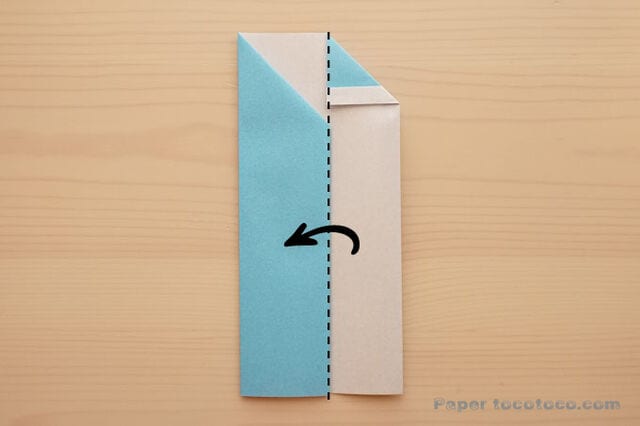
STEP 7
Turn the crease along the dotted line into a valley fold.
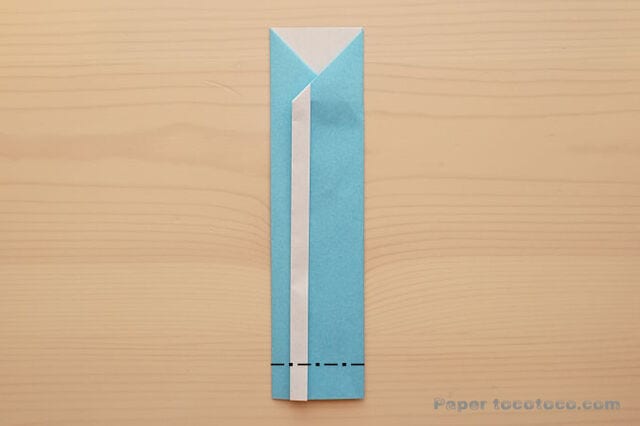
STEP 8
Fold along the dotted line as a mountain fold — away from you again.
Fold at any position you like so the chopstick bag reaches your preferred length.
That's it!
You just made a lovely chopstick bag in no time.




