
Plum blossom (Short Tutorial)
Plum blossoms are some of the first flowers to appear each year, quietly blooming in late winter while the rest of the garden is still asleep. This little origami version captures that feeling with five soft petals and just a hint of pink or red paper. It uses one quick snip with scissors, which makes shaping the petals much easier, and the whole flower comes together in about a dozen folds. Children can manage it with a bit of help, so it's a nice project for a rainy afternoon—fold a handful, add a few pen lines for stamens, and you have a branch of blossoms indoors.
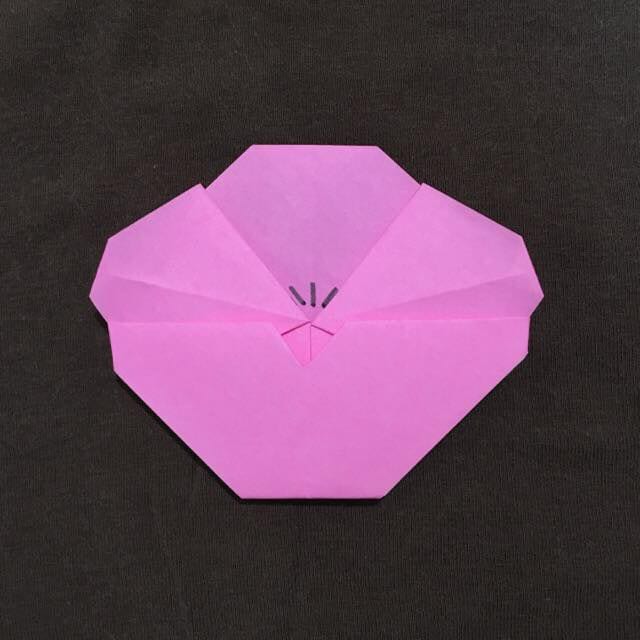
In early spring, just before the cherry blossoms open, I like to go and see the plum blossoms.
They start blooming around February, and plum festivals are held in many places. When I was a student, I once bought a small potted plum tree and brought it home (laughs).
It was more of a gift for my plant-loving father than for myself. The following year it produced tiny plums, which made me very happy.
So this time, here is how to fold plum blossom origami.

The design uses scissors just a little, but it folds very easily.
I think even small children can make it, so please fold a few together. This time I explain every step with clear photos.
Now, let me show you a simple way to fold plum blossom origami.
How to Fold Plum Blossom Origami
Plum blossoms have five petals. Folding a five-sided shape can be tricky, but this method makes it easy. Red or pink paper works best, so have a sheet ready.
STEP 1. Fold the paper in half into a triangle with the colored side on the inside.

STEP 2. Fold it into a triangle once more.

STEP 3. Open up the pocket.

STEP 4. Open the pocket on the other side in the same way.

STEP 5. Fold back only one side of the loose flap.

STEP 6. As shown in the photo, use scissors to cut a notch of about 1 cm.

STEP 7. Fold the notched part toward the back.

STEP 8. Keeping the center aligned, fold the layer up a little past the halfway point as shown.

STEP 9. Open it back out again along the creases as shown.

STEP 10. Tuck the overlapping part underneath.

STEP 11. Fold the six marked corners toward the back.


STEP 12. Finally, draw three short lines with a pen as shown, and the plum blossom is complete.
How did it go?
It's simple enough that even small children can fold it, so enjoy making a whole branch of blossoms together on a rainy day.




