
Tulips (Short Tutorial)
There is something instantly cheerful about a tulip, and the good news is you don't need forty steps to capture that charm in paper. This short tutorial strips the classic origami tulip down to its essence: six photo-guided folds that take you from a plain square to a neat little flower head in just a few minutes.
It's the kind of project you can finish in one sitting, make a handful of in different colors, and suddenly have a paper bouquet on your desk. If you've ever wanted to dip a toe into origami without committing to a long build, this is the perfect place to start.
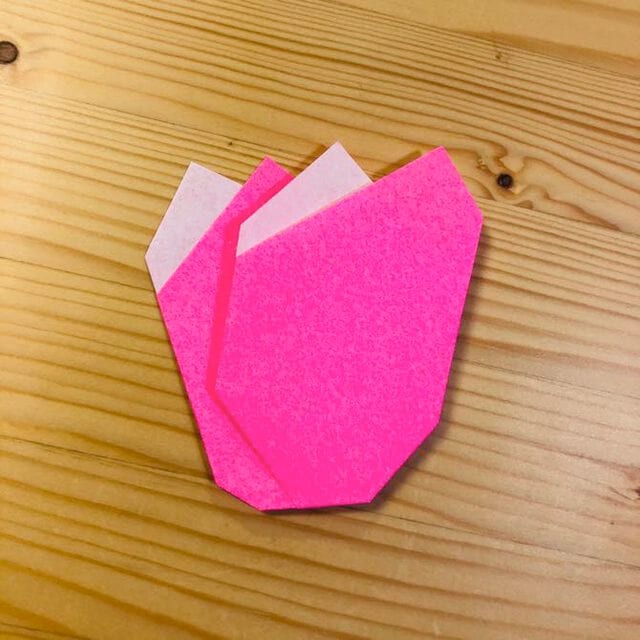
STEP 1
Fold the paper at the position shown in the photo.
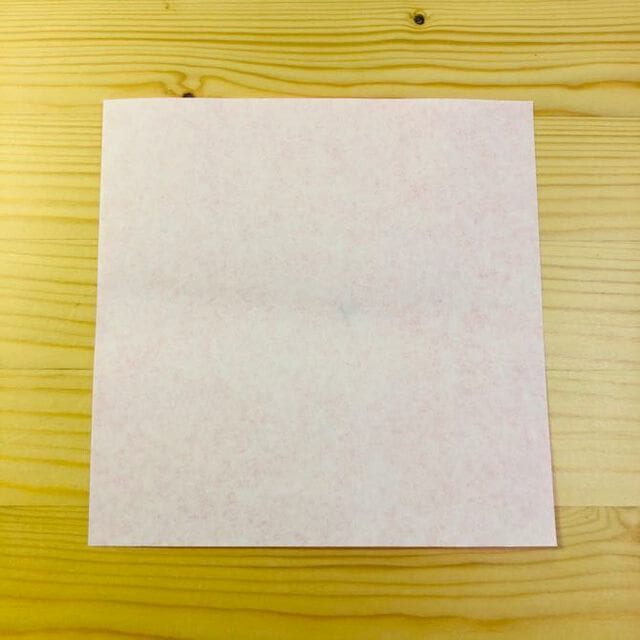
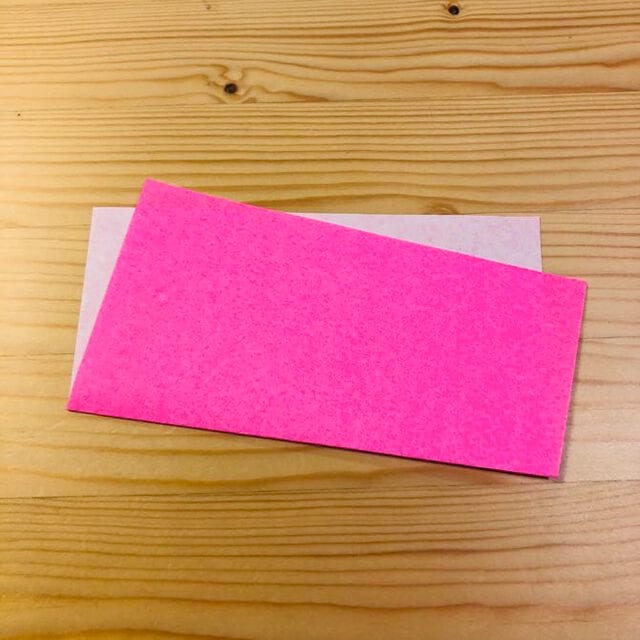
STEP 2
Fold the paper at the position shown in the photo.
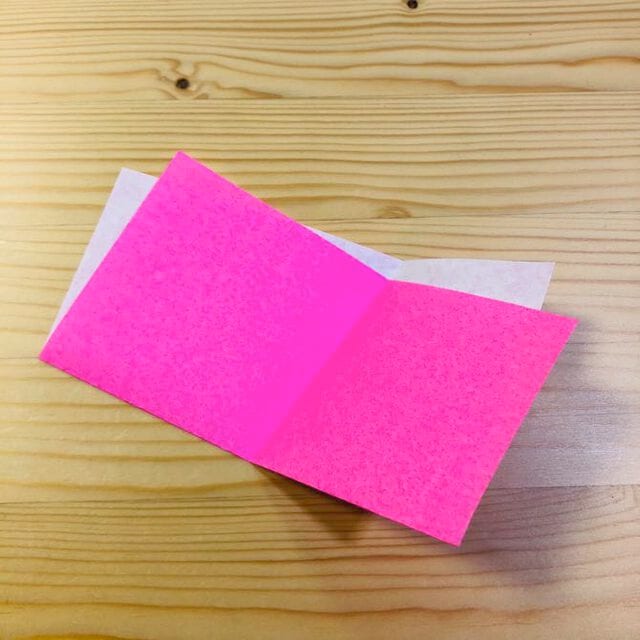
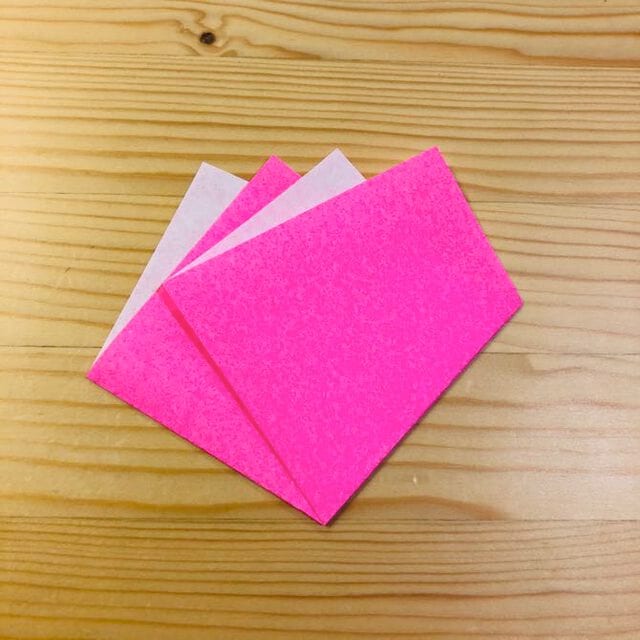
STEP 3
Fold the paper back at the position shown in the photo.
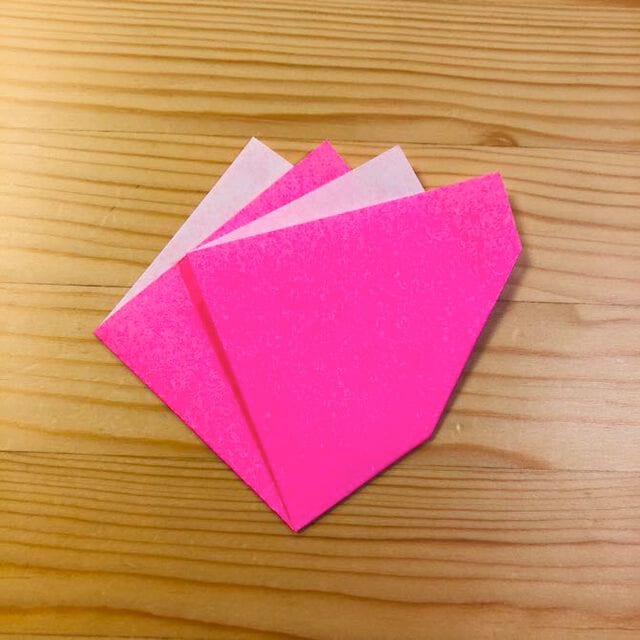
STEP 4
Fold the paper back at the position shown in the photo.
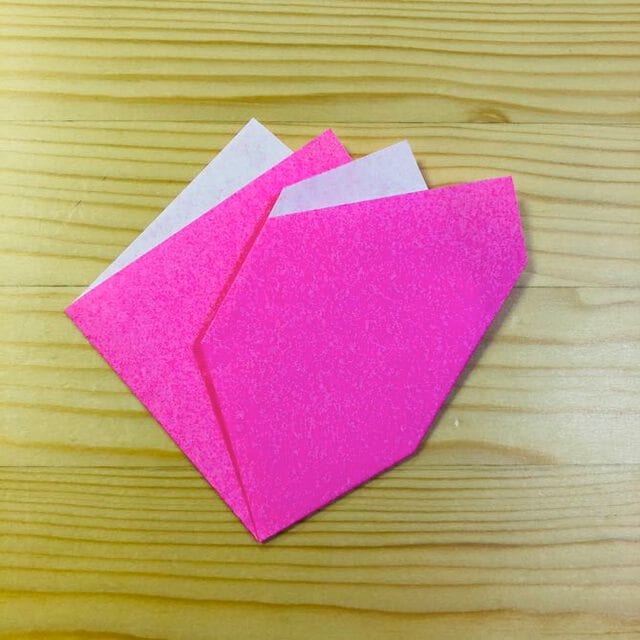
STEP 5
Fold the paper back at the position shown in the photo.

STEP 6
Fold the paper back at the position shown in the photo.
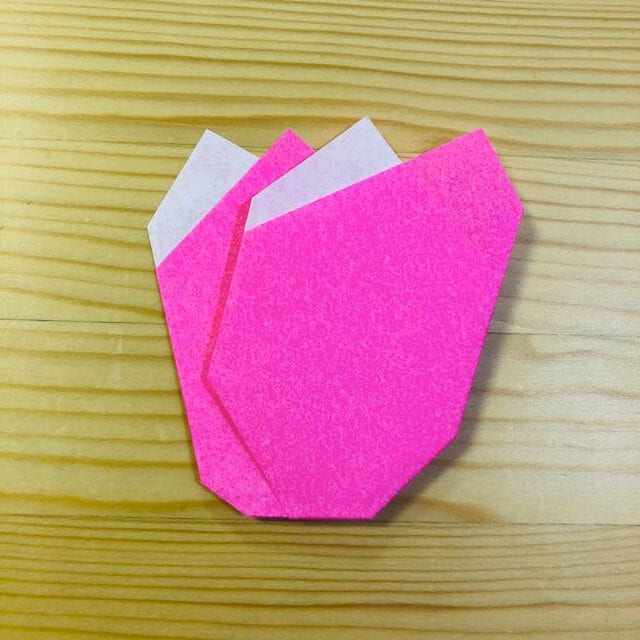
Done!
Your tulip is complete.